
Click on any of the pics to embiggen. Note: some of these are darn big images, so be not surprised if it takes a while to pull them down.
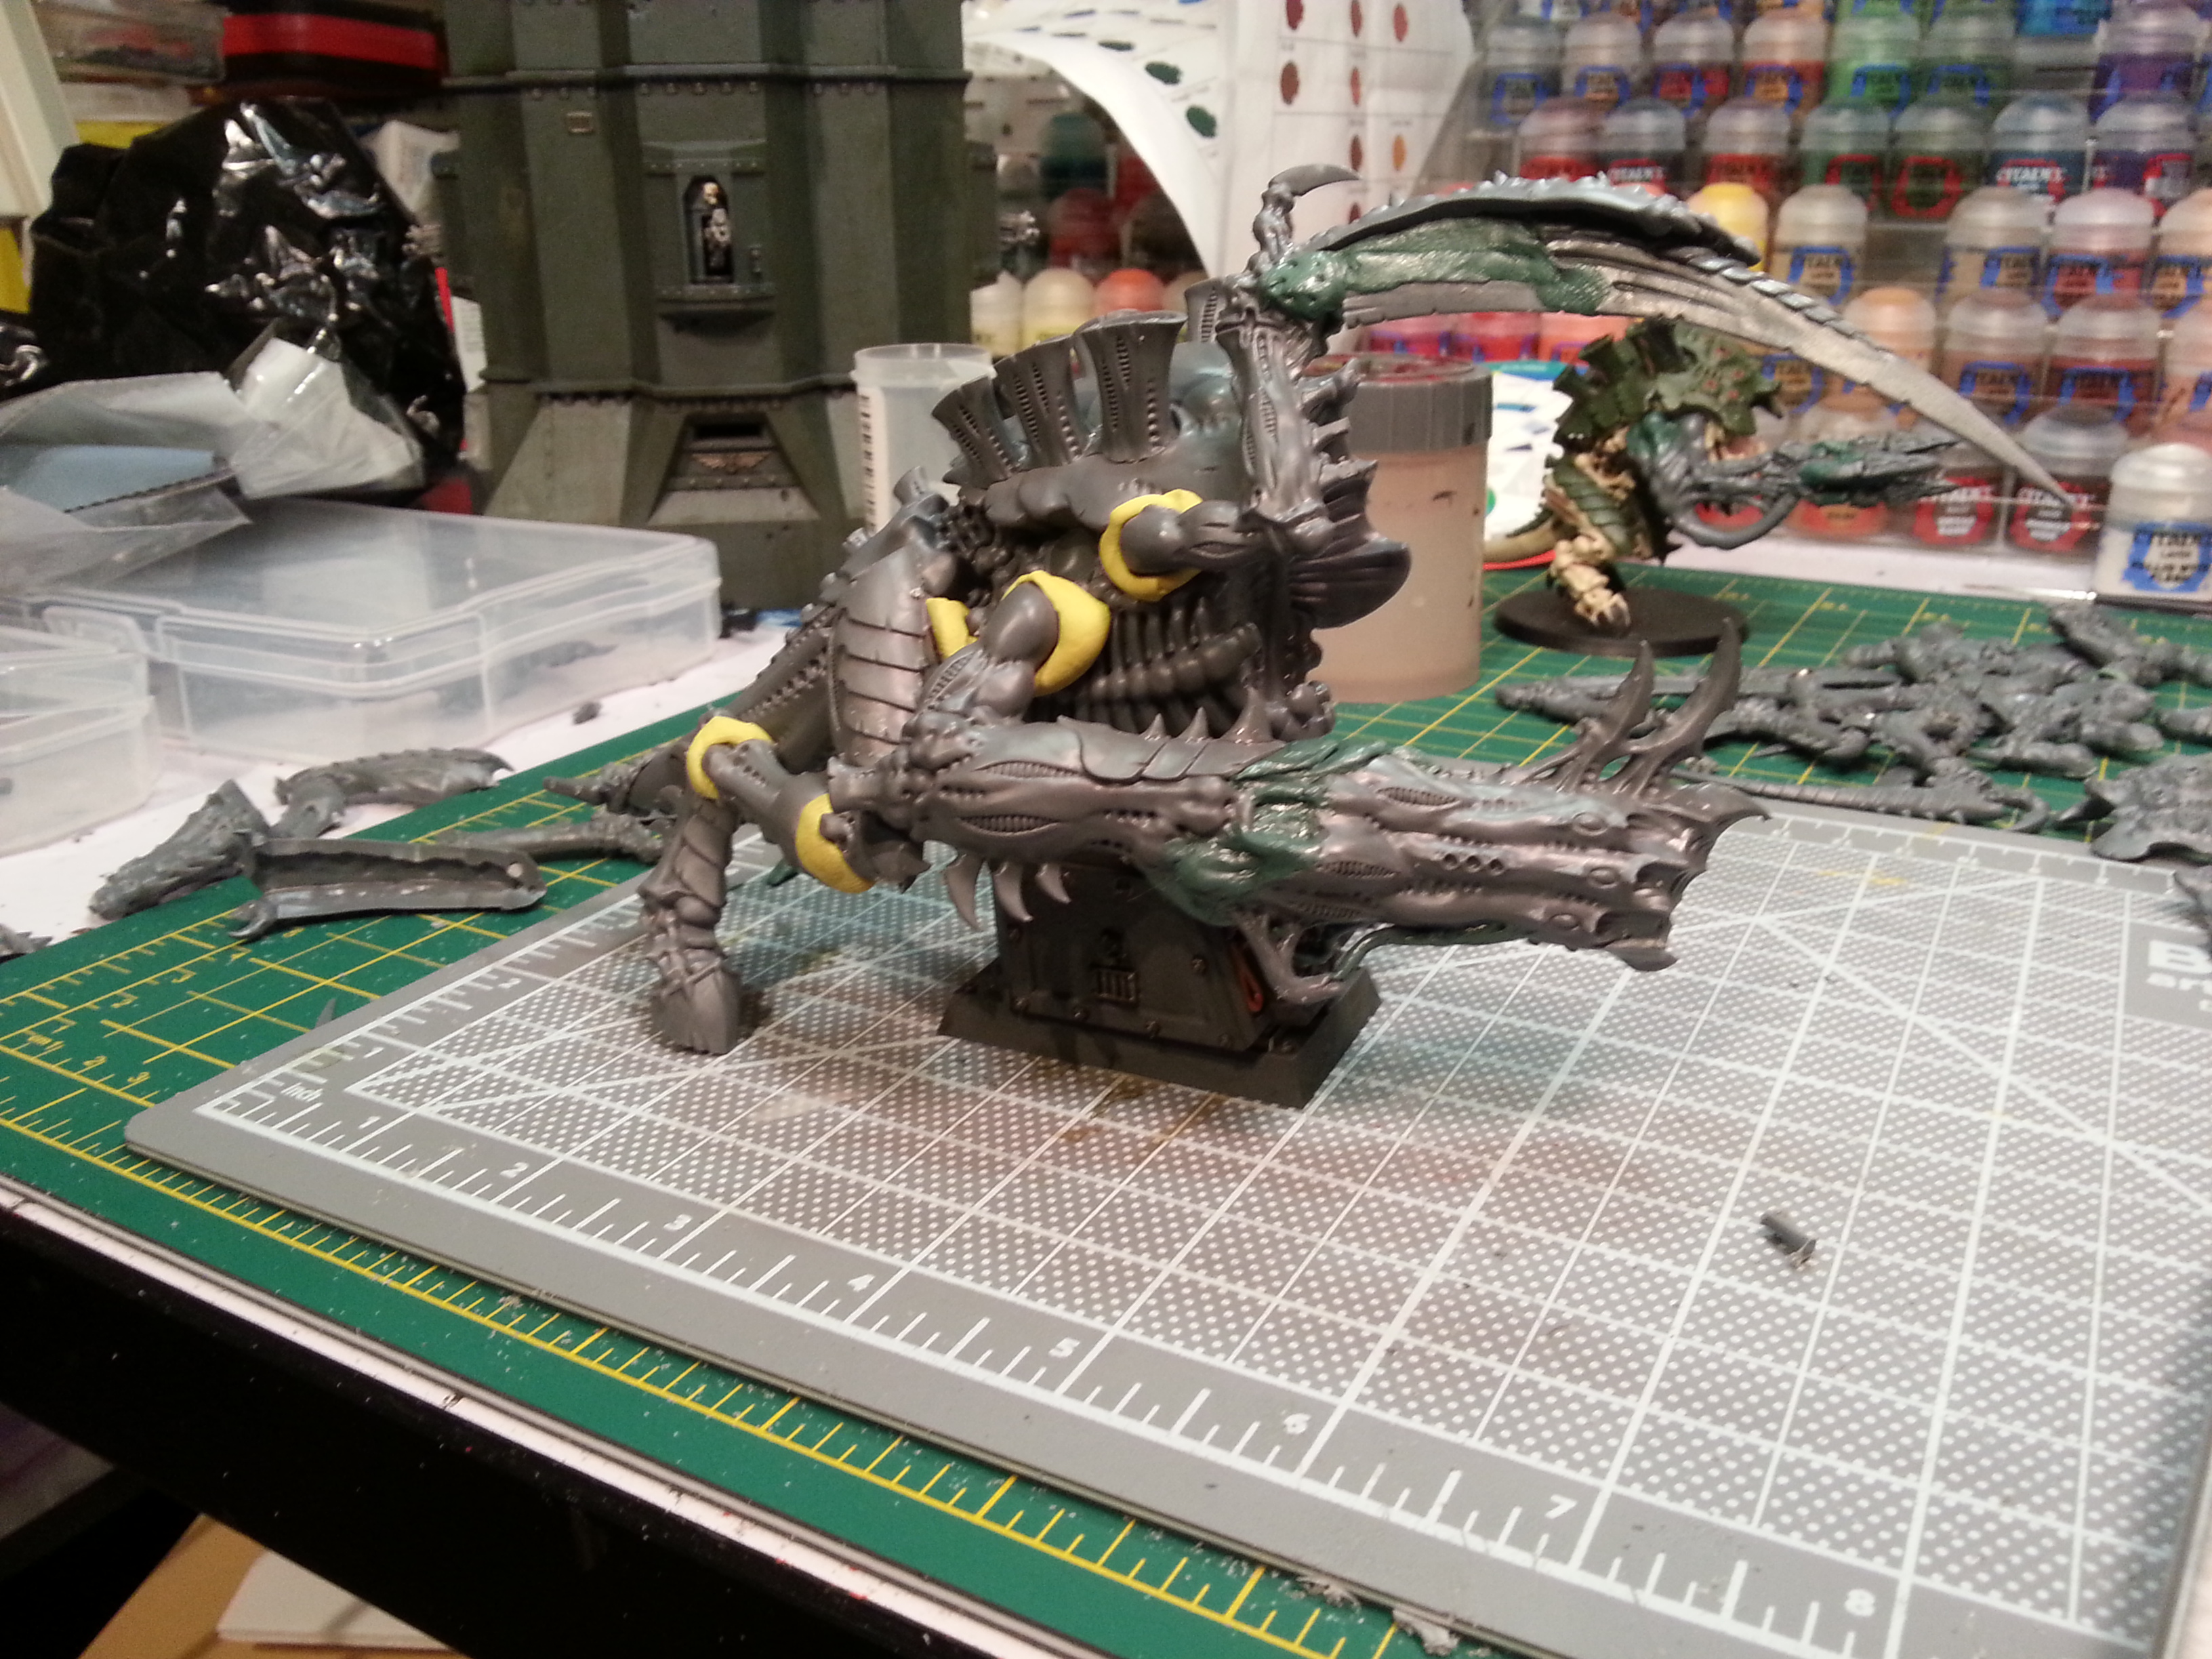
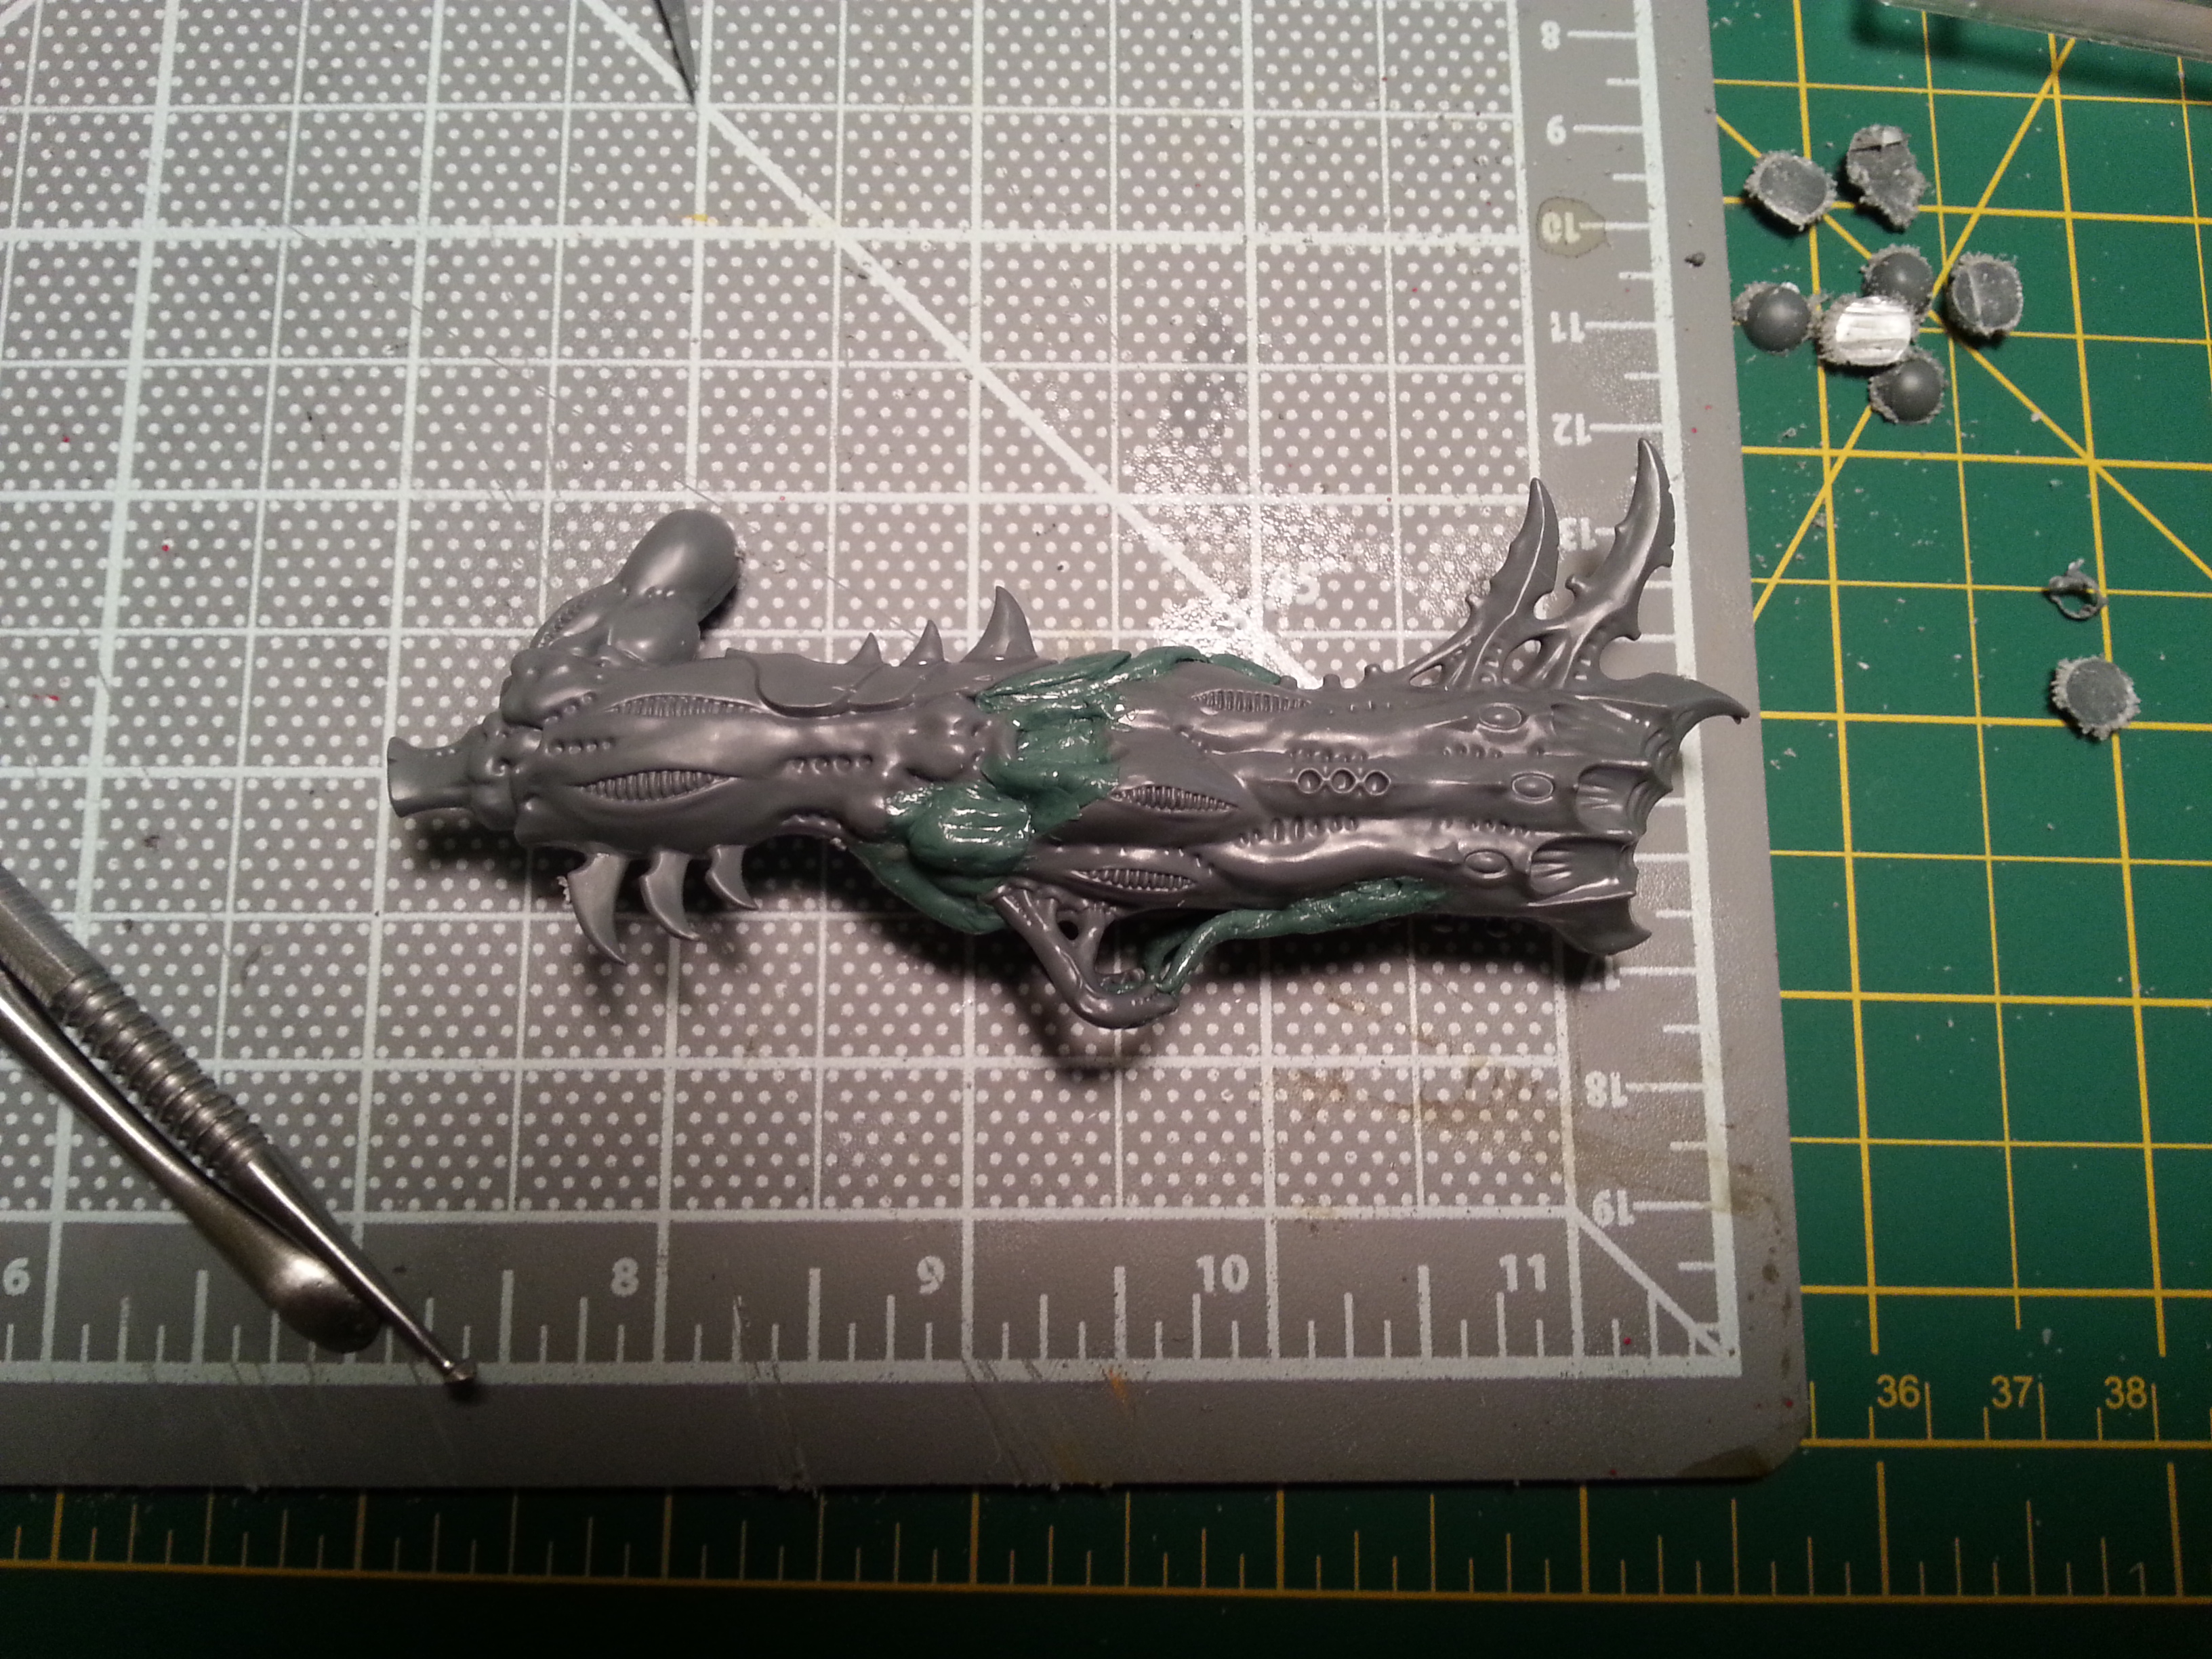
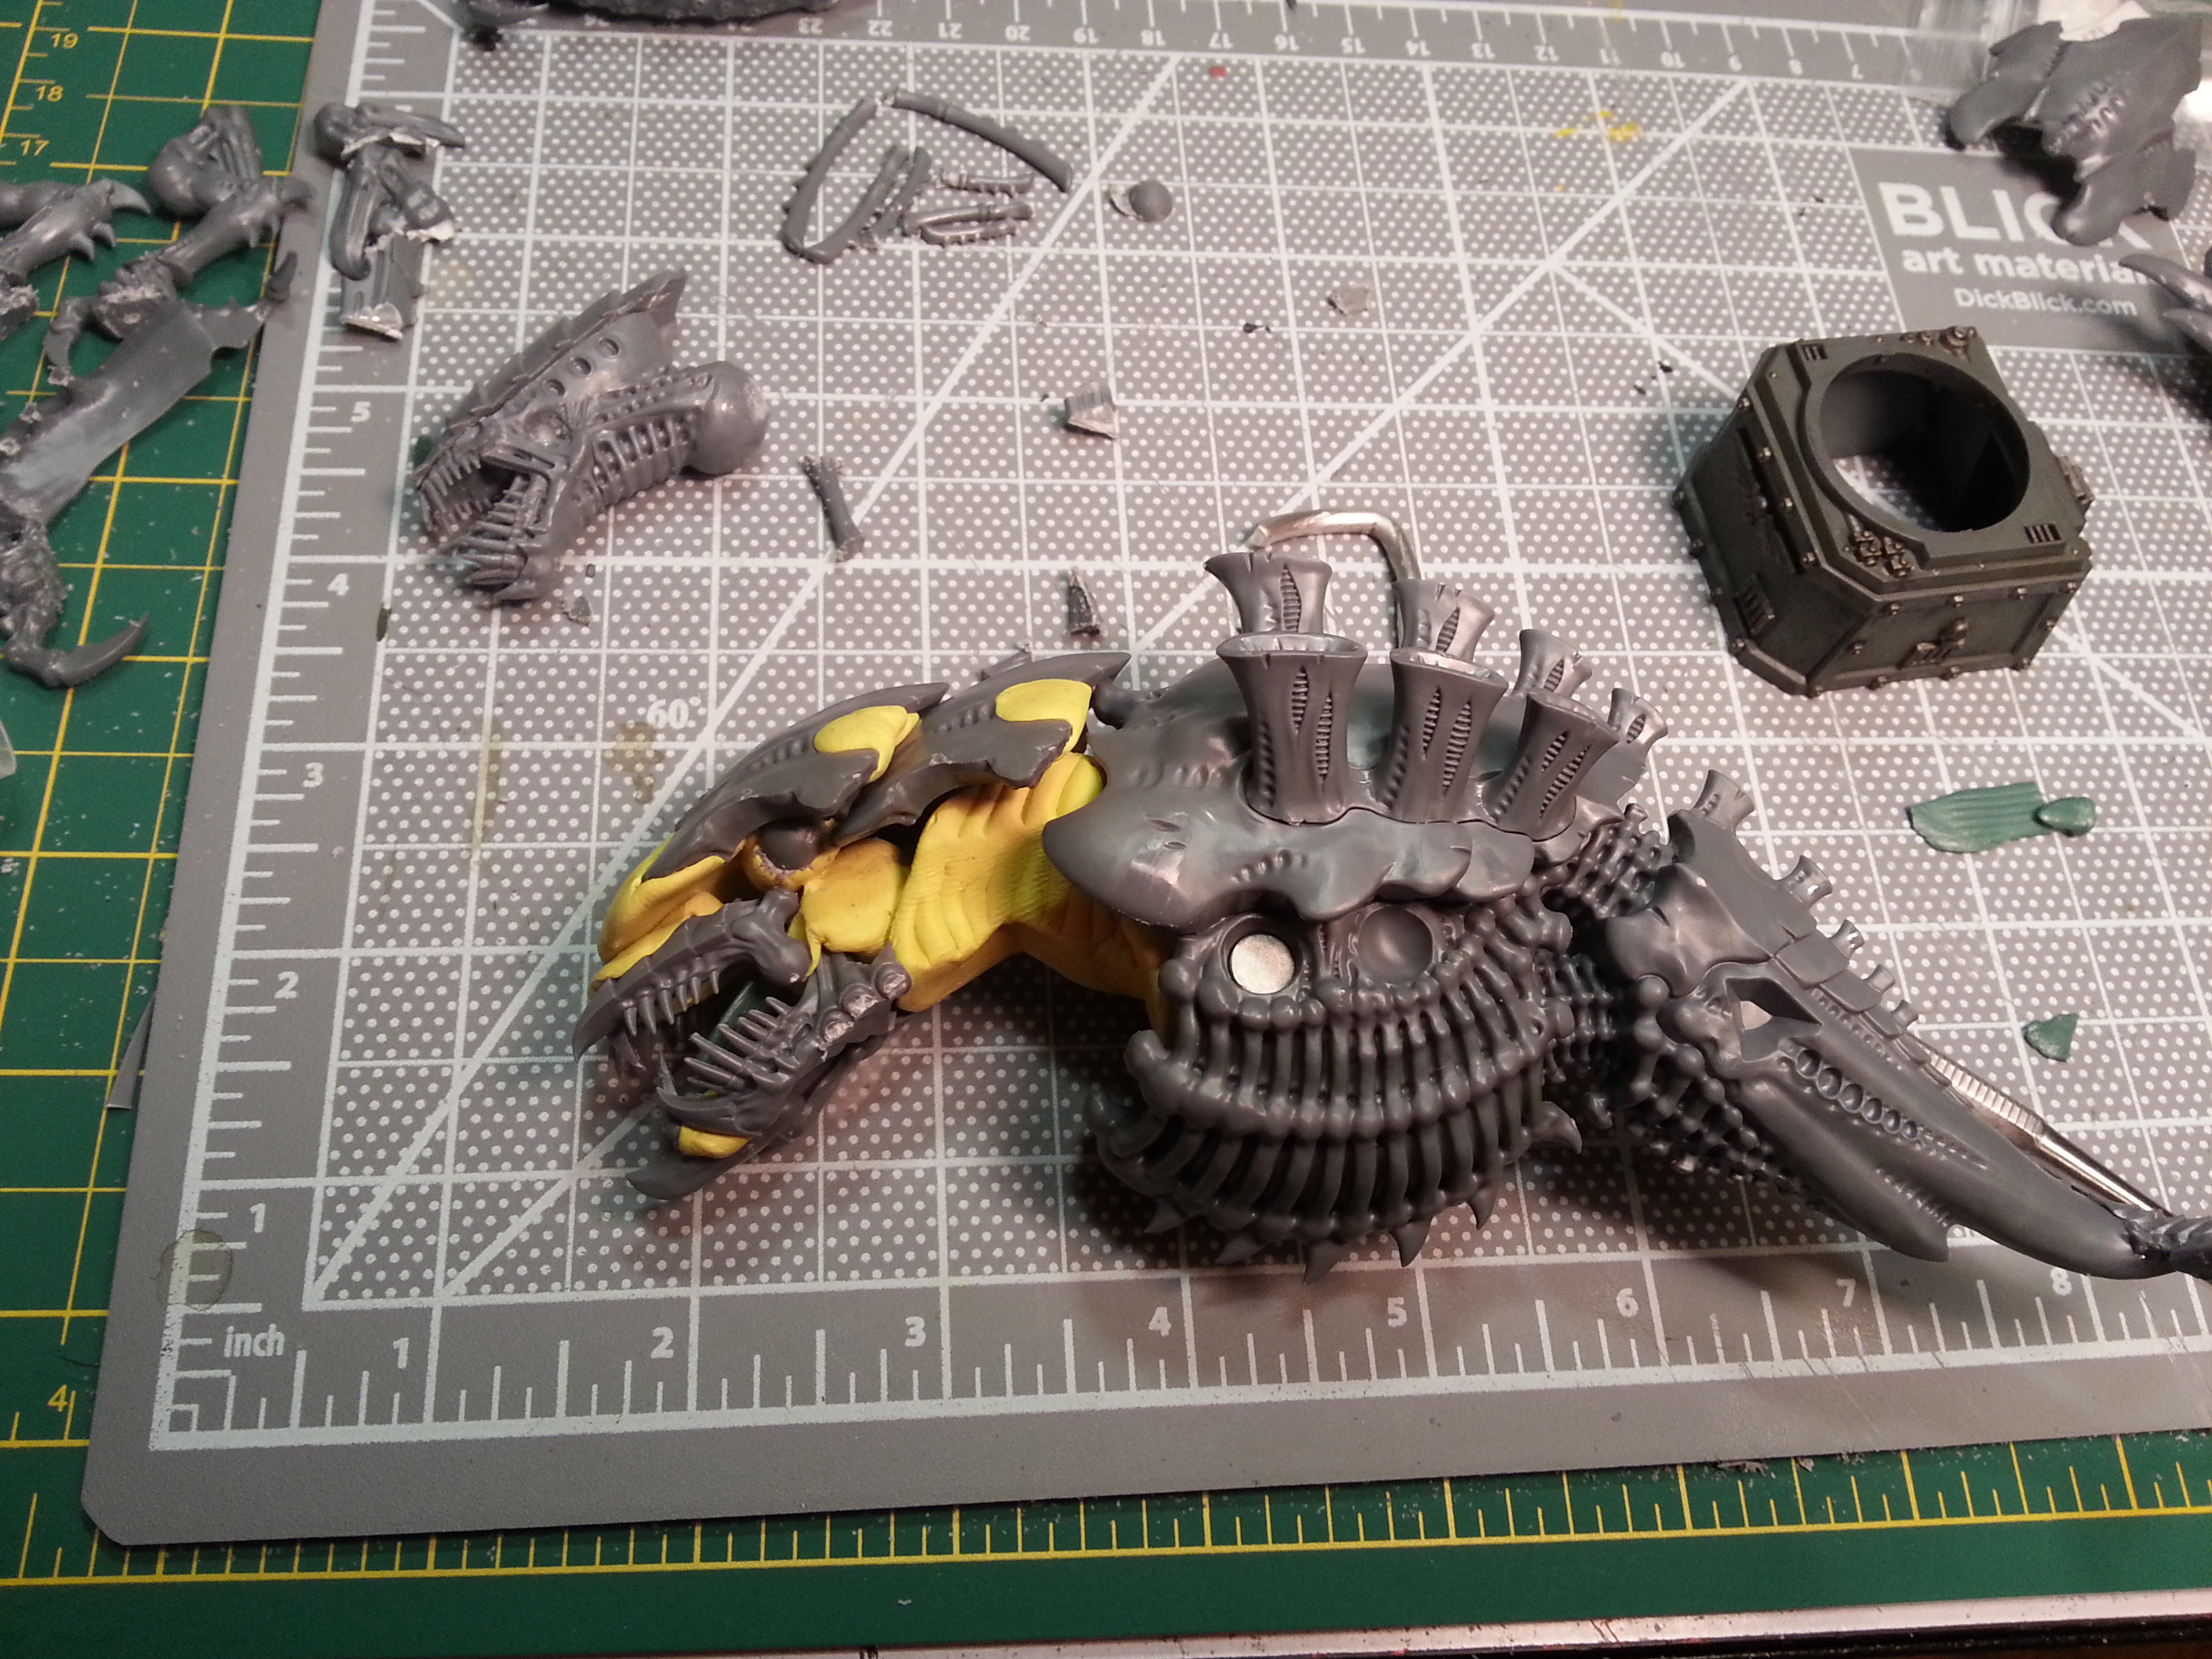
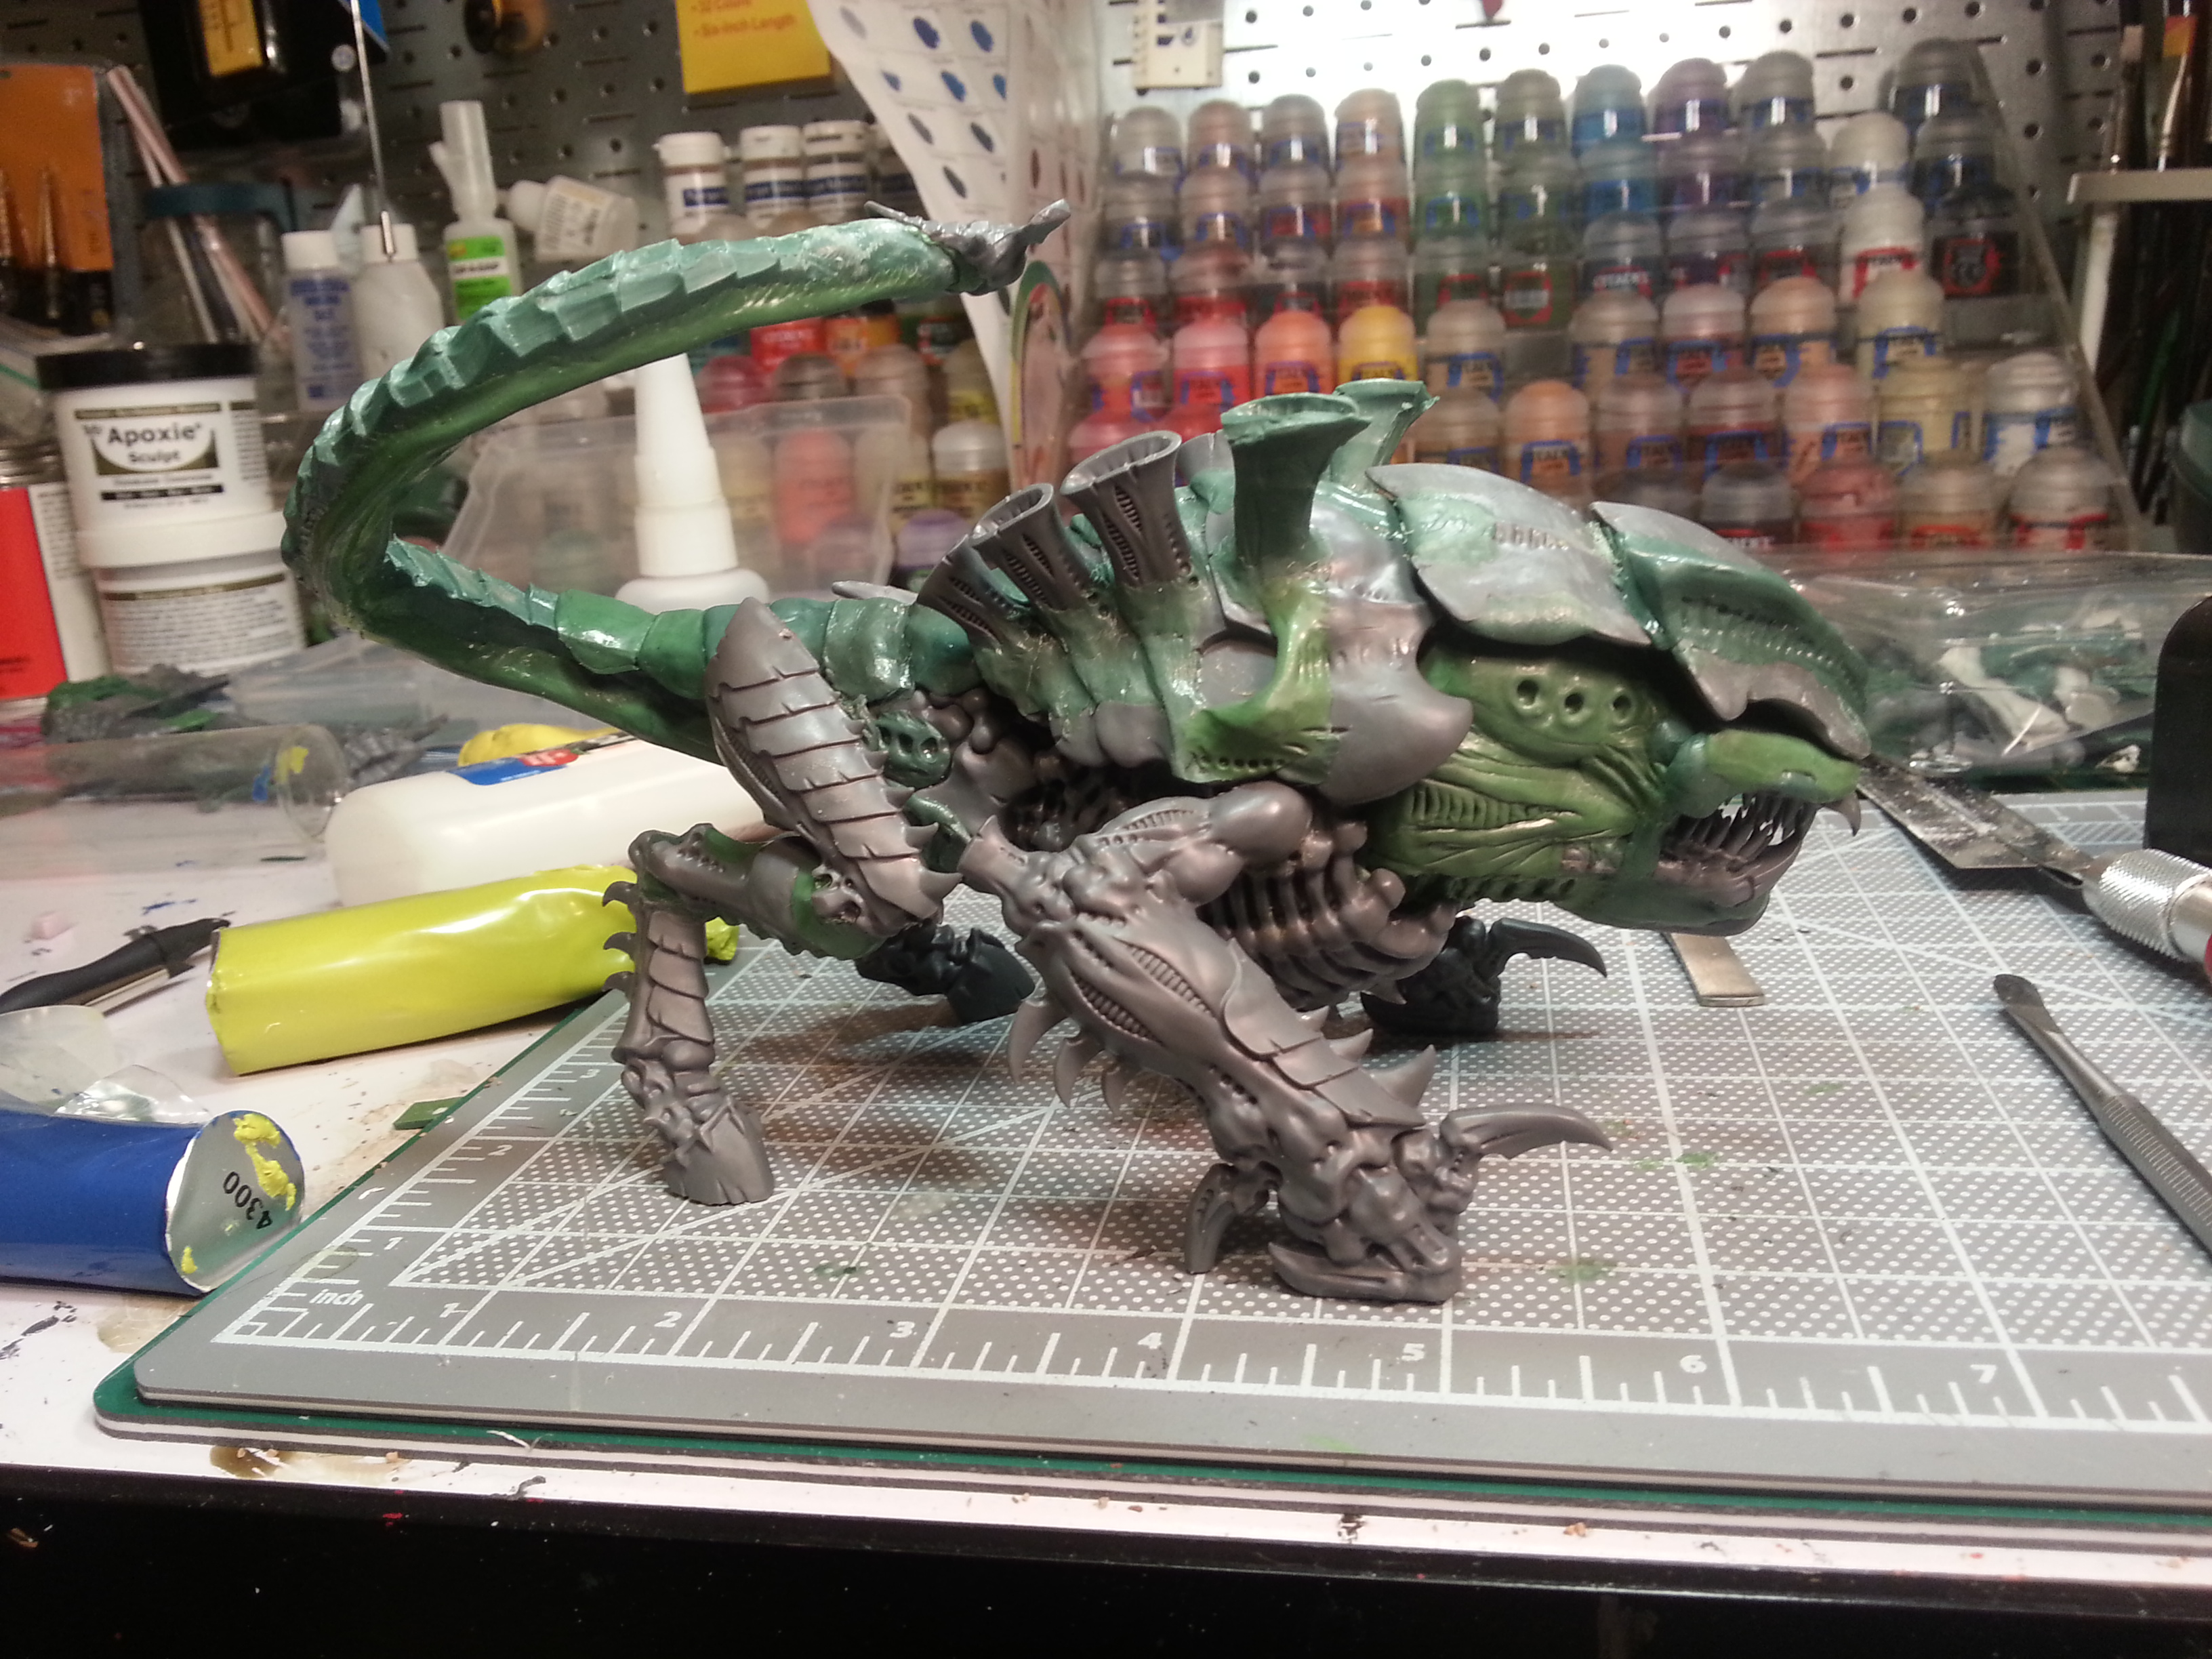
I swear, converting the fleshborer hive into a giant scything talon was originally a joke. In hindsight, the arm is about the right size...
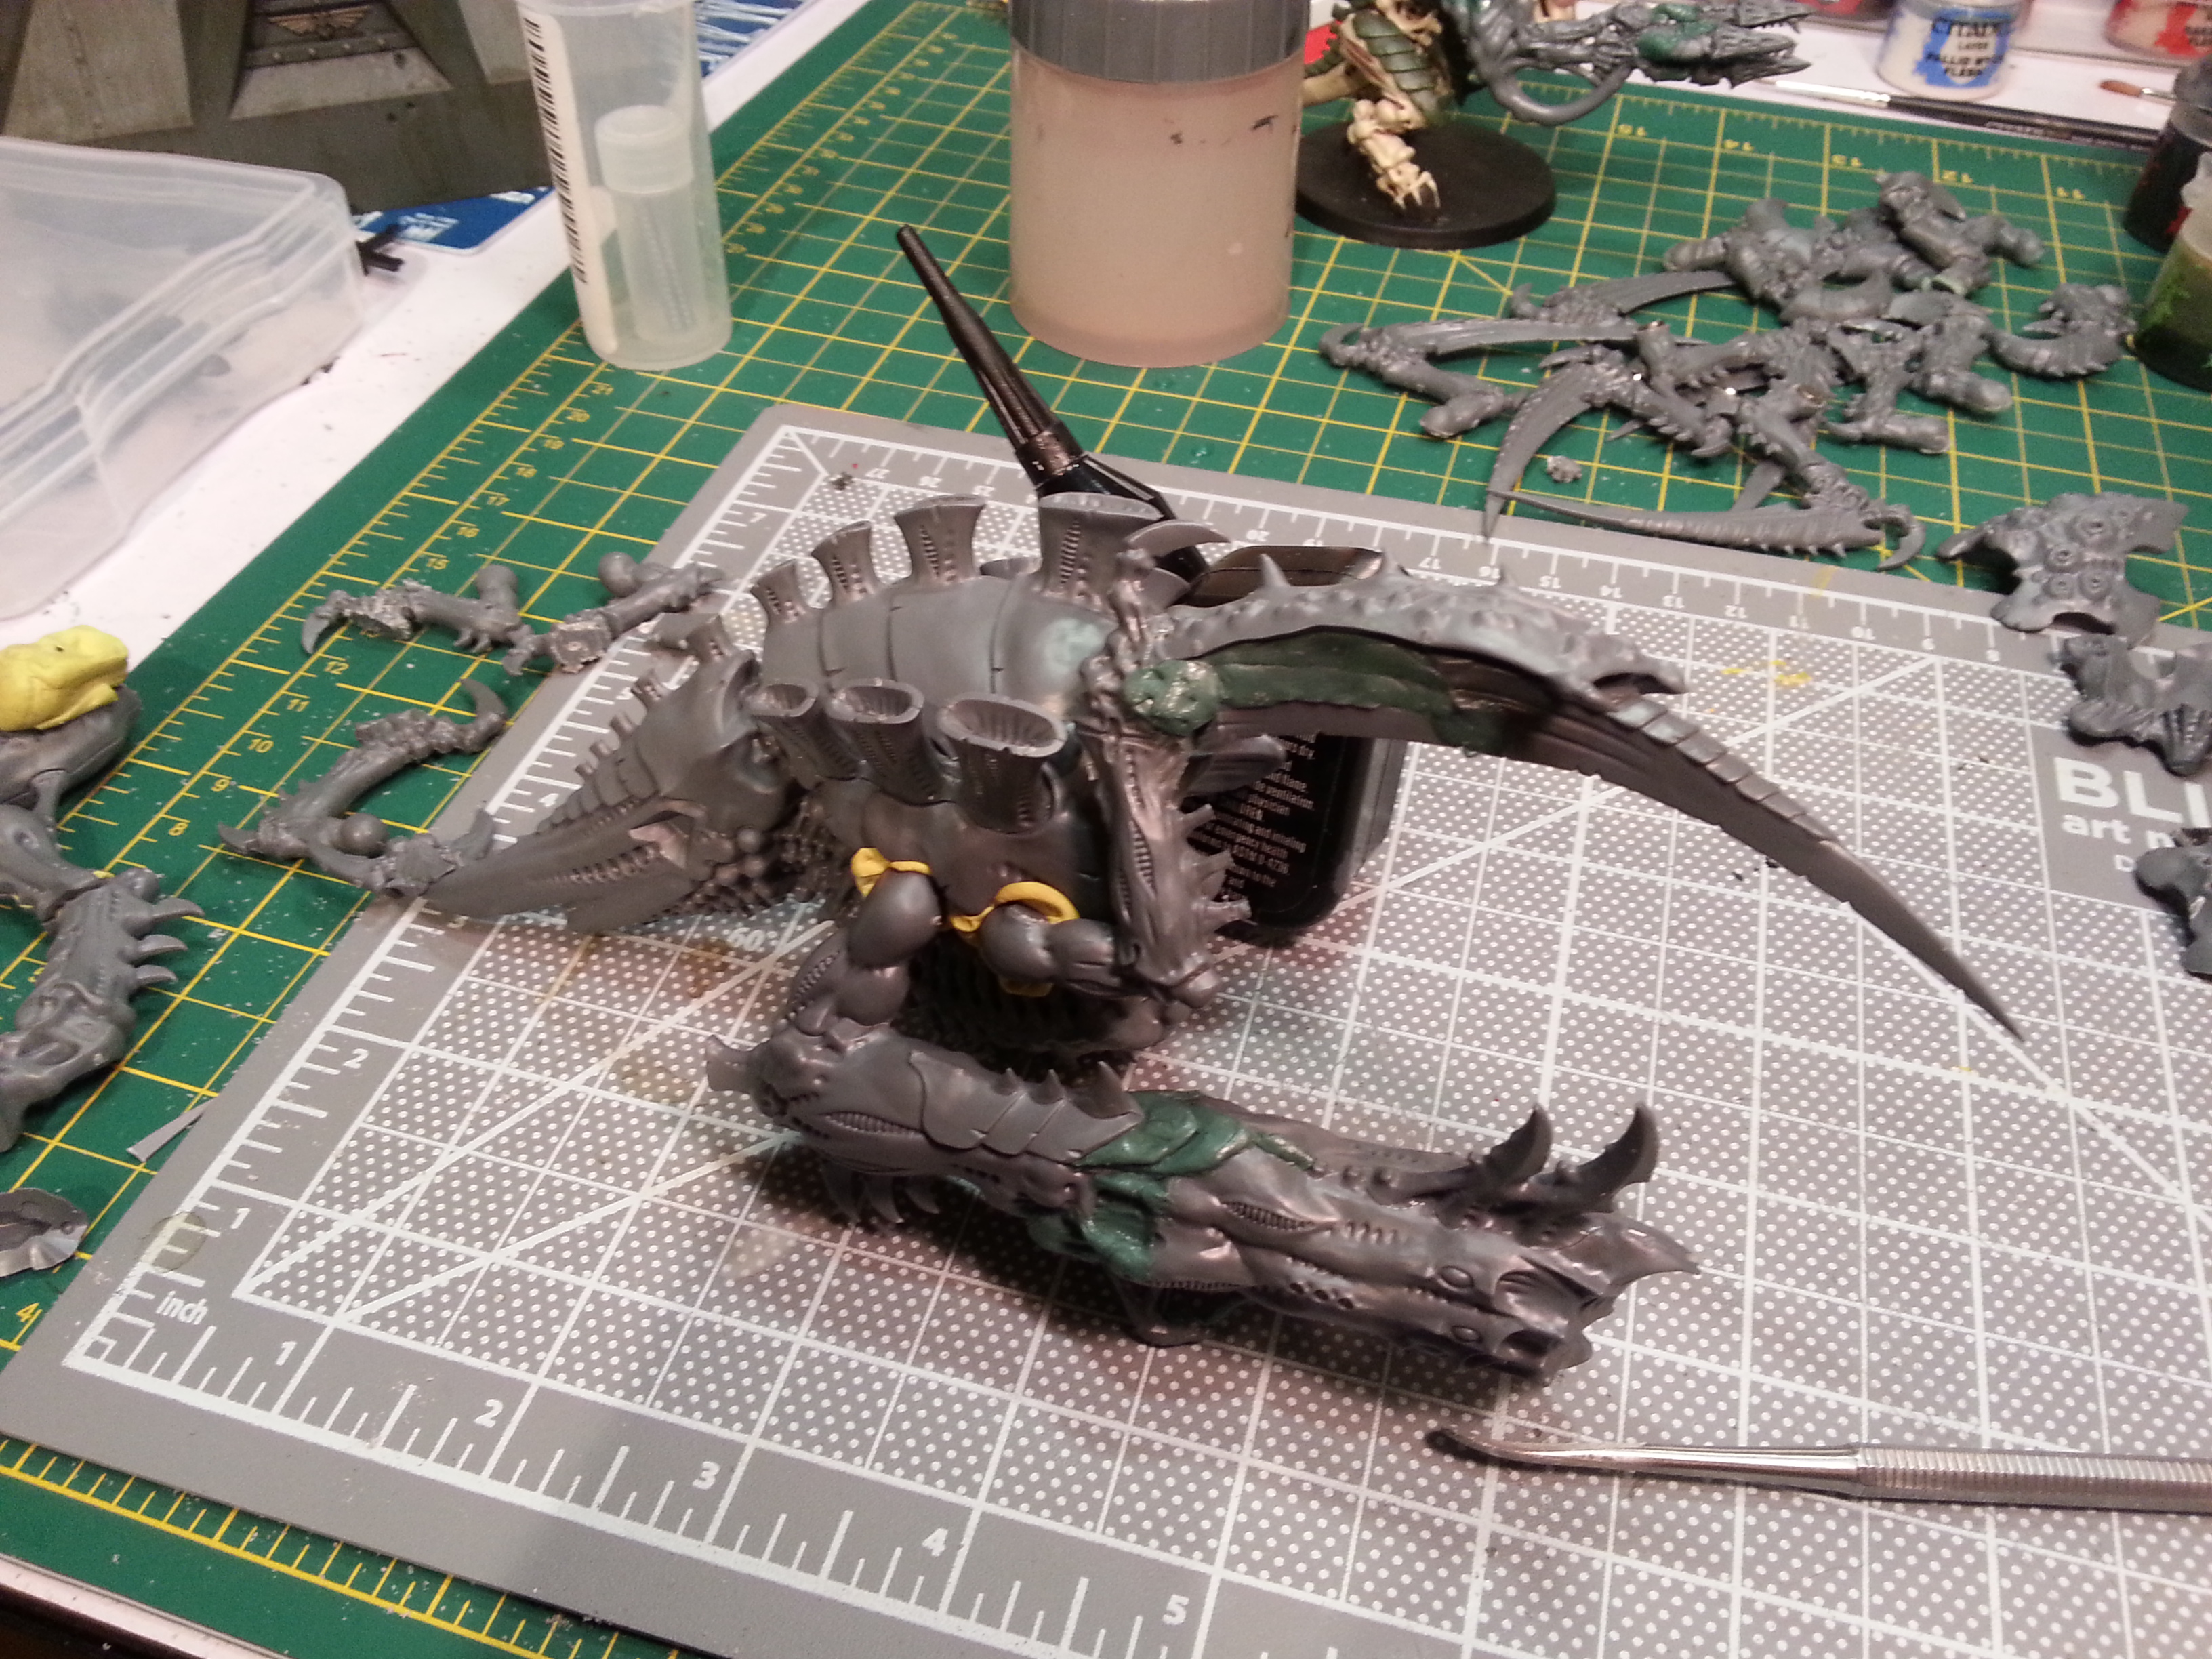
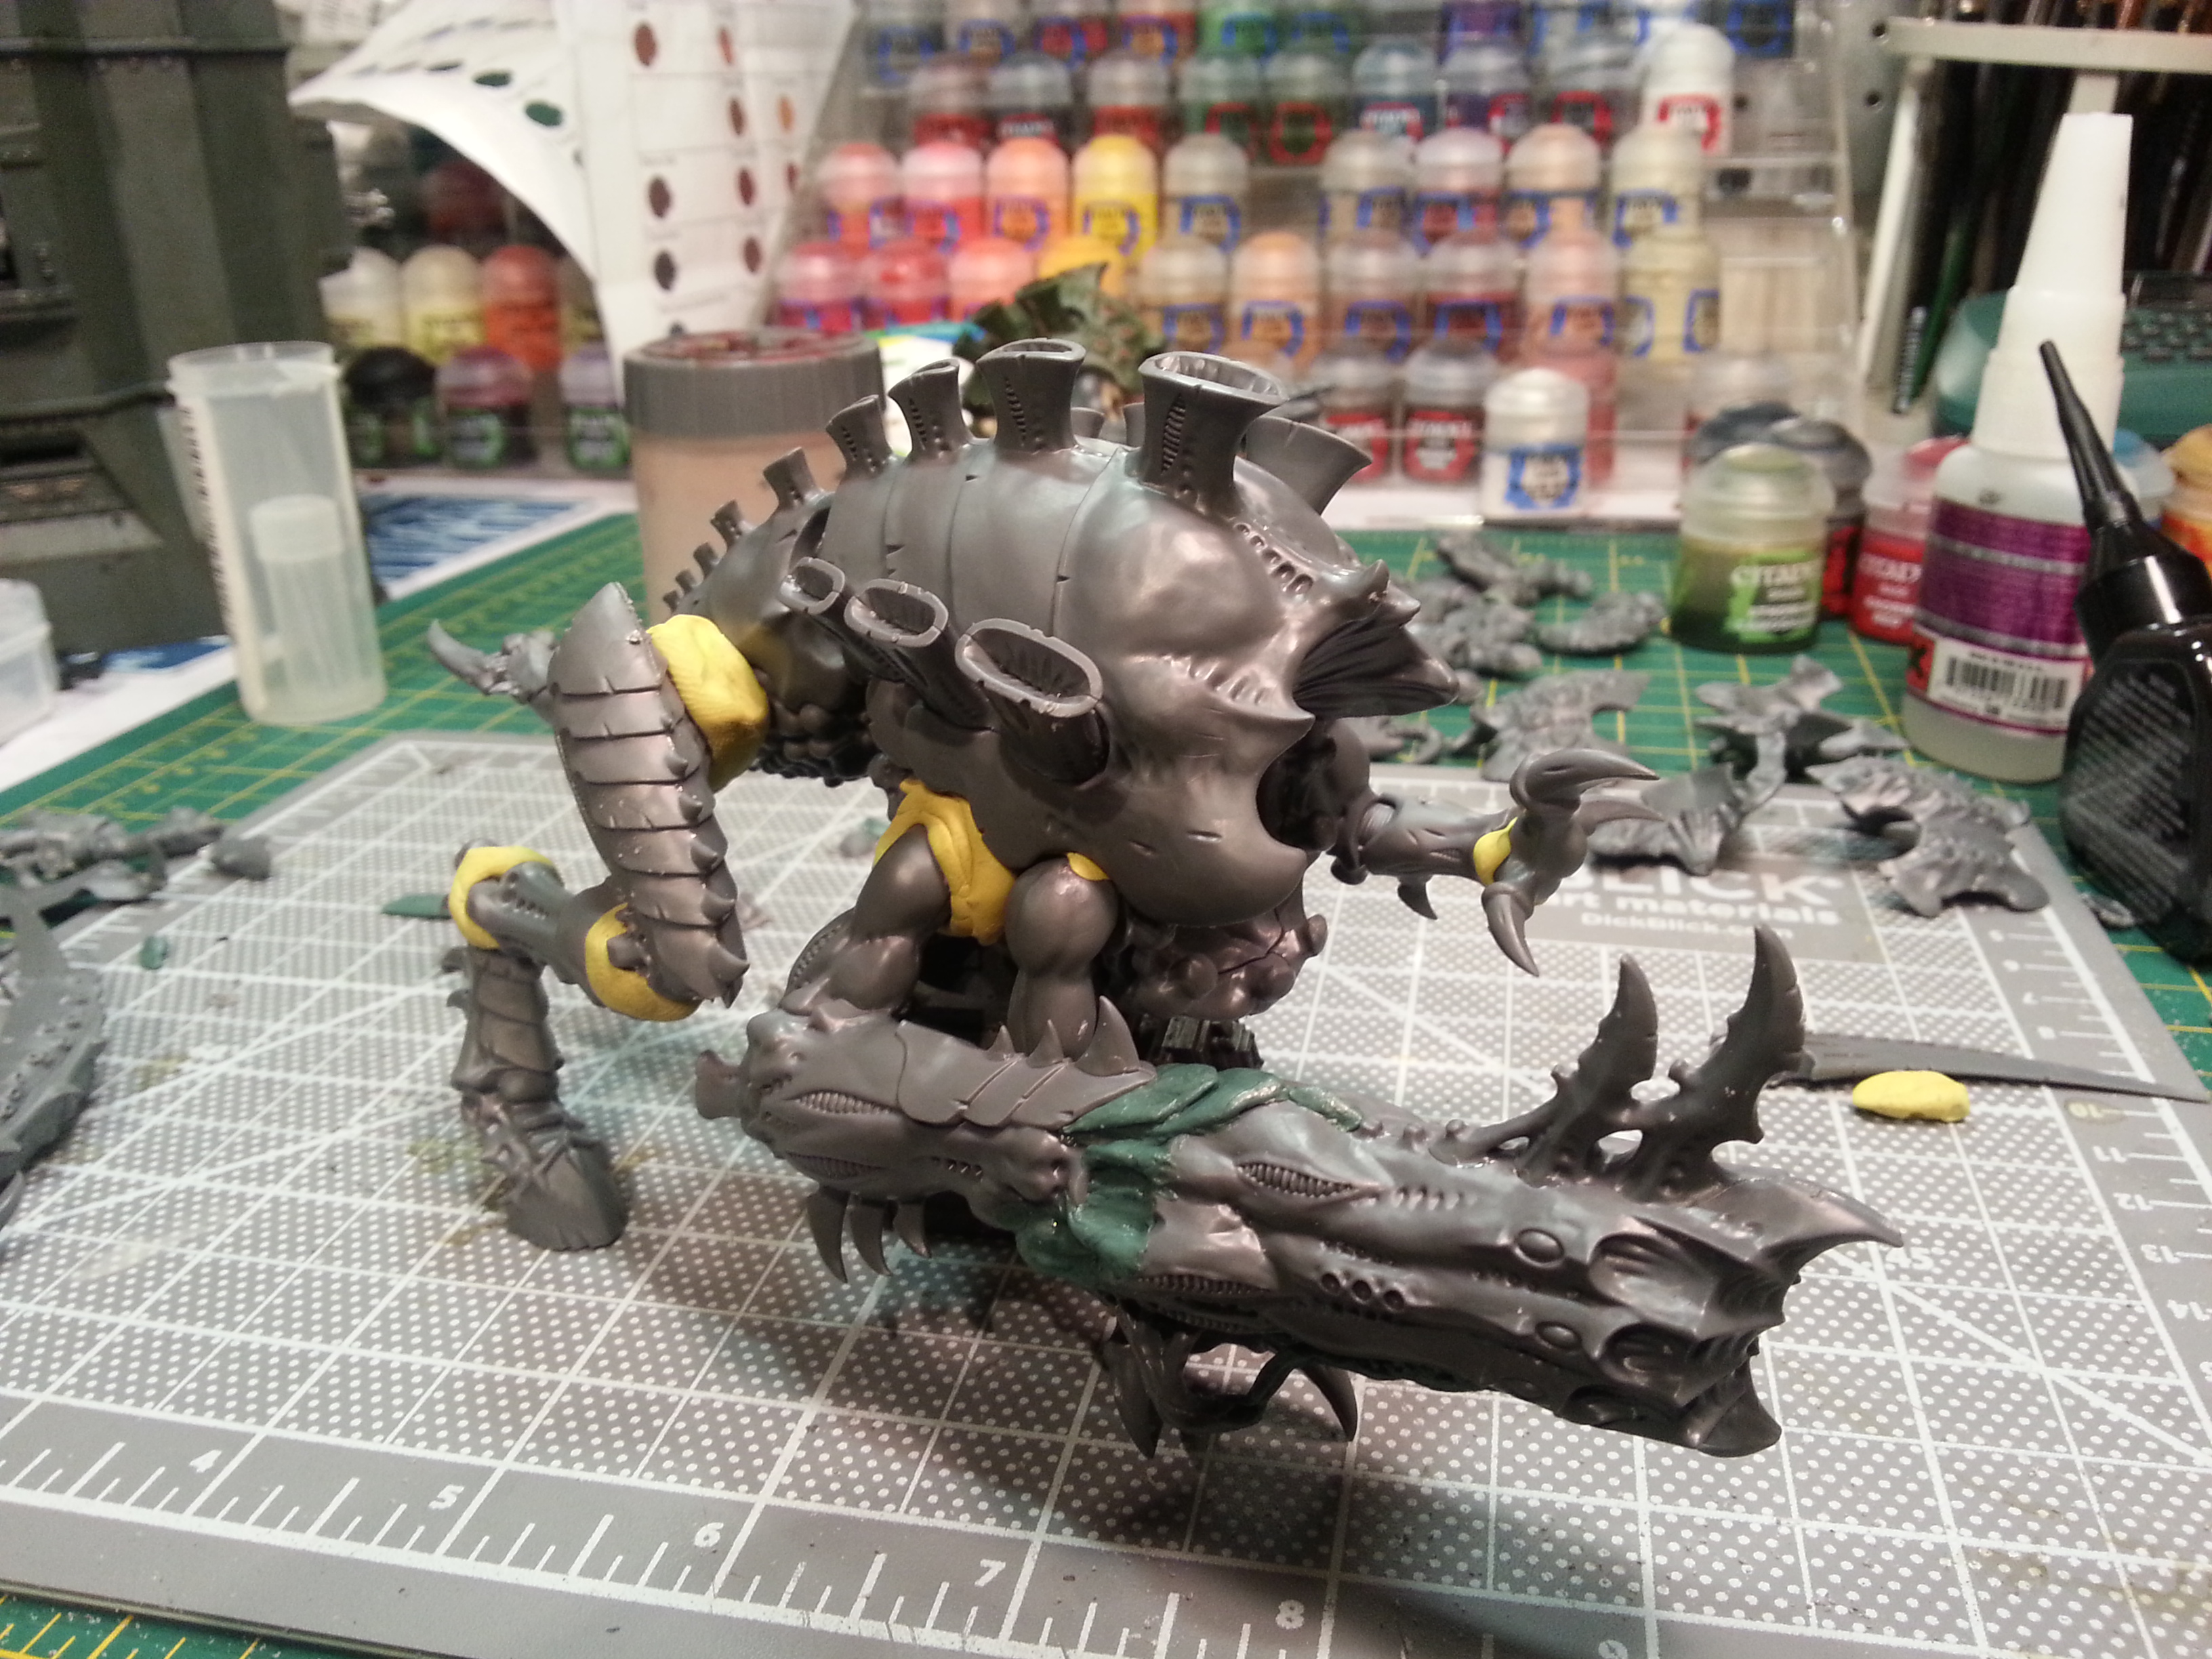
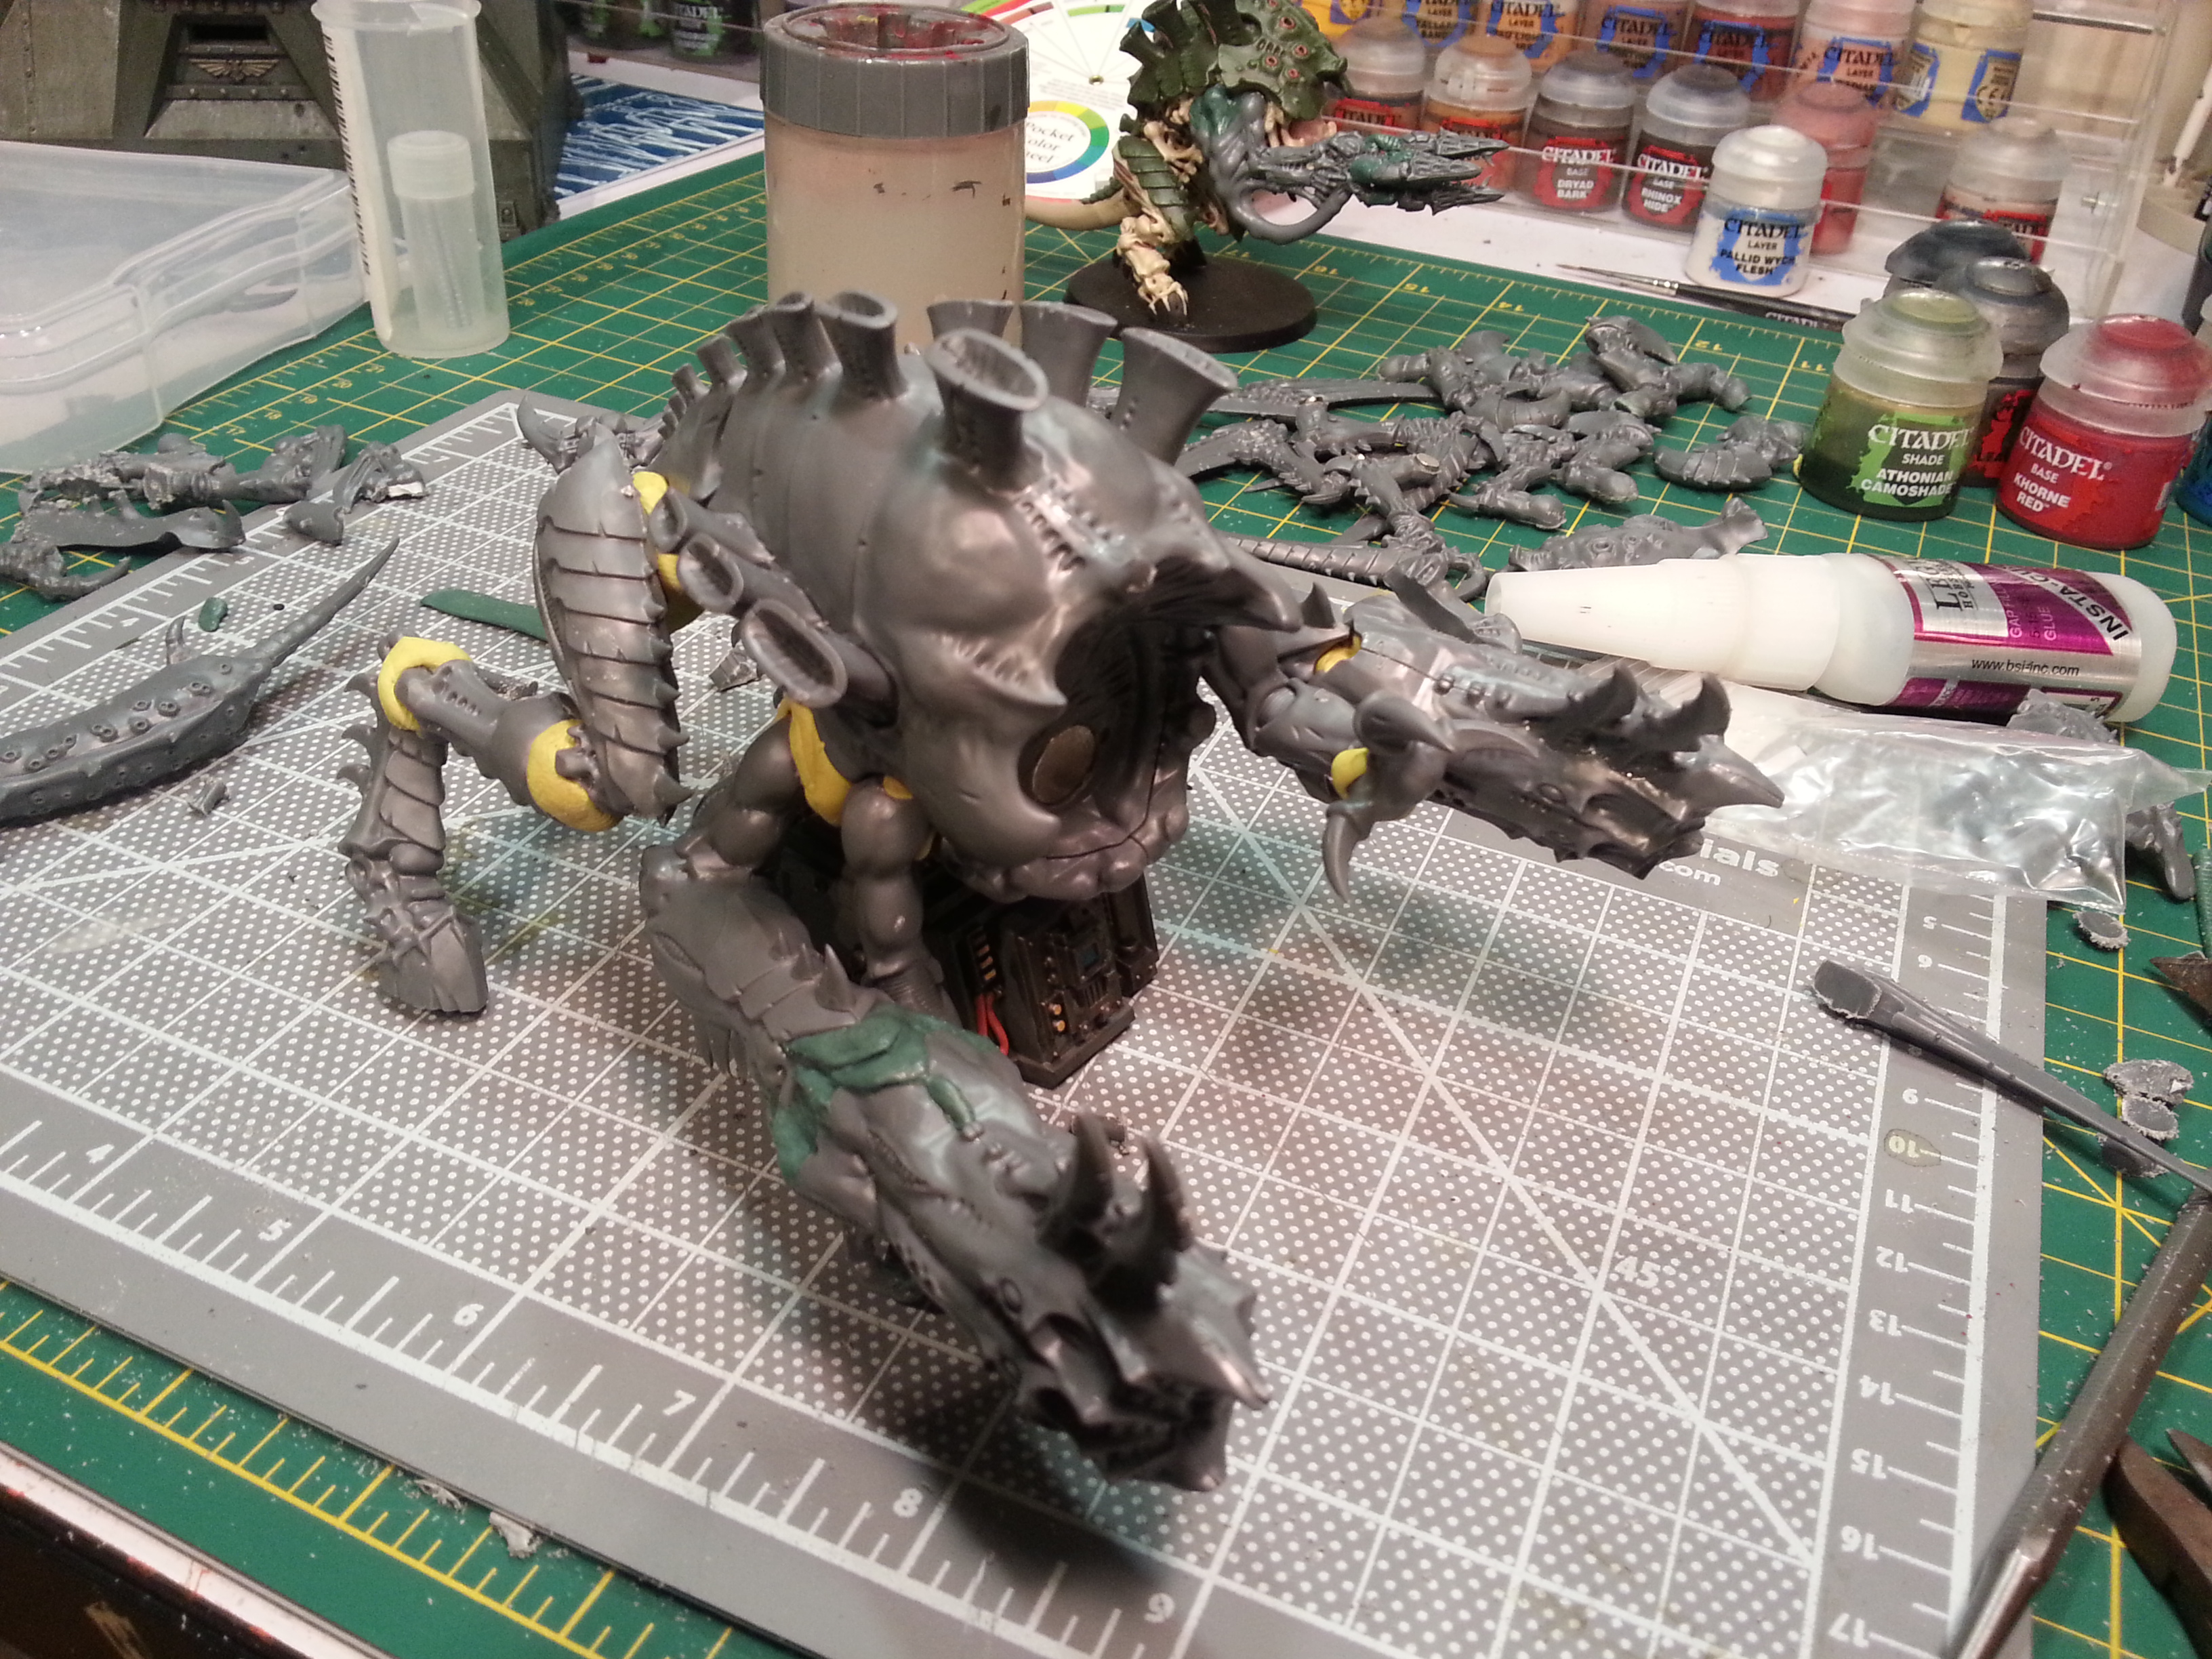
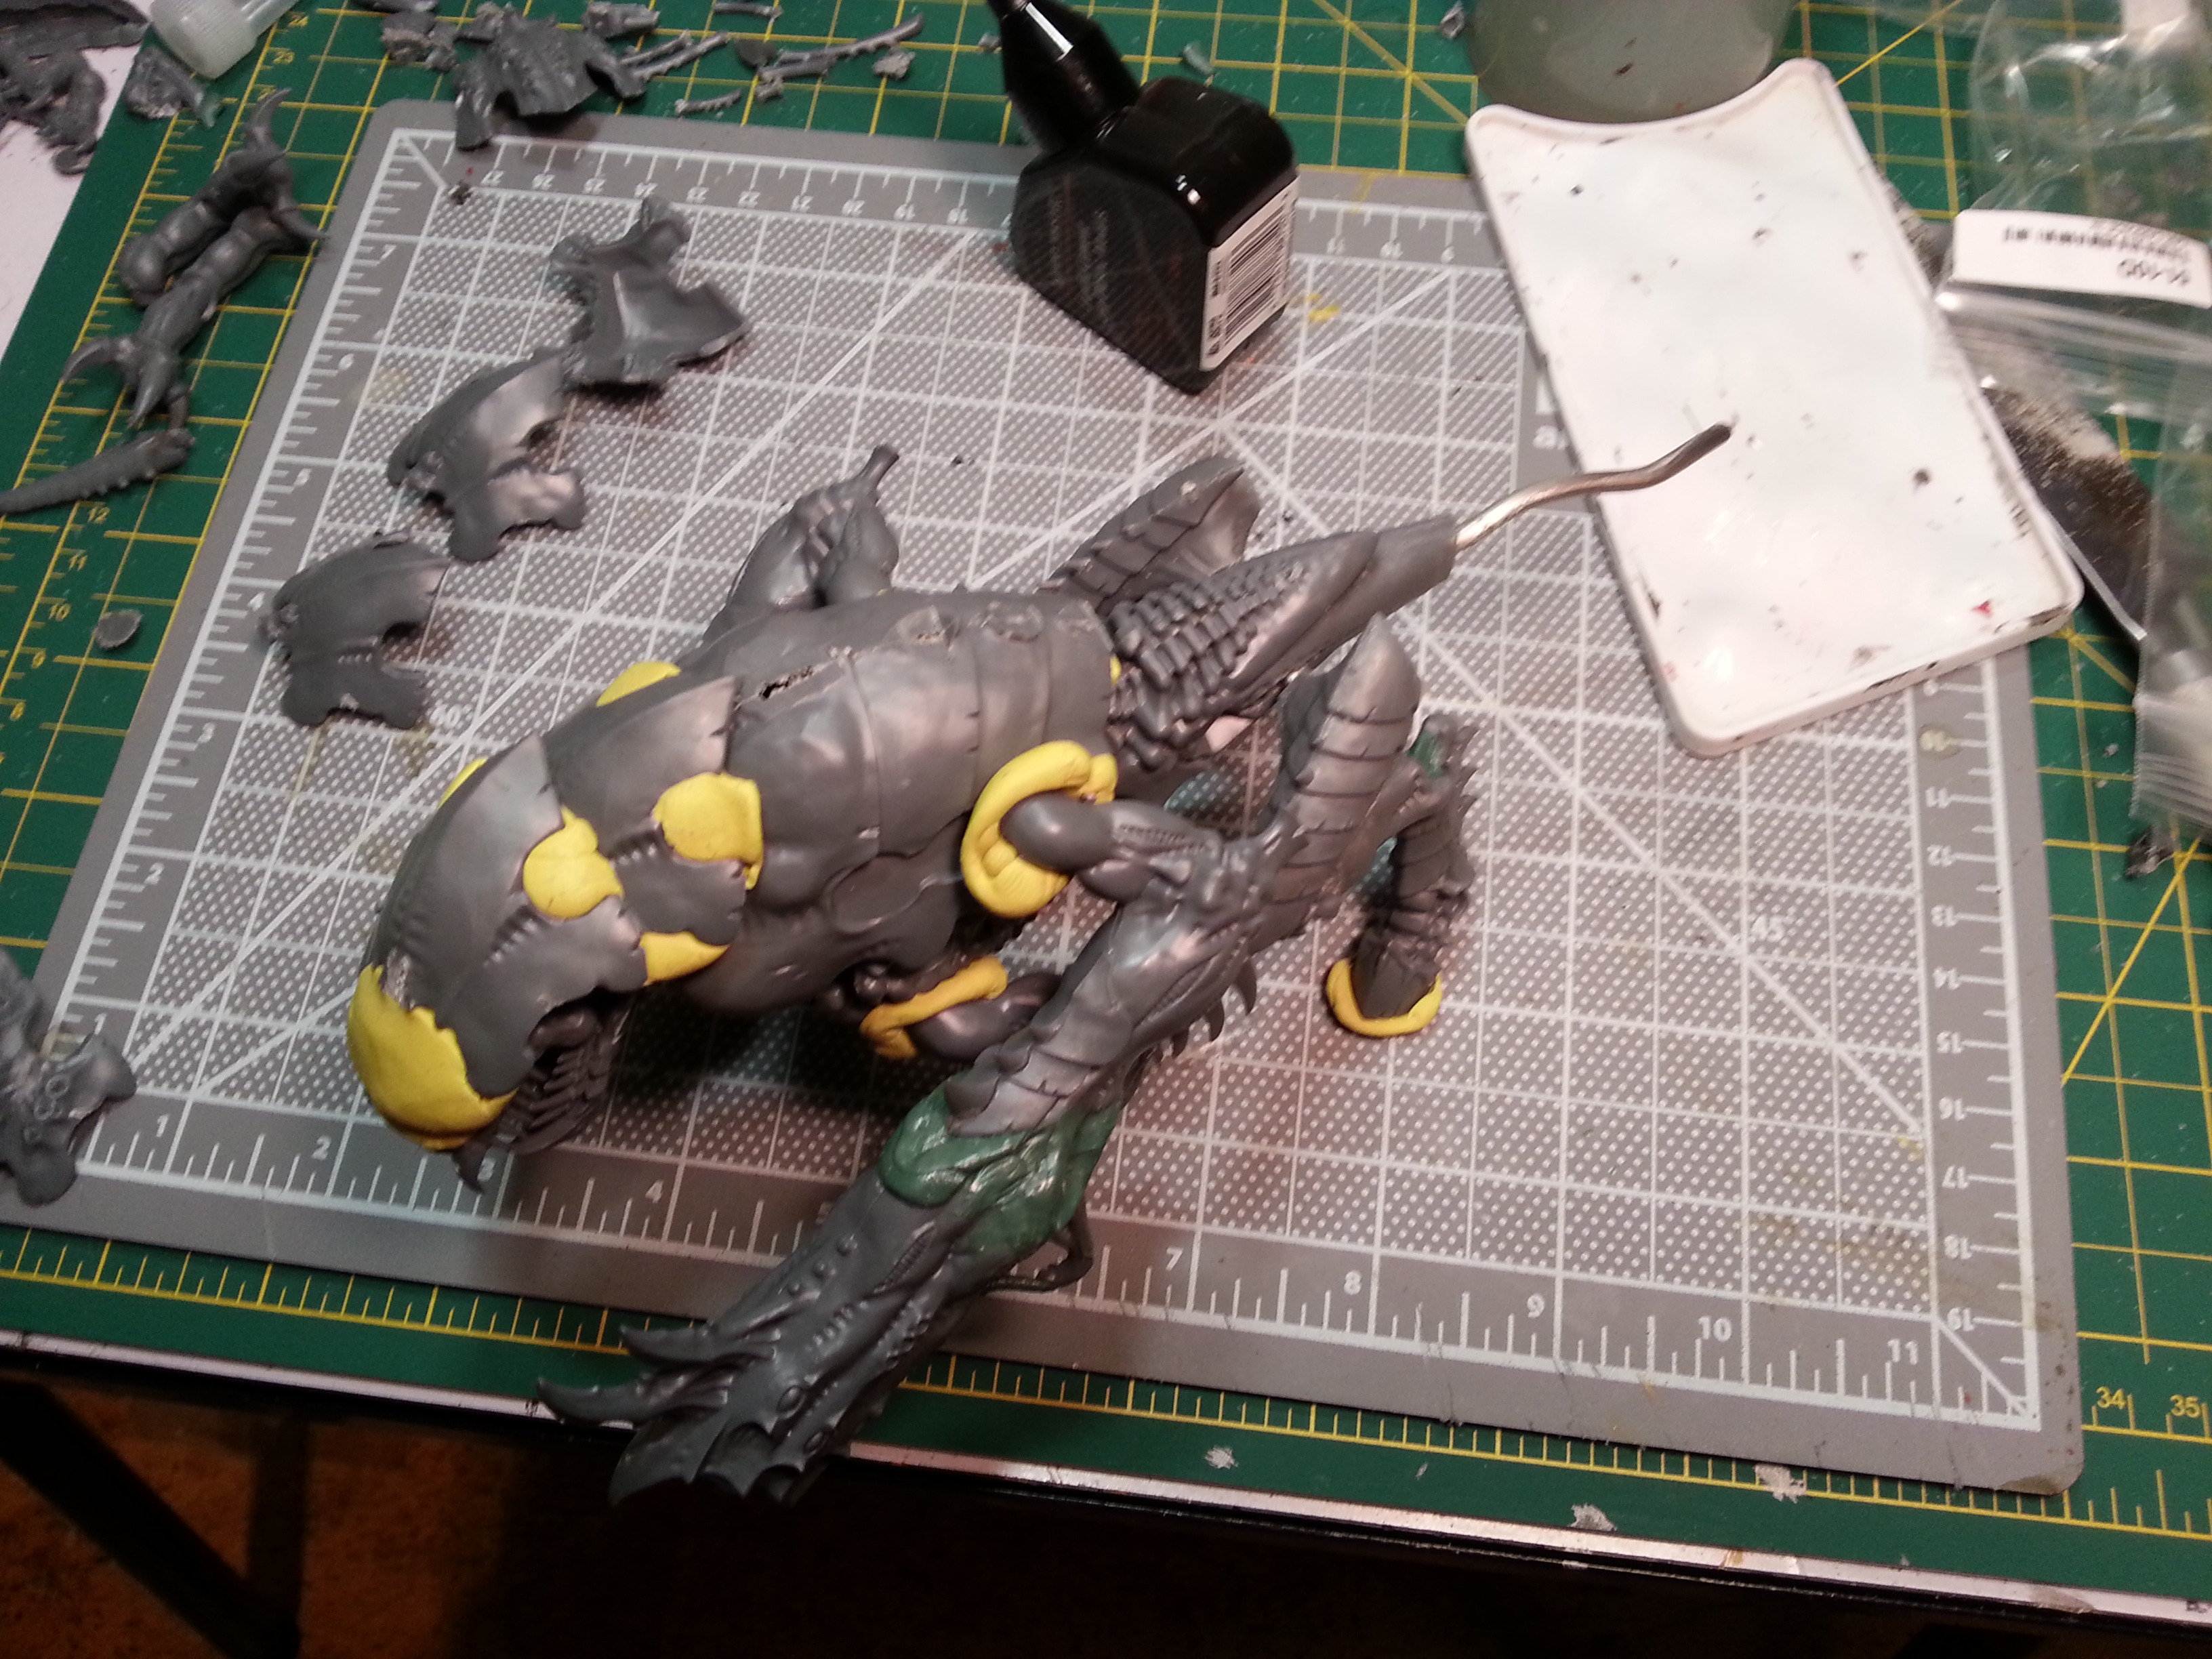
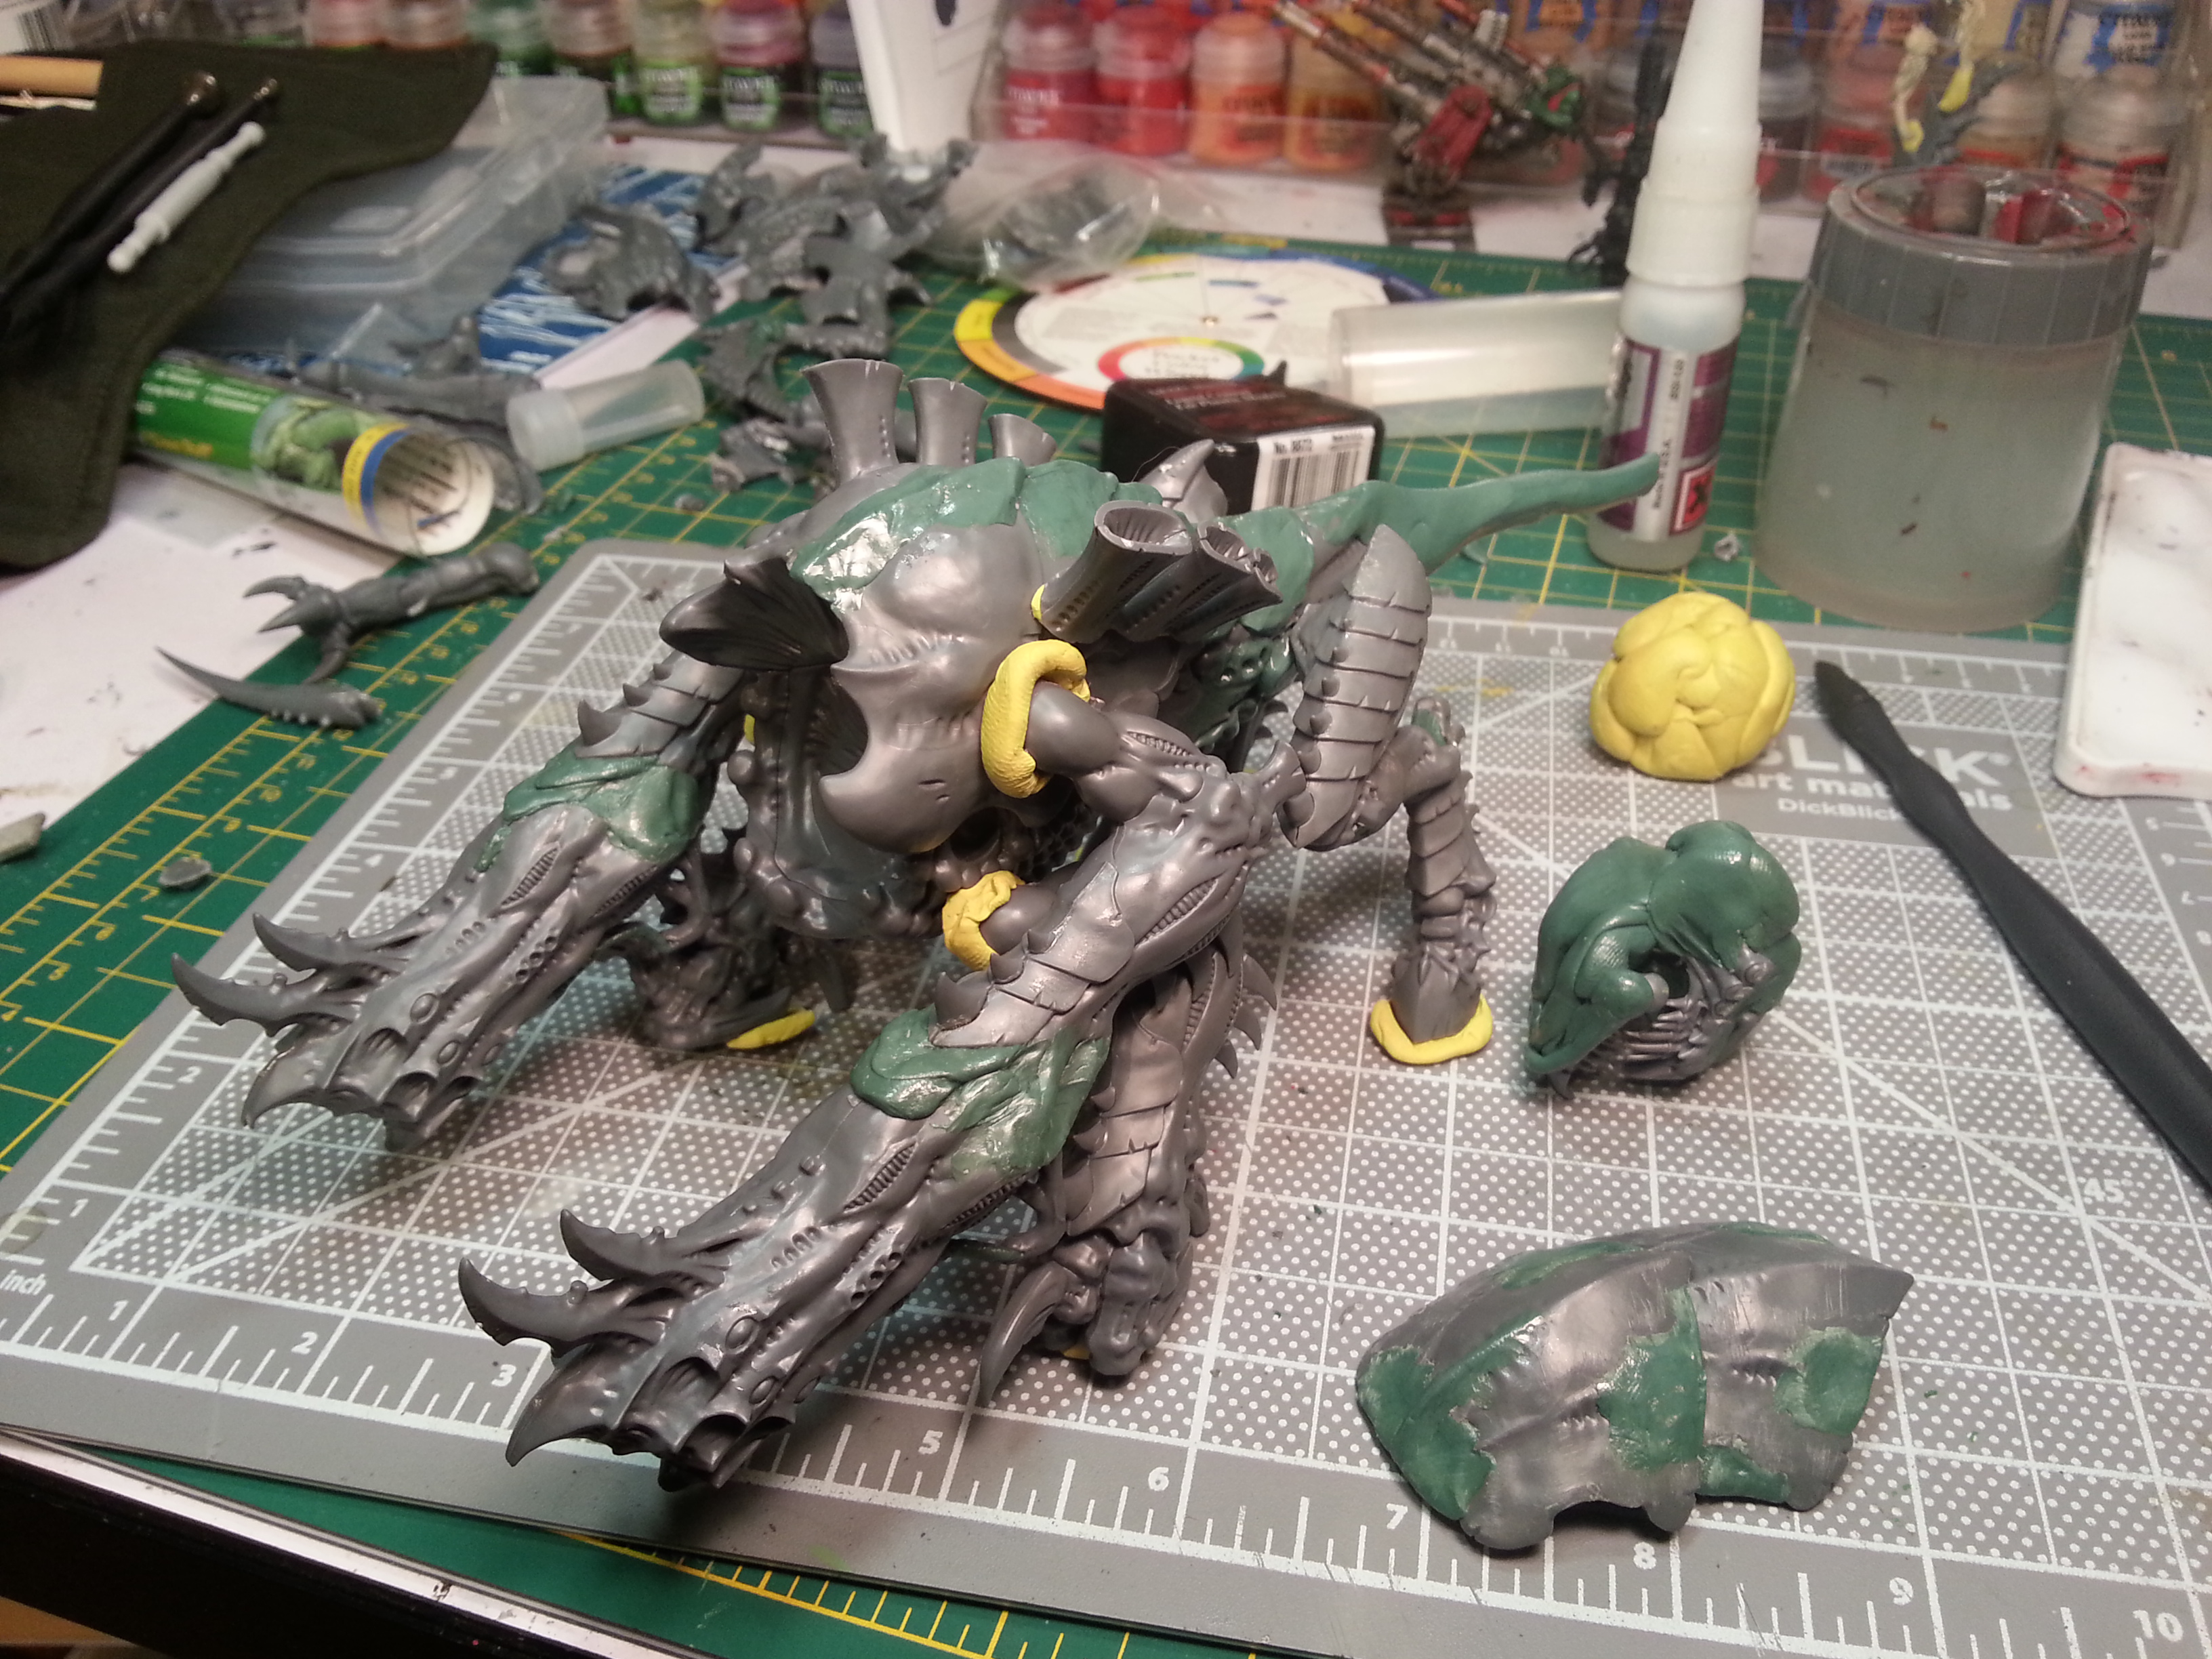
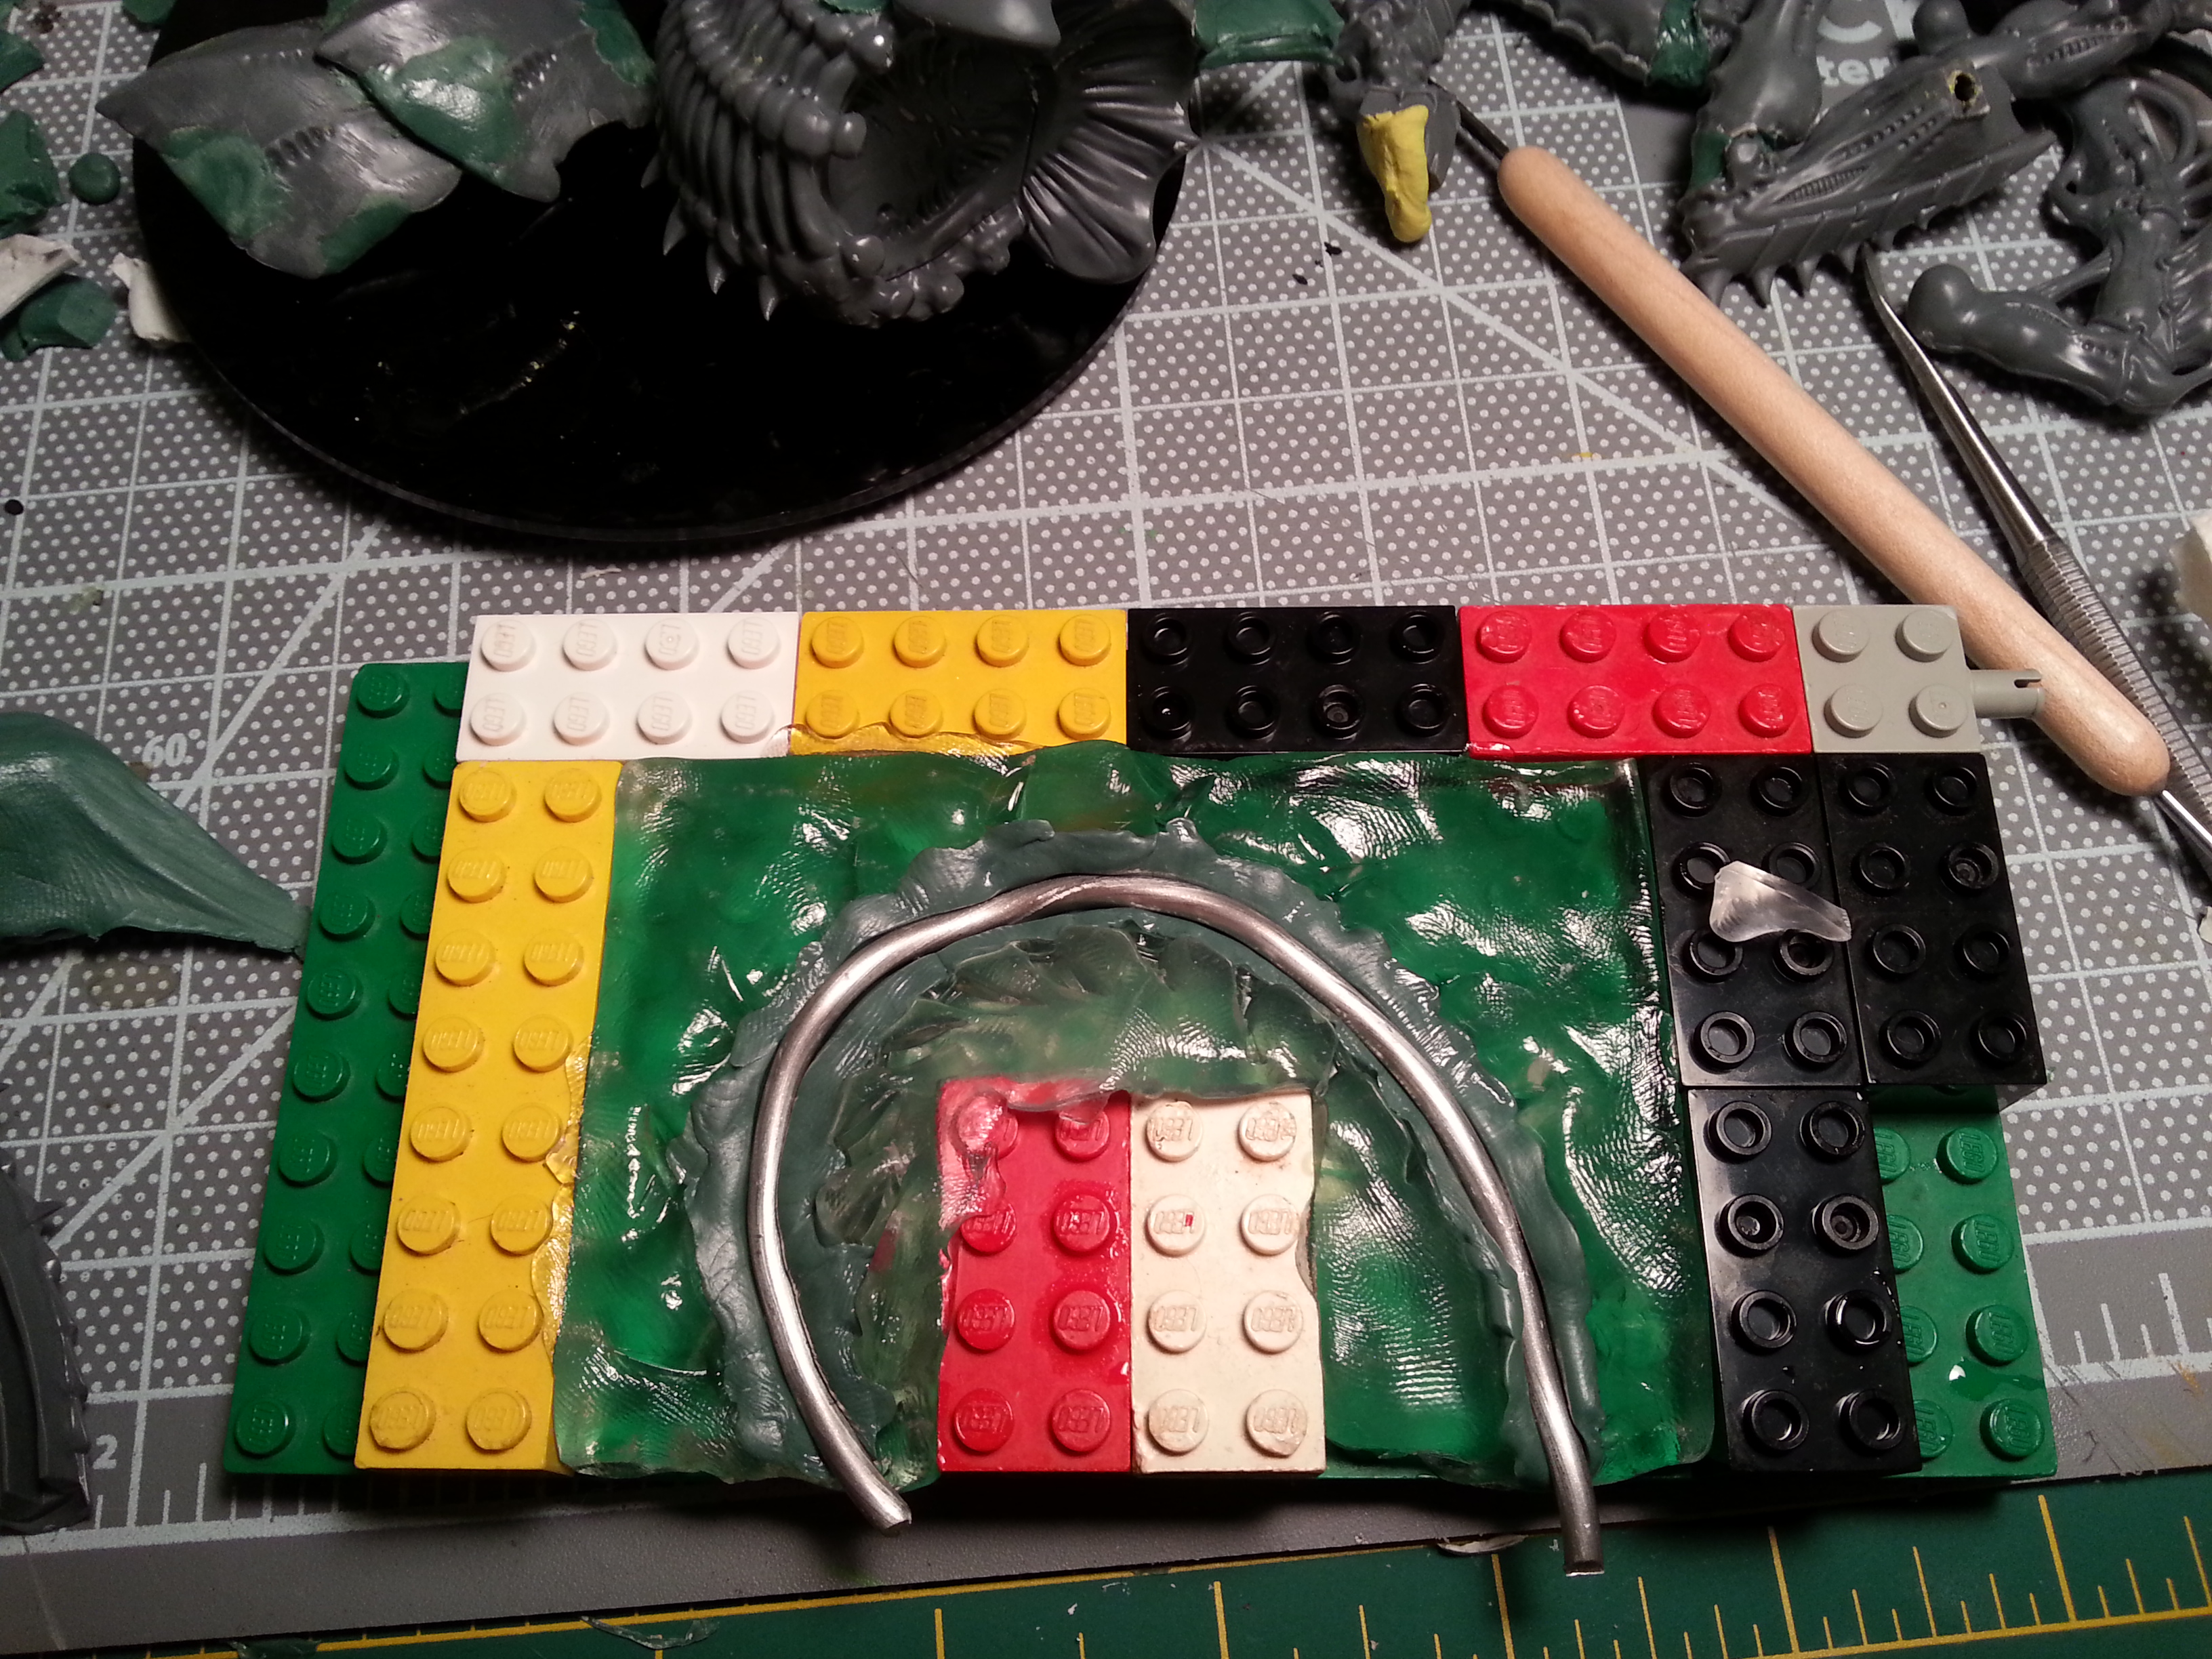
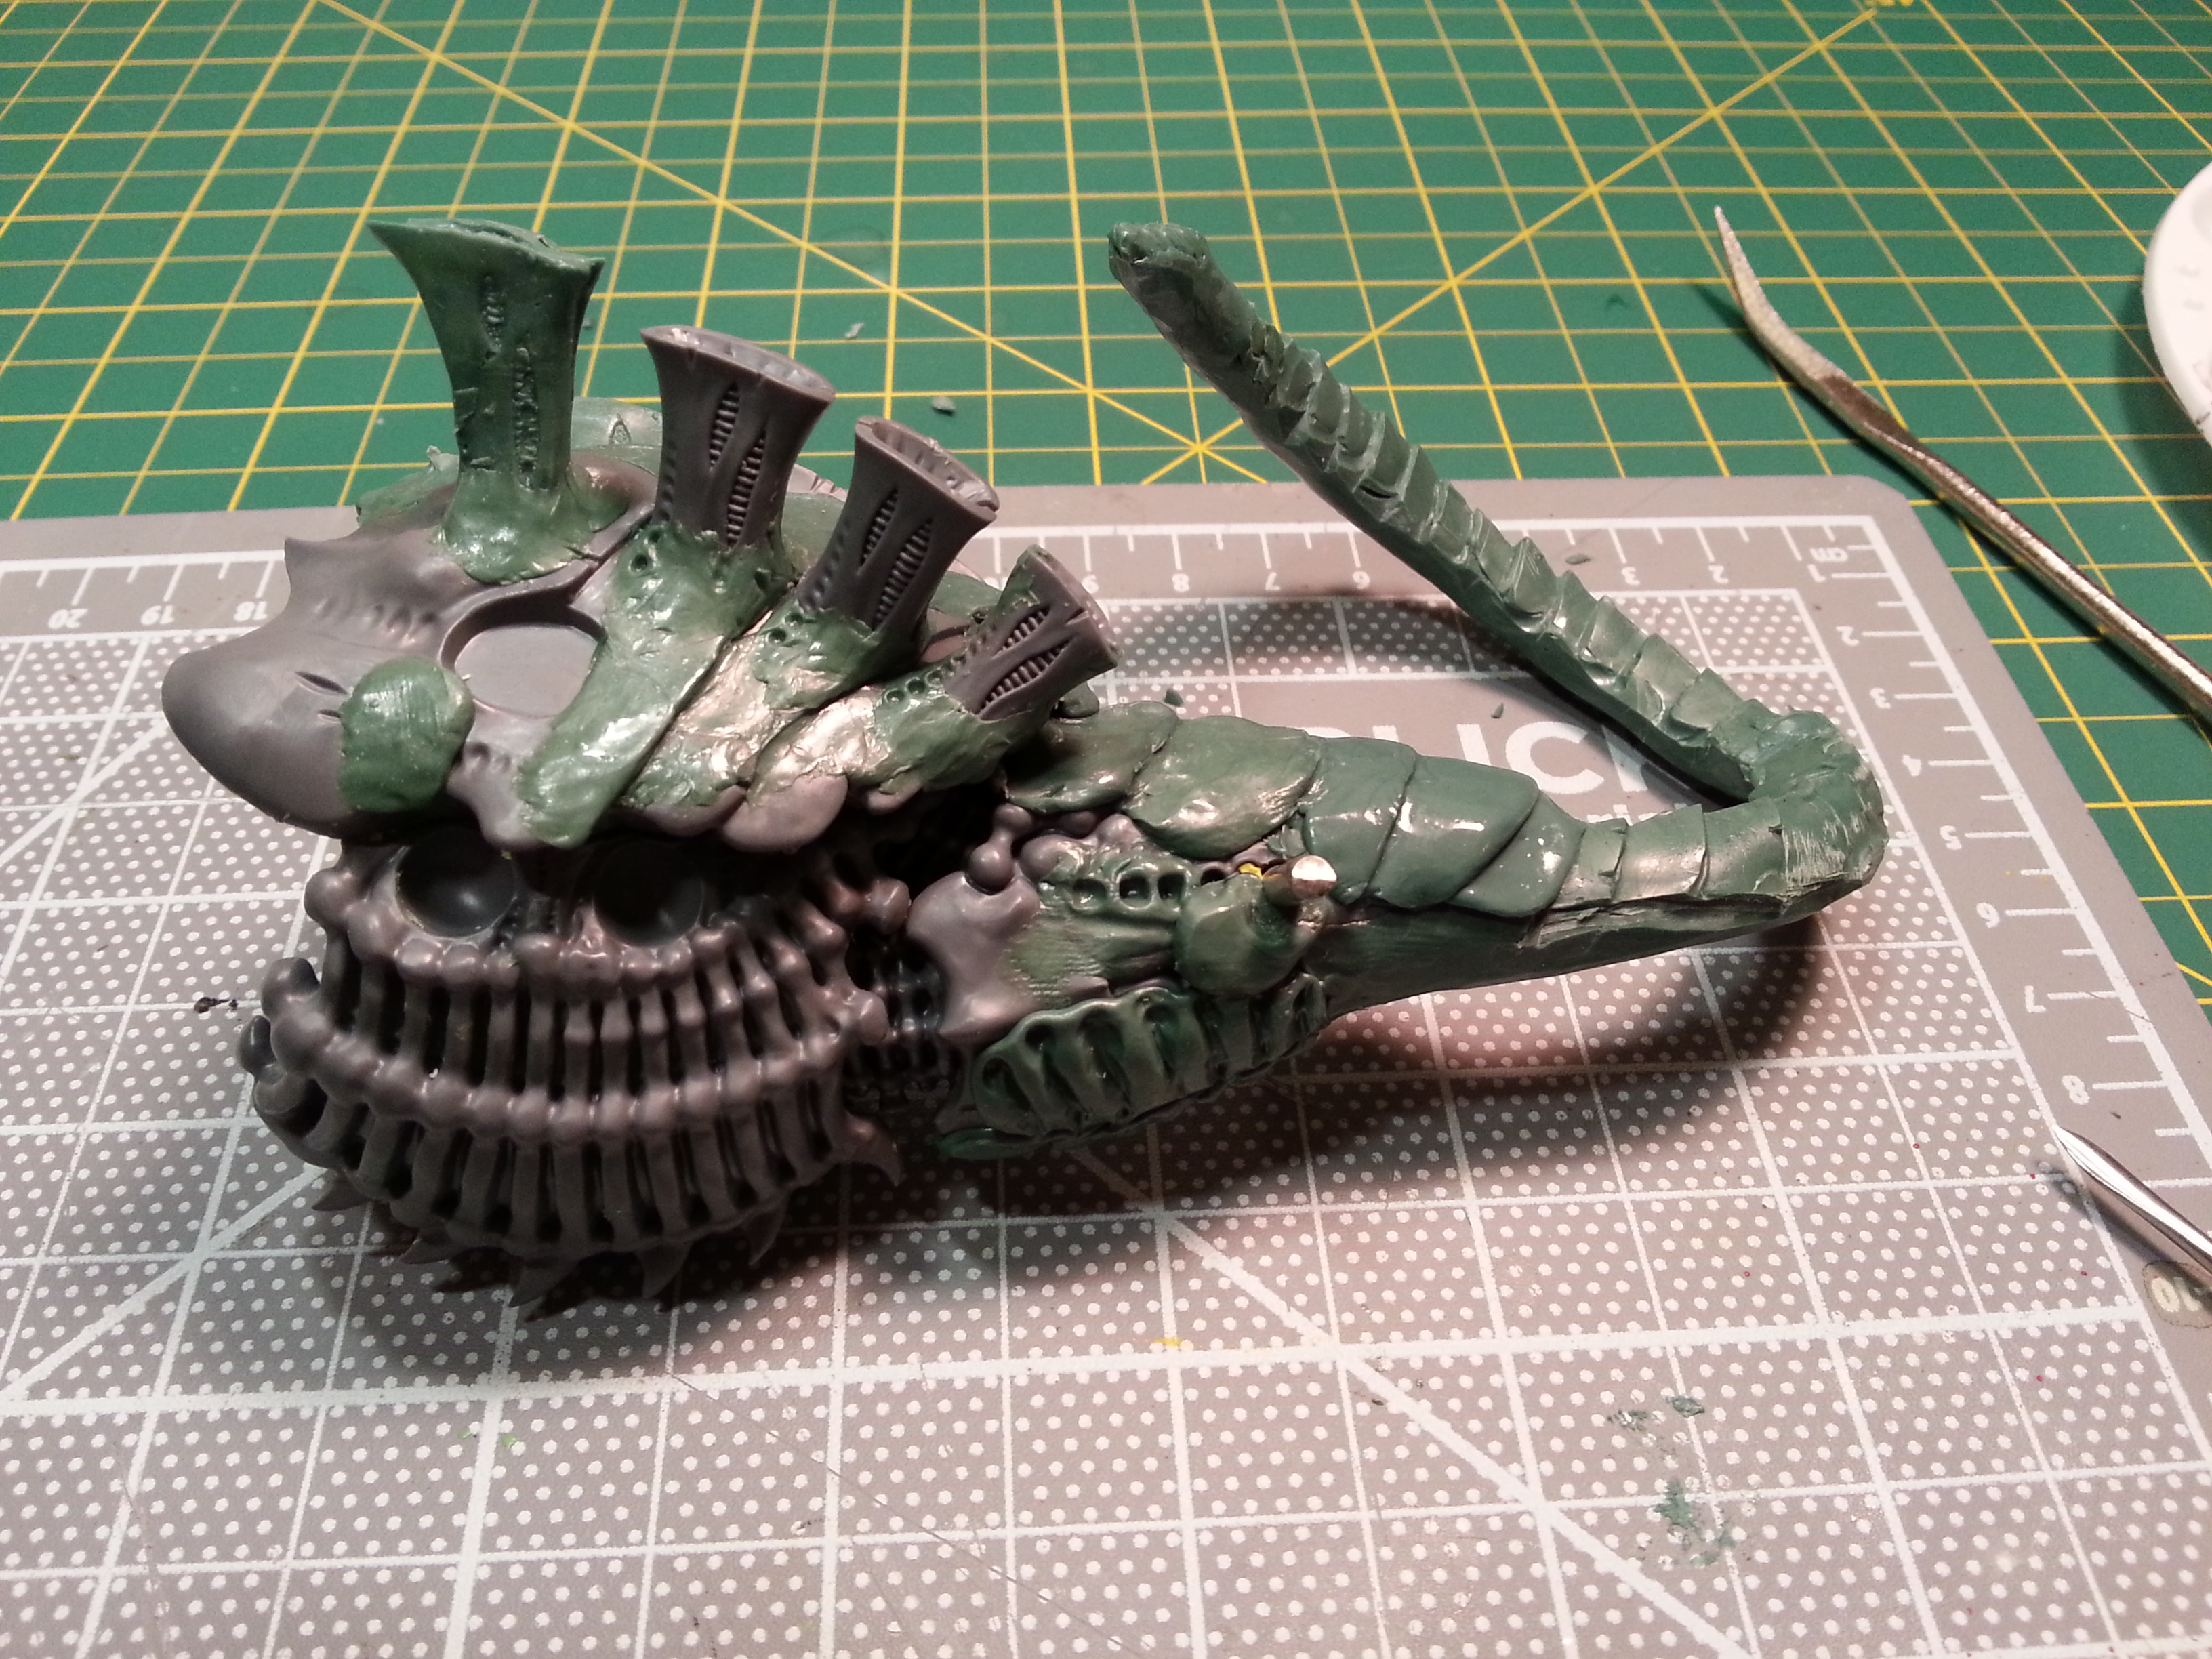
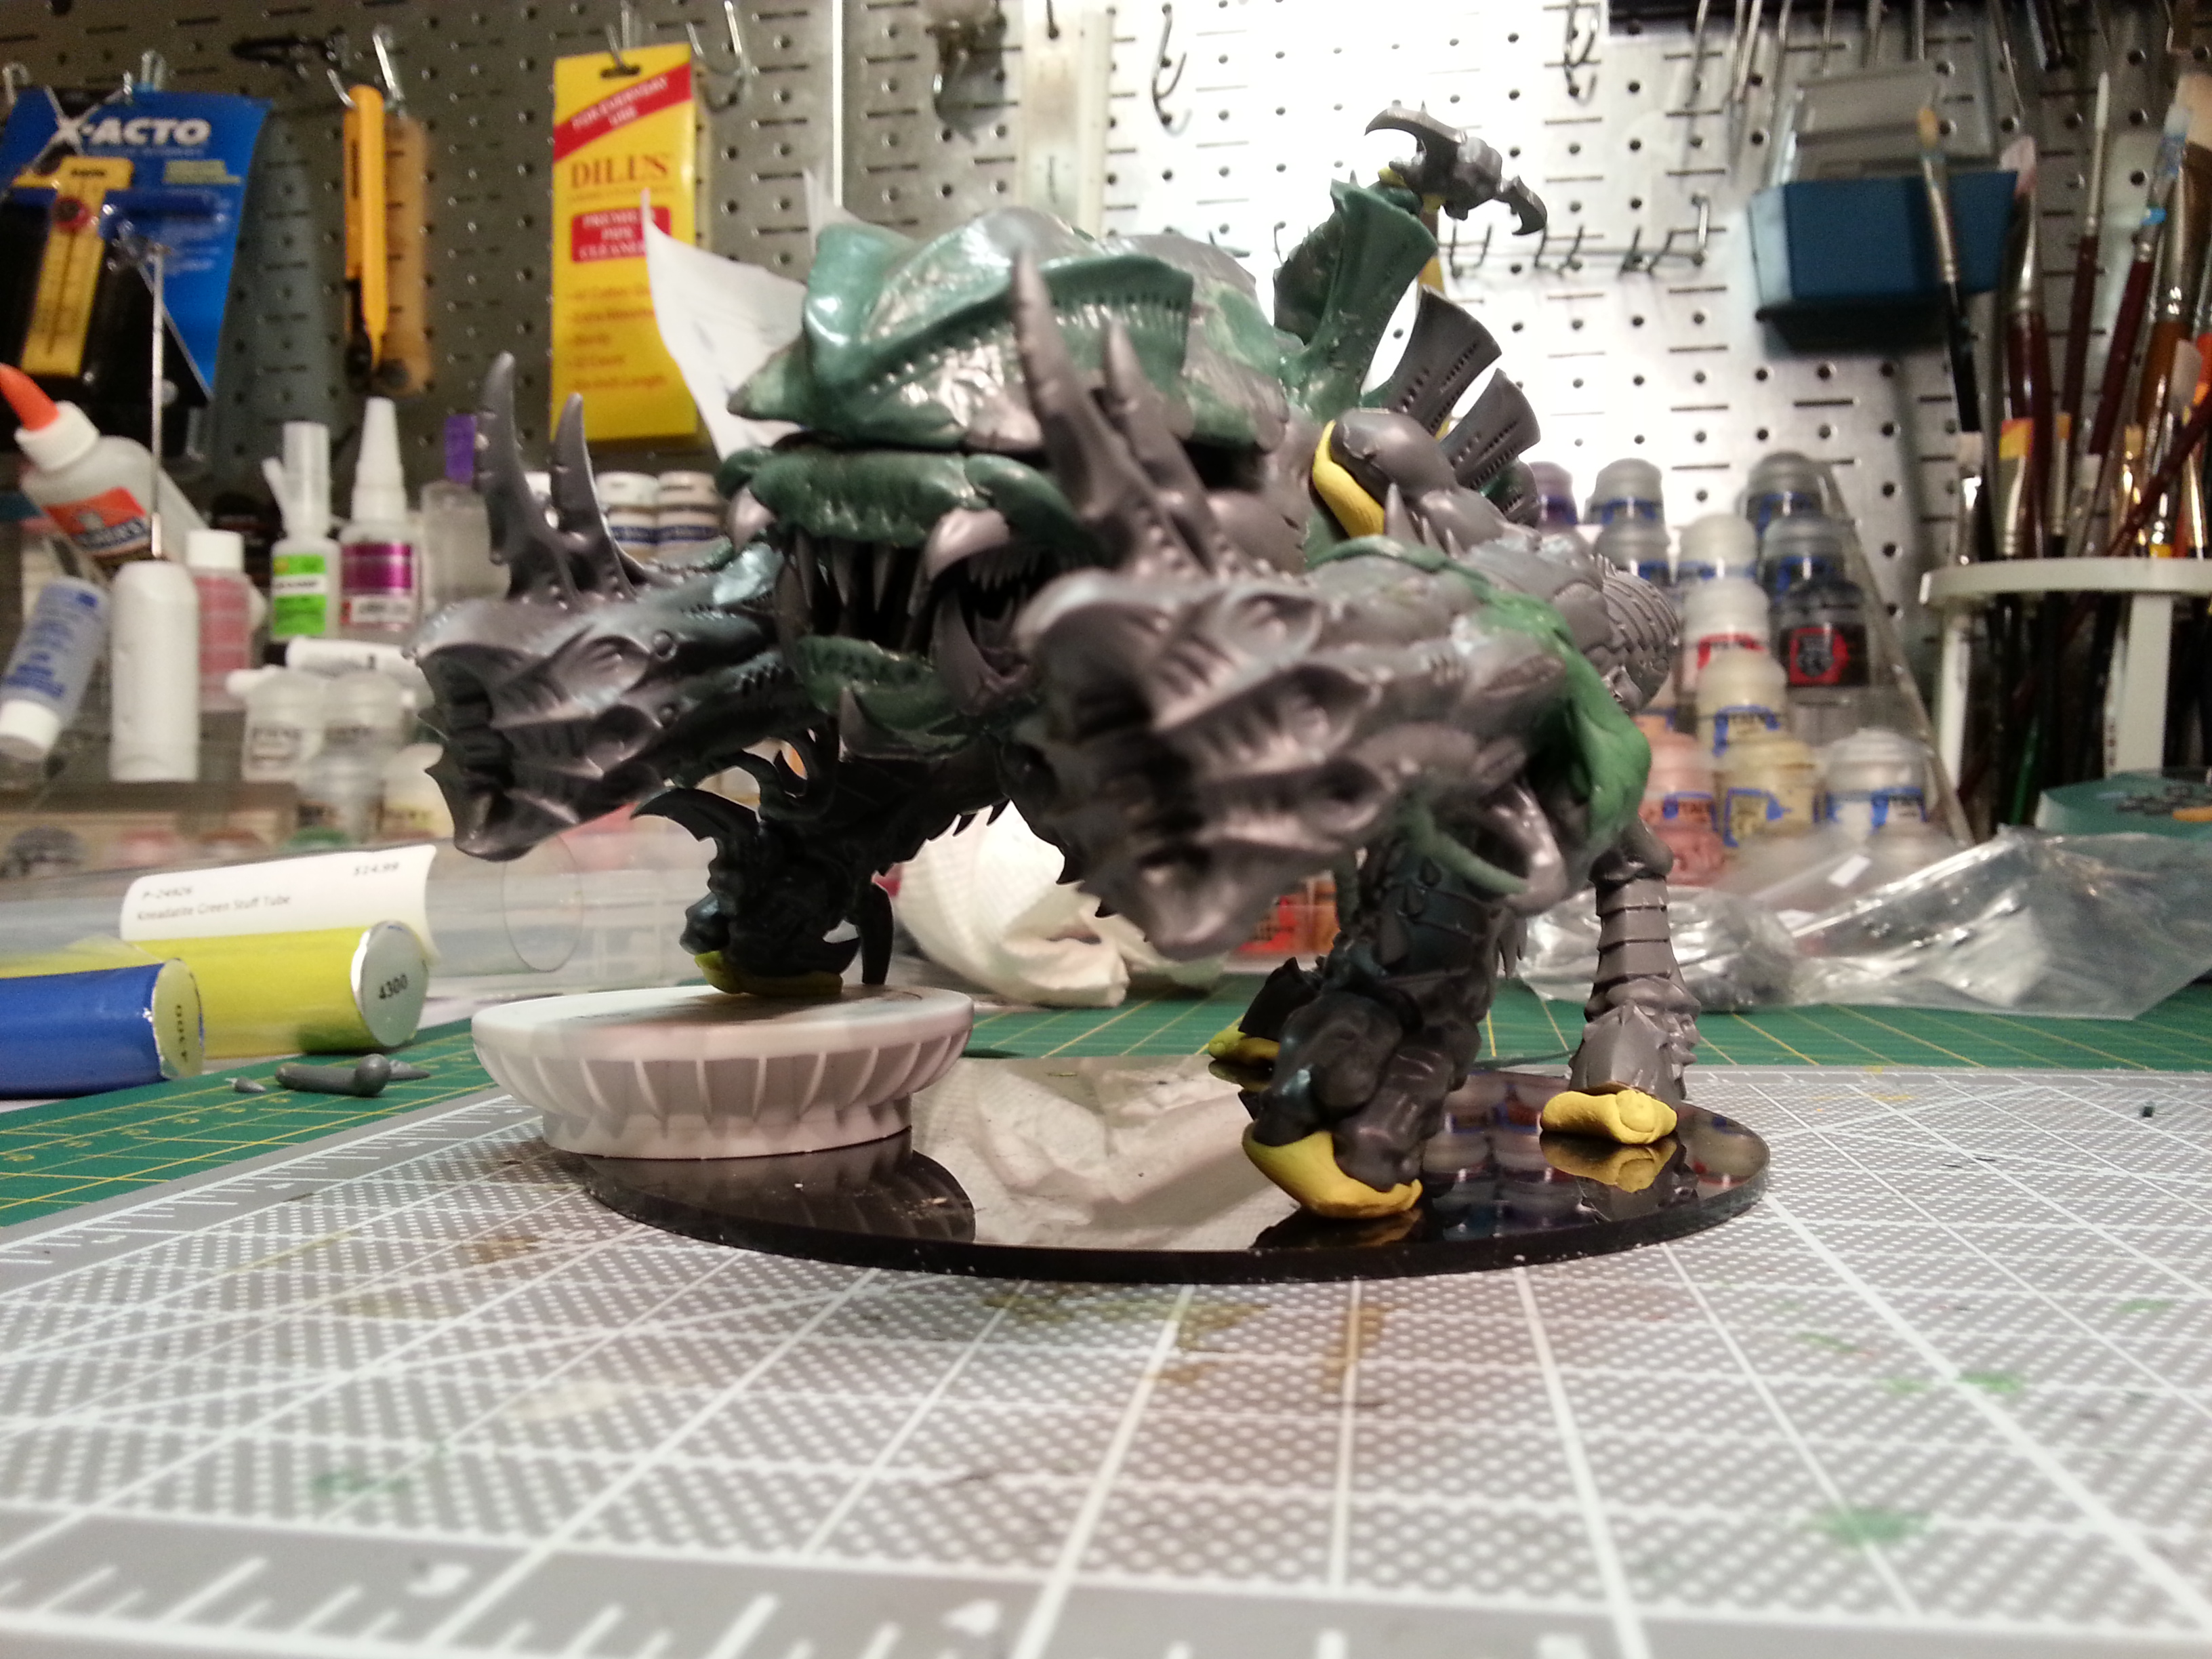
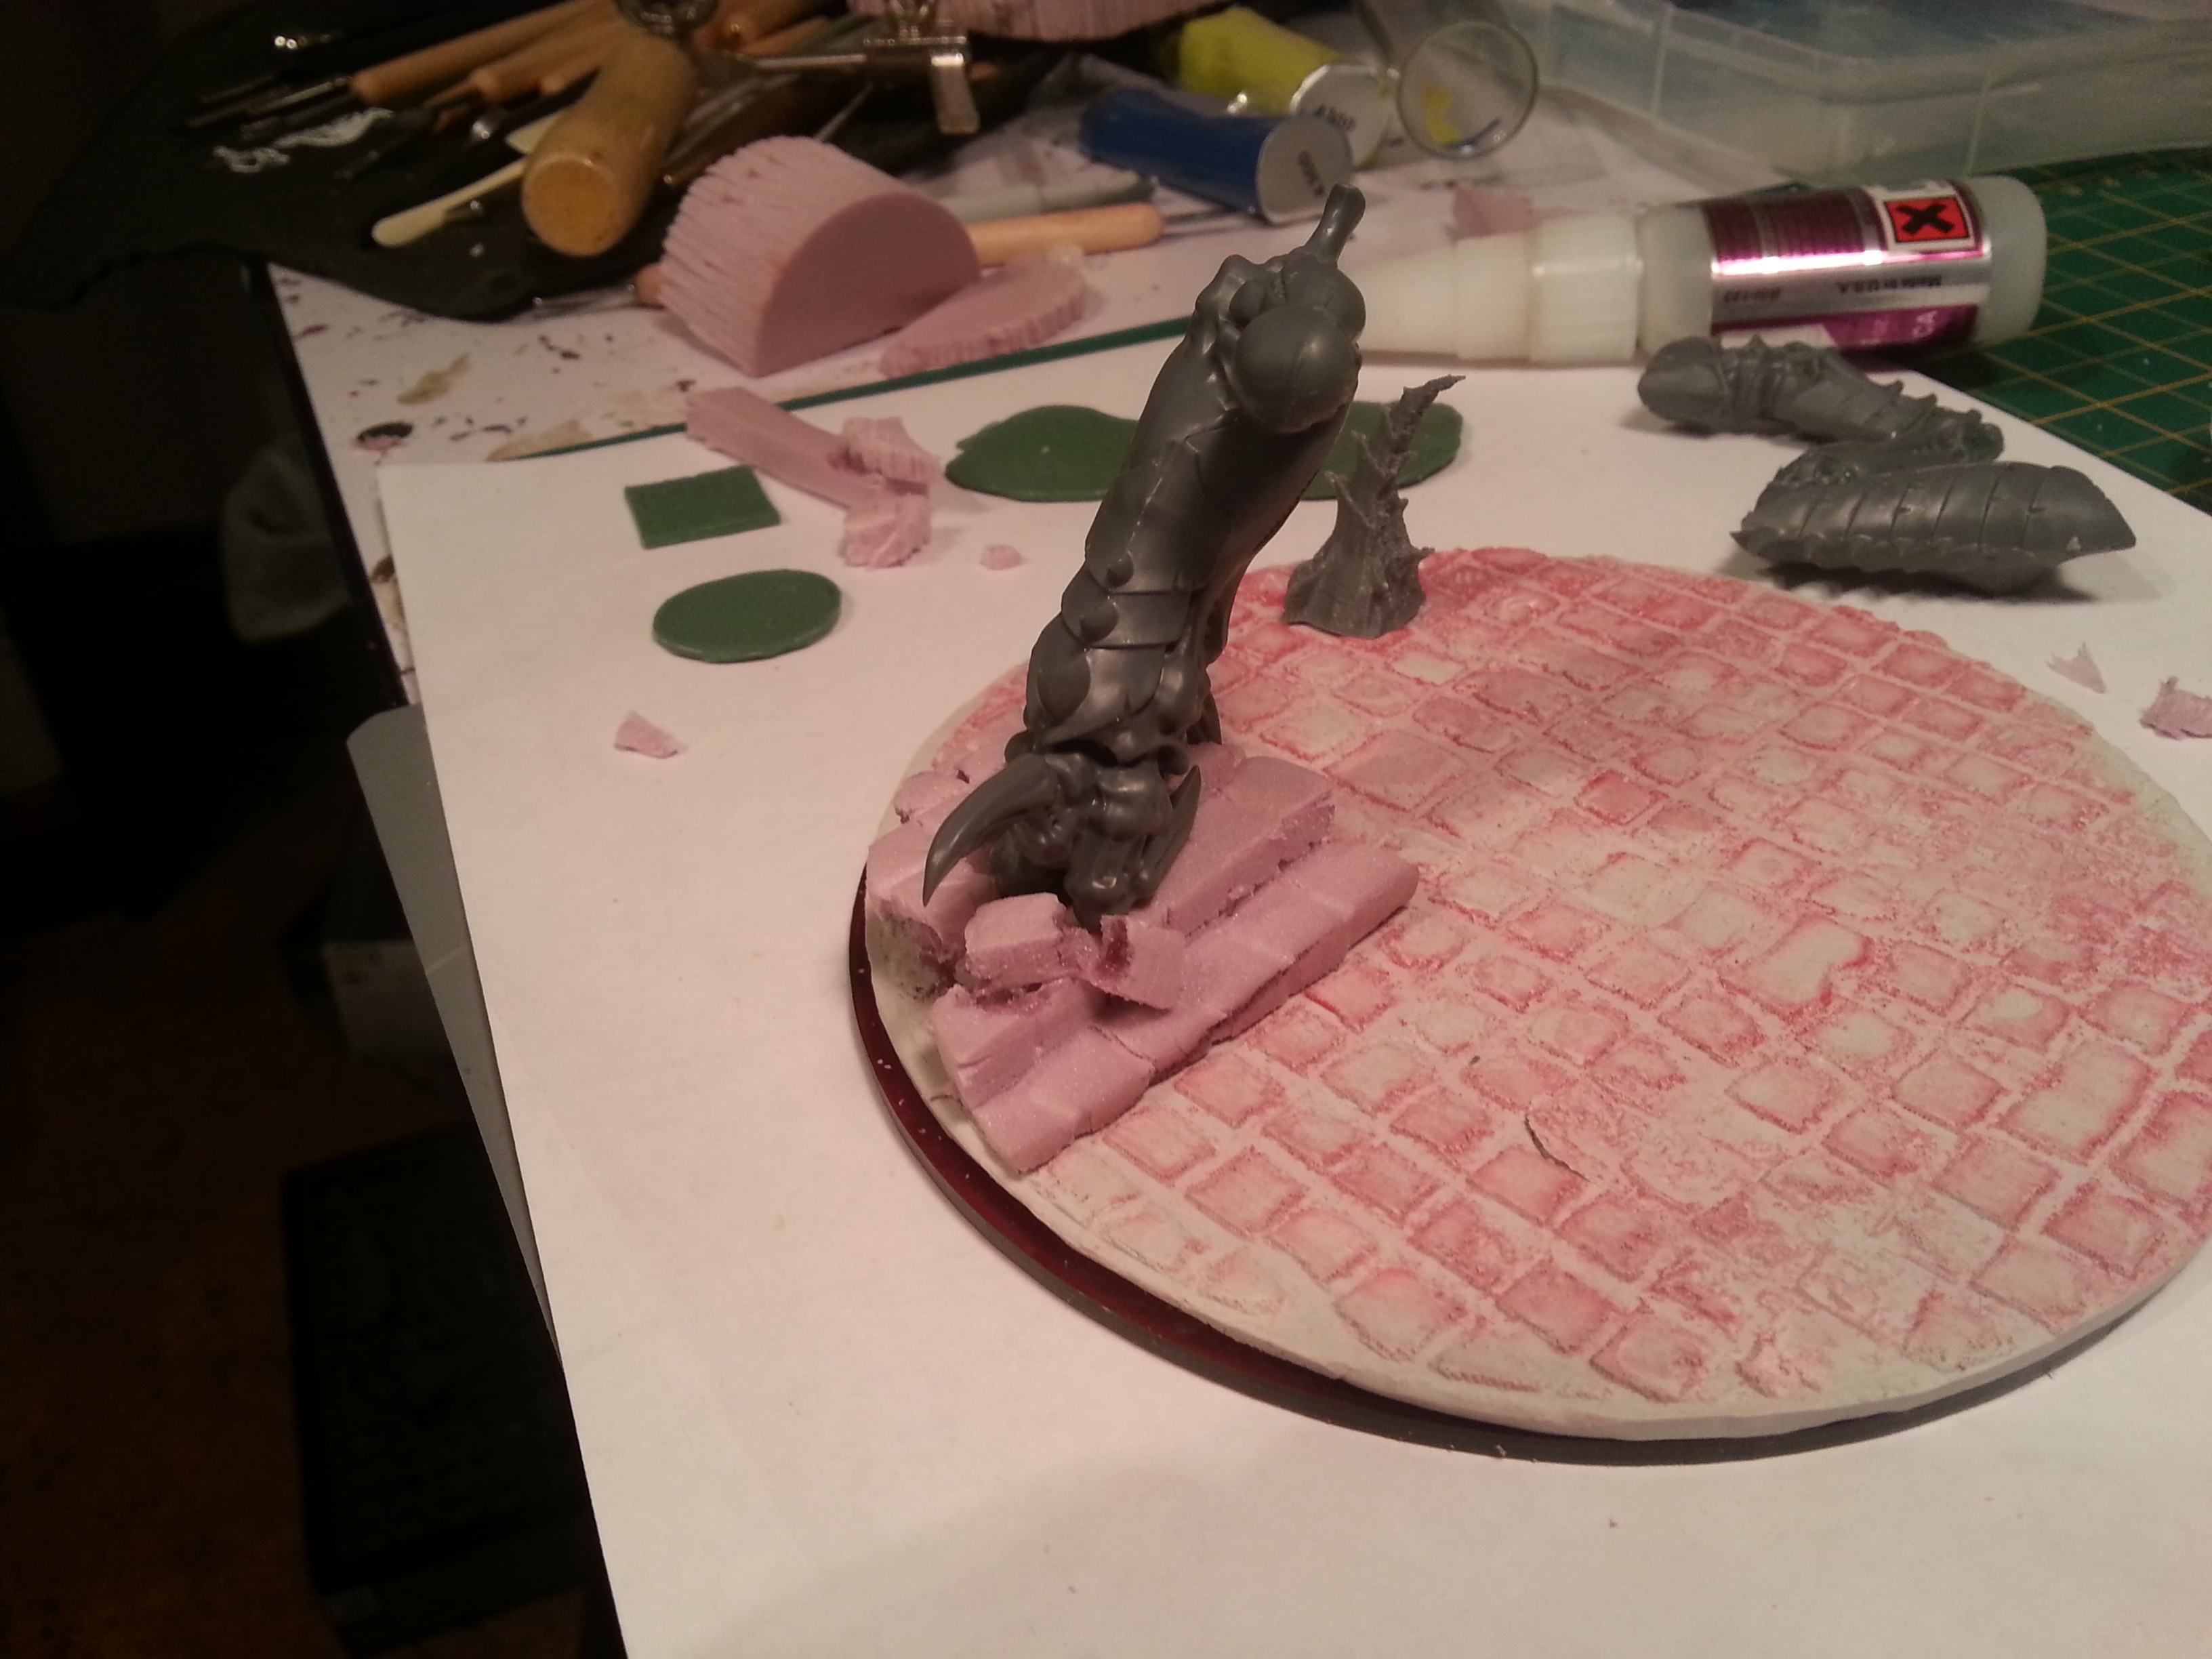
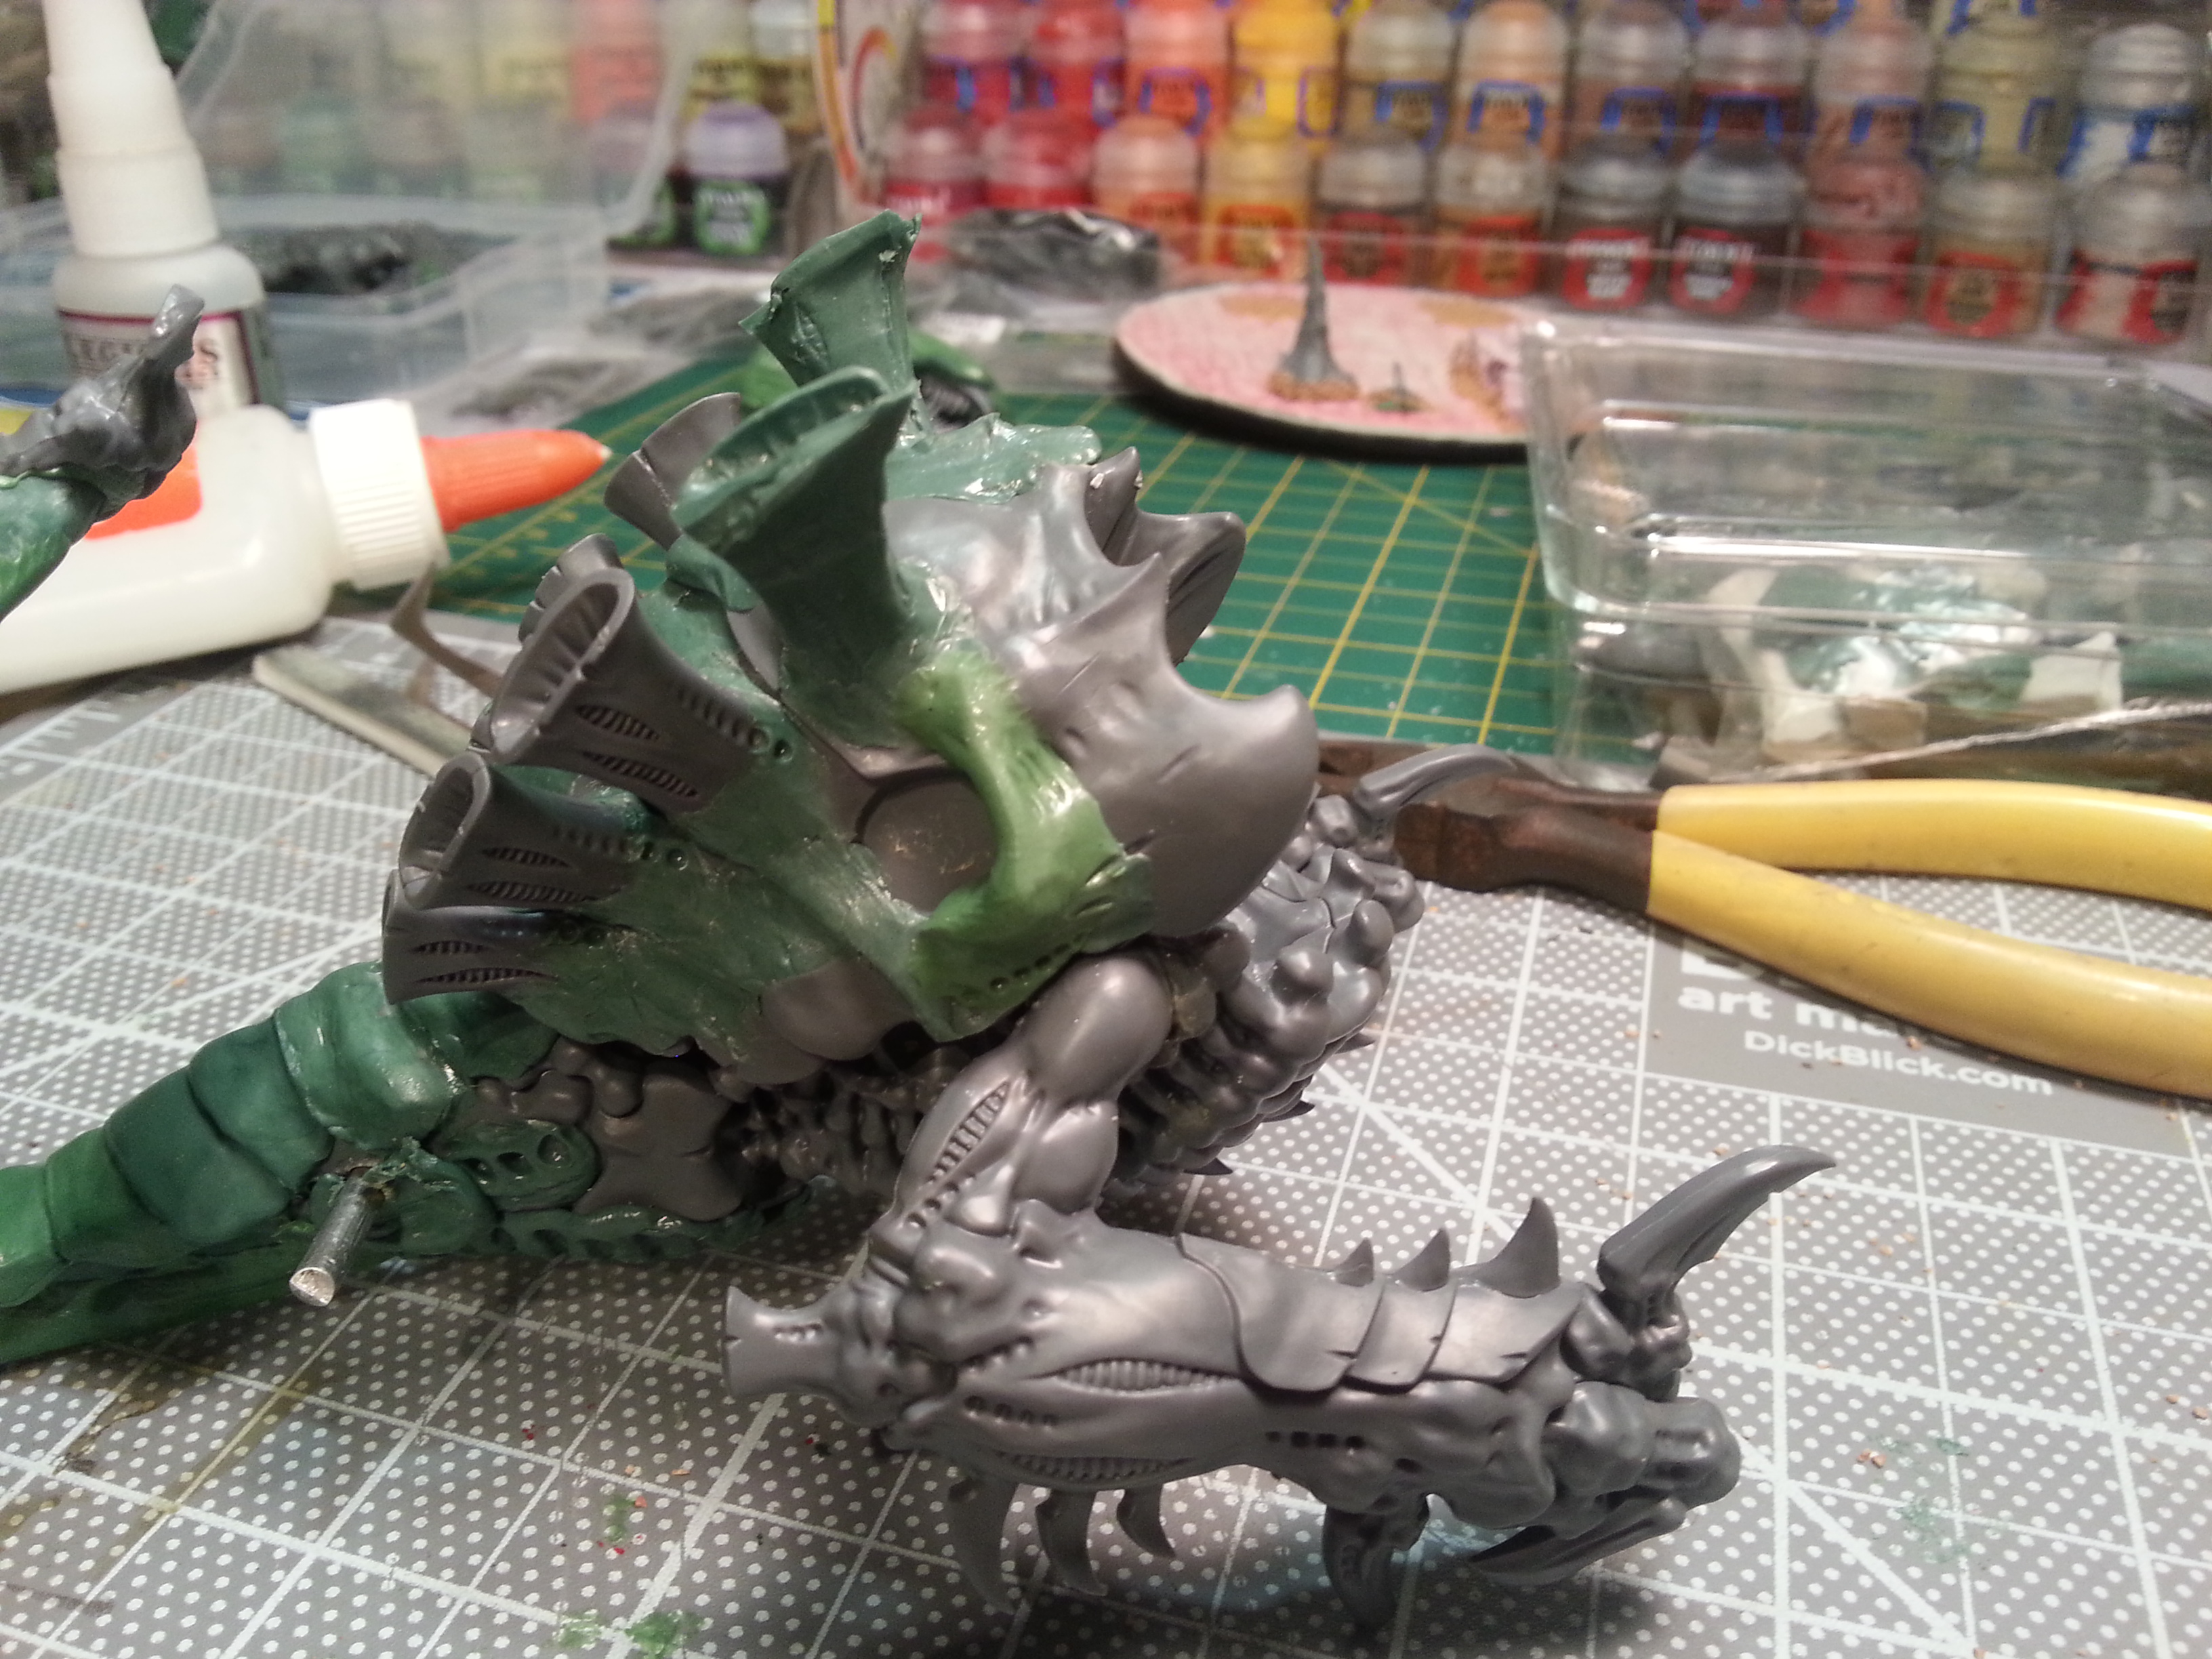
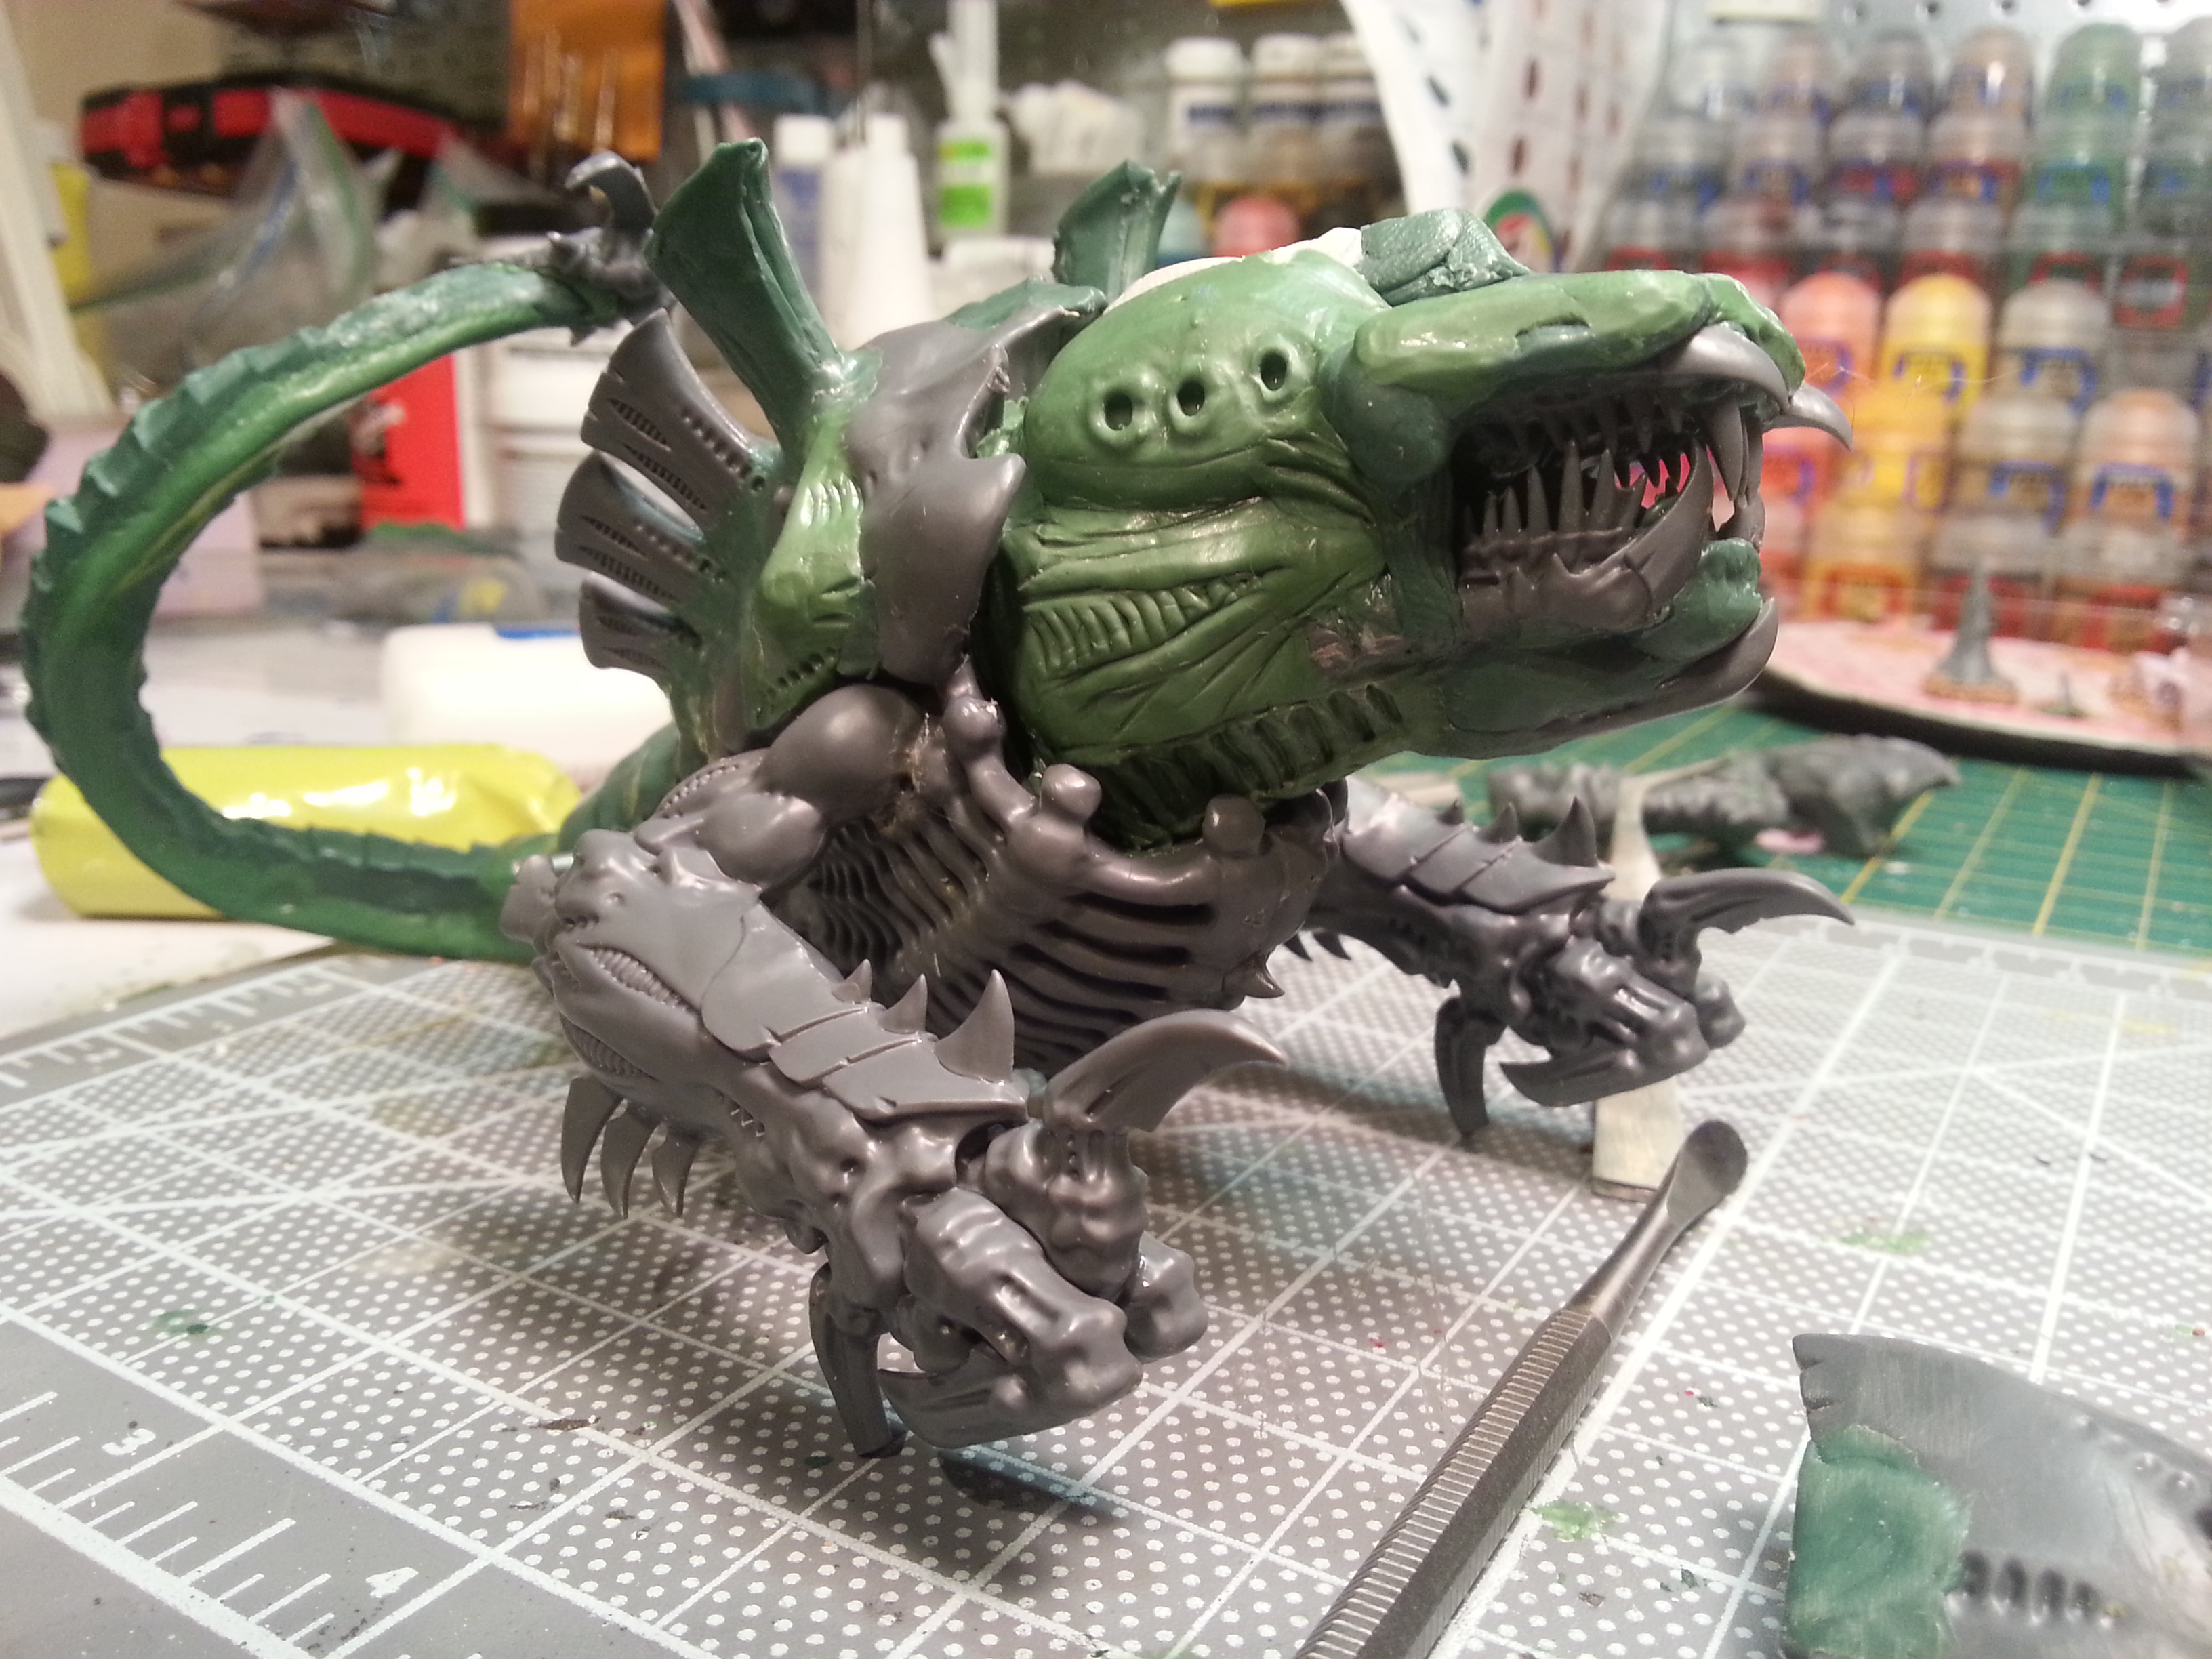
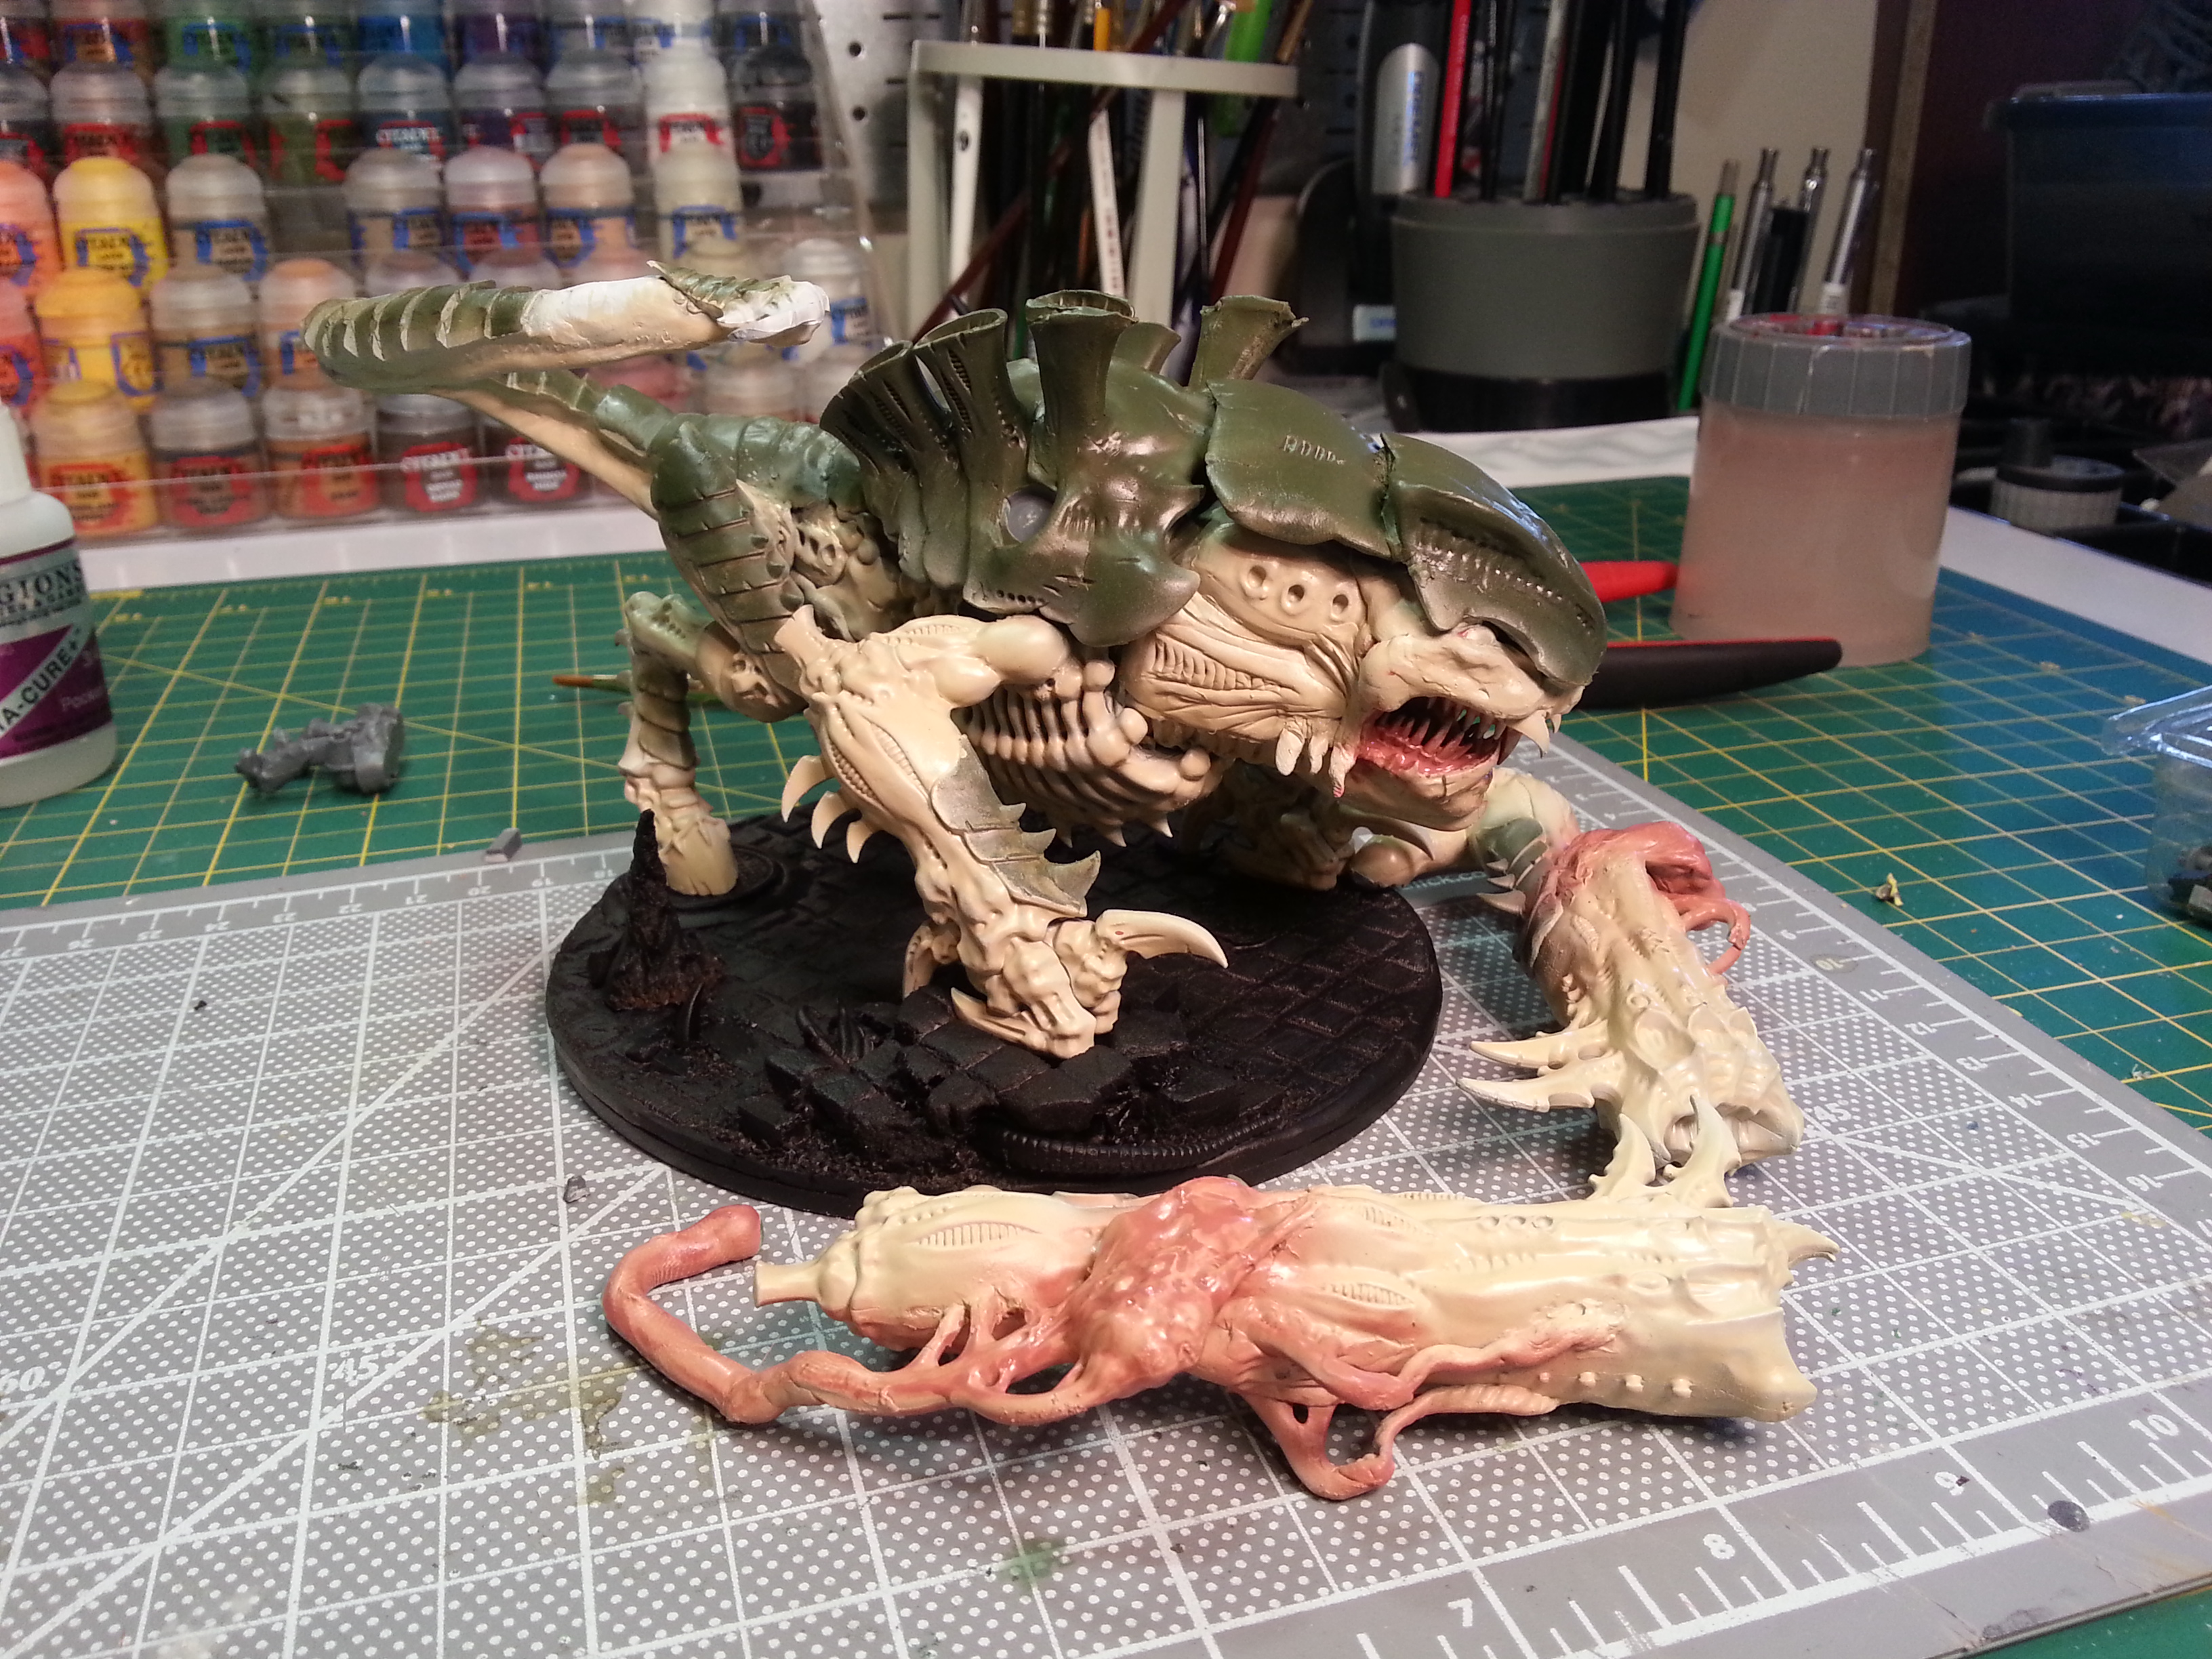
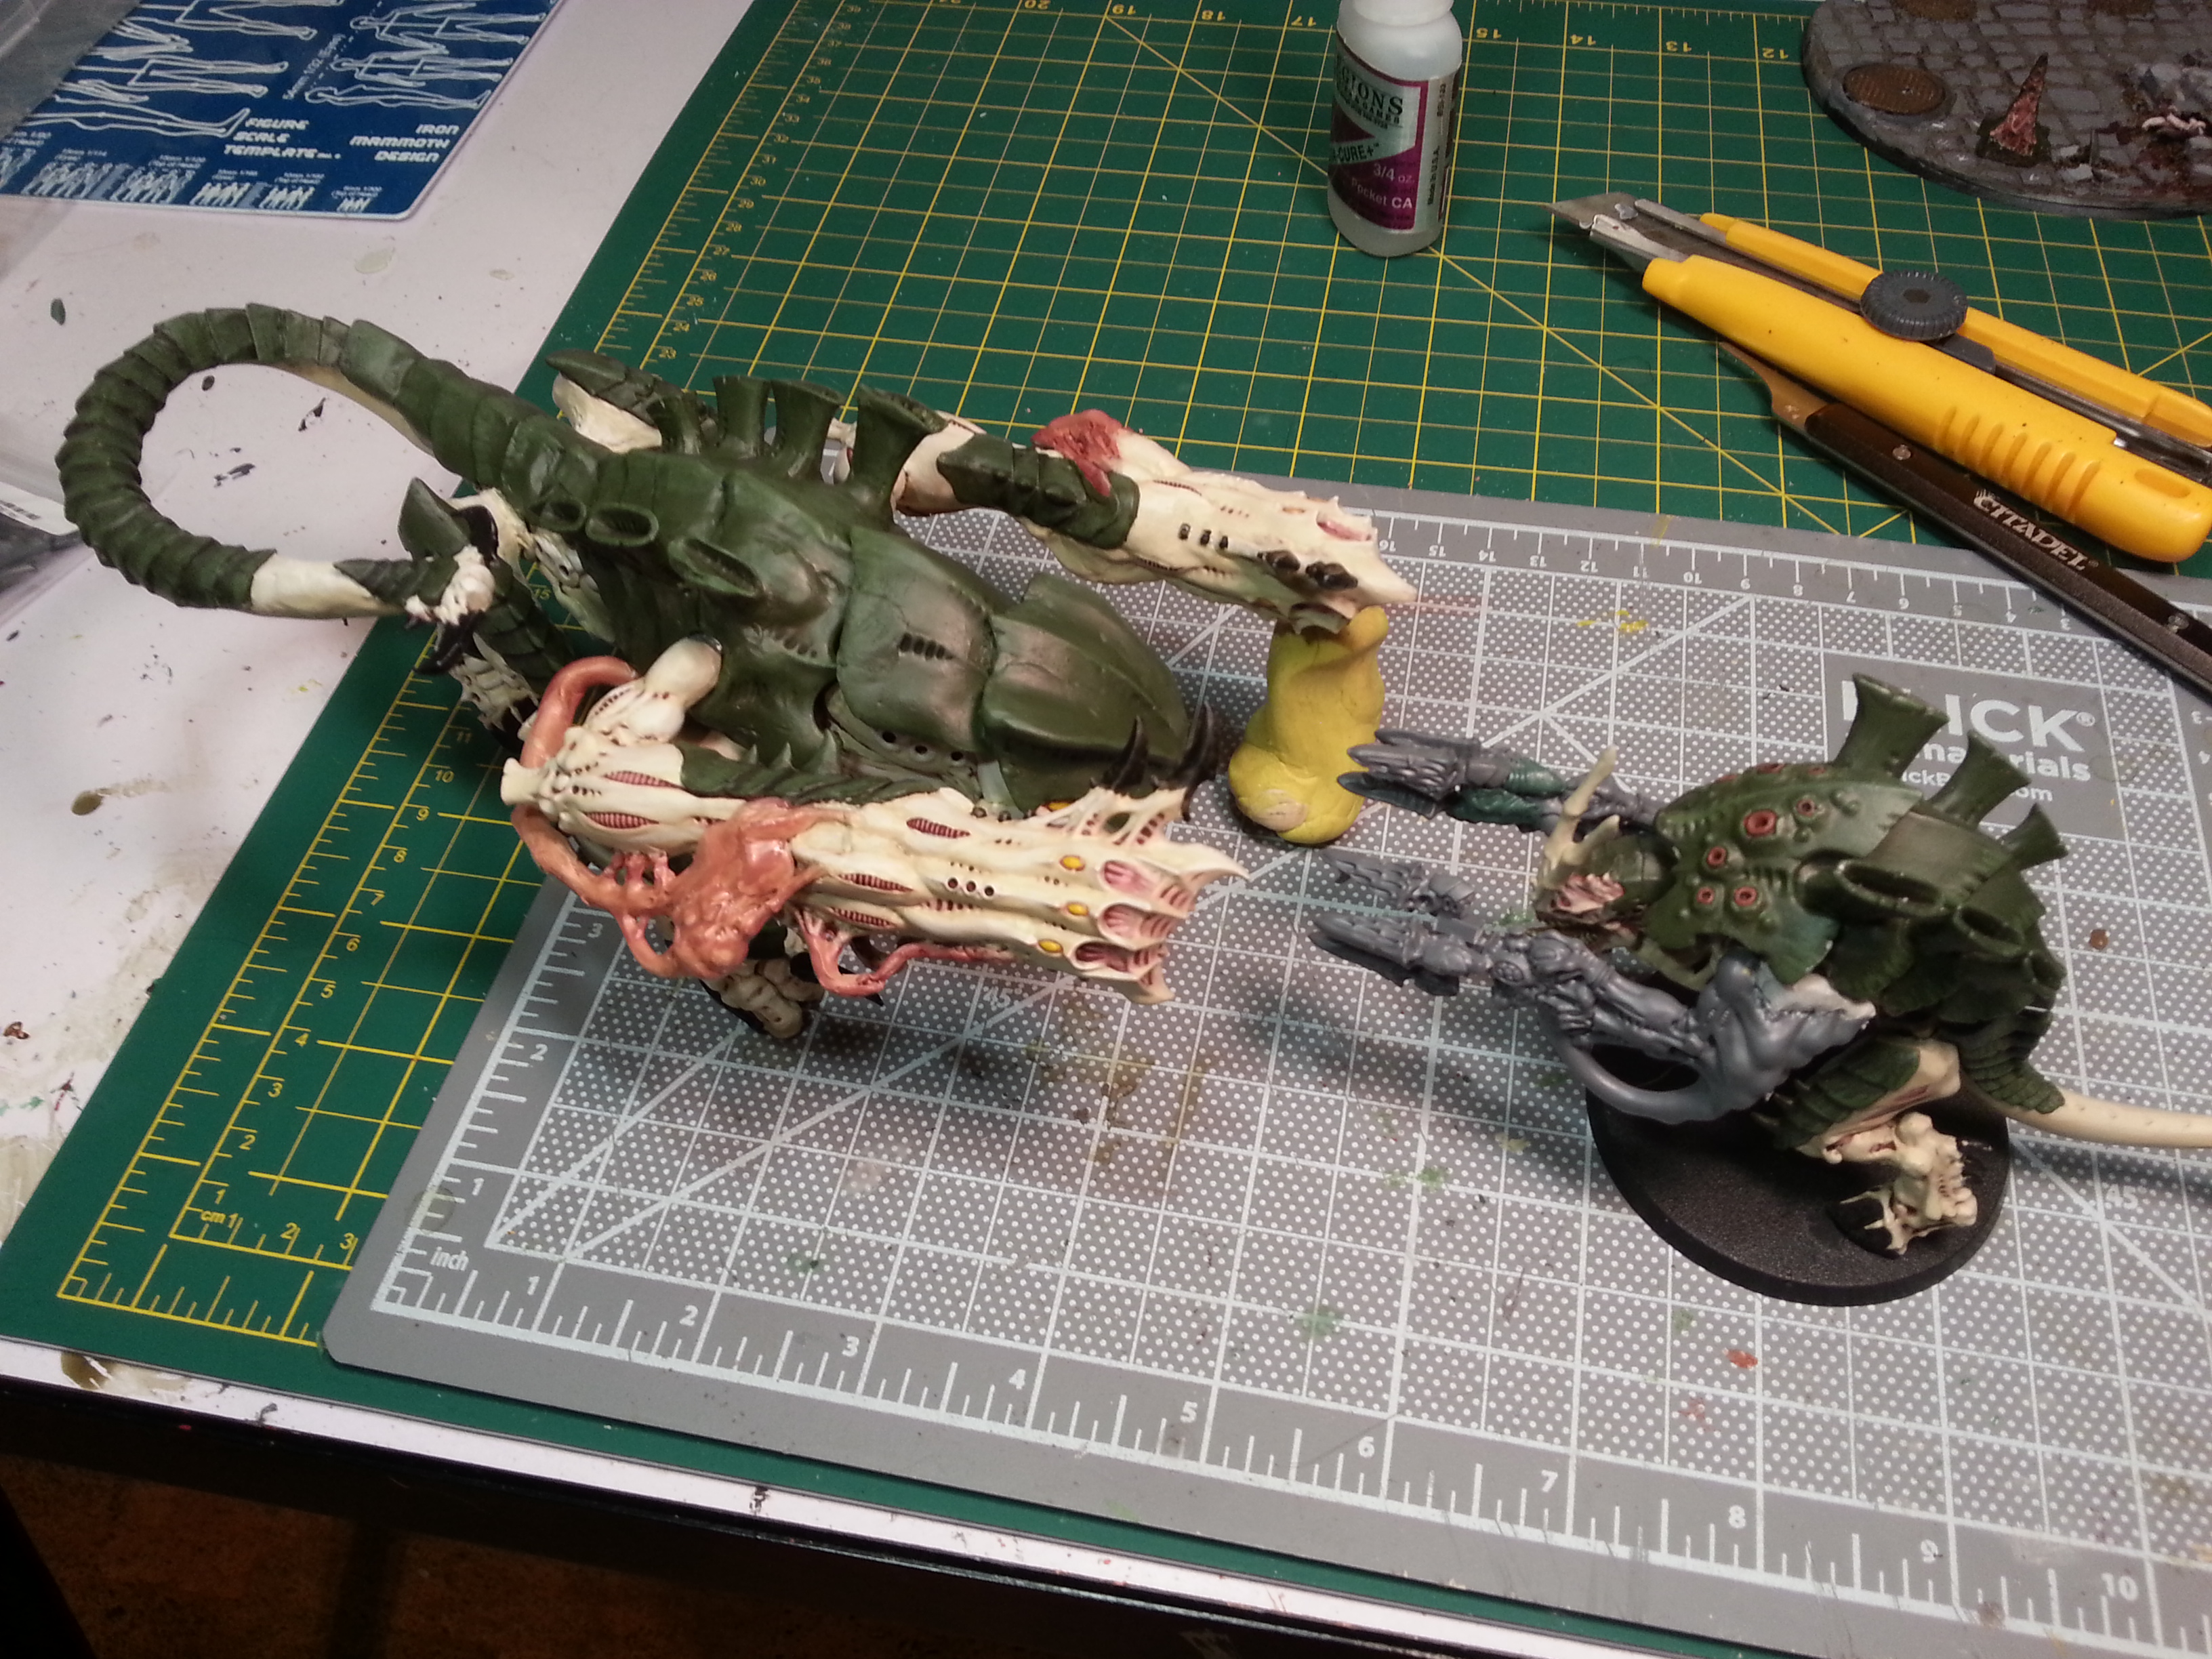
I hacked apart a tervigon leg, in order to get the beastie a bit more crouched. Things are looking somewhat crowded, limb-wise.
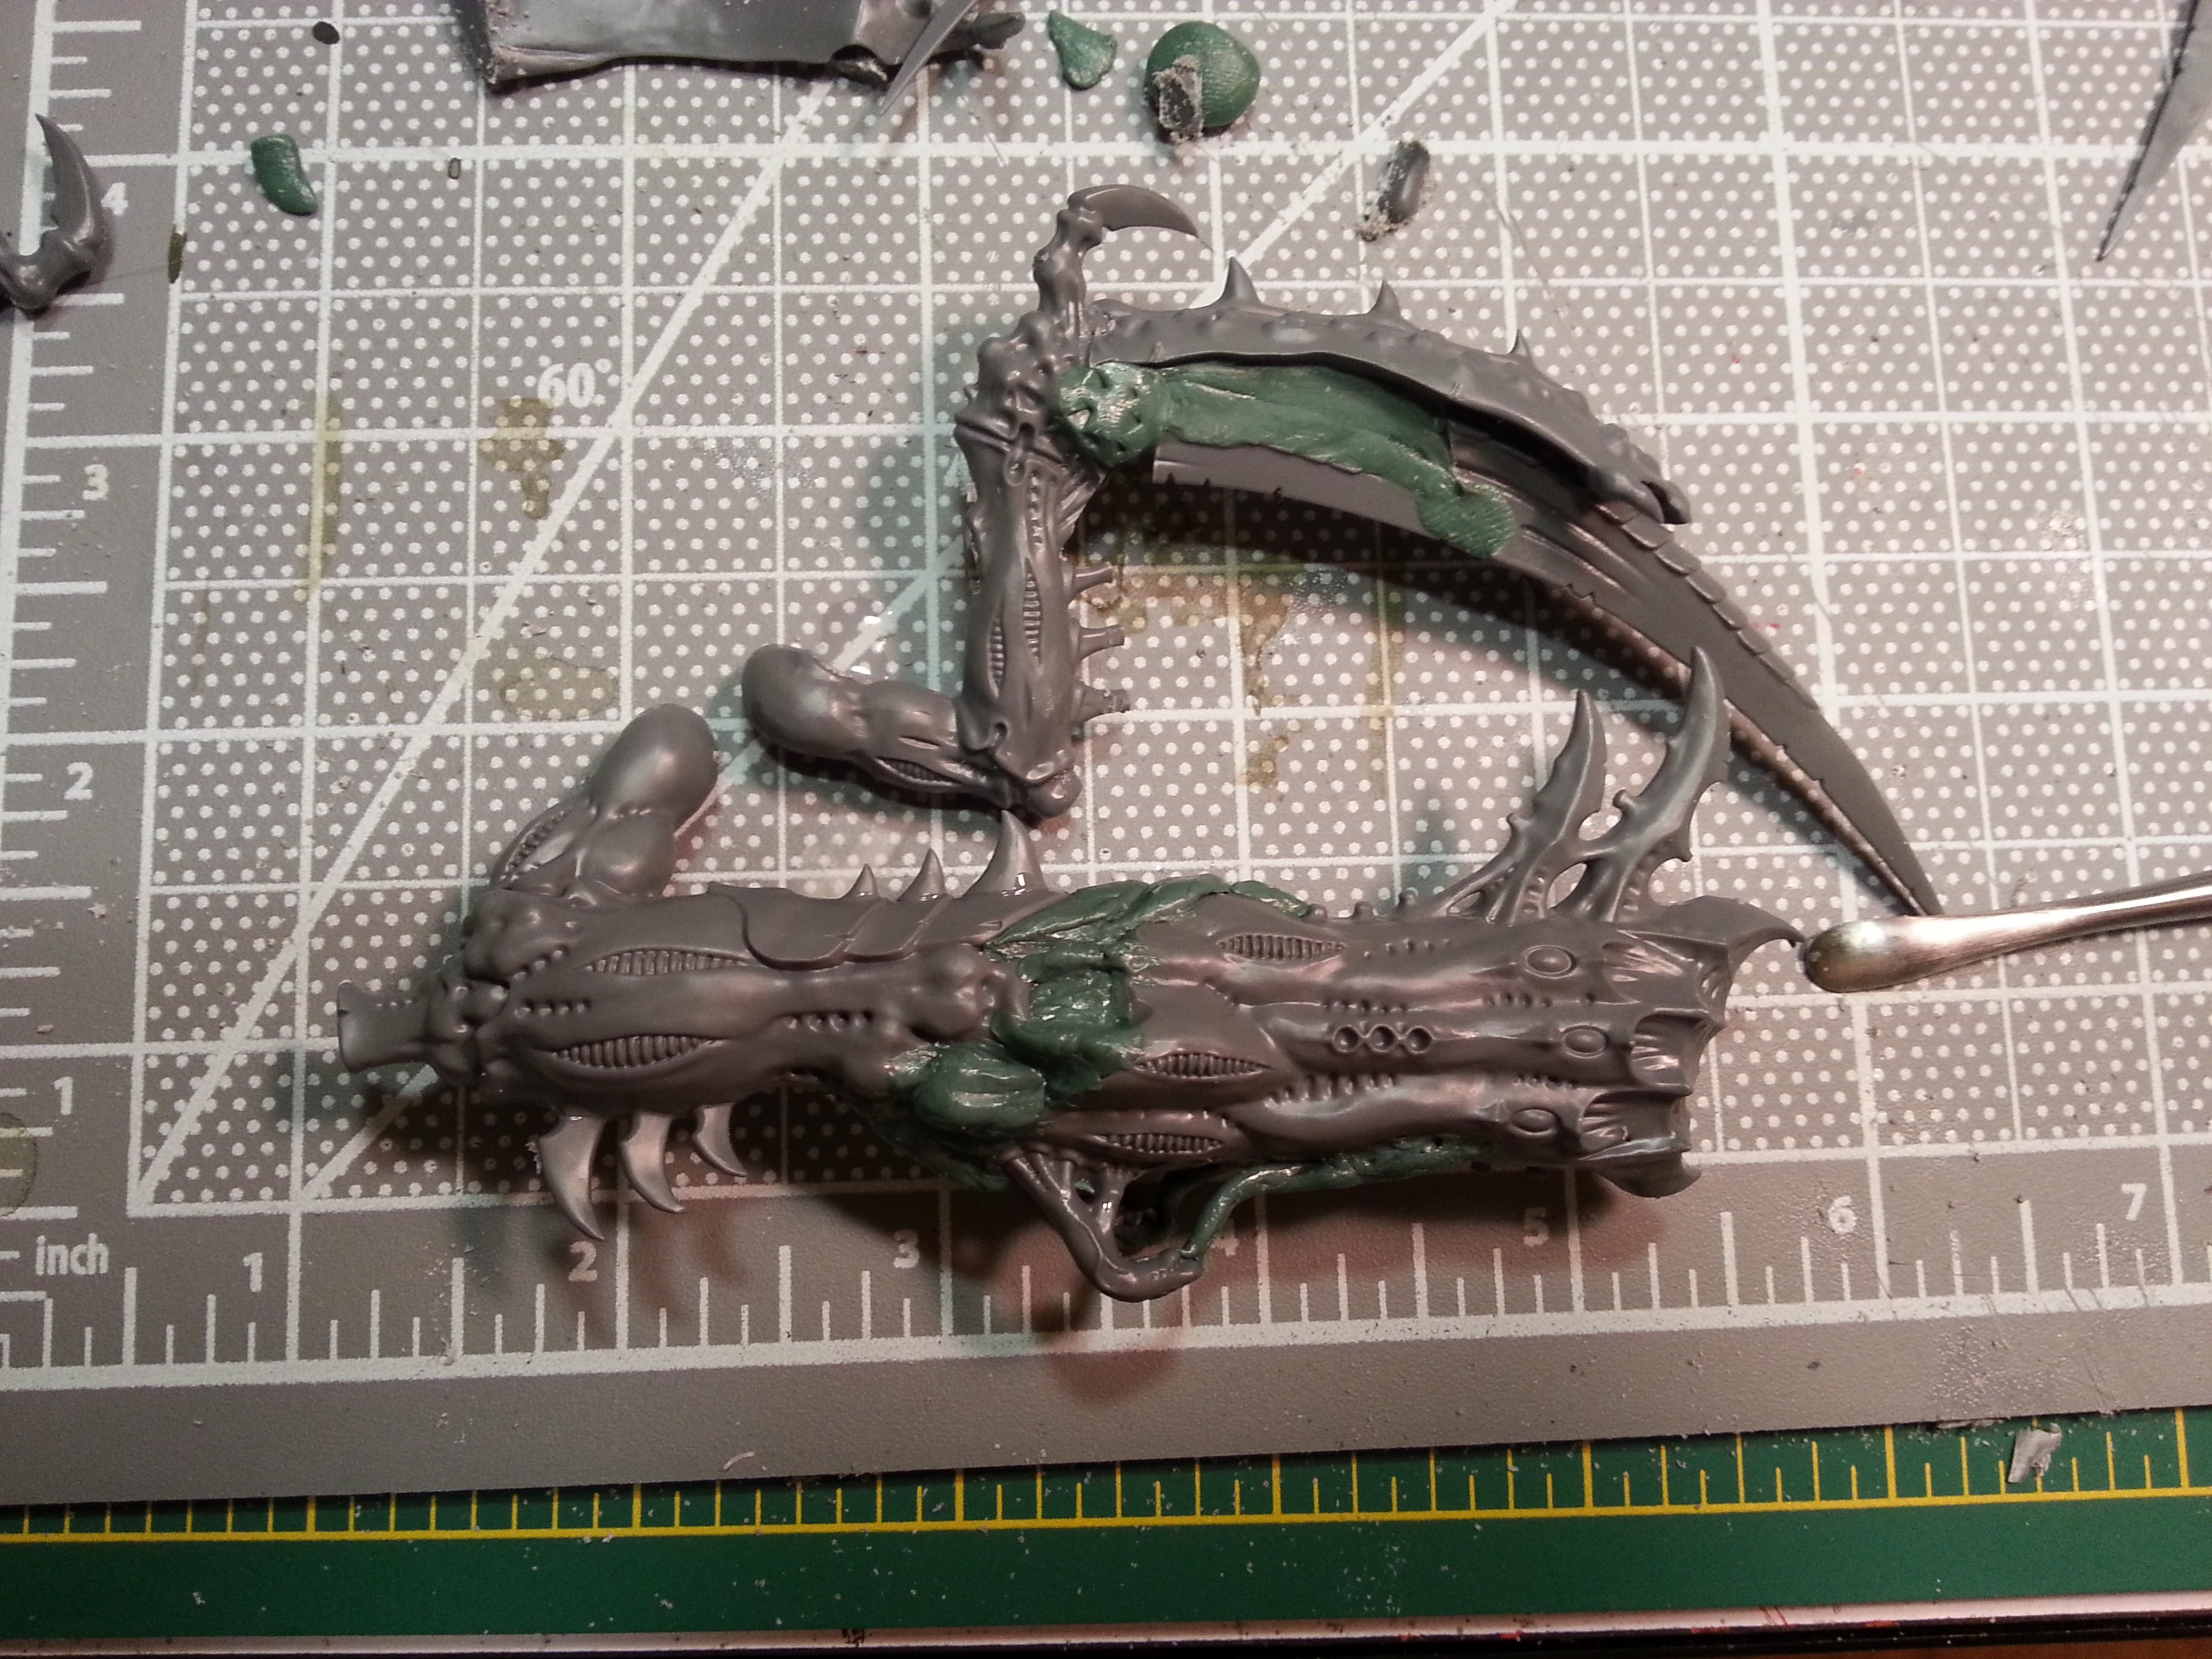
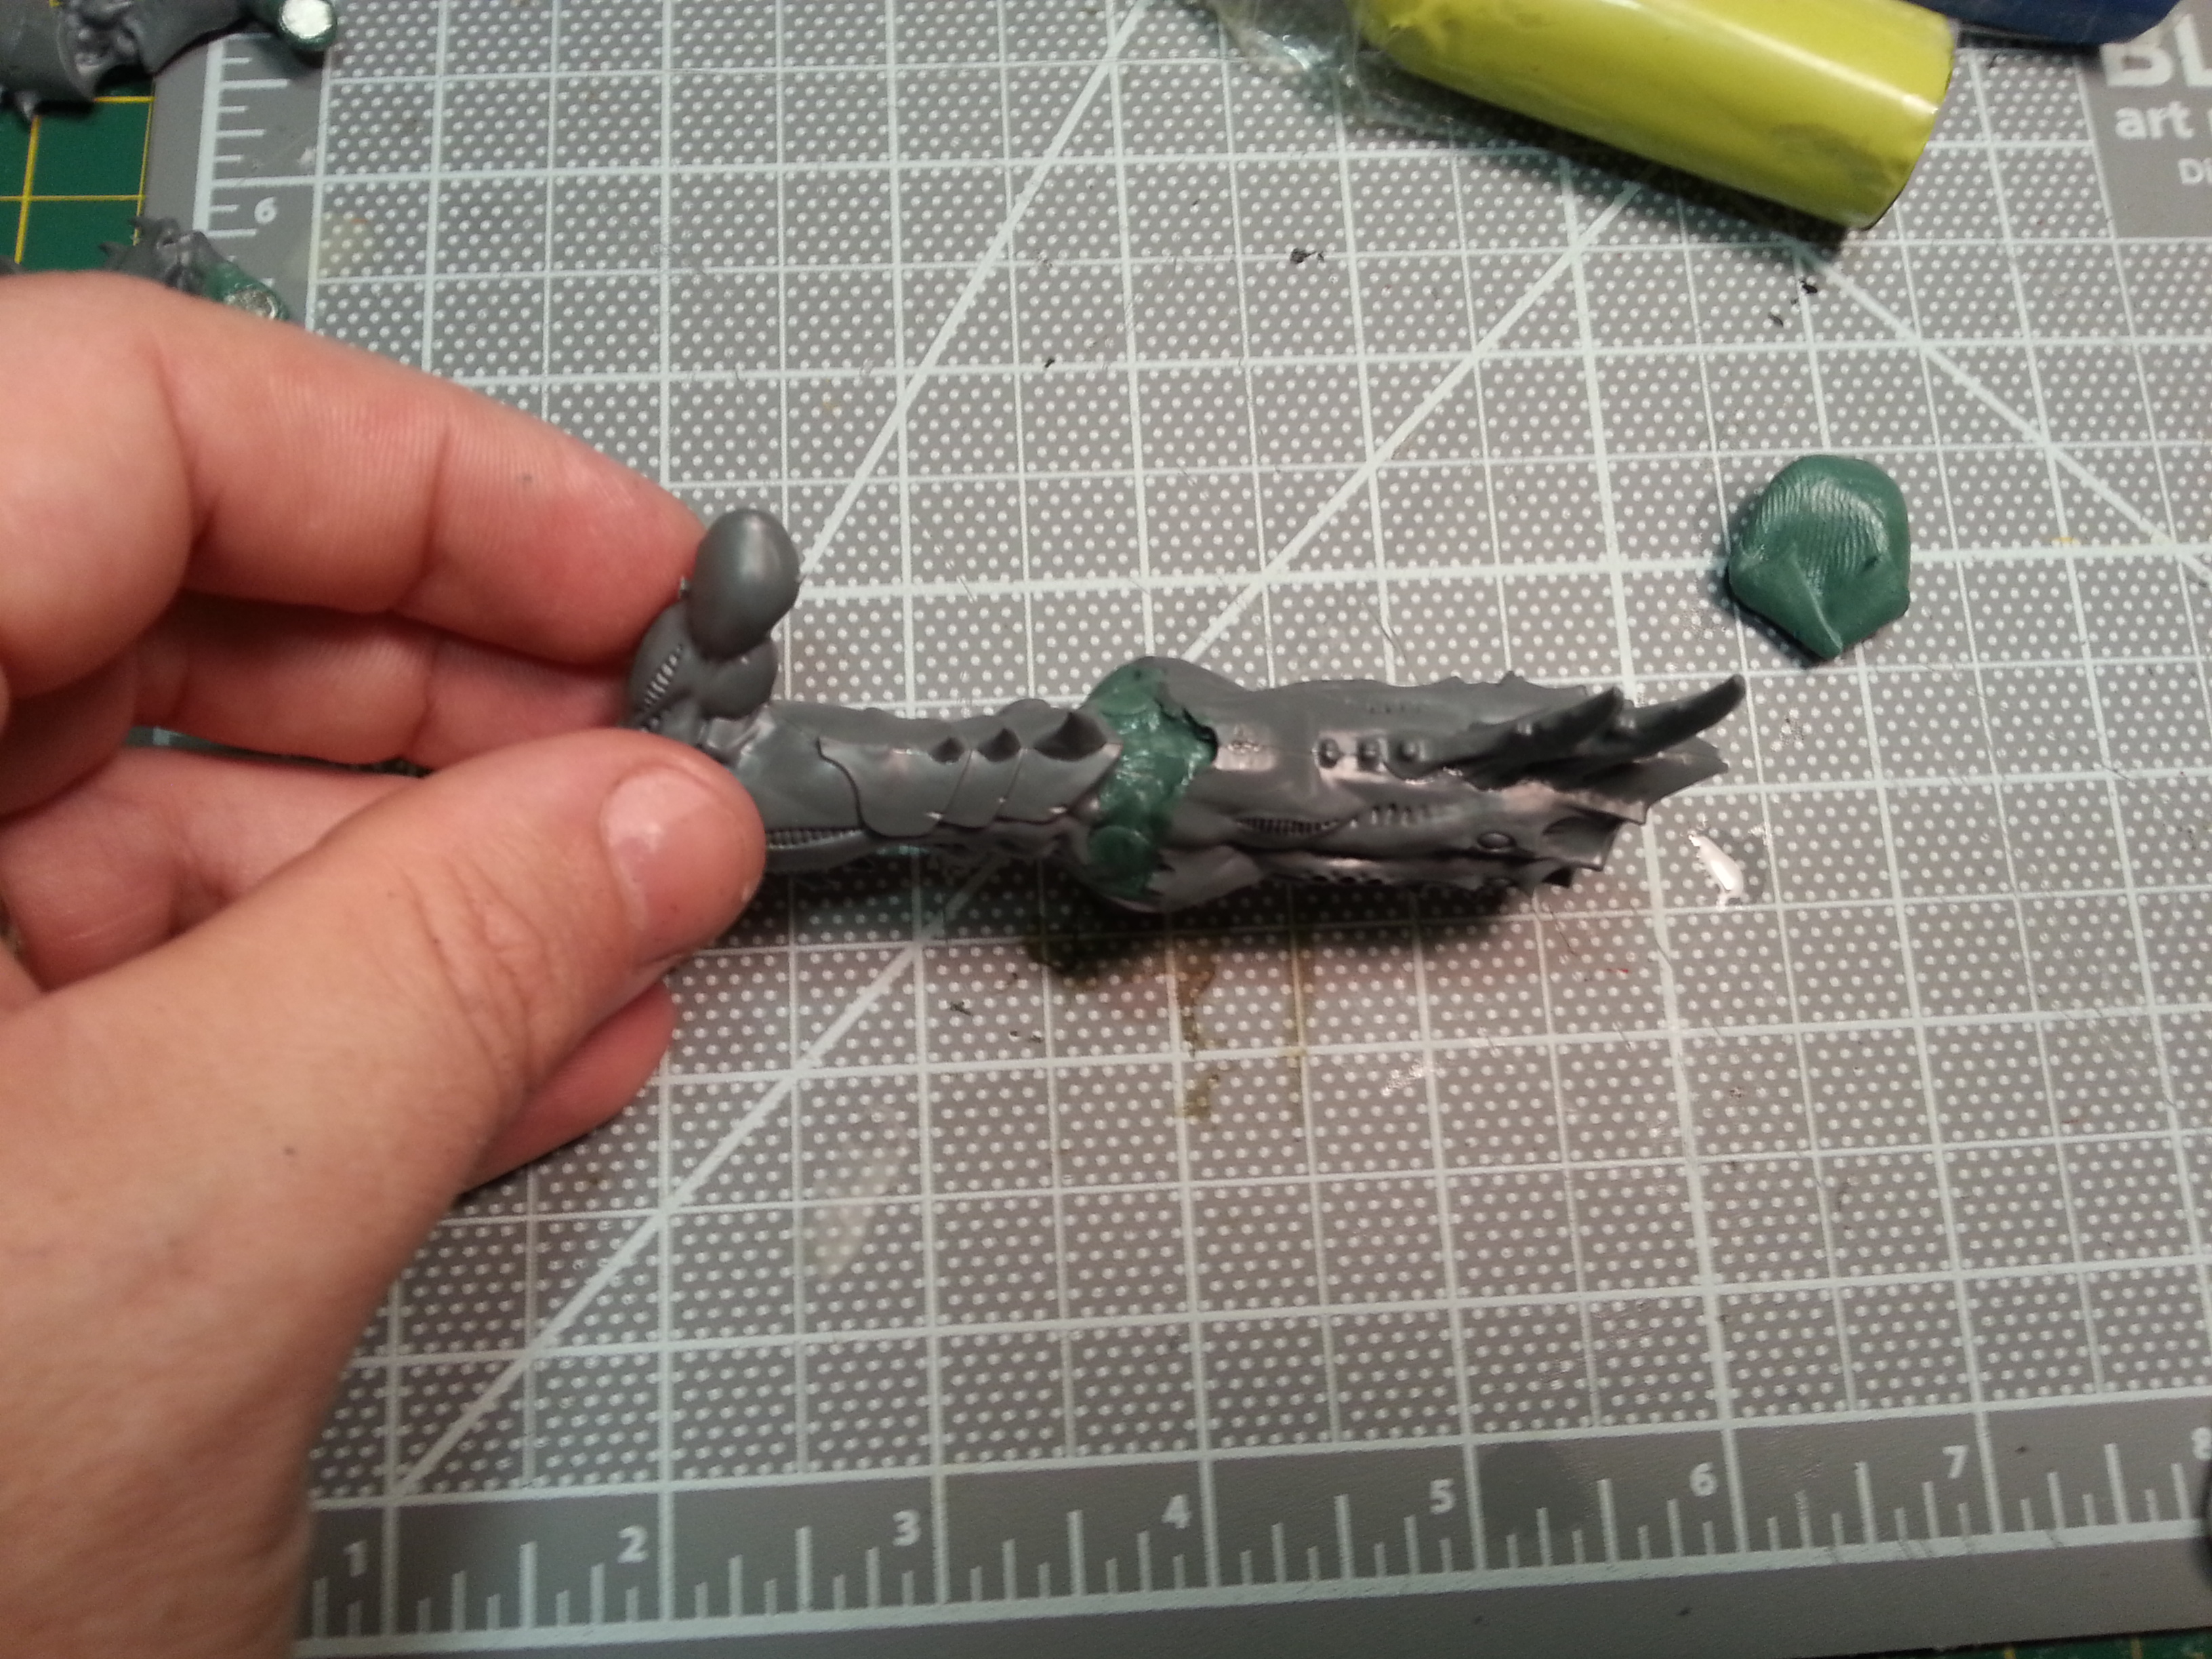
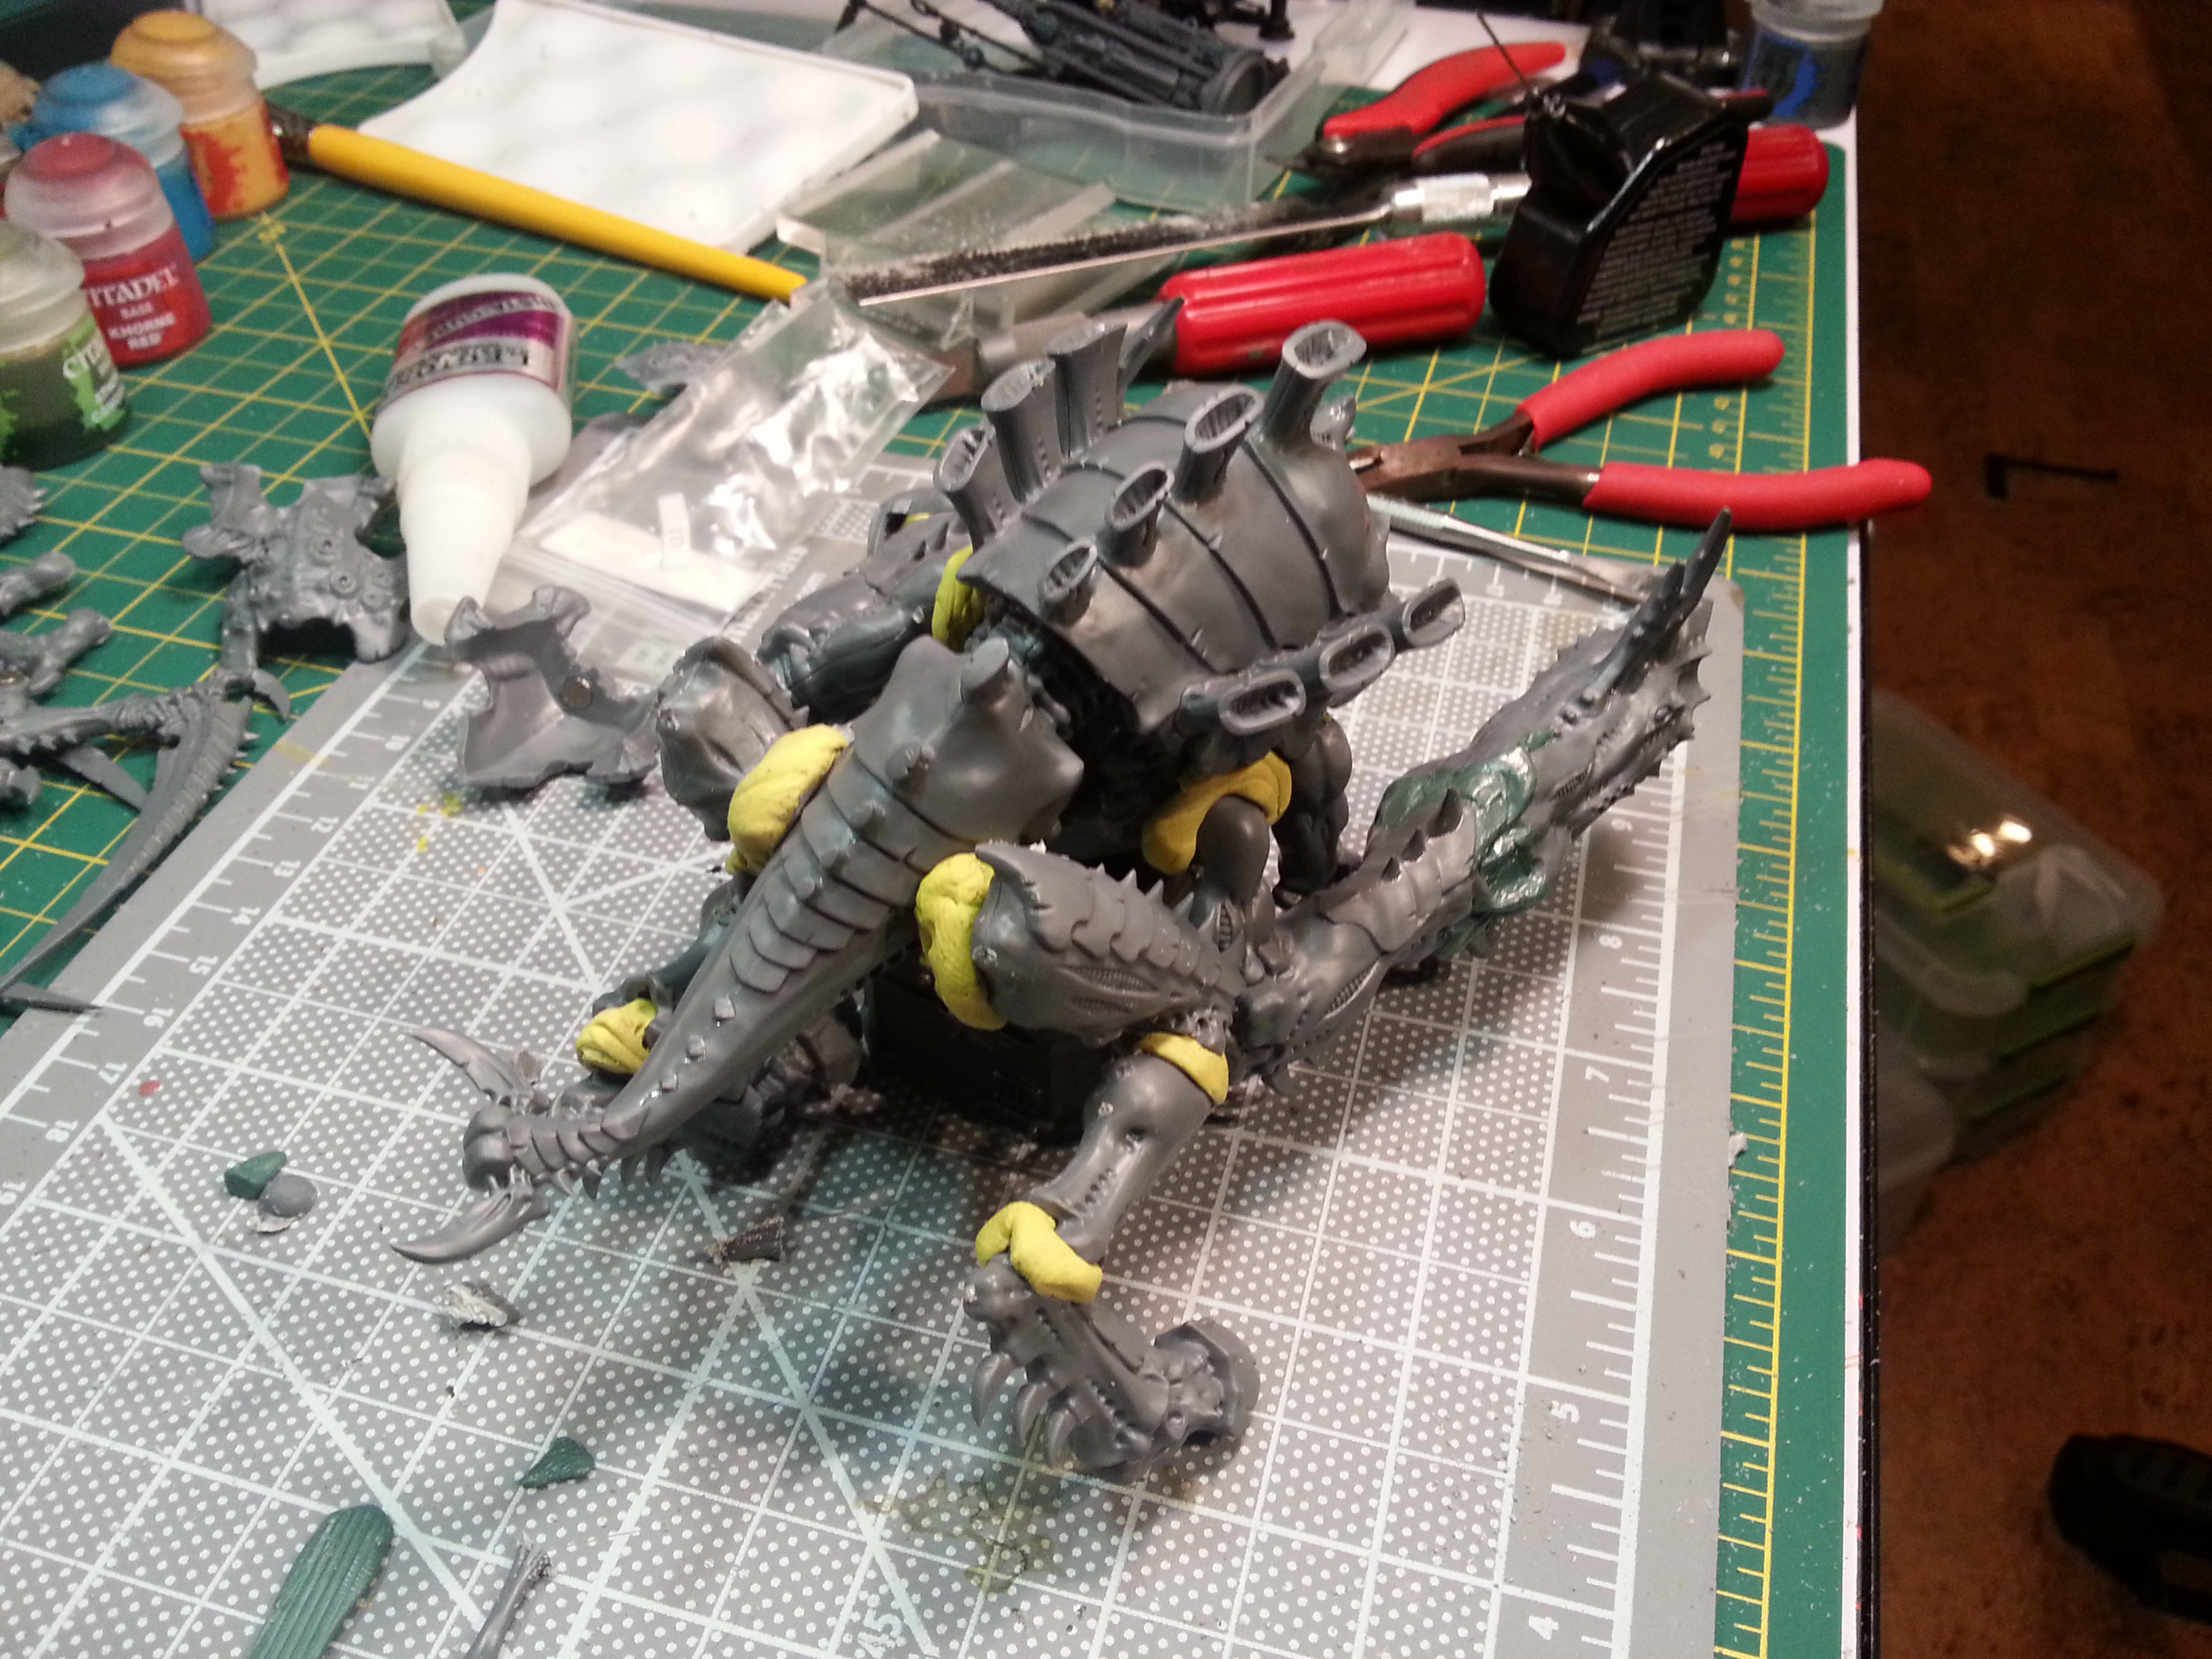
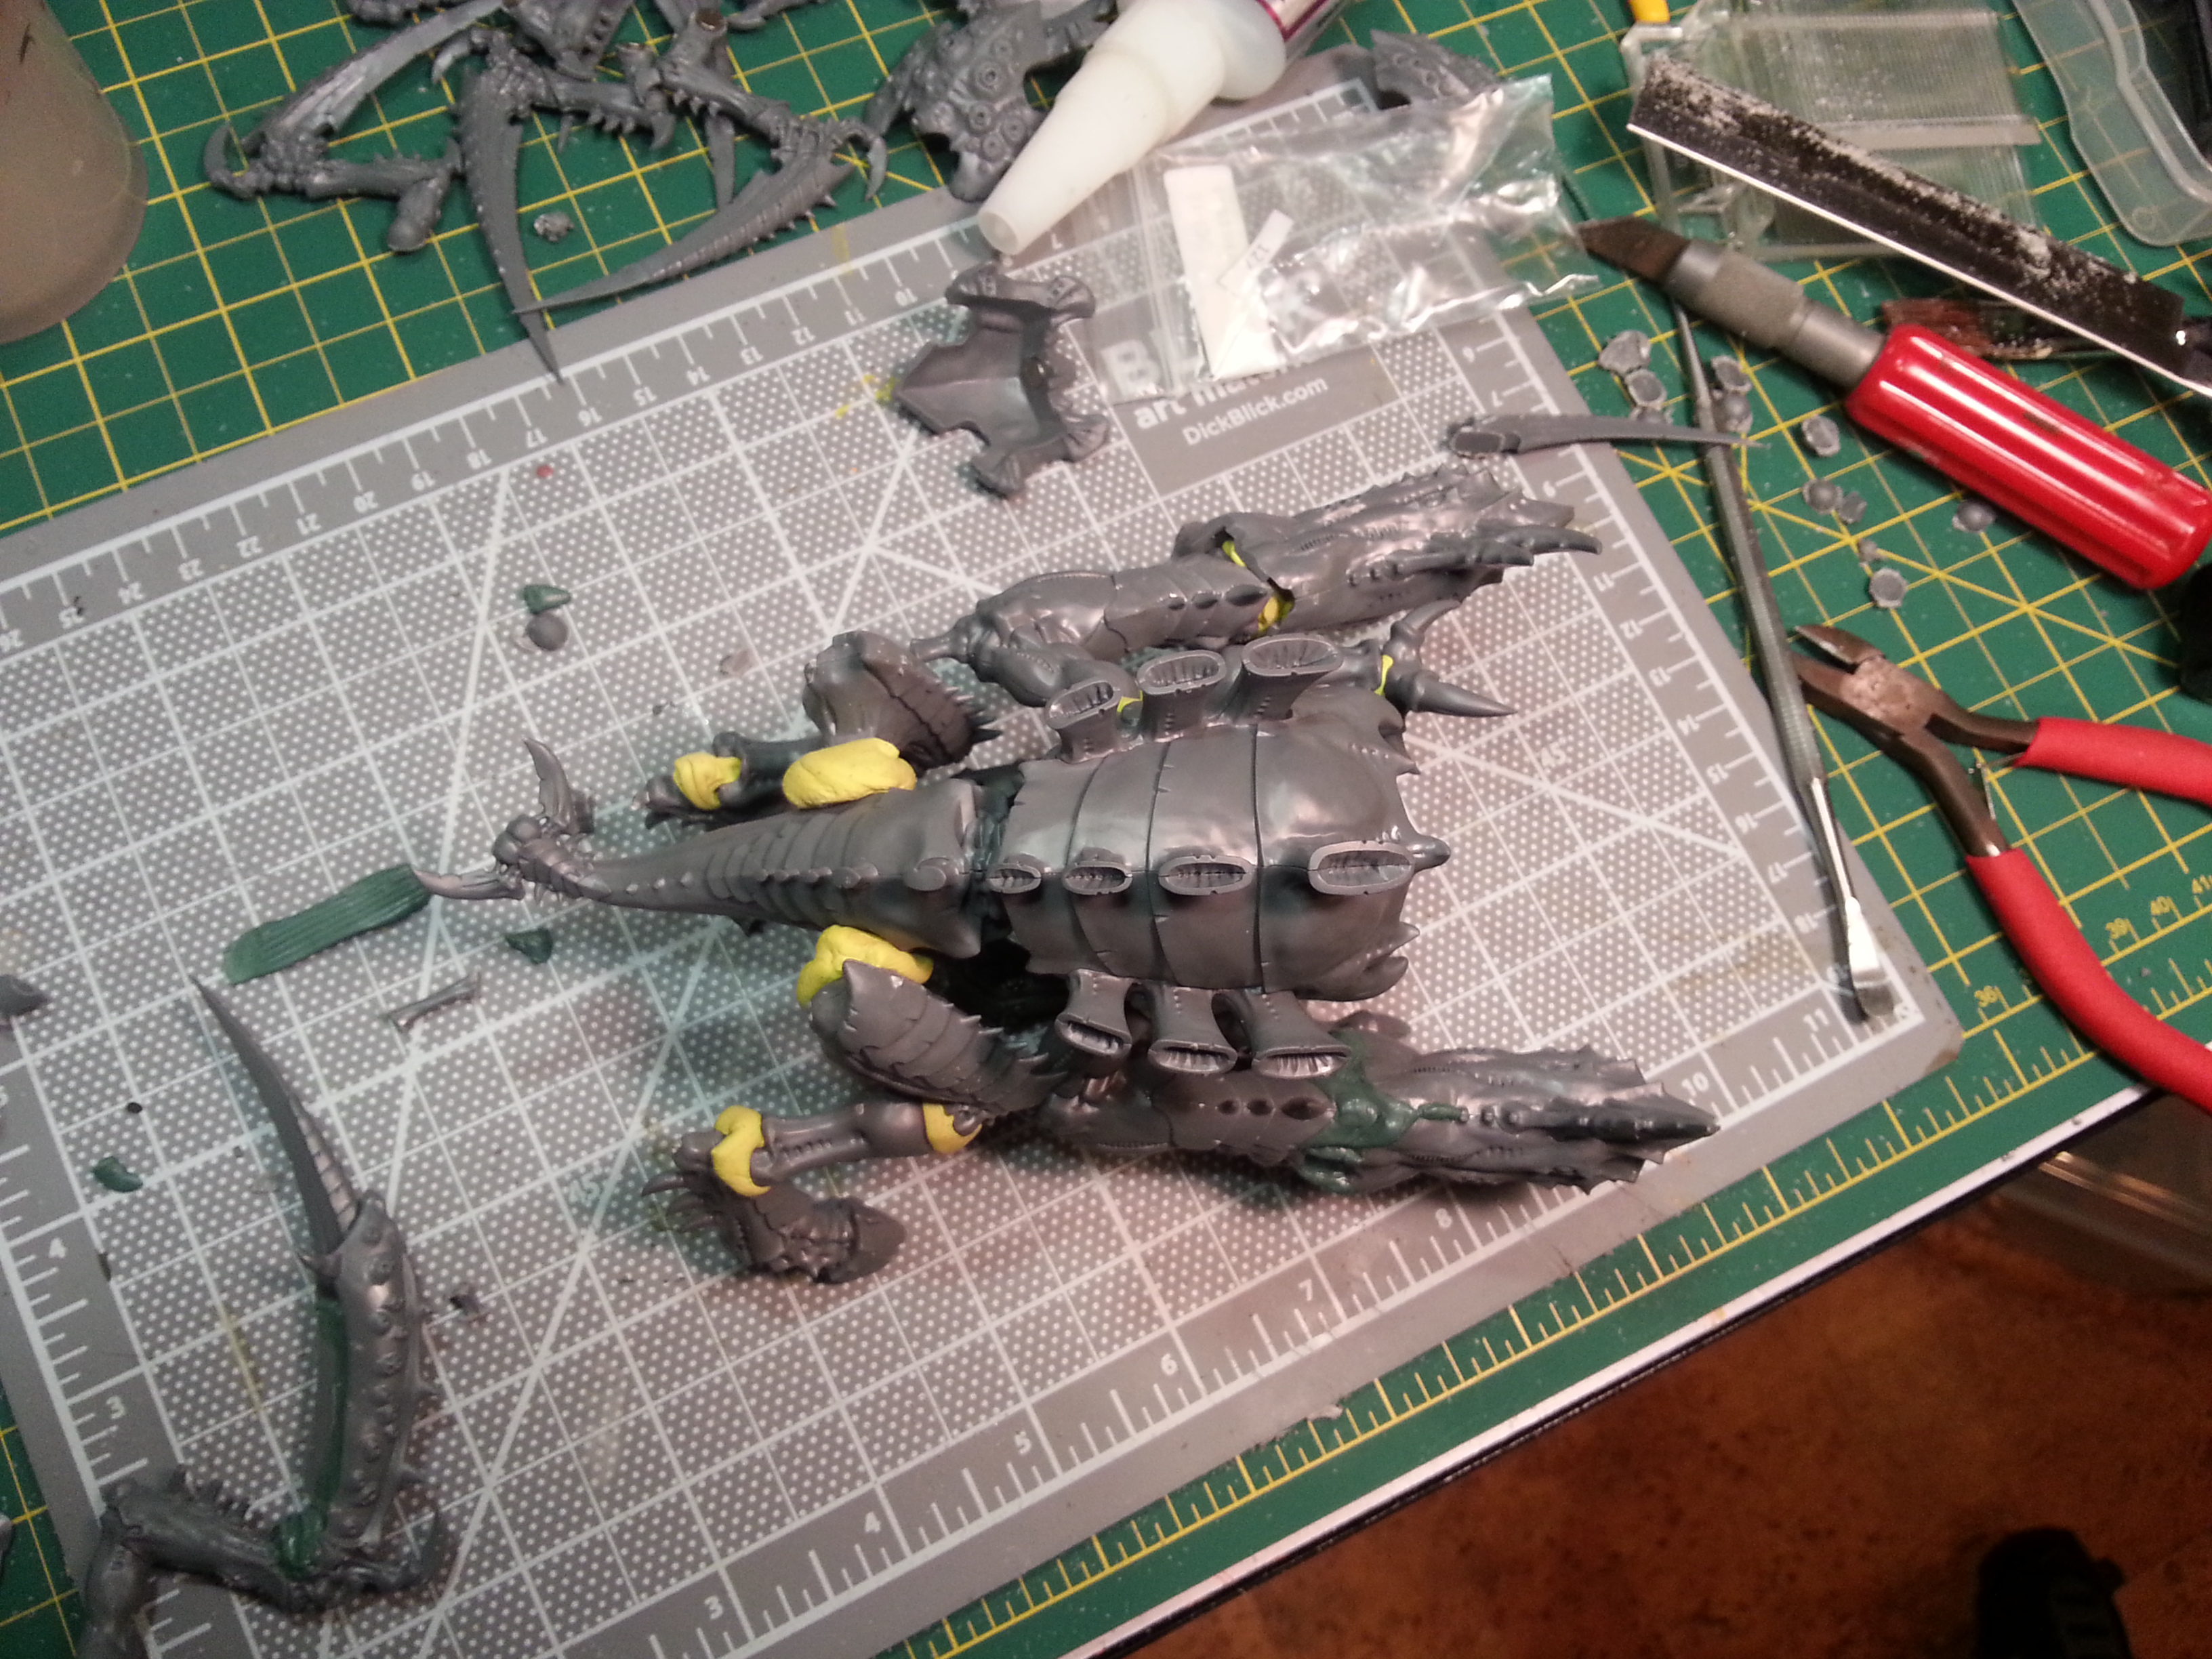
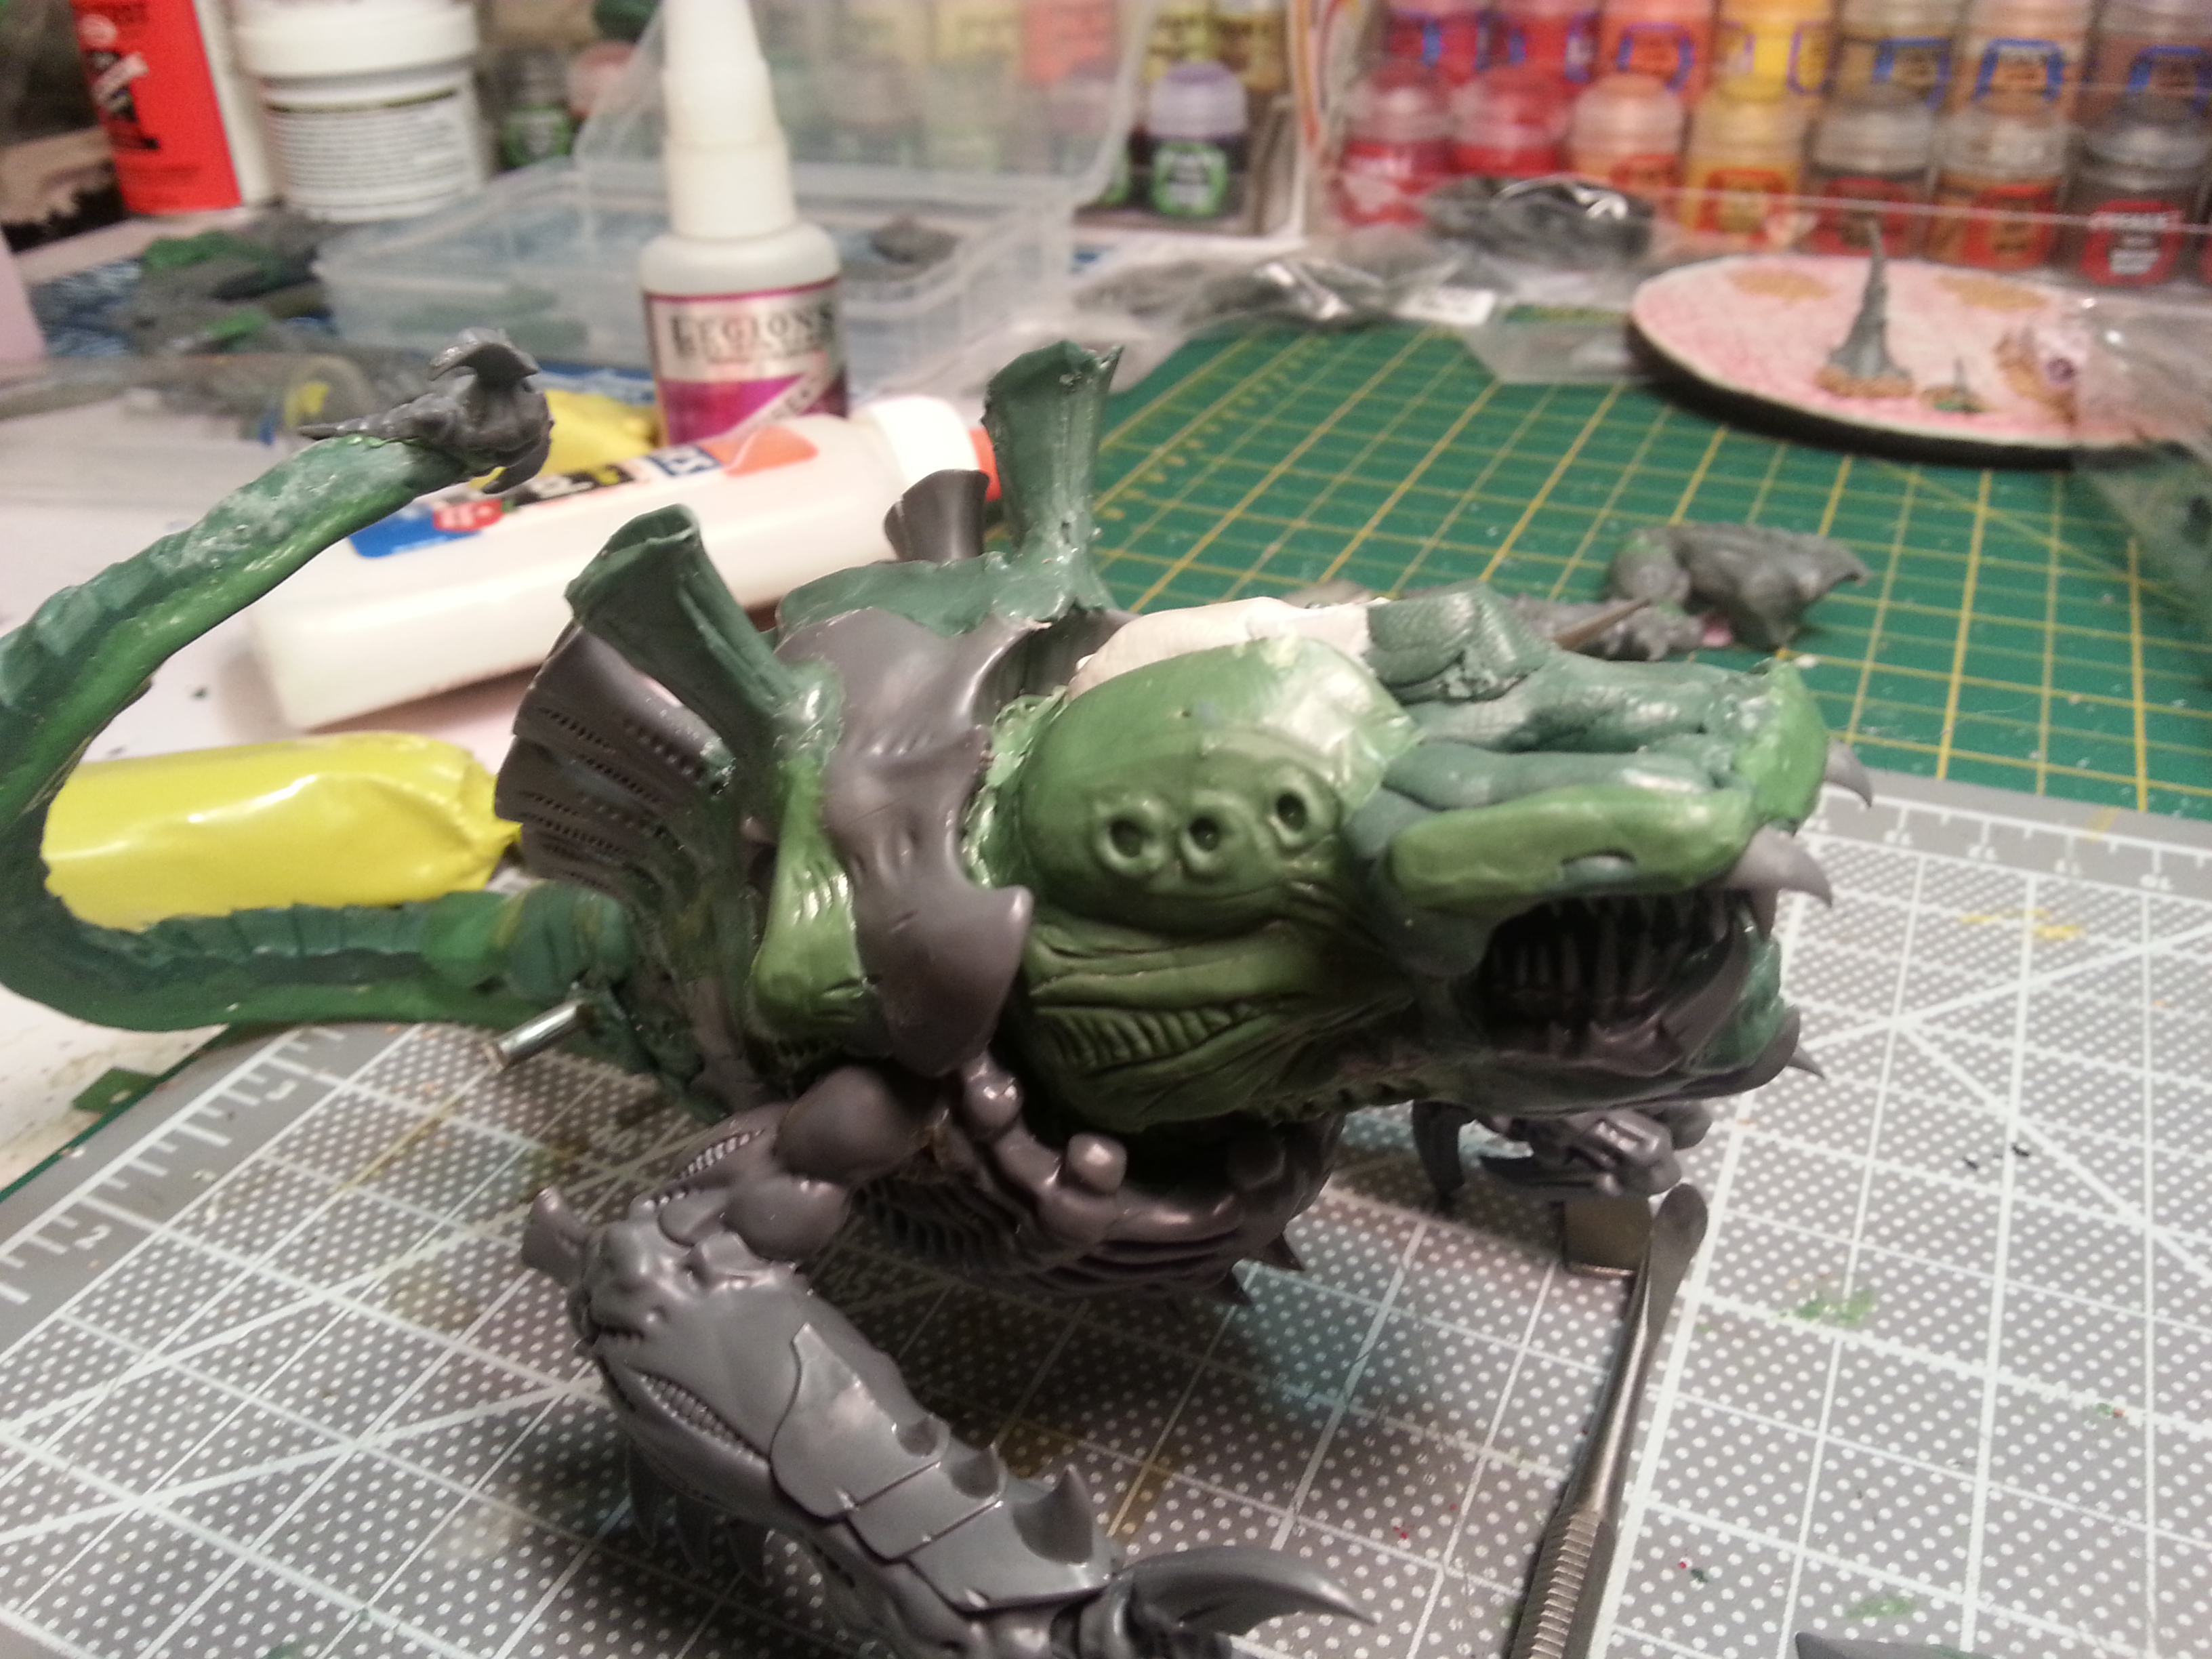
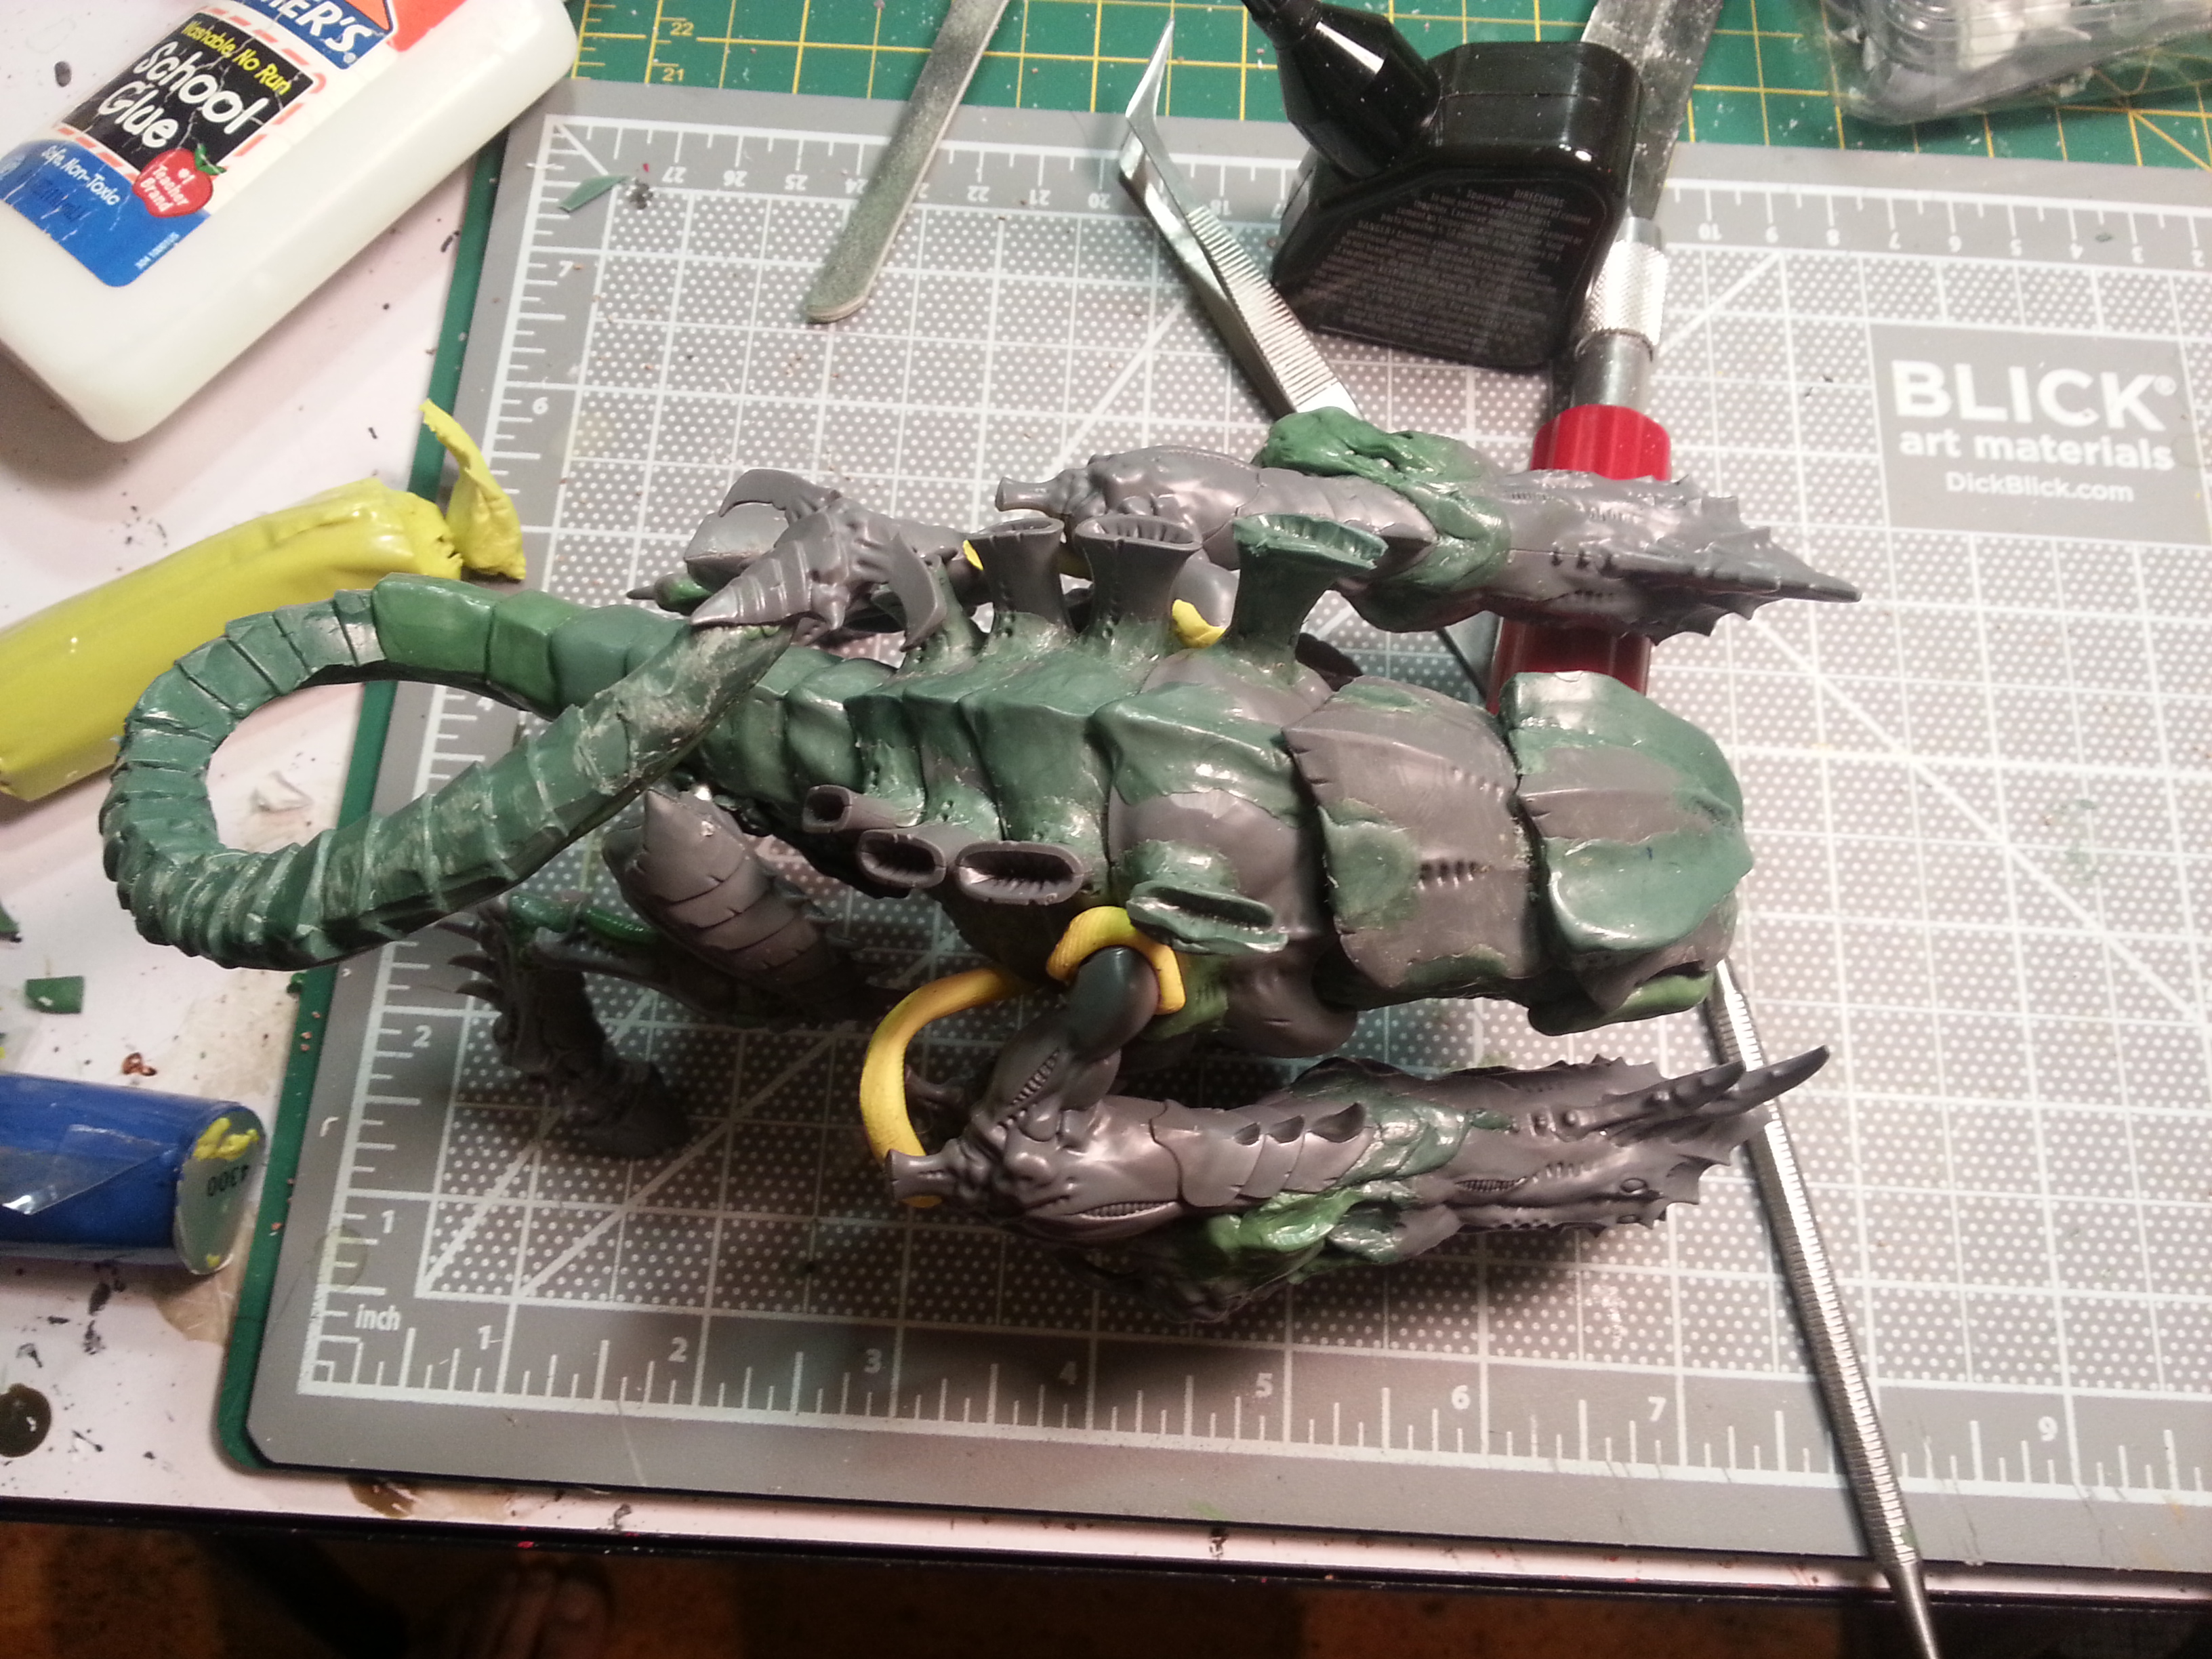
I started trying to sculpt matching plates on the top of the join. That's when I found out how much sculpting practice I need.
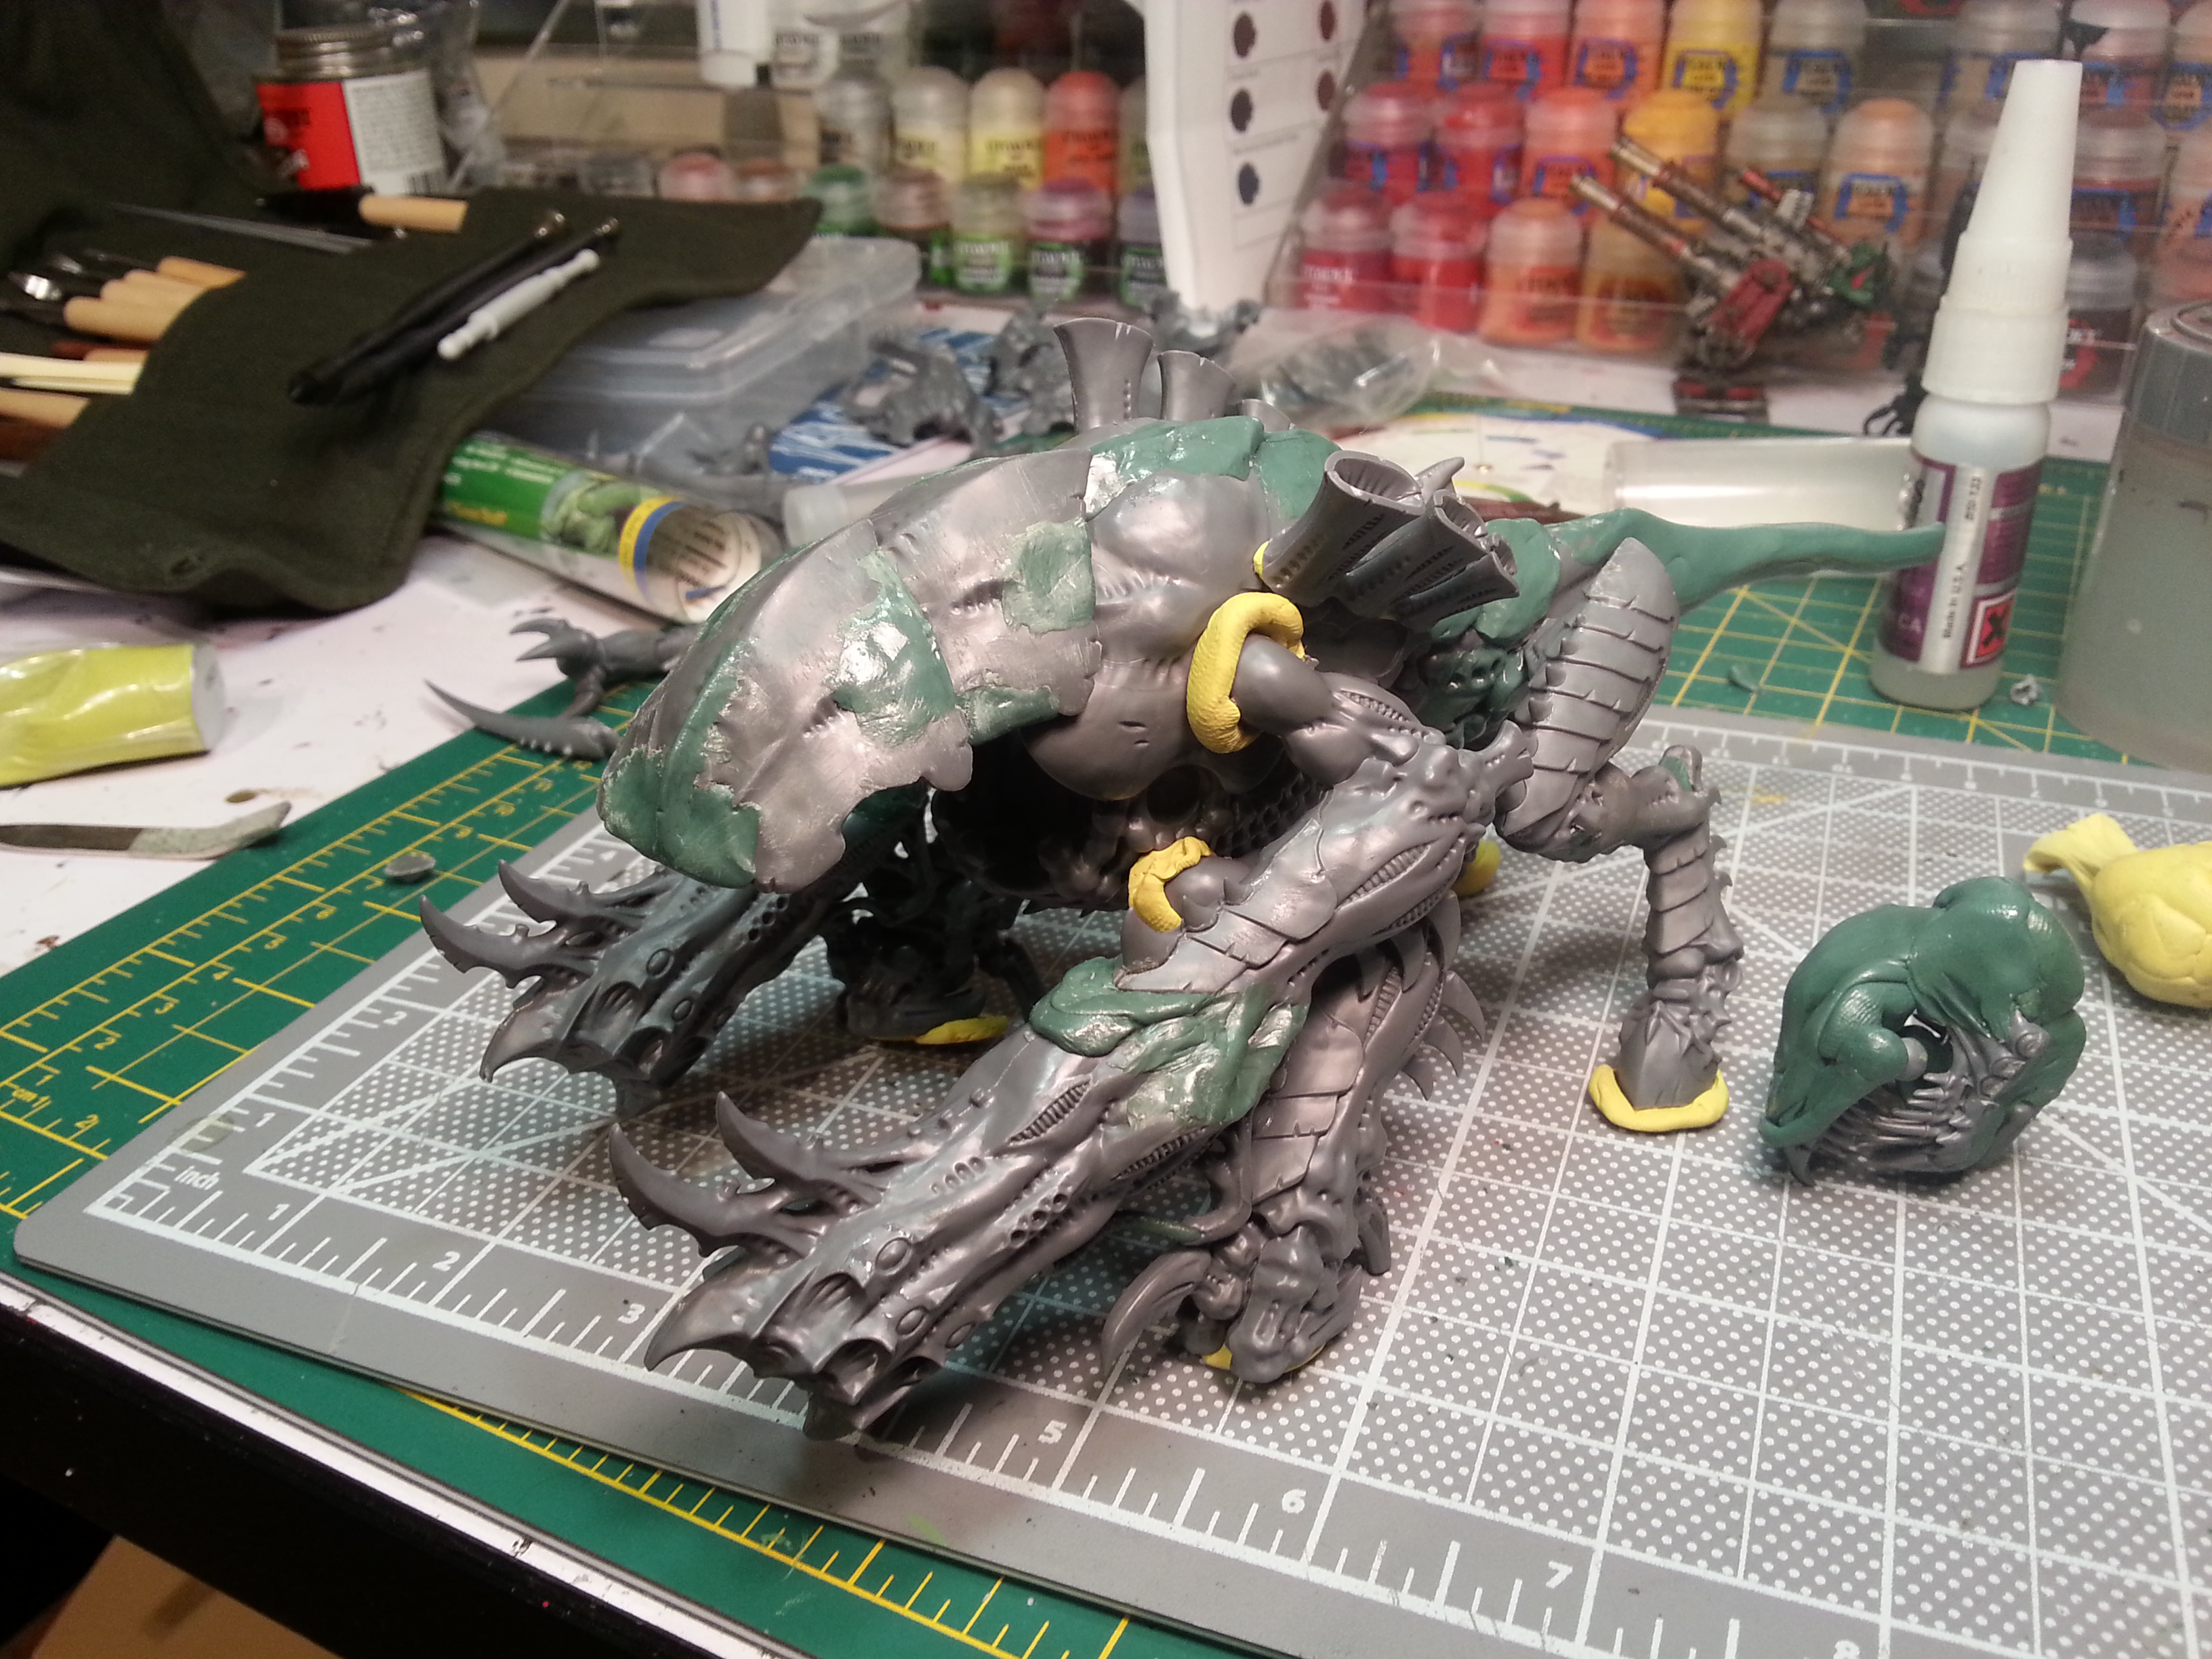
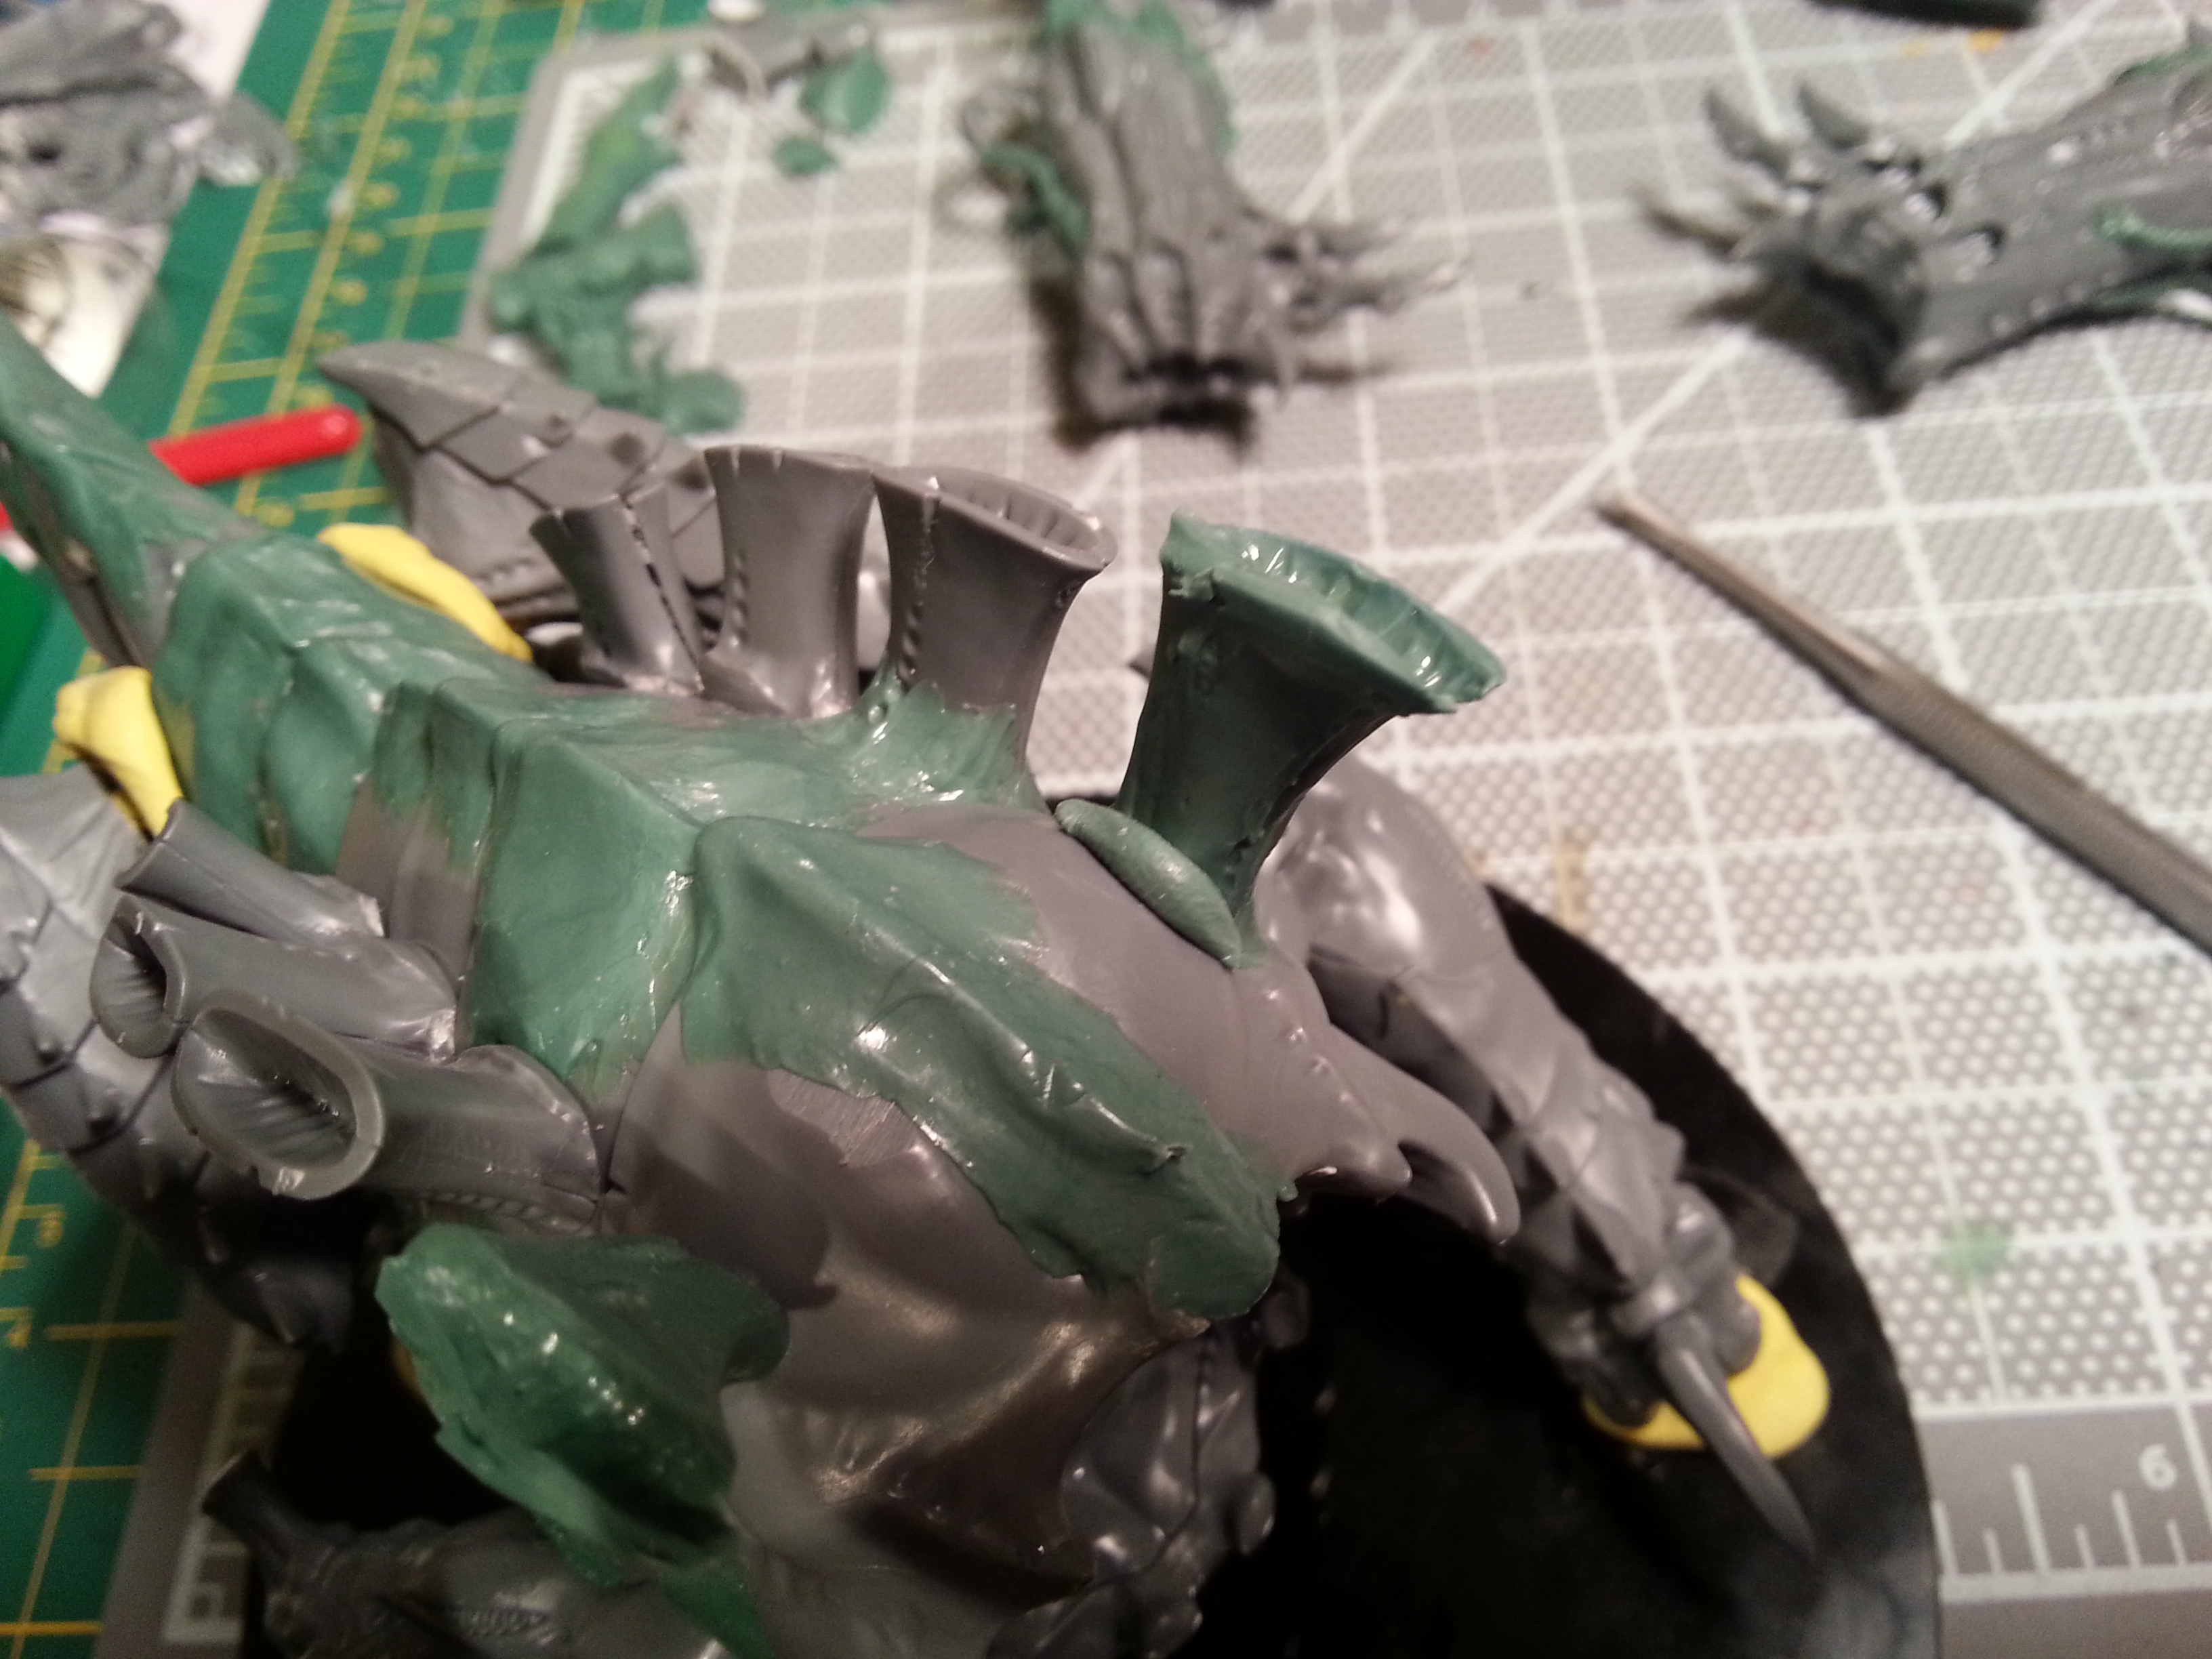
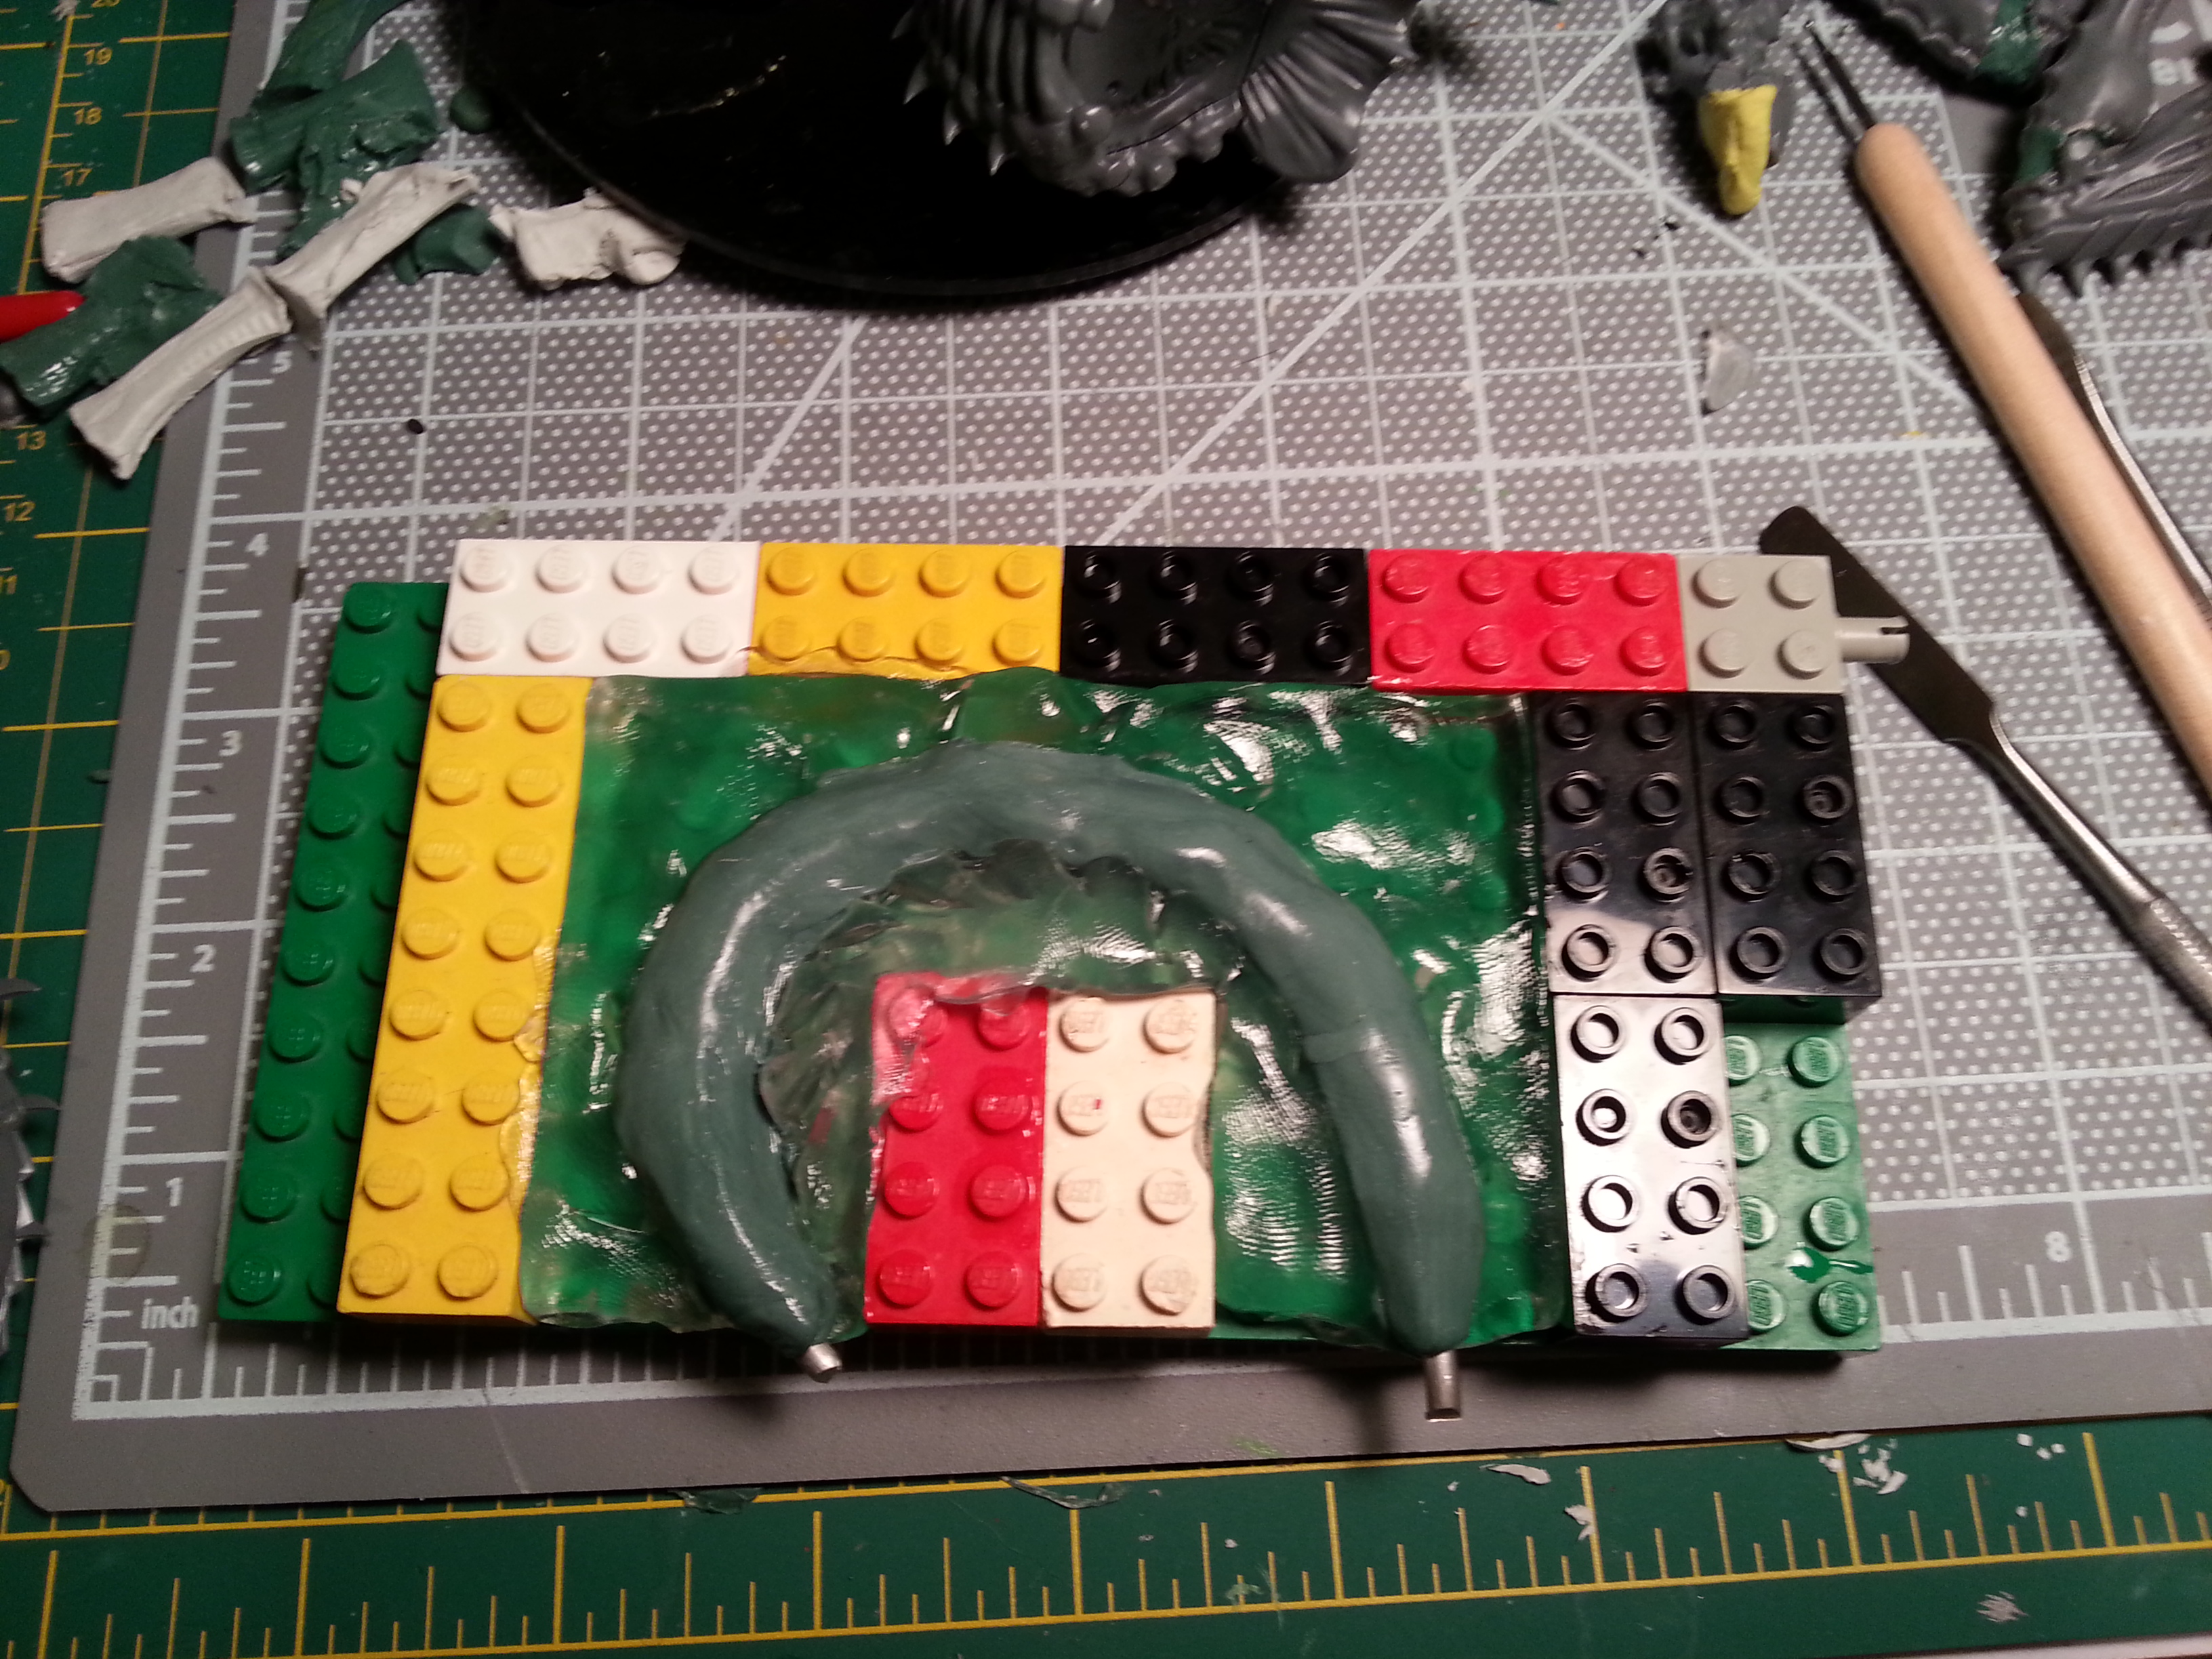
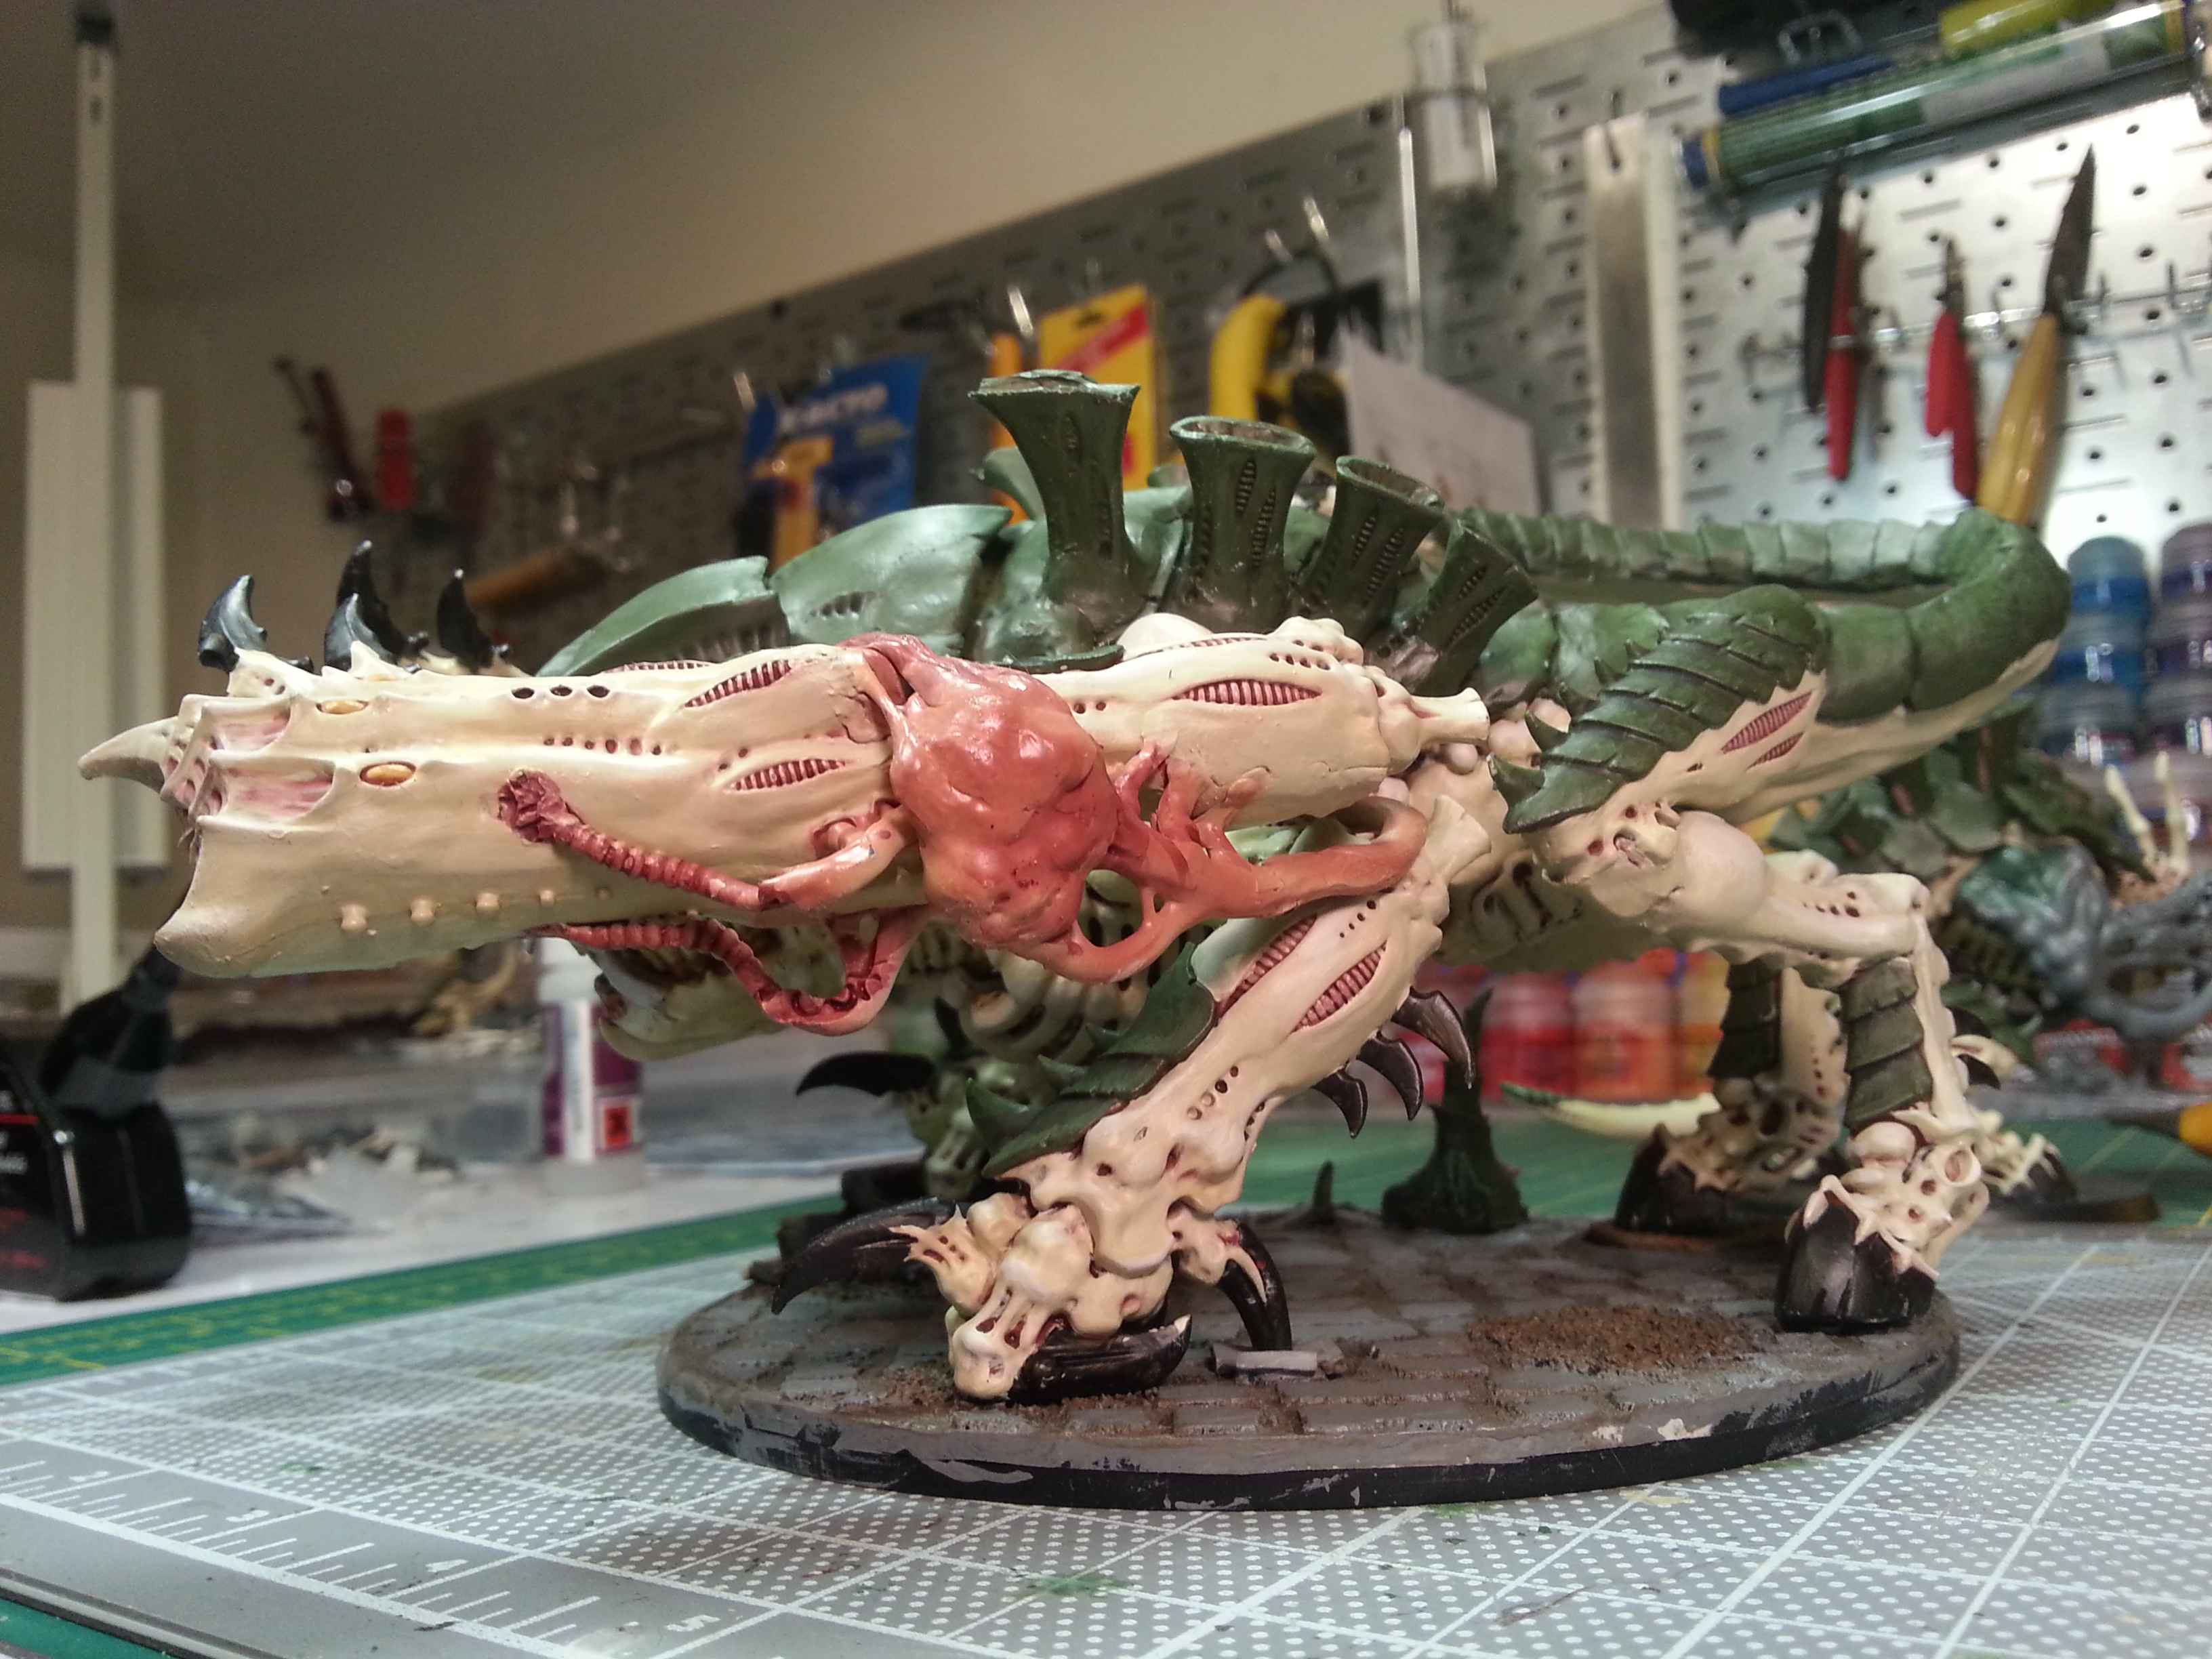
Starting to try to match the contours of the existing lumps, plus added a couple of tentacle-hose thingies for fun
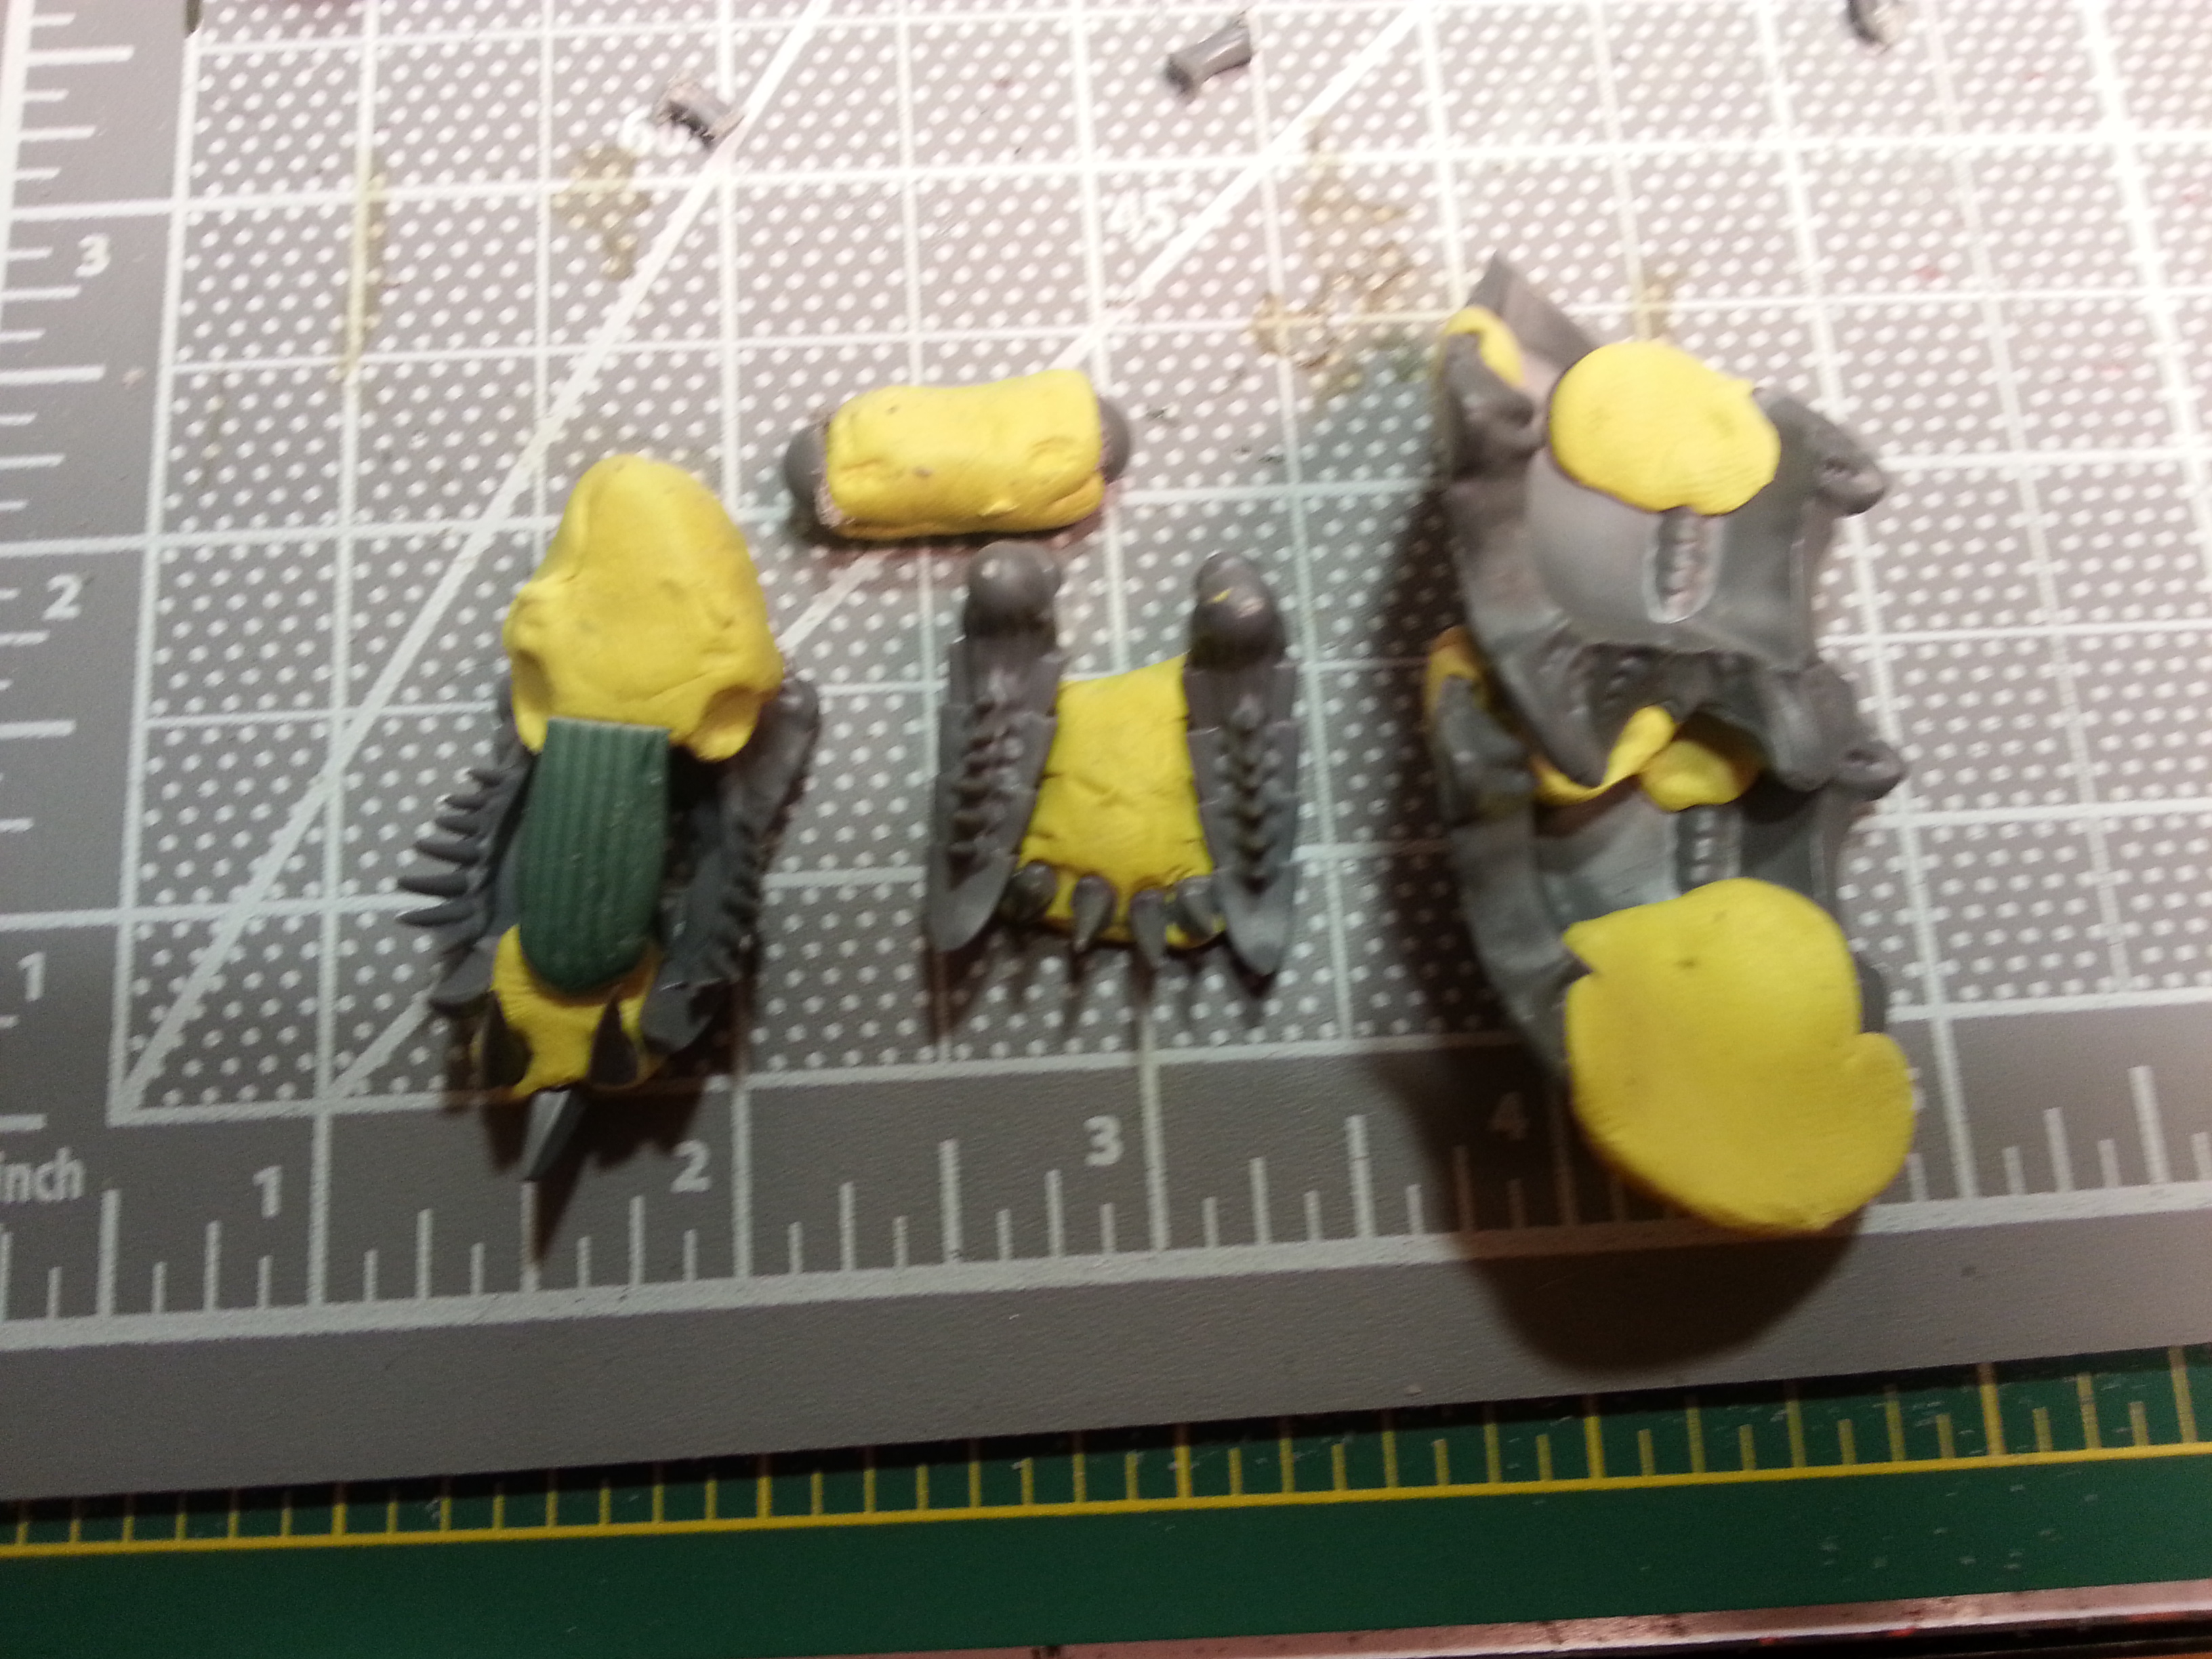
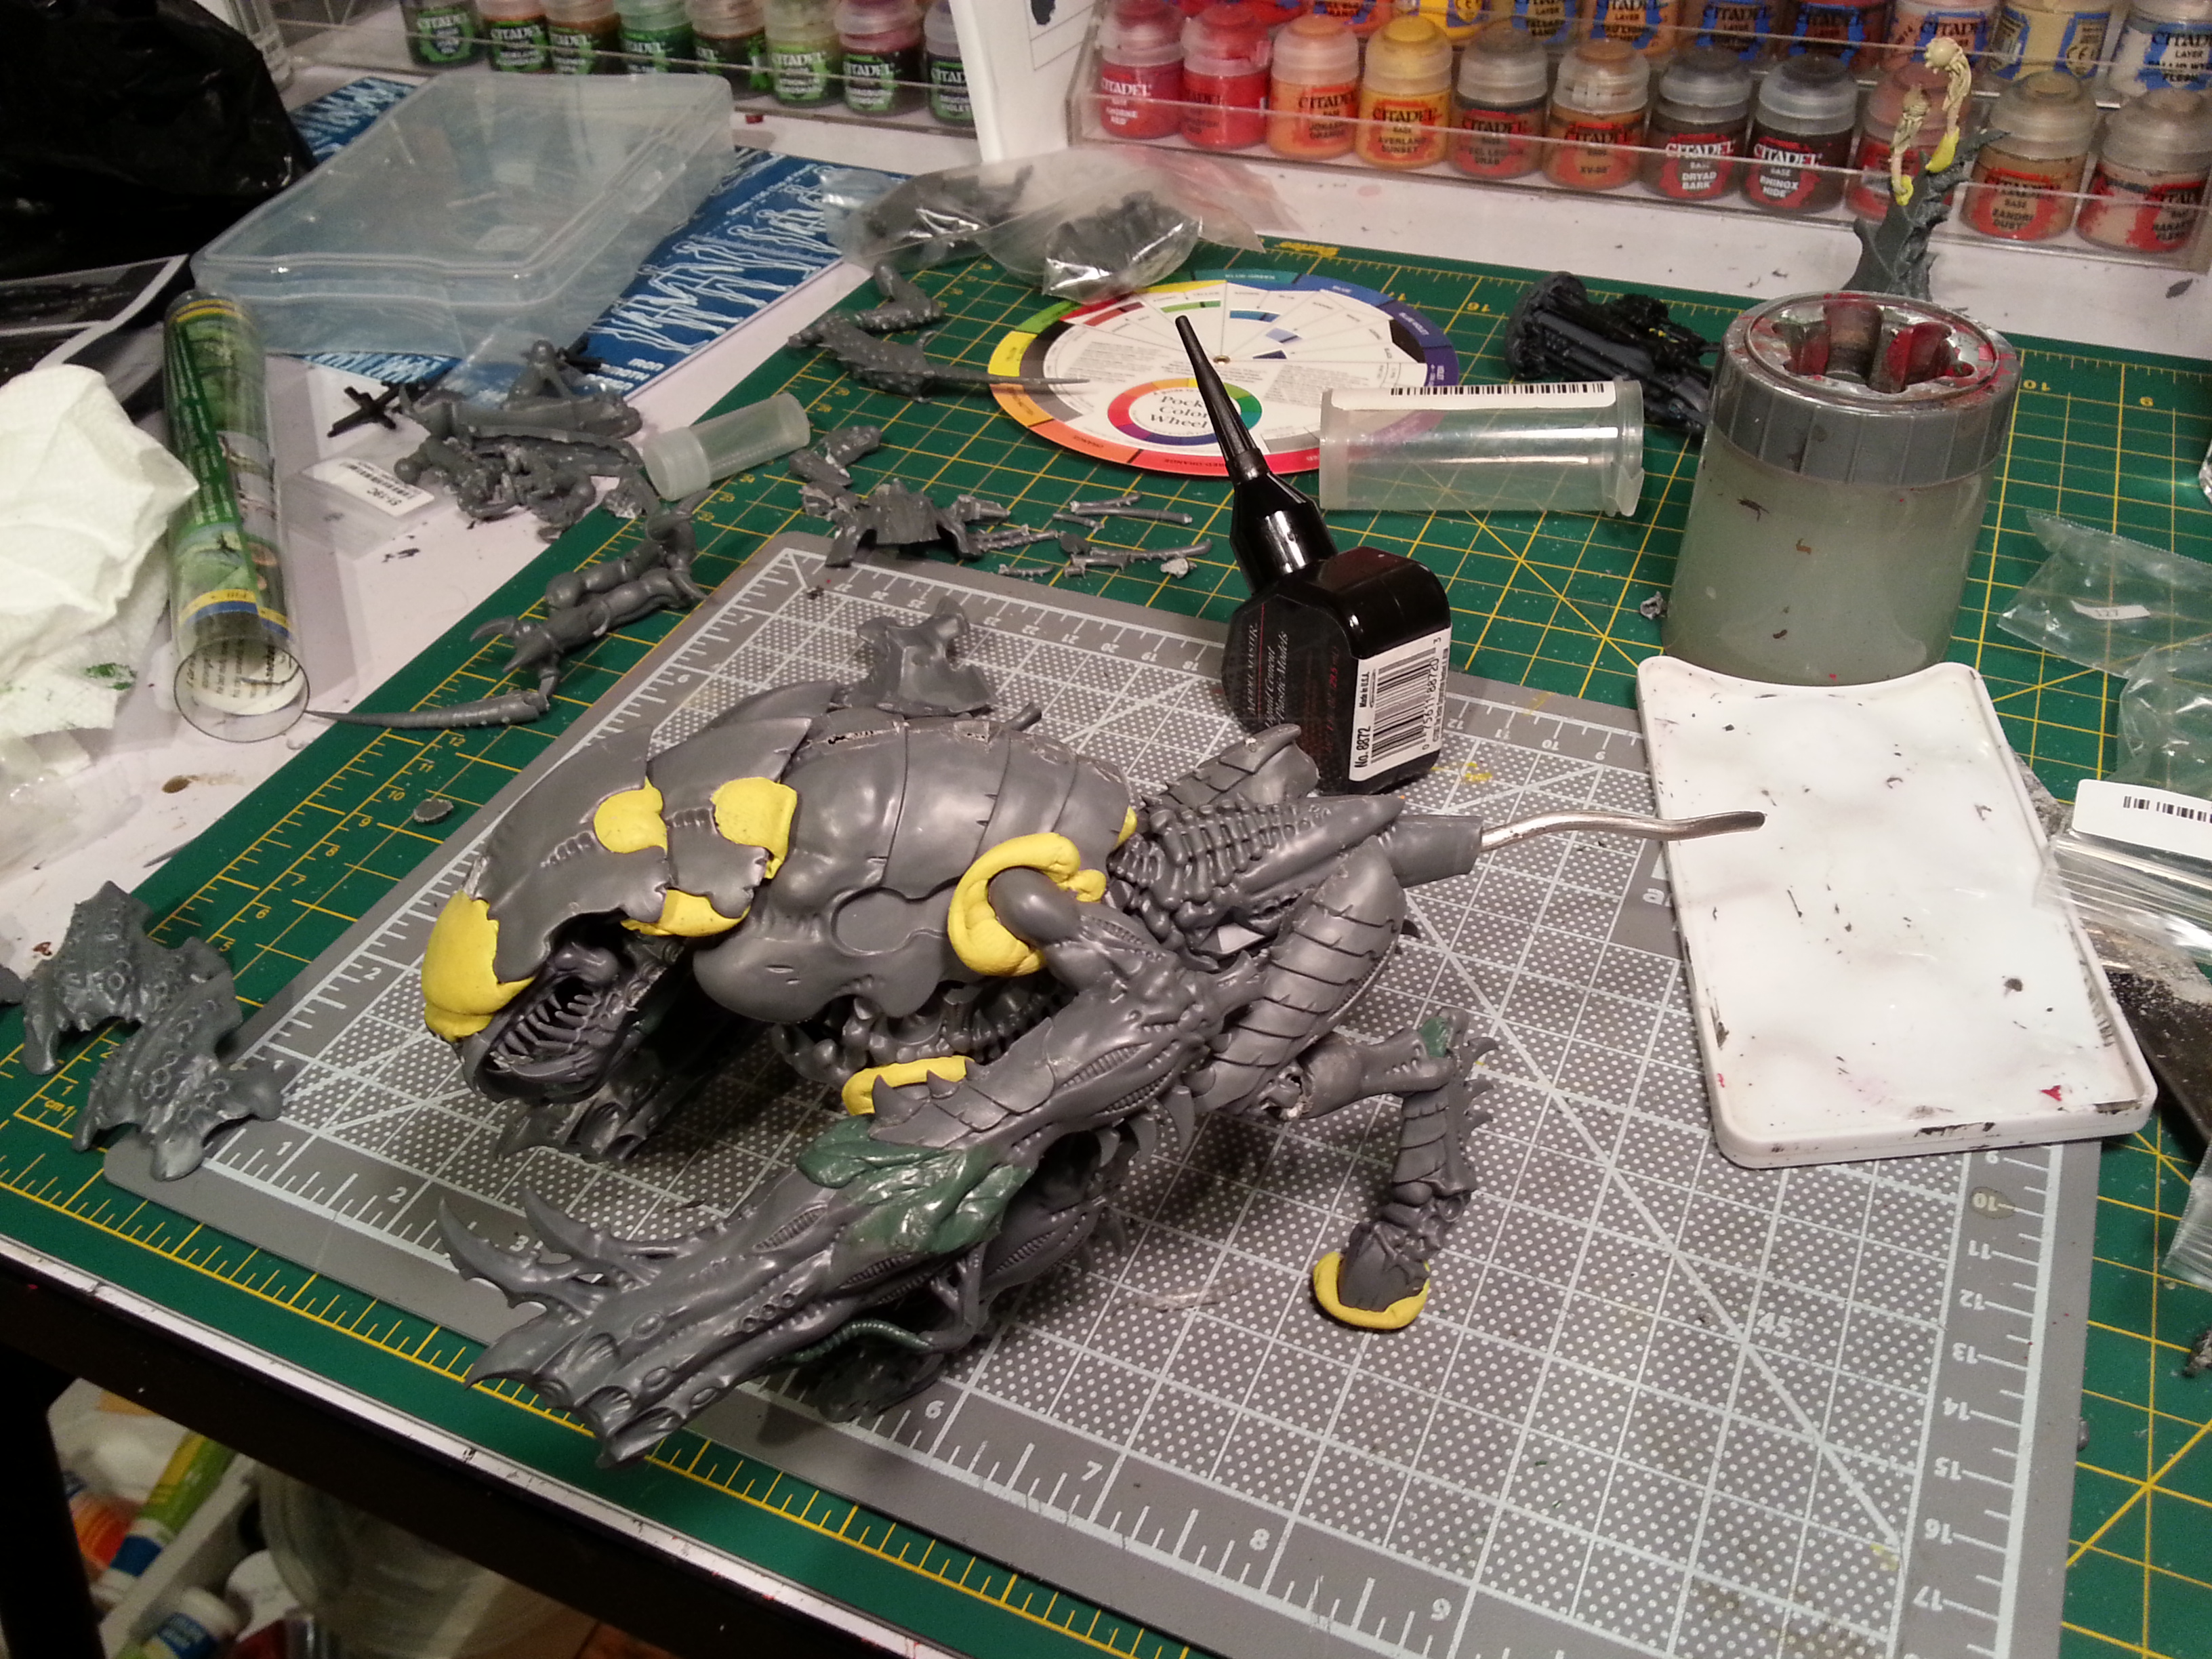
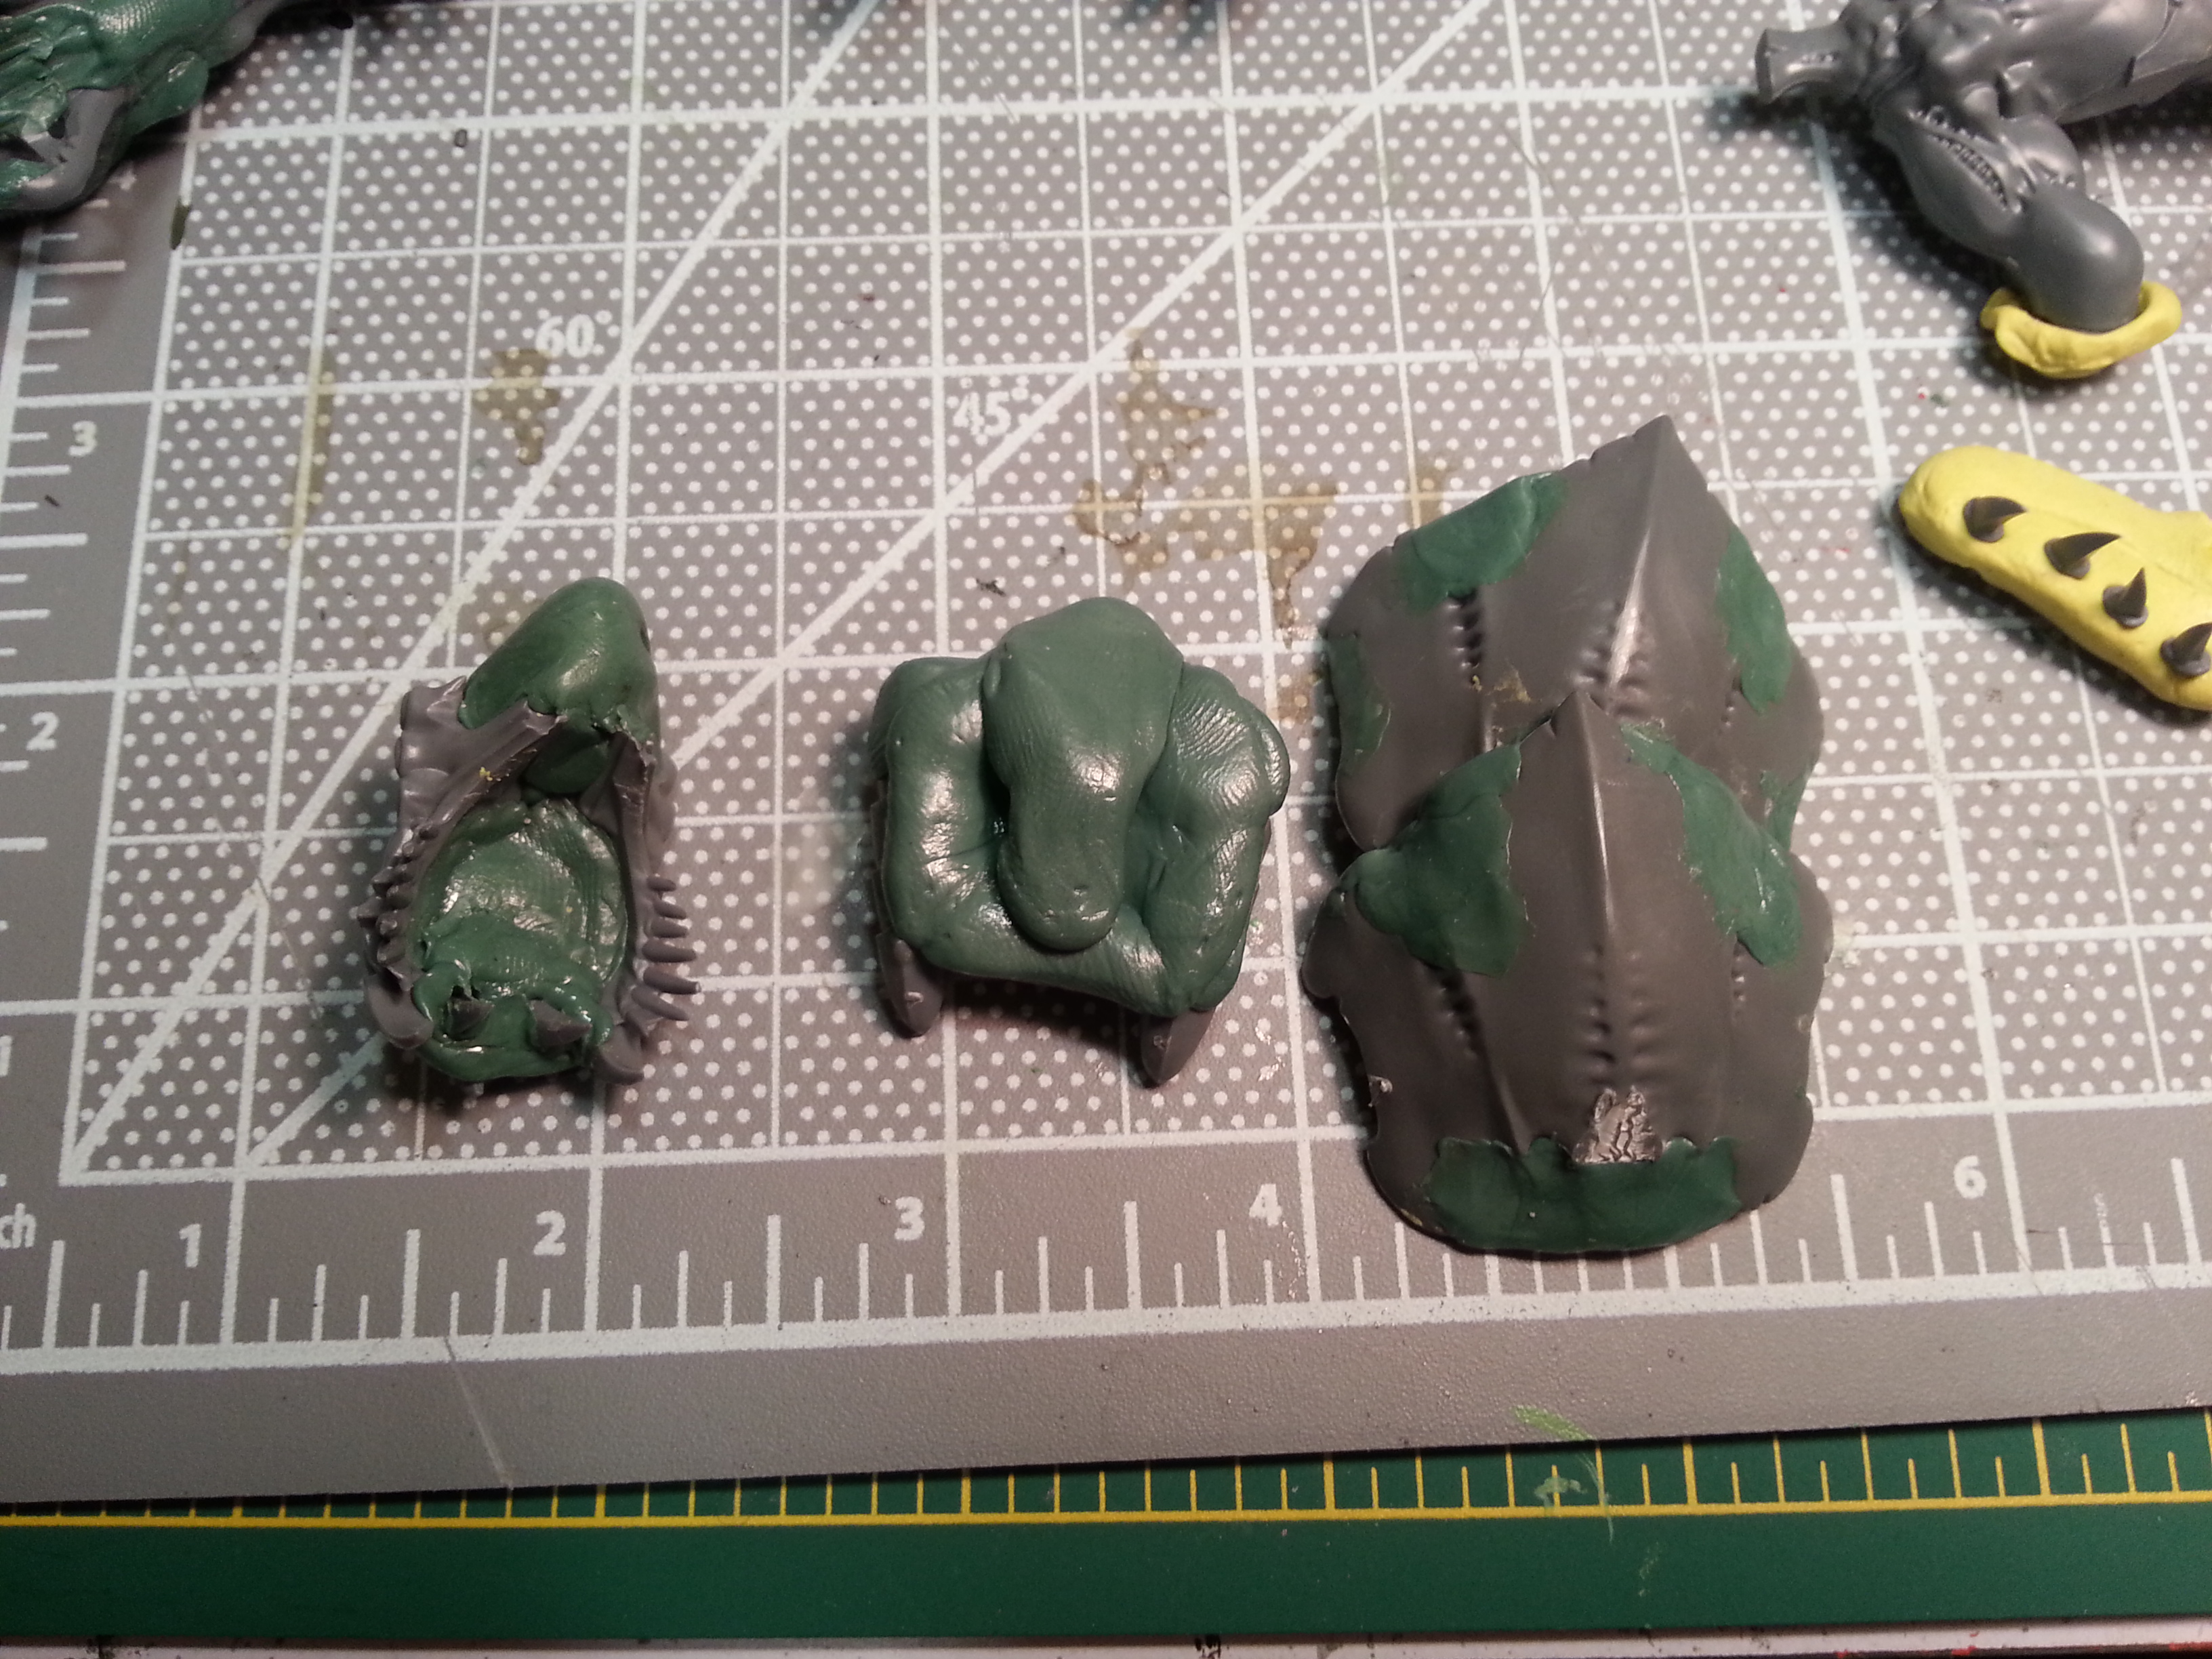
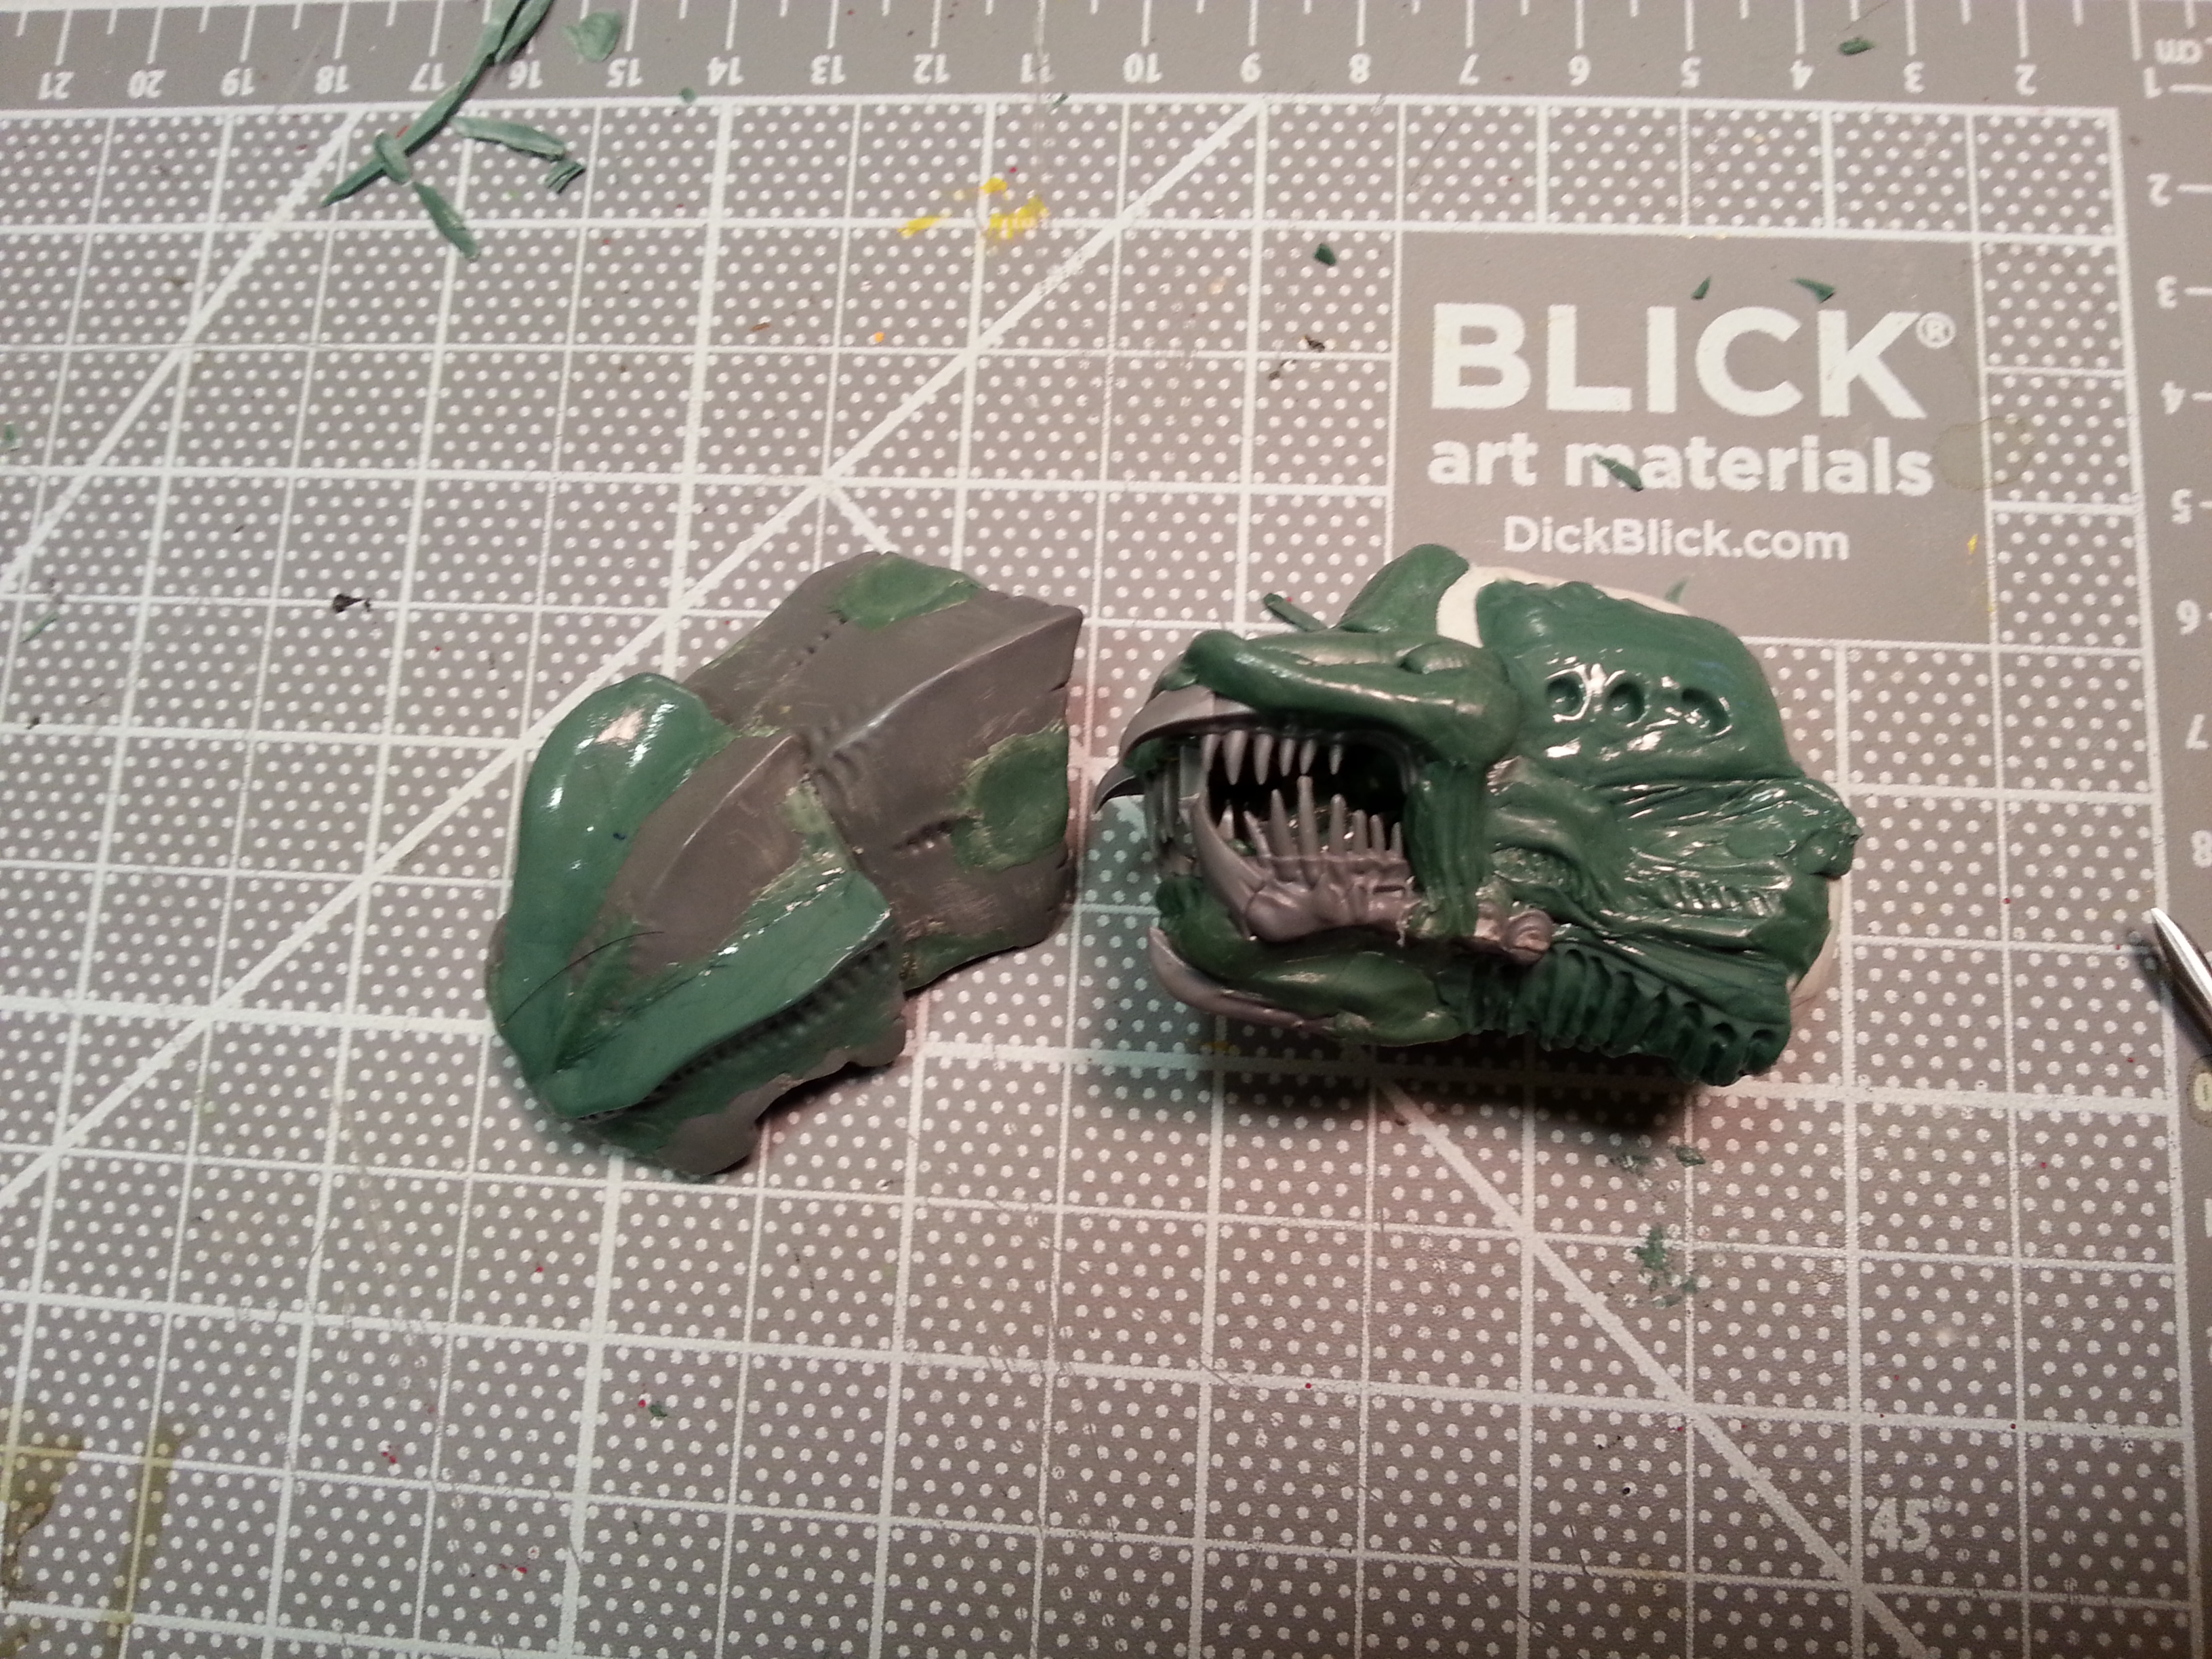
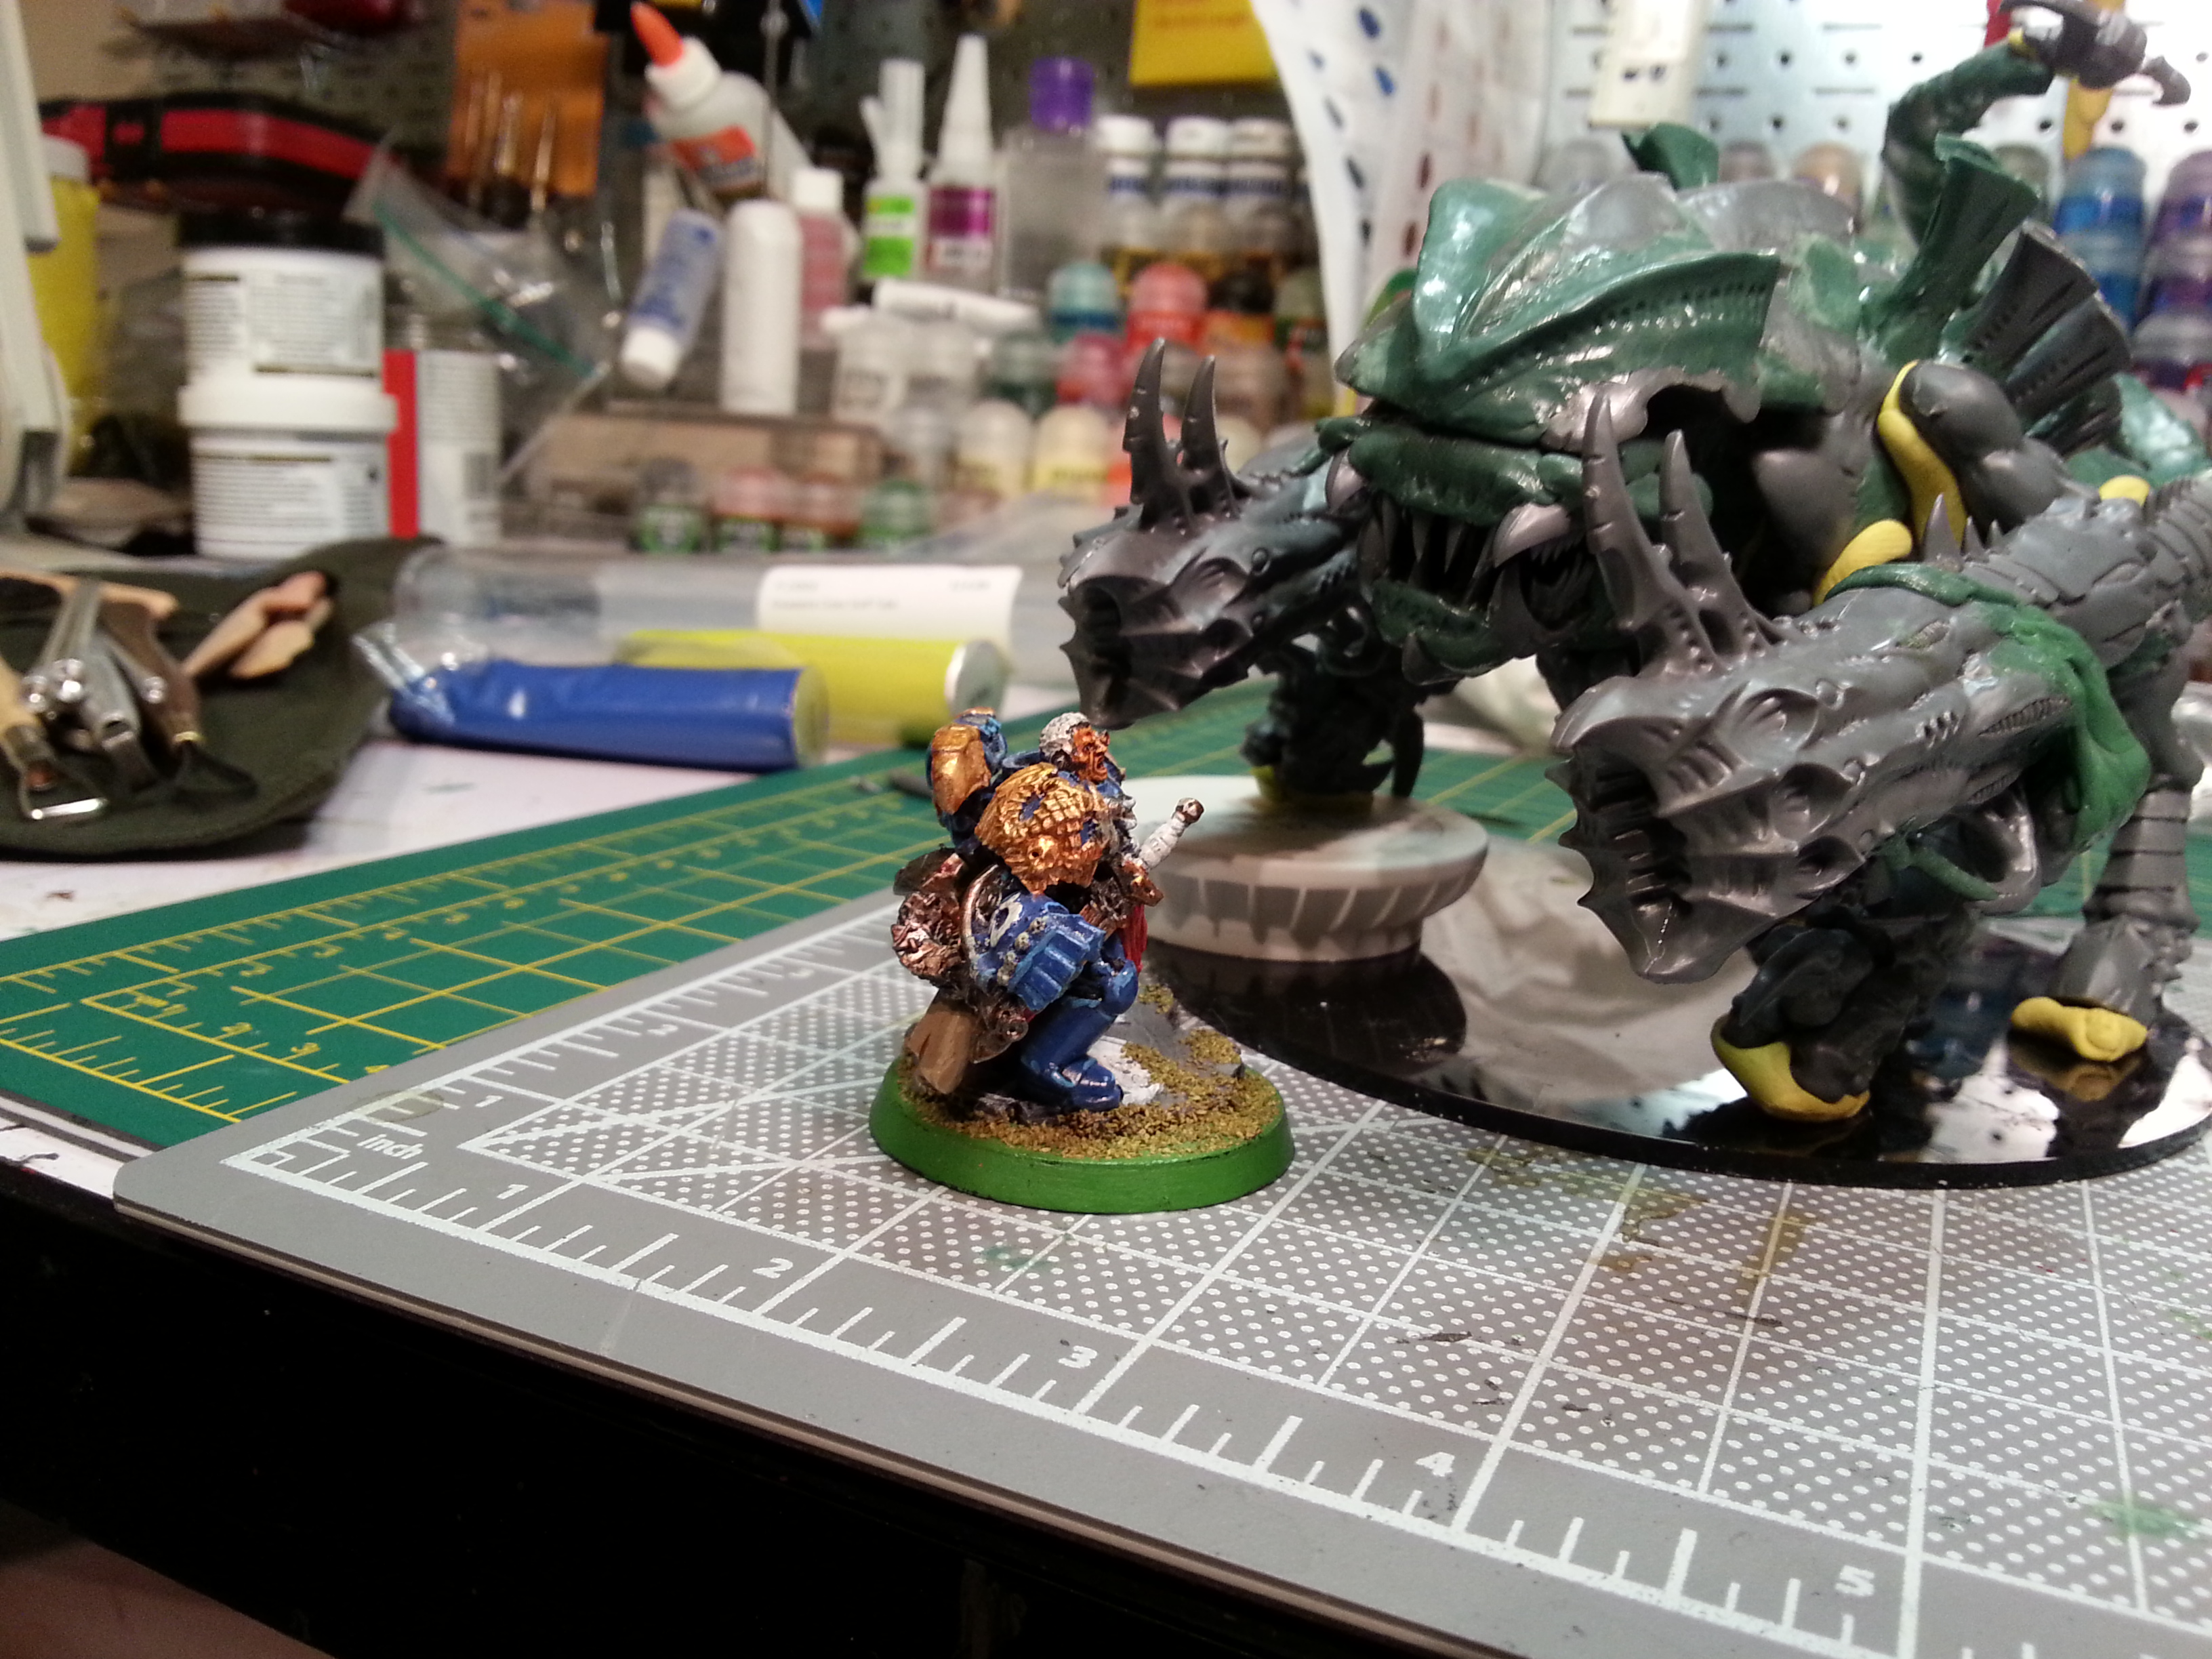
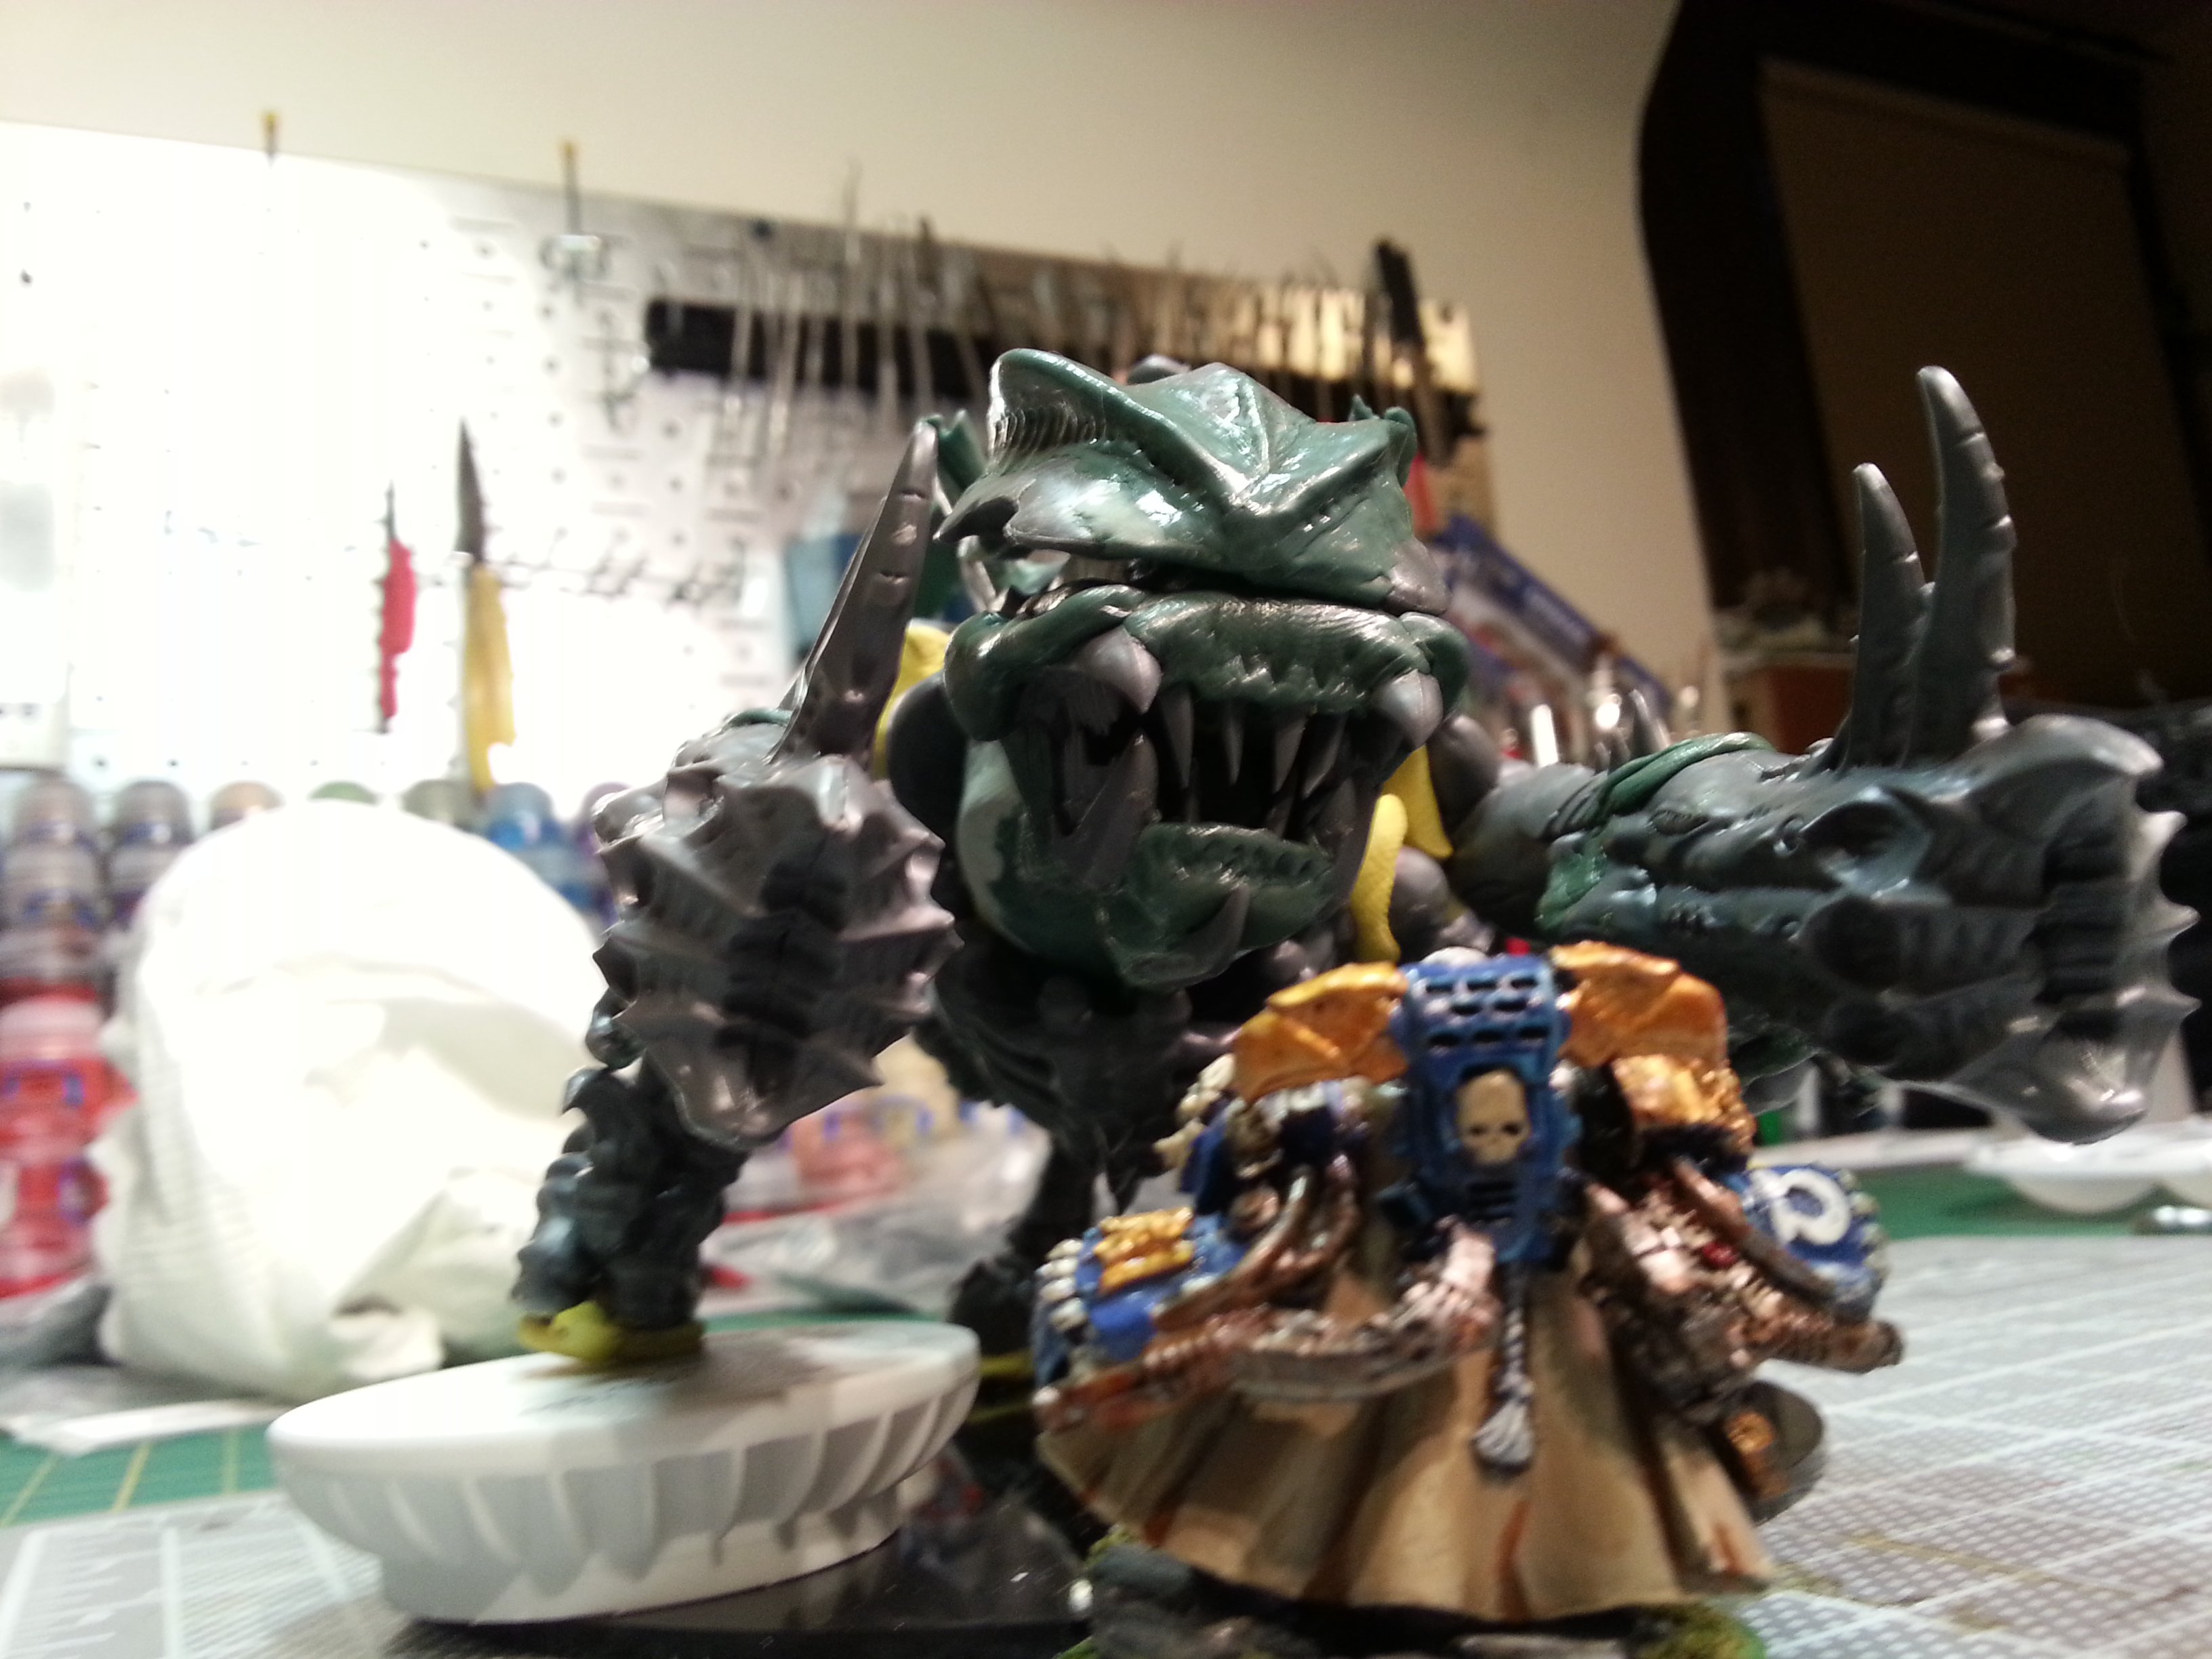
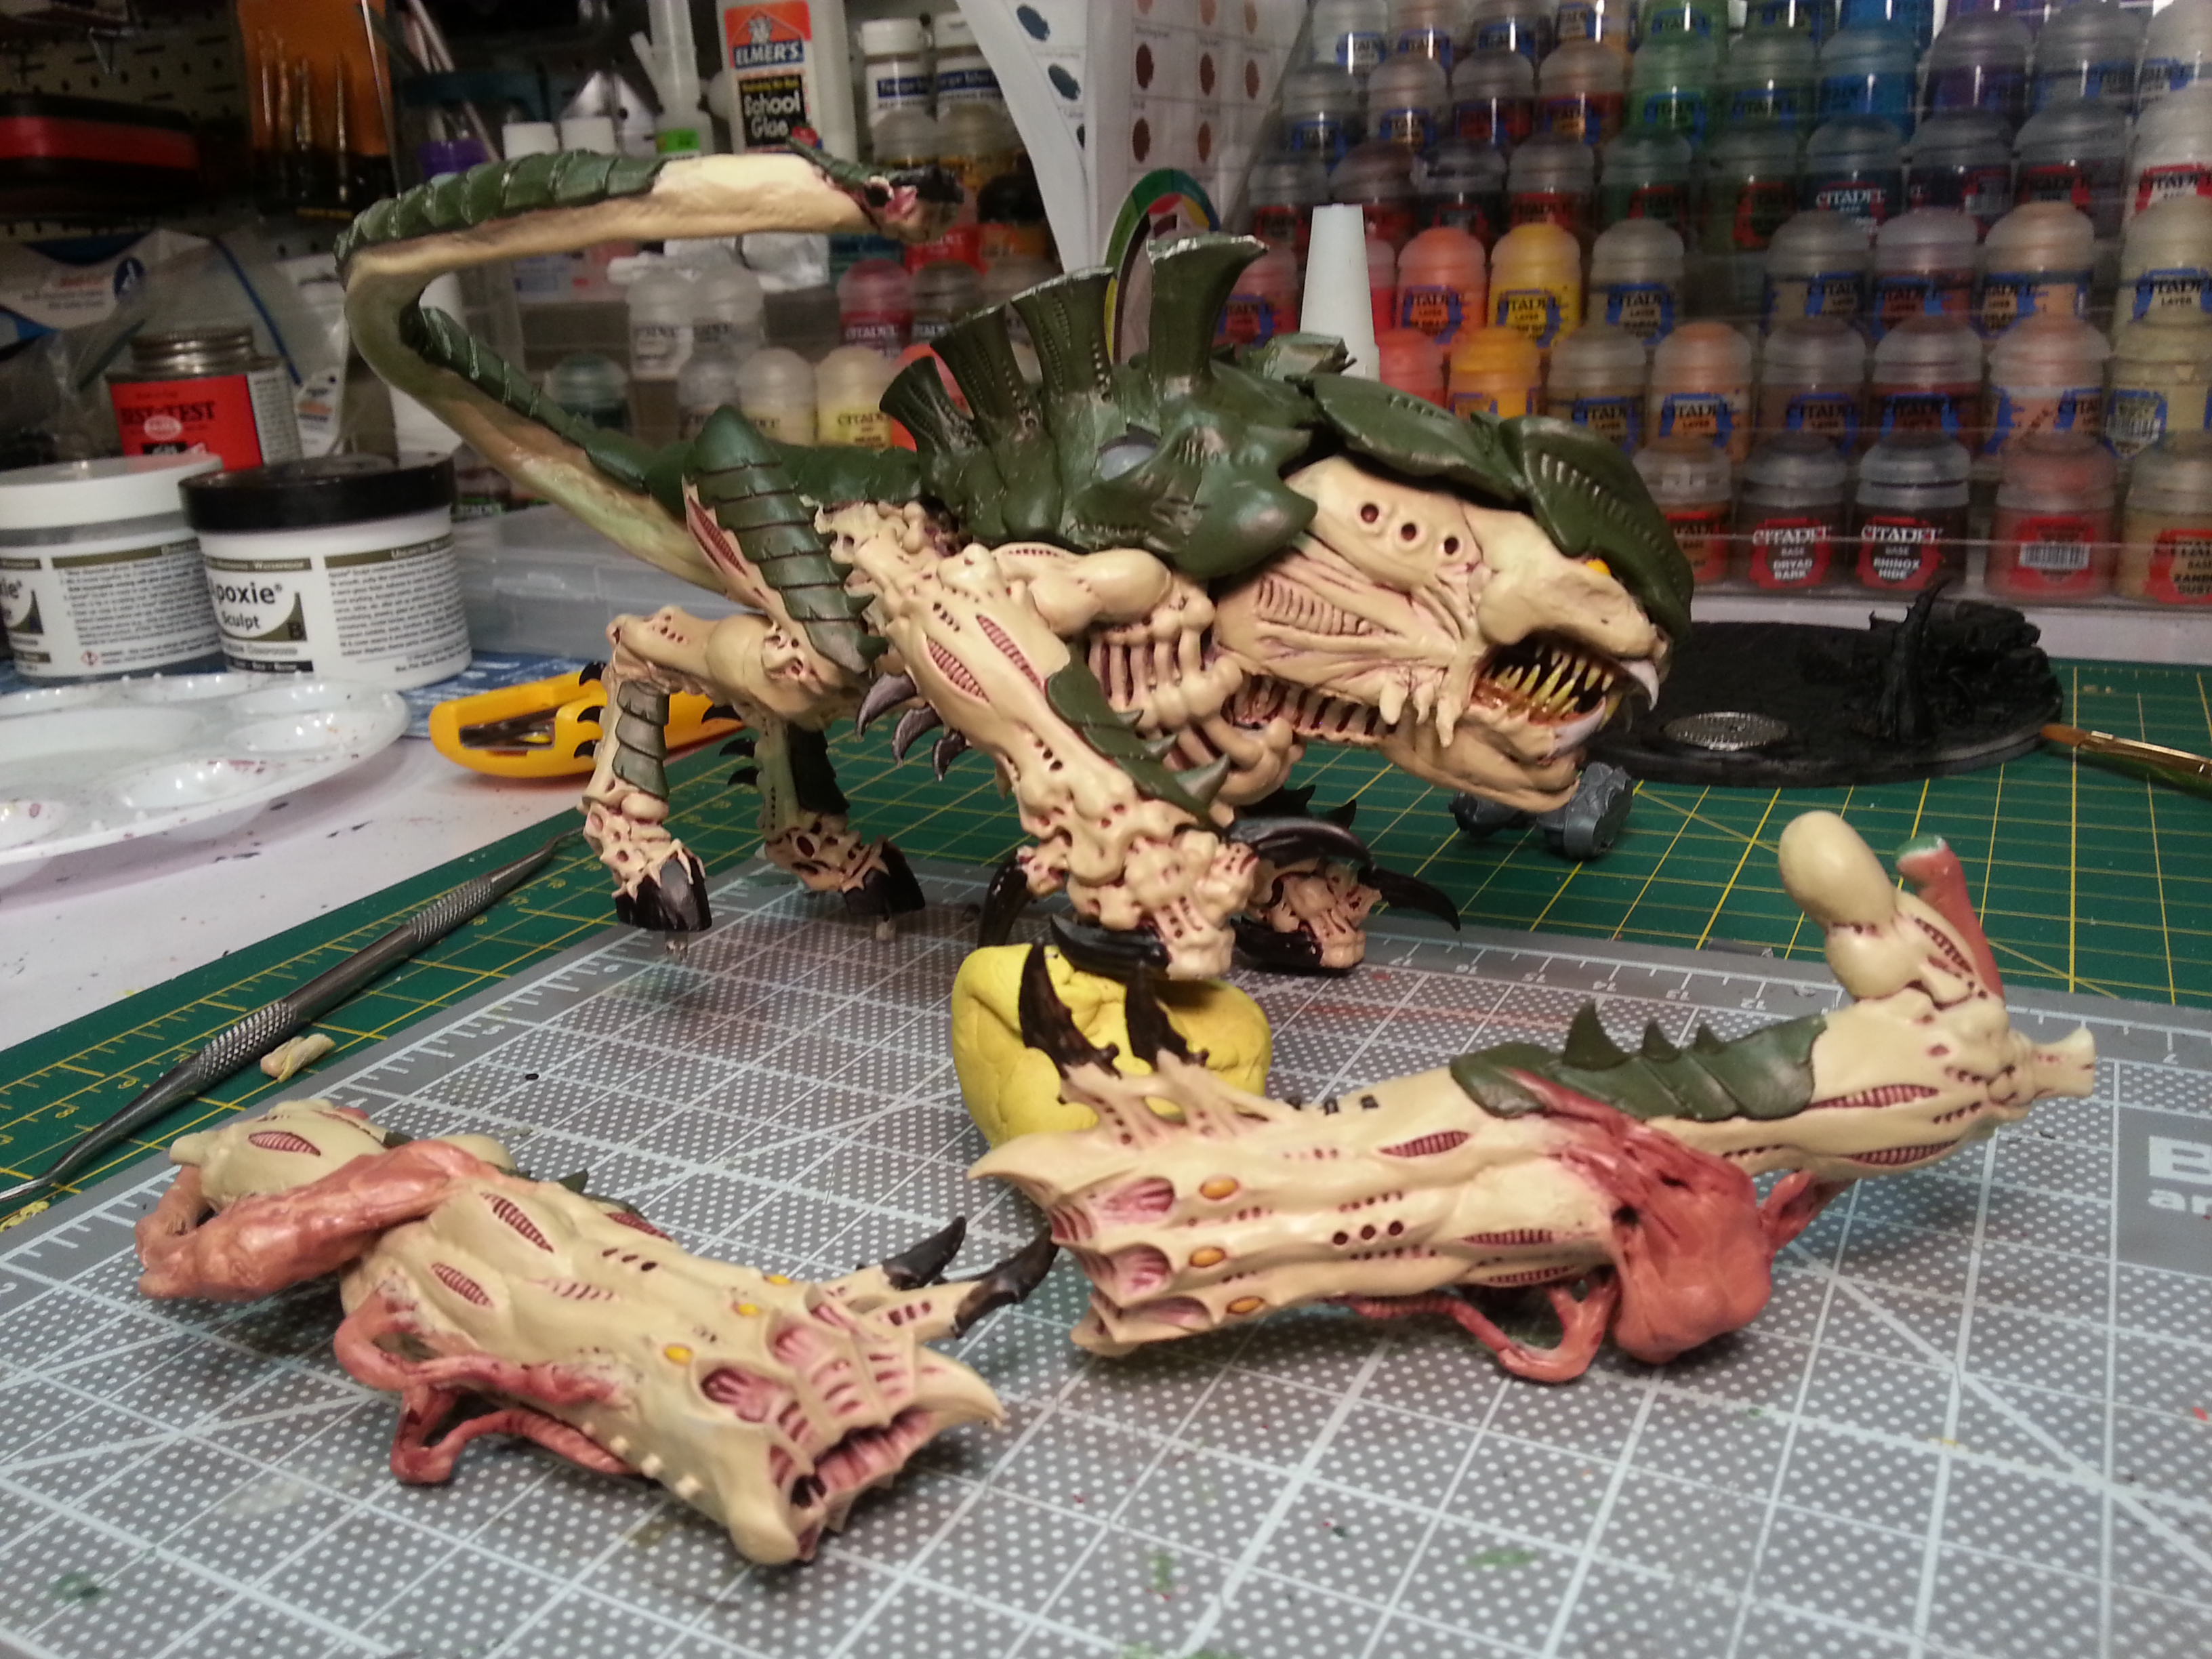
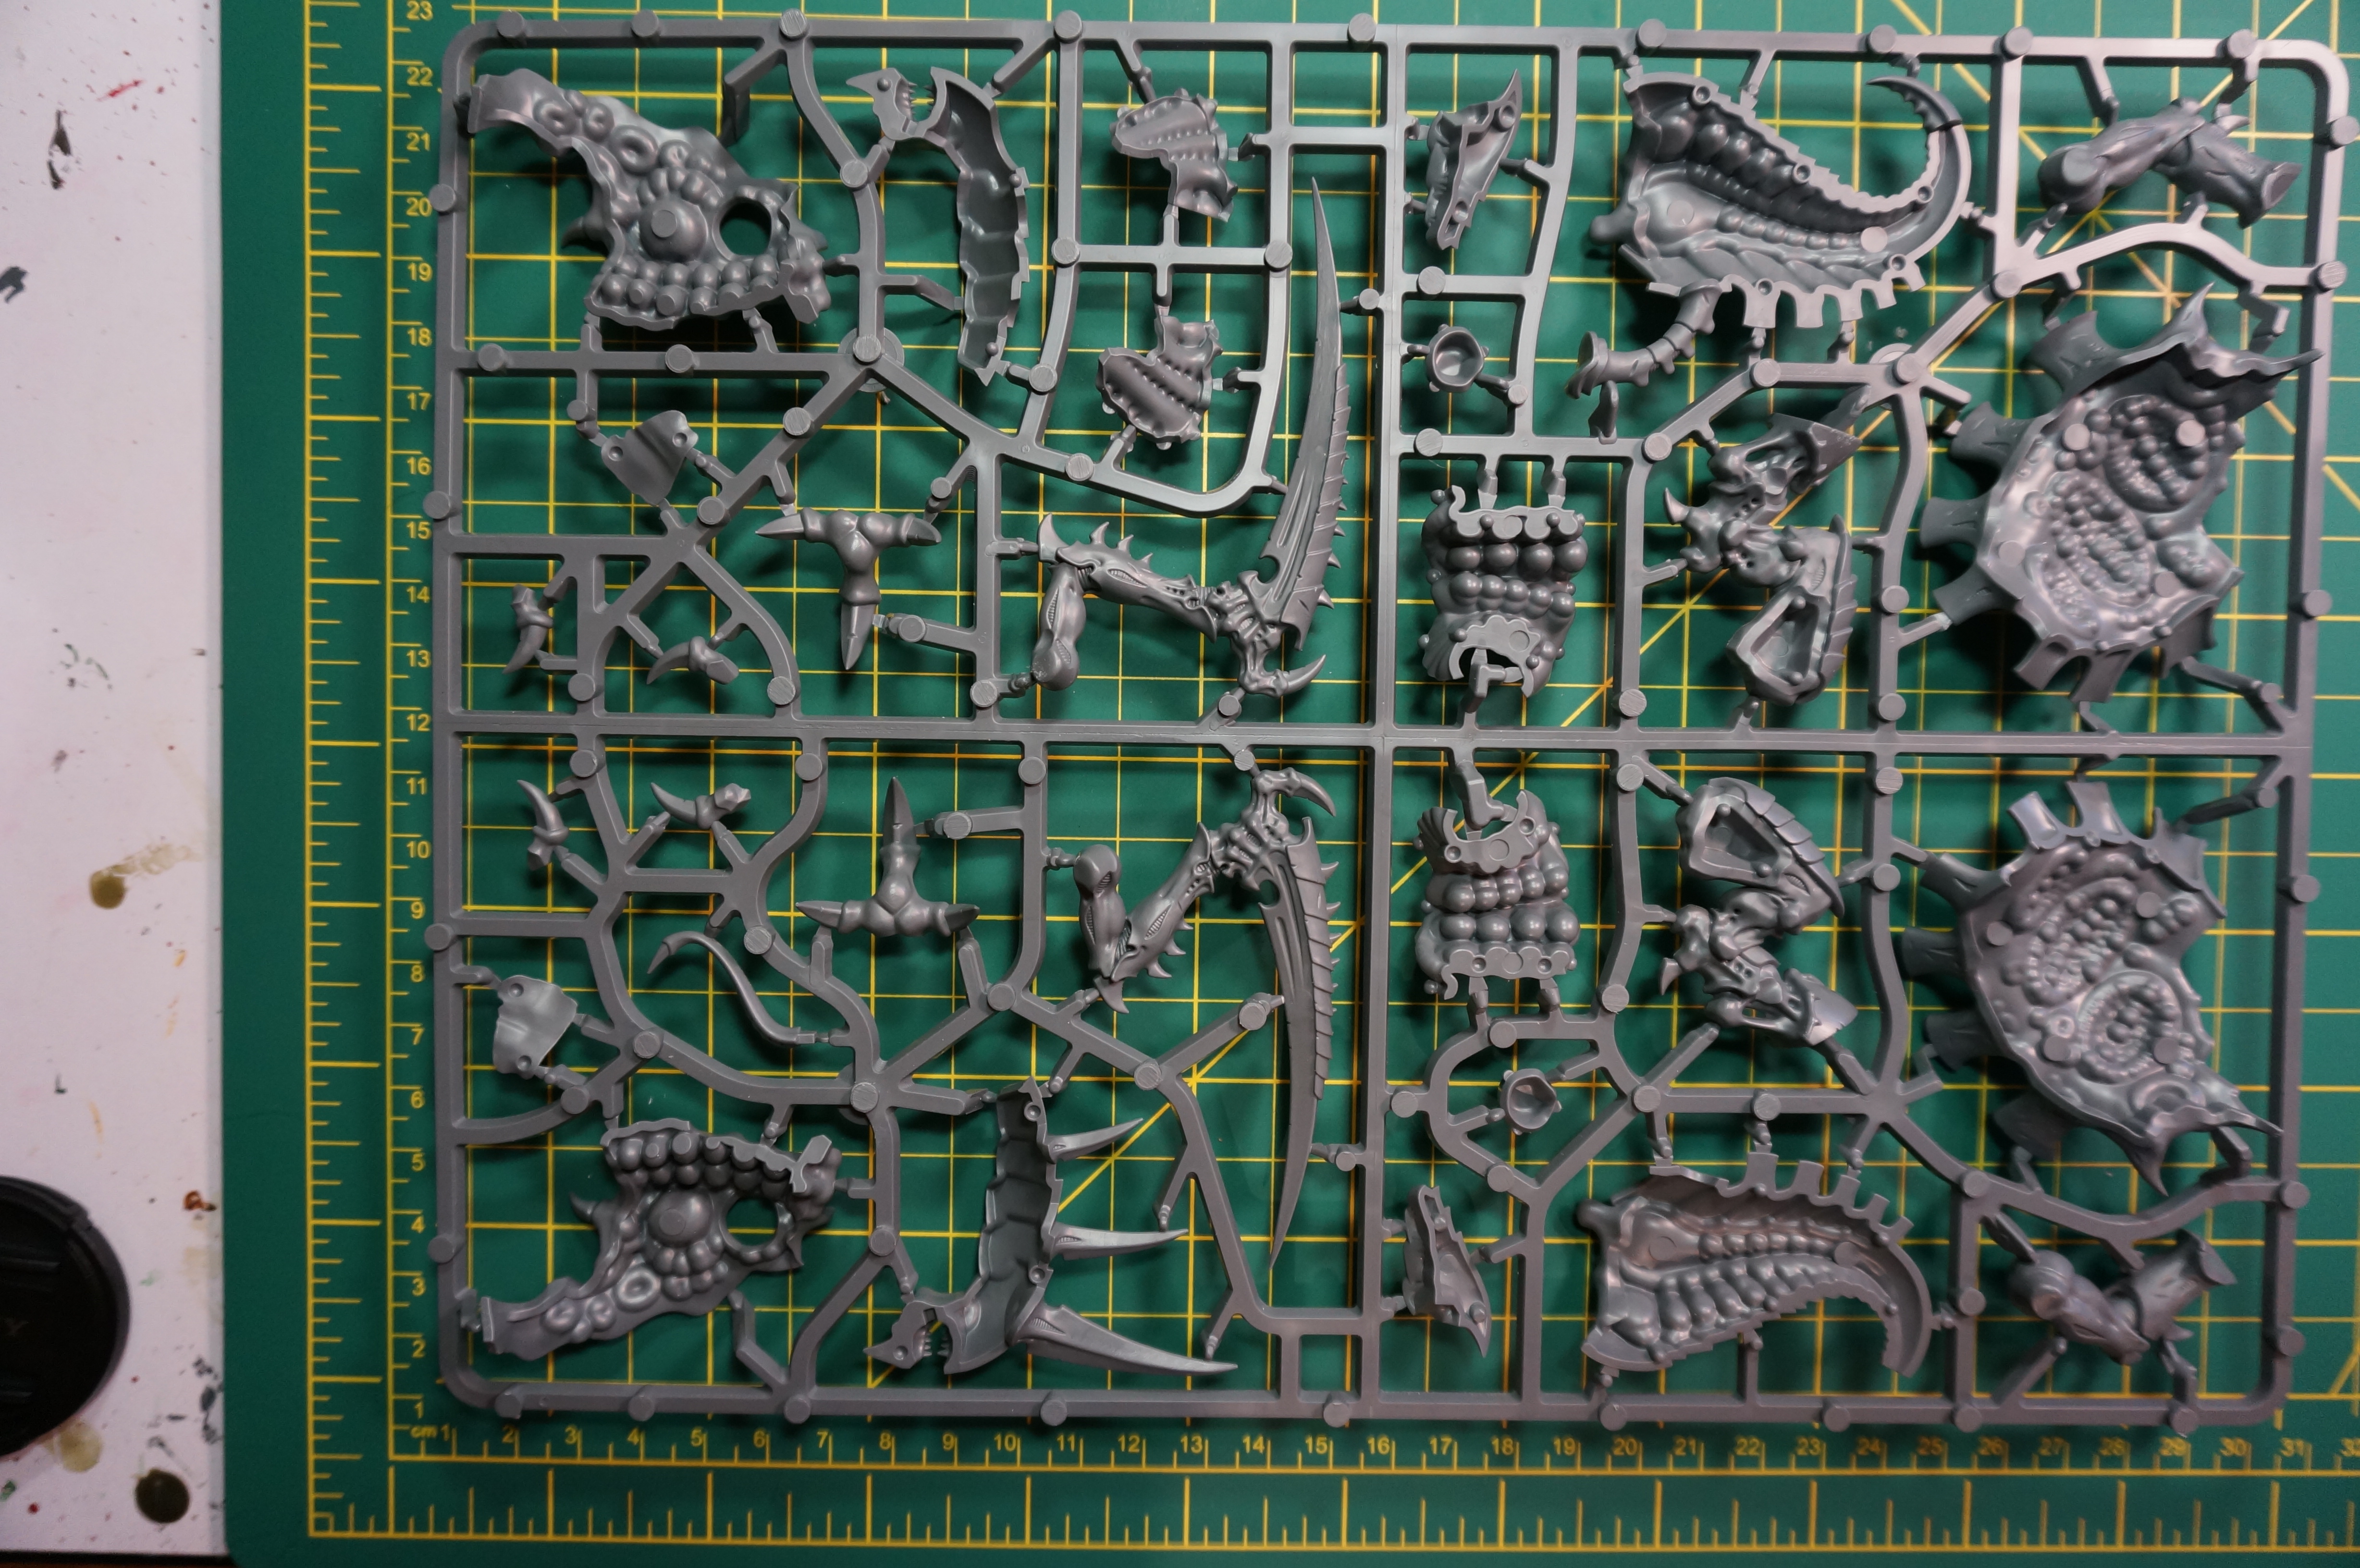
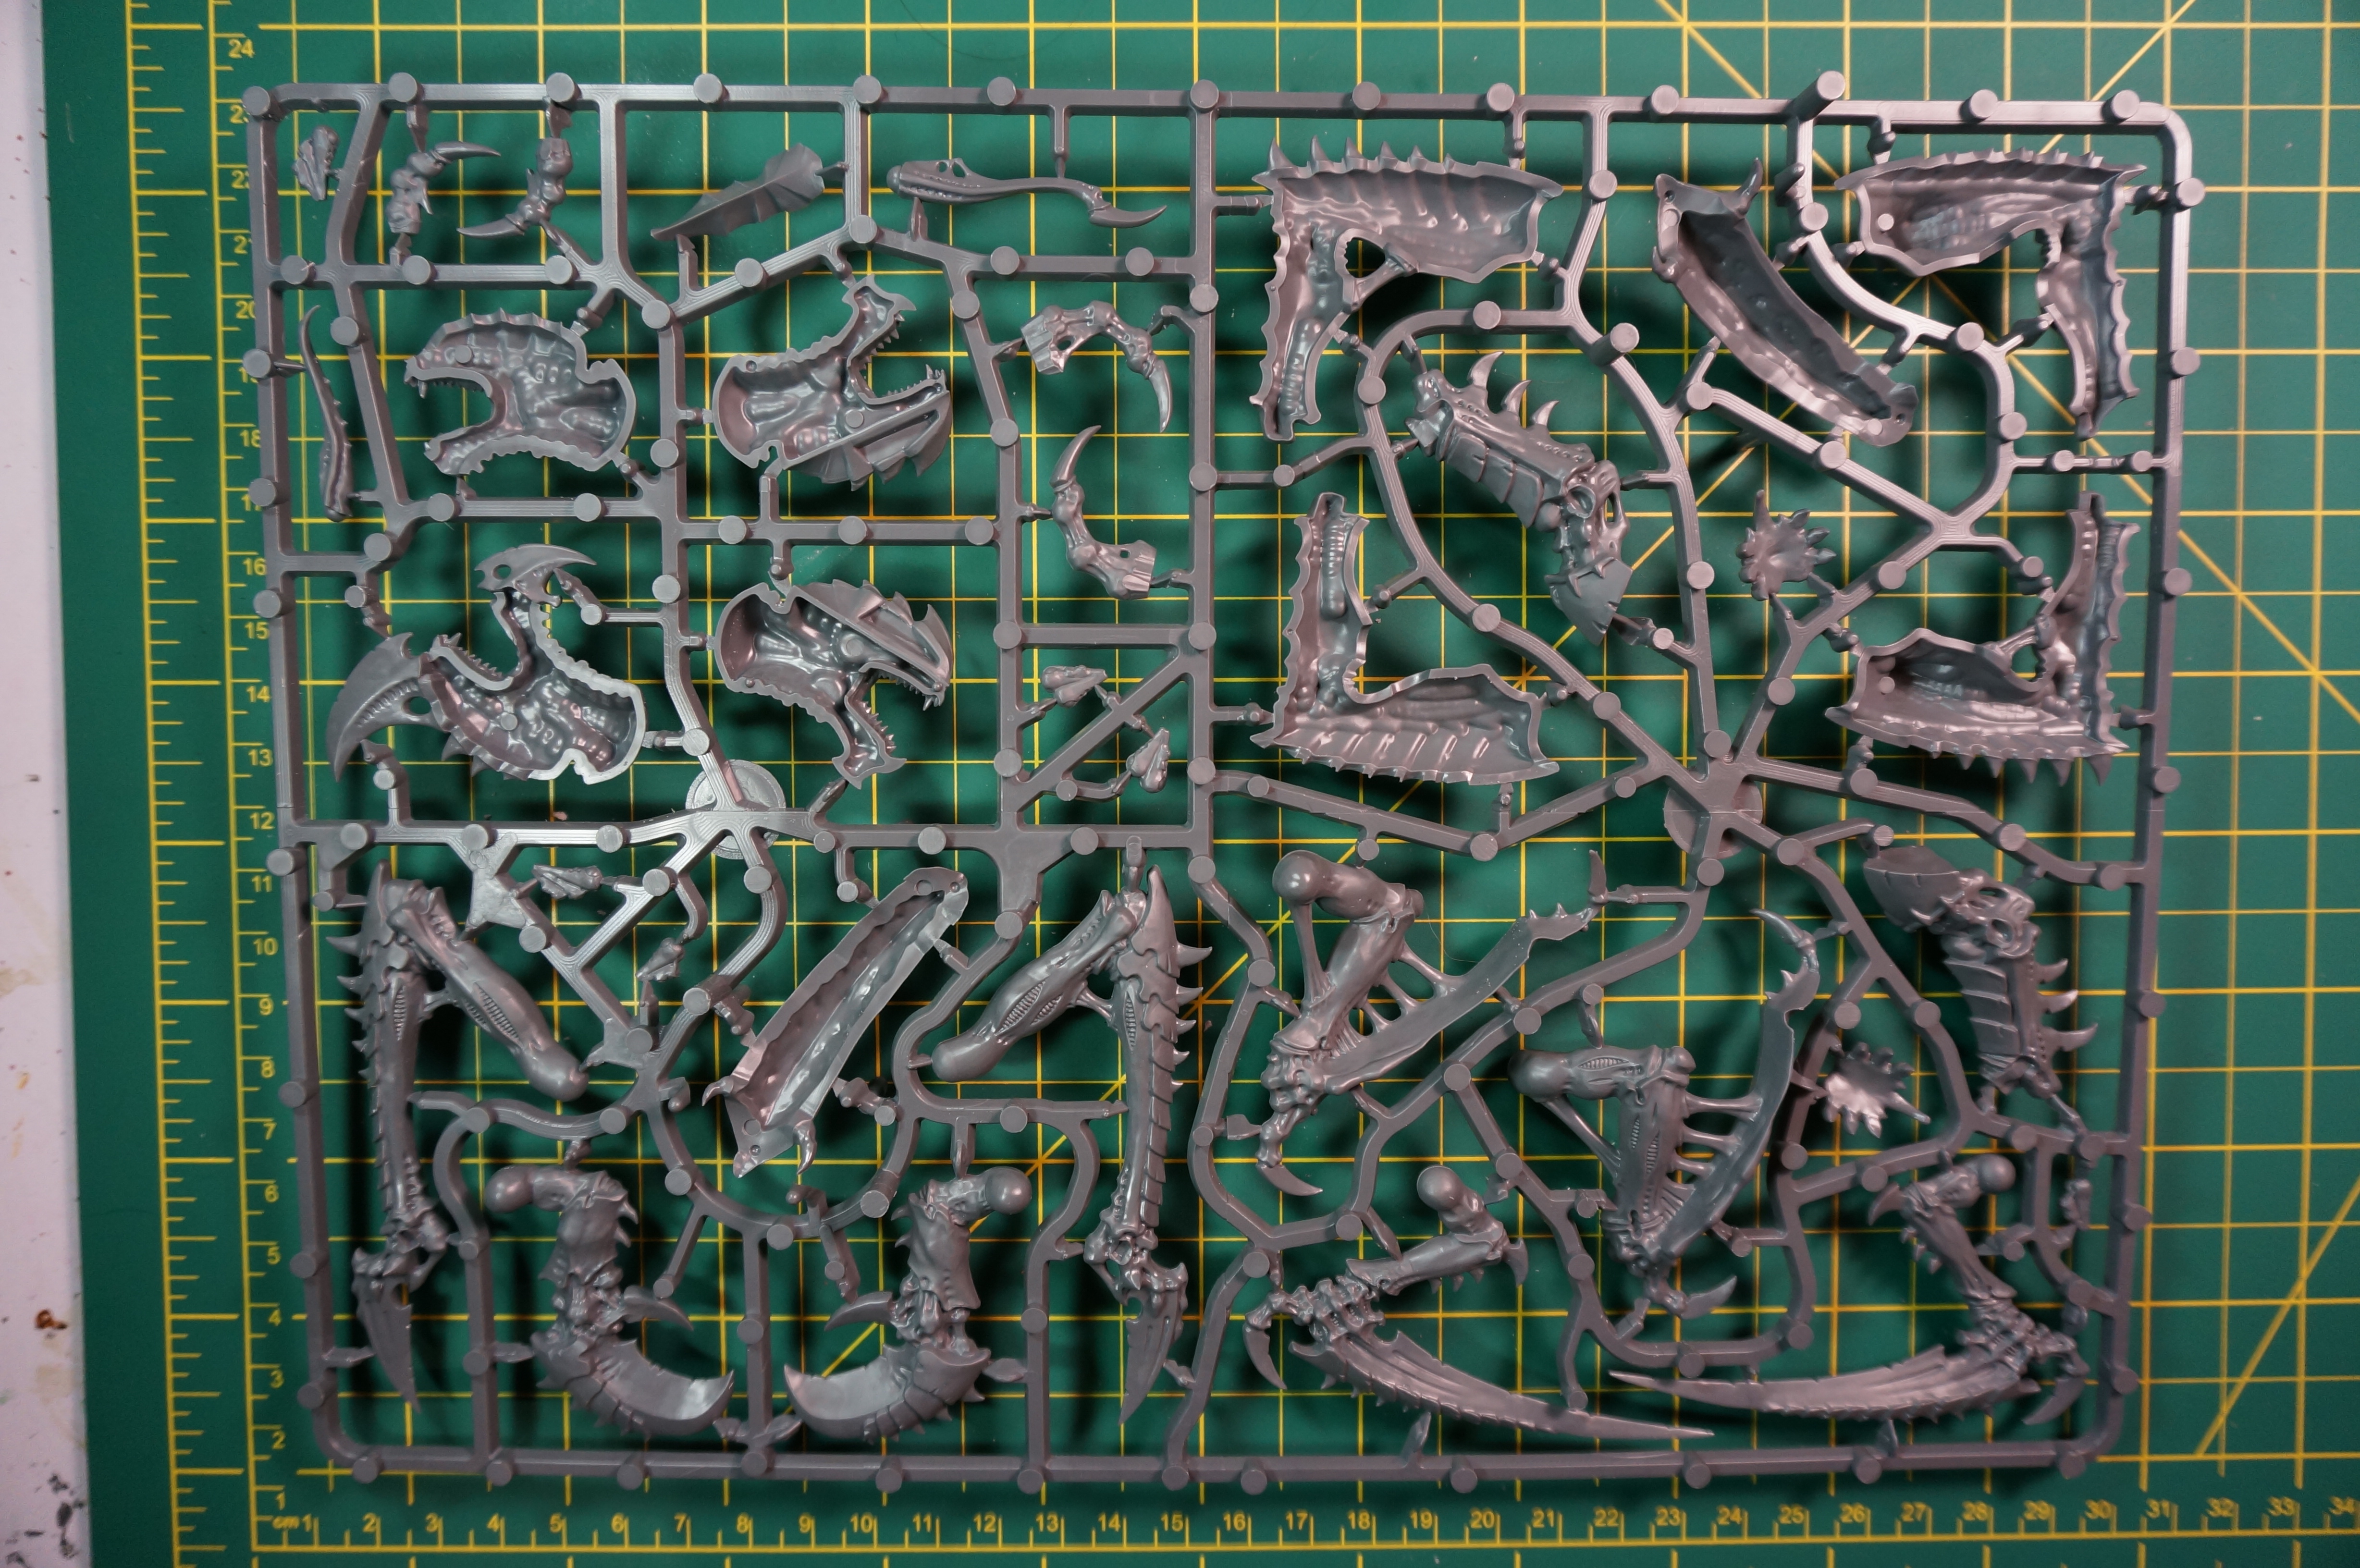
How exciting...blobs. (I doubt anyone other than me will care about these work-in-progress shots. But hey, guess who's writing this Web page?)
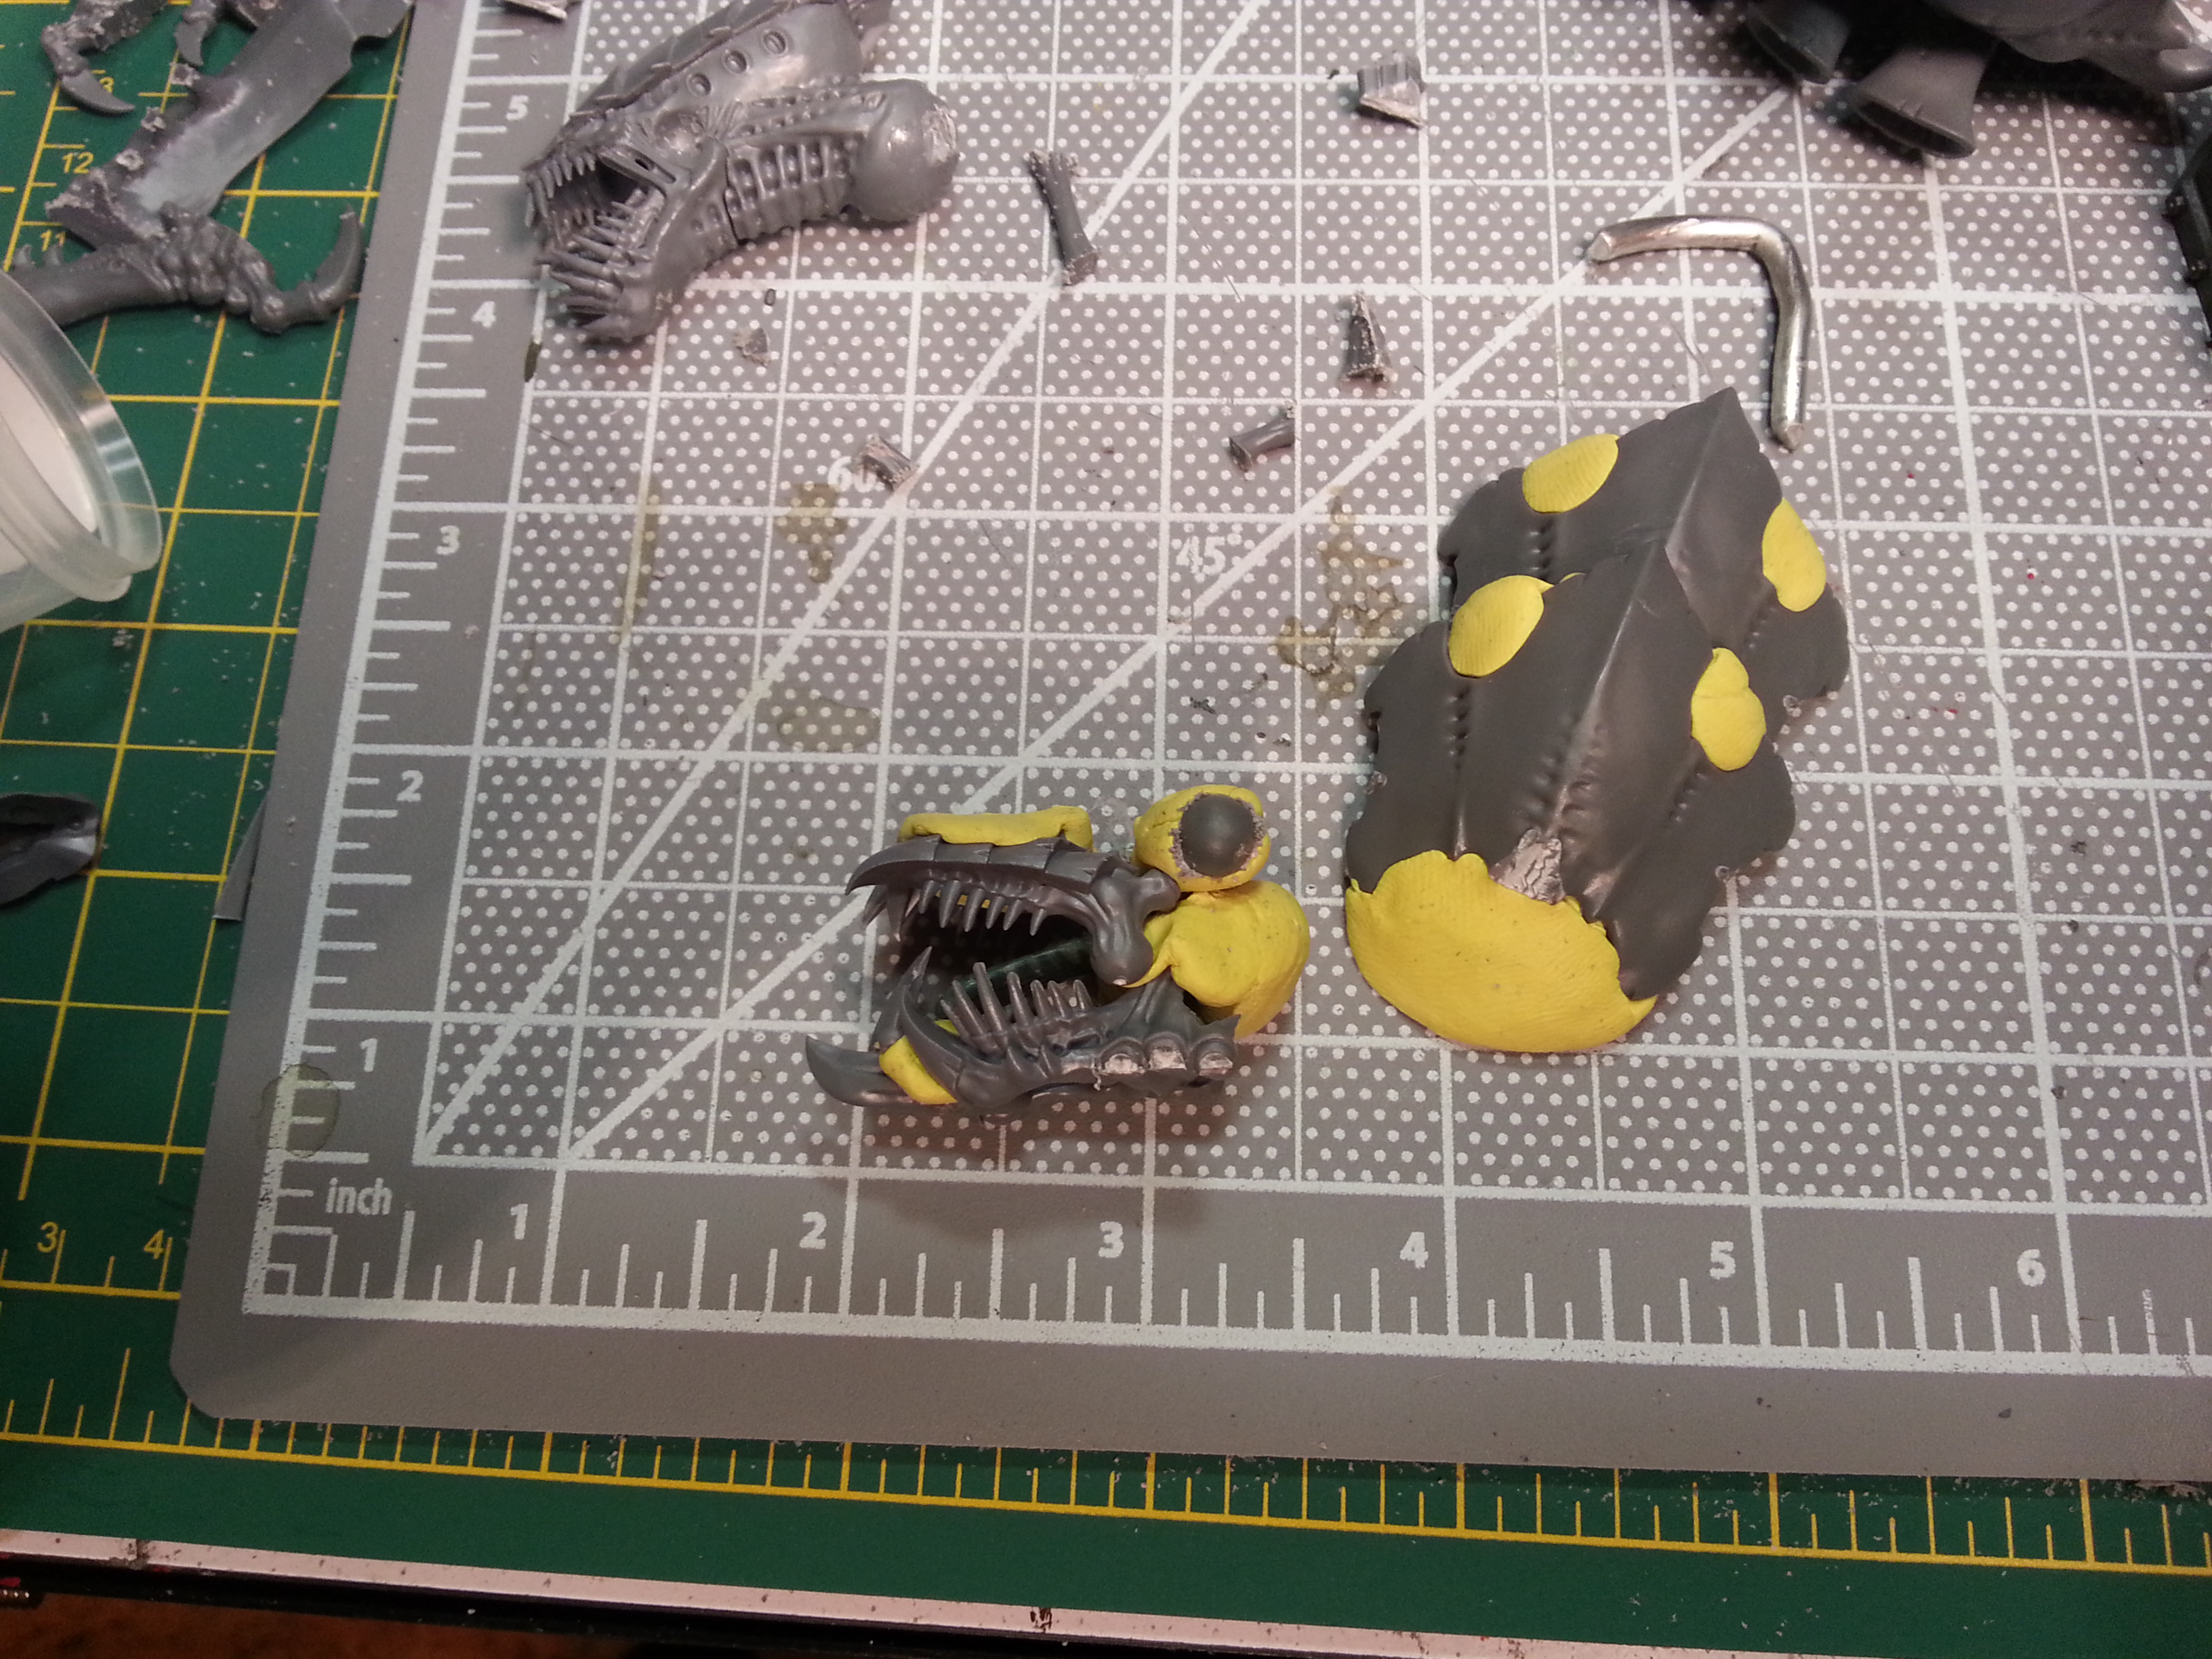
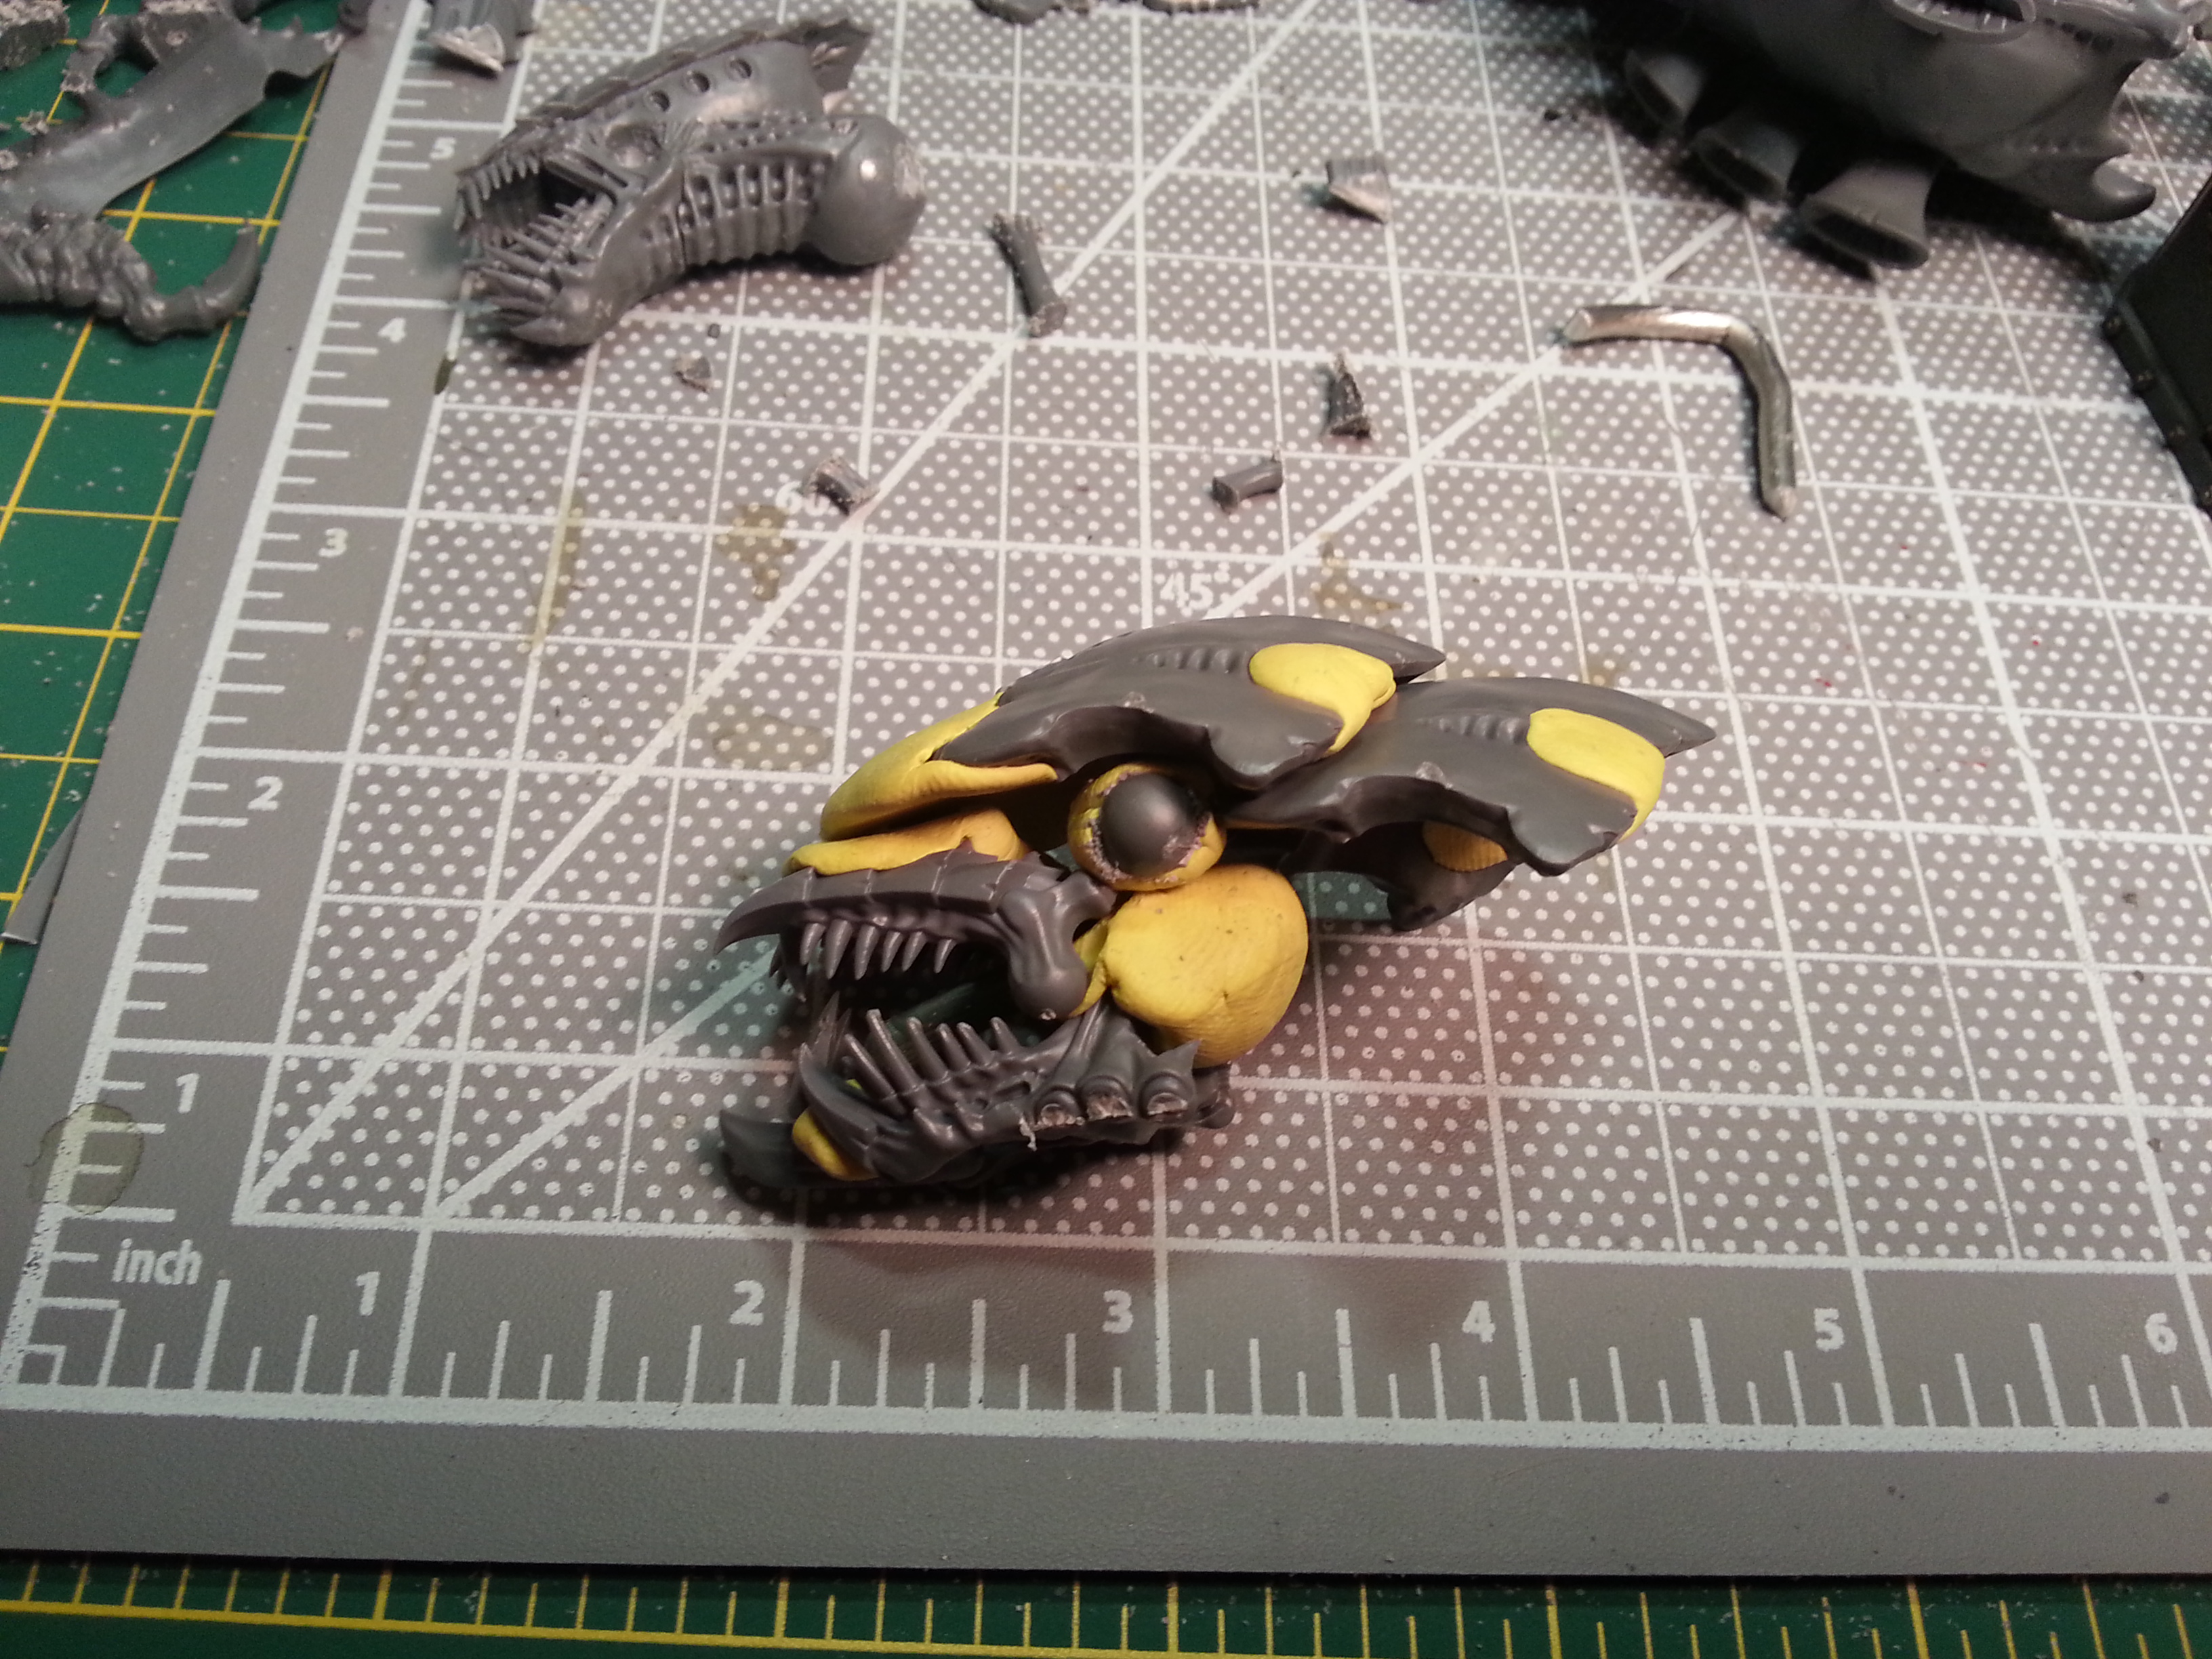
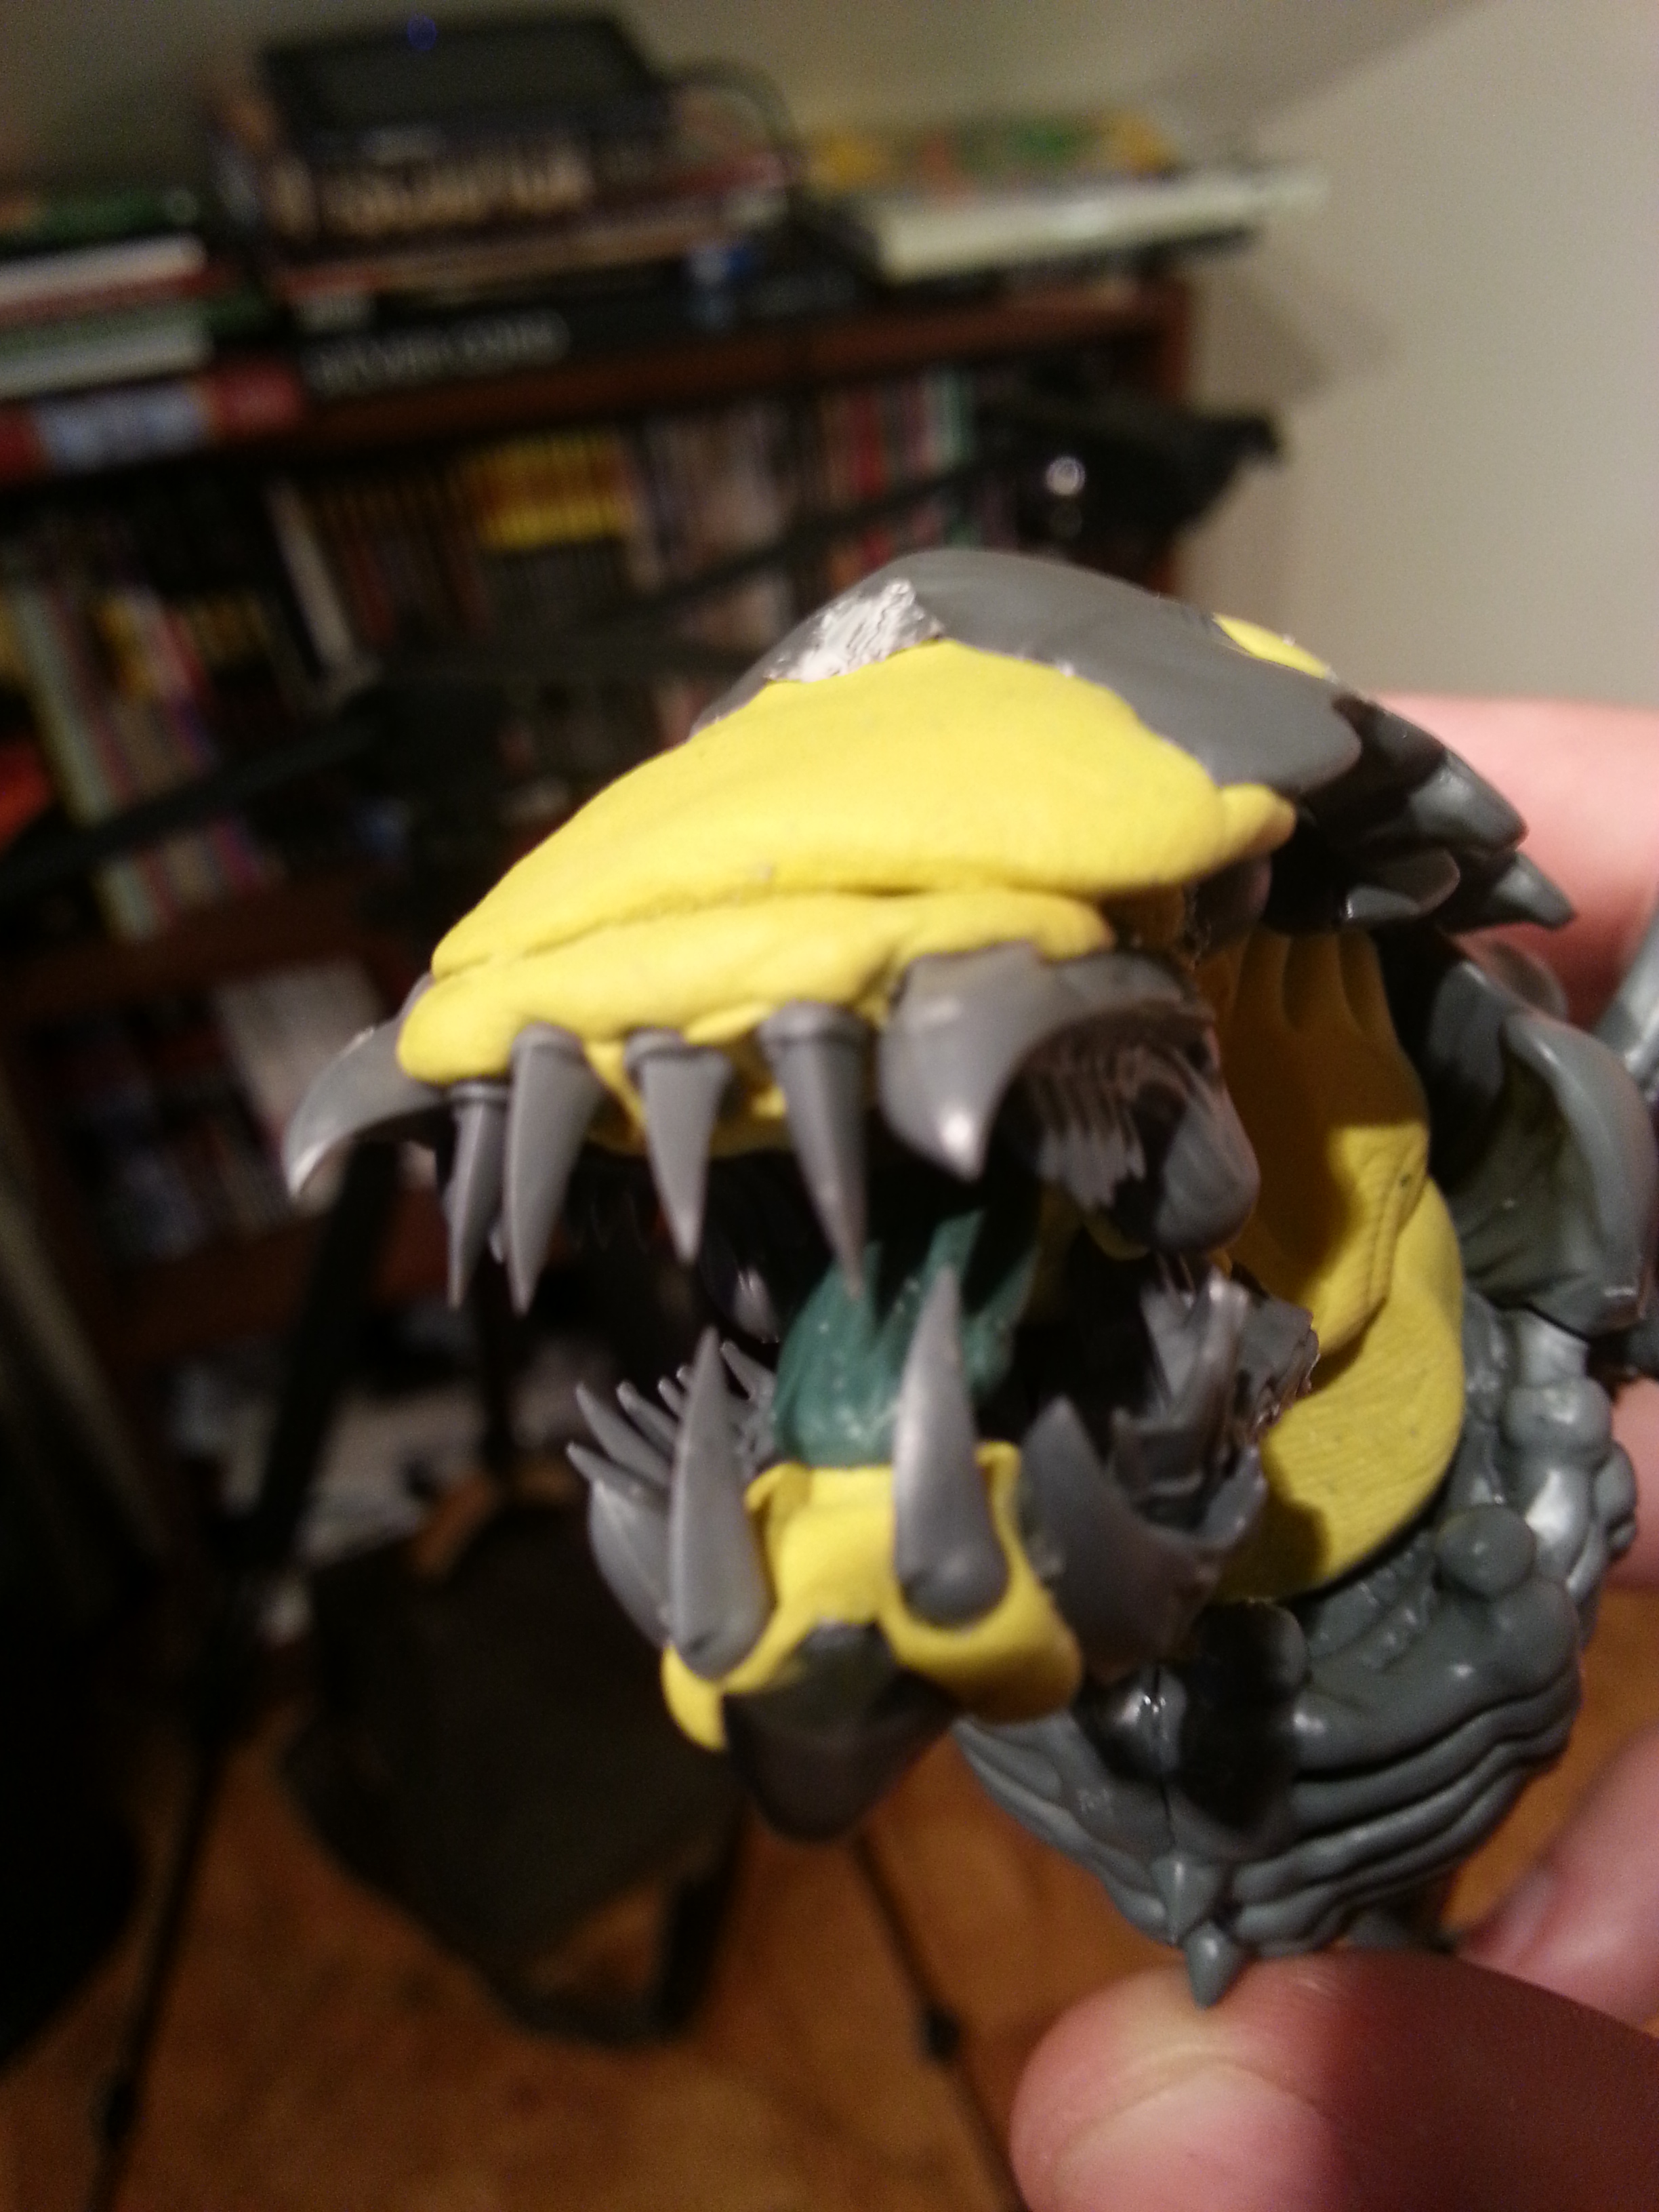
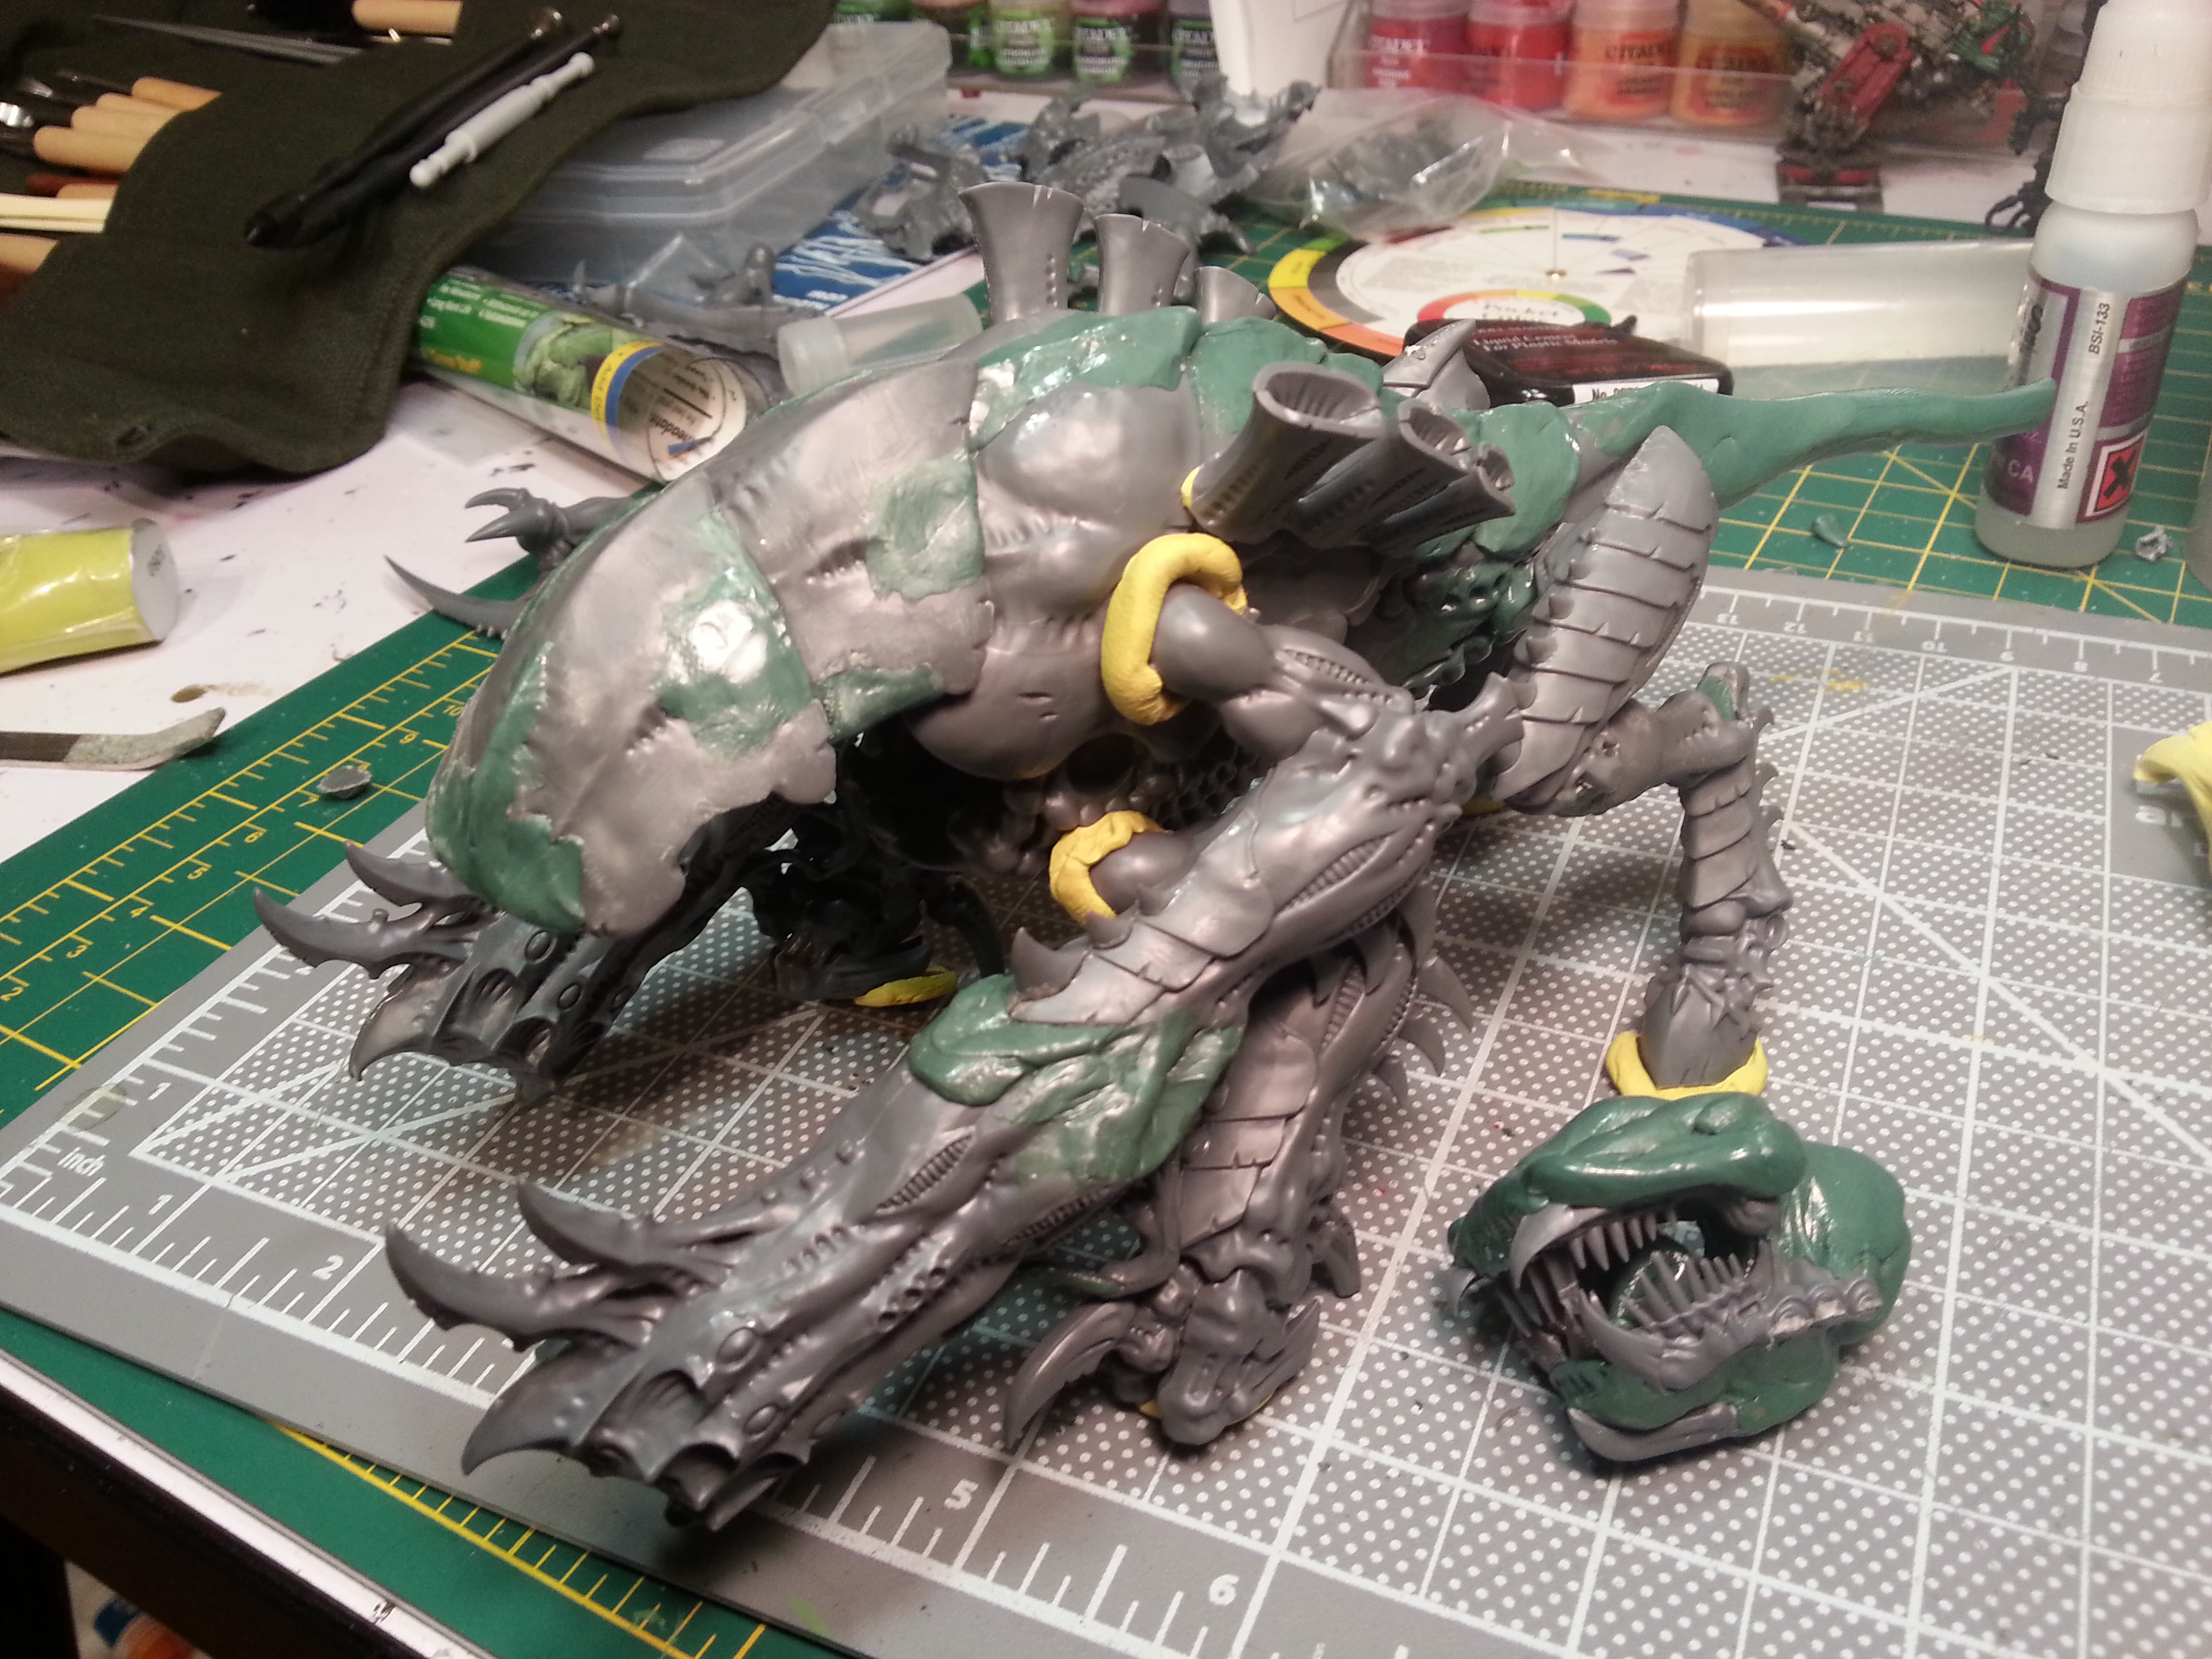
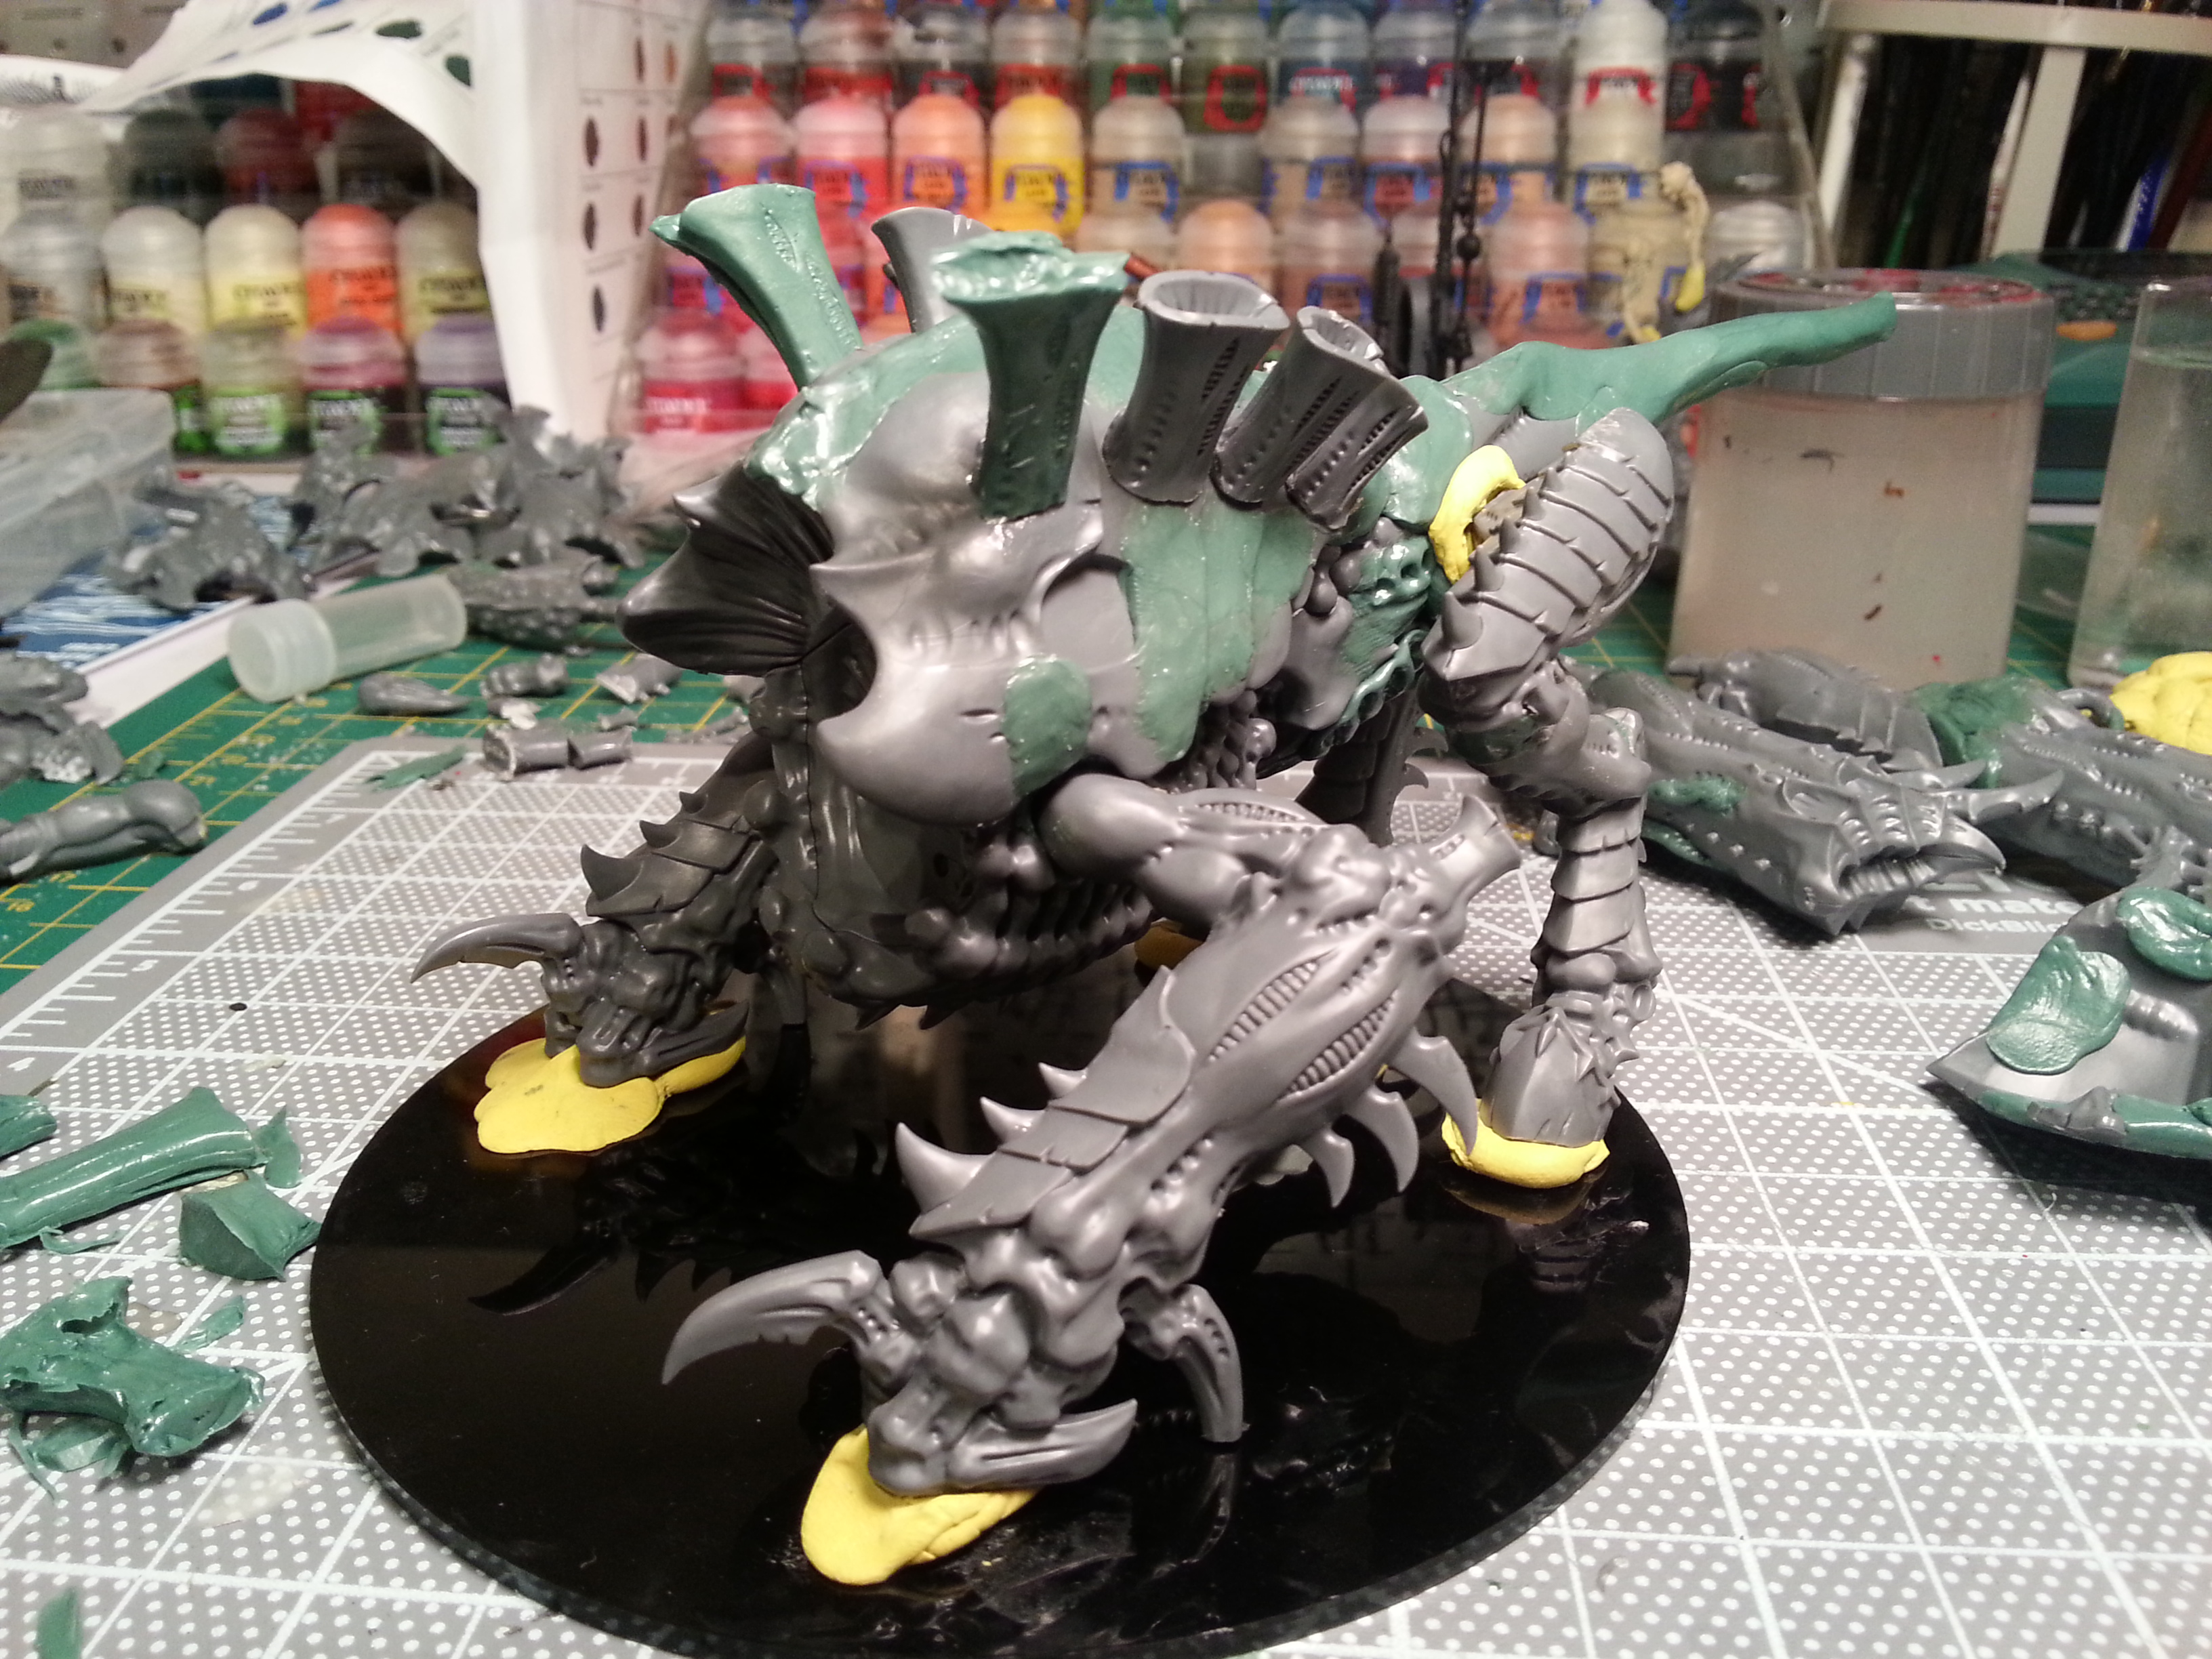
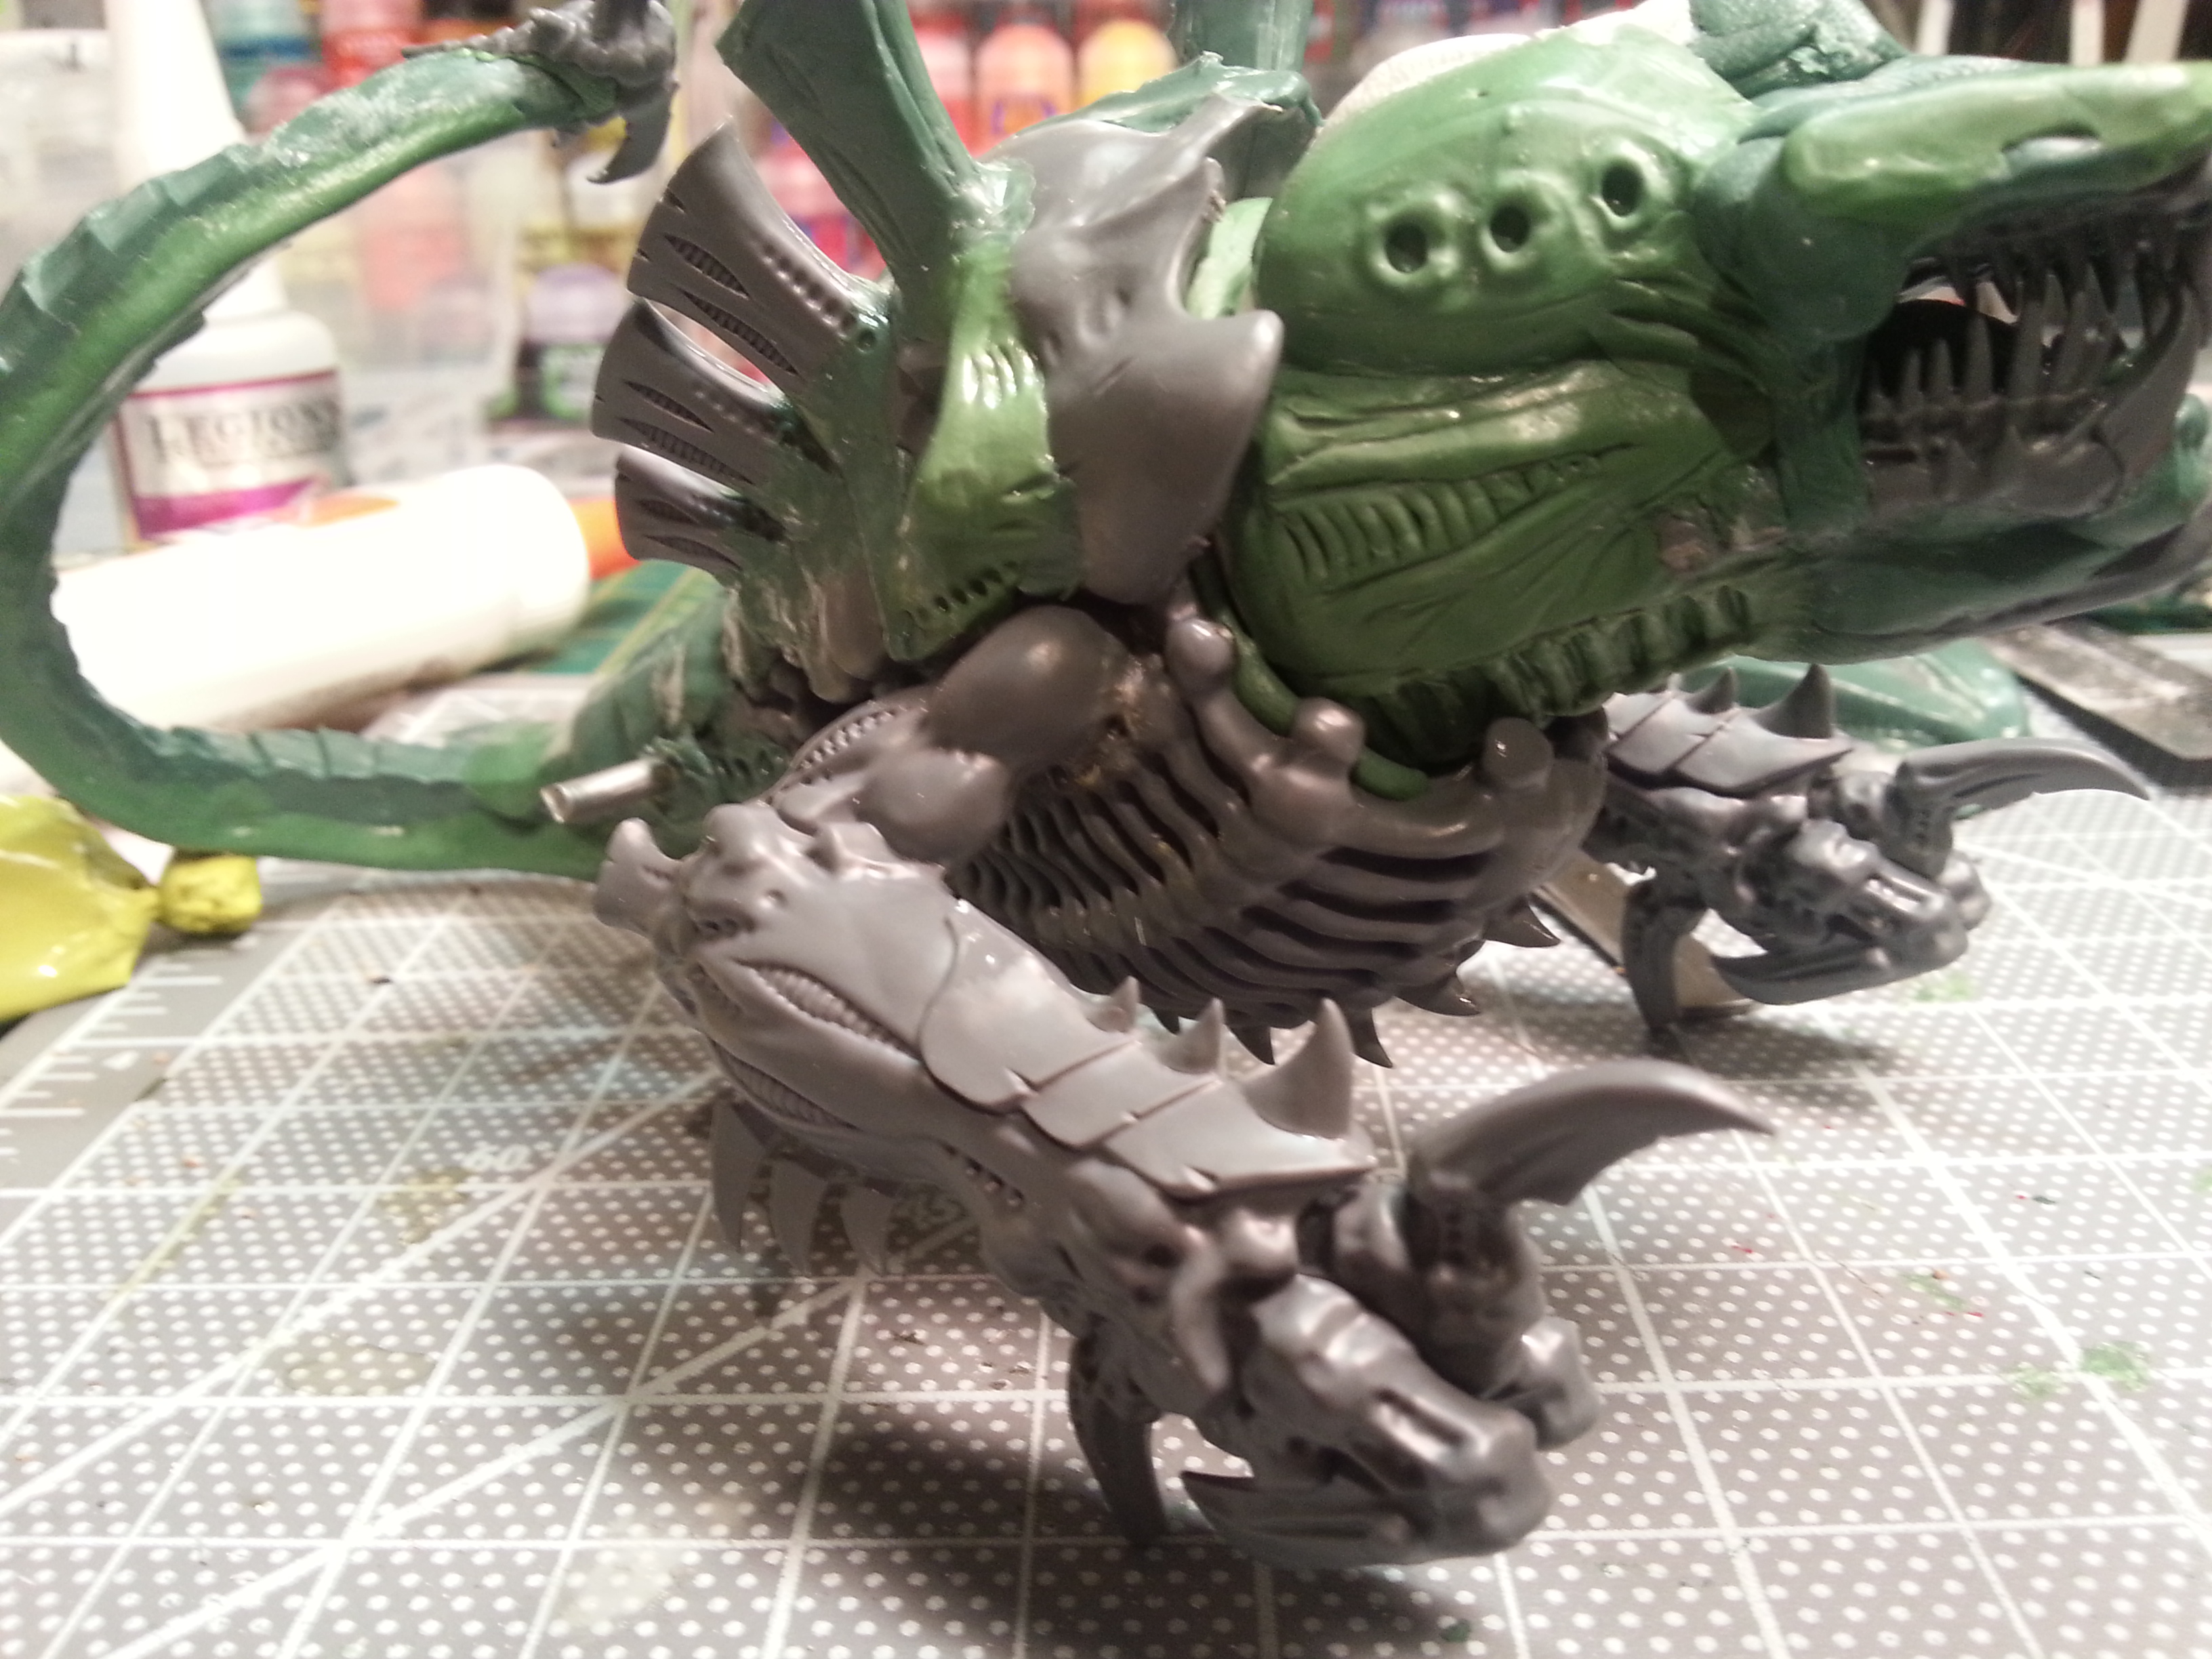
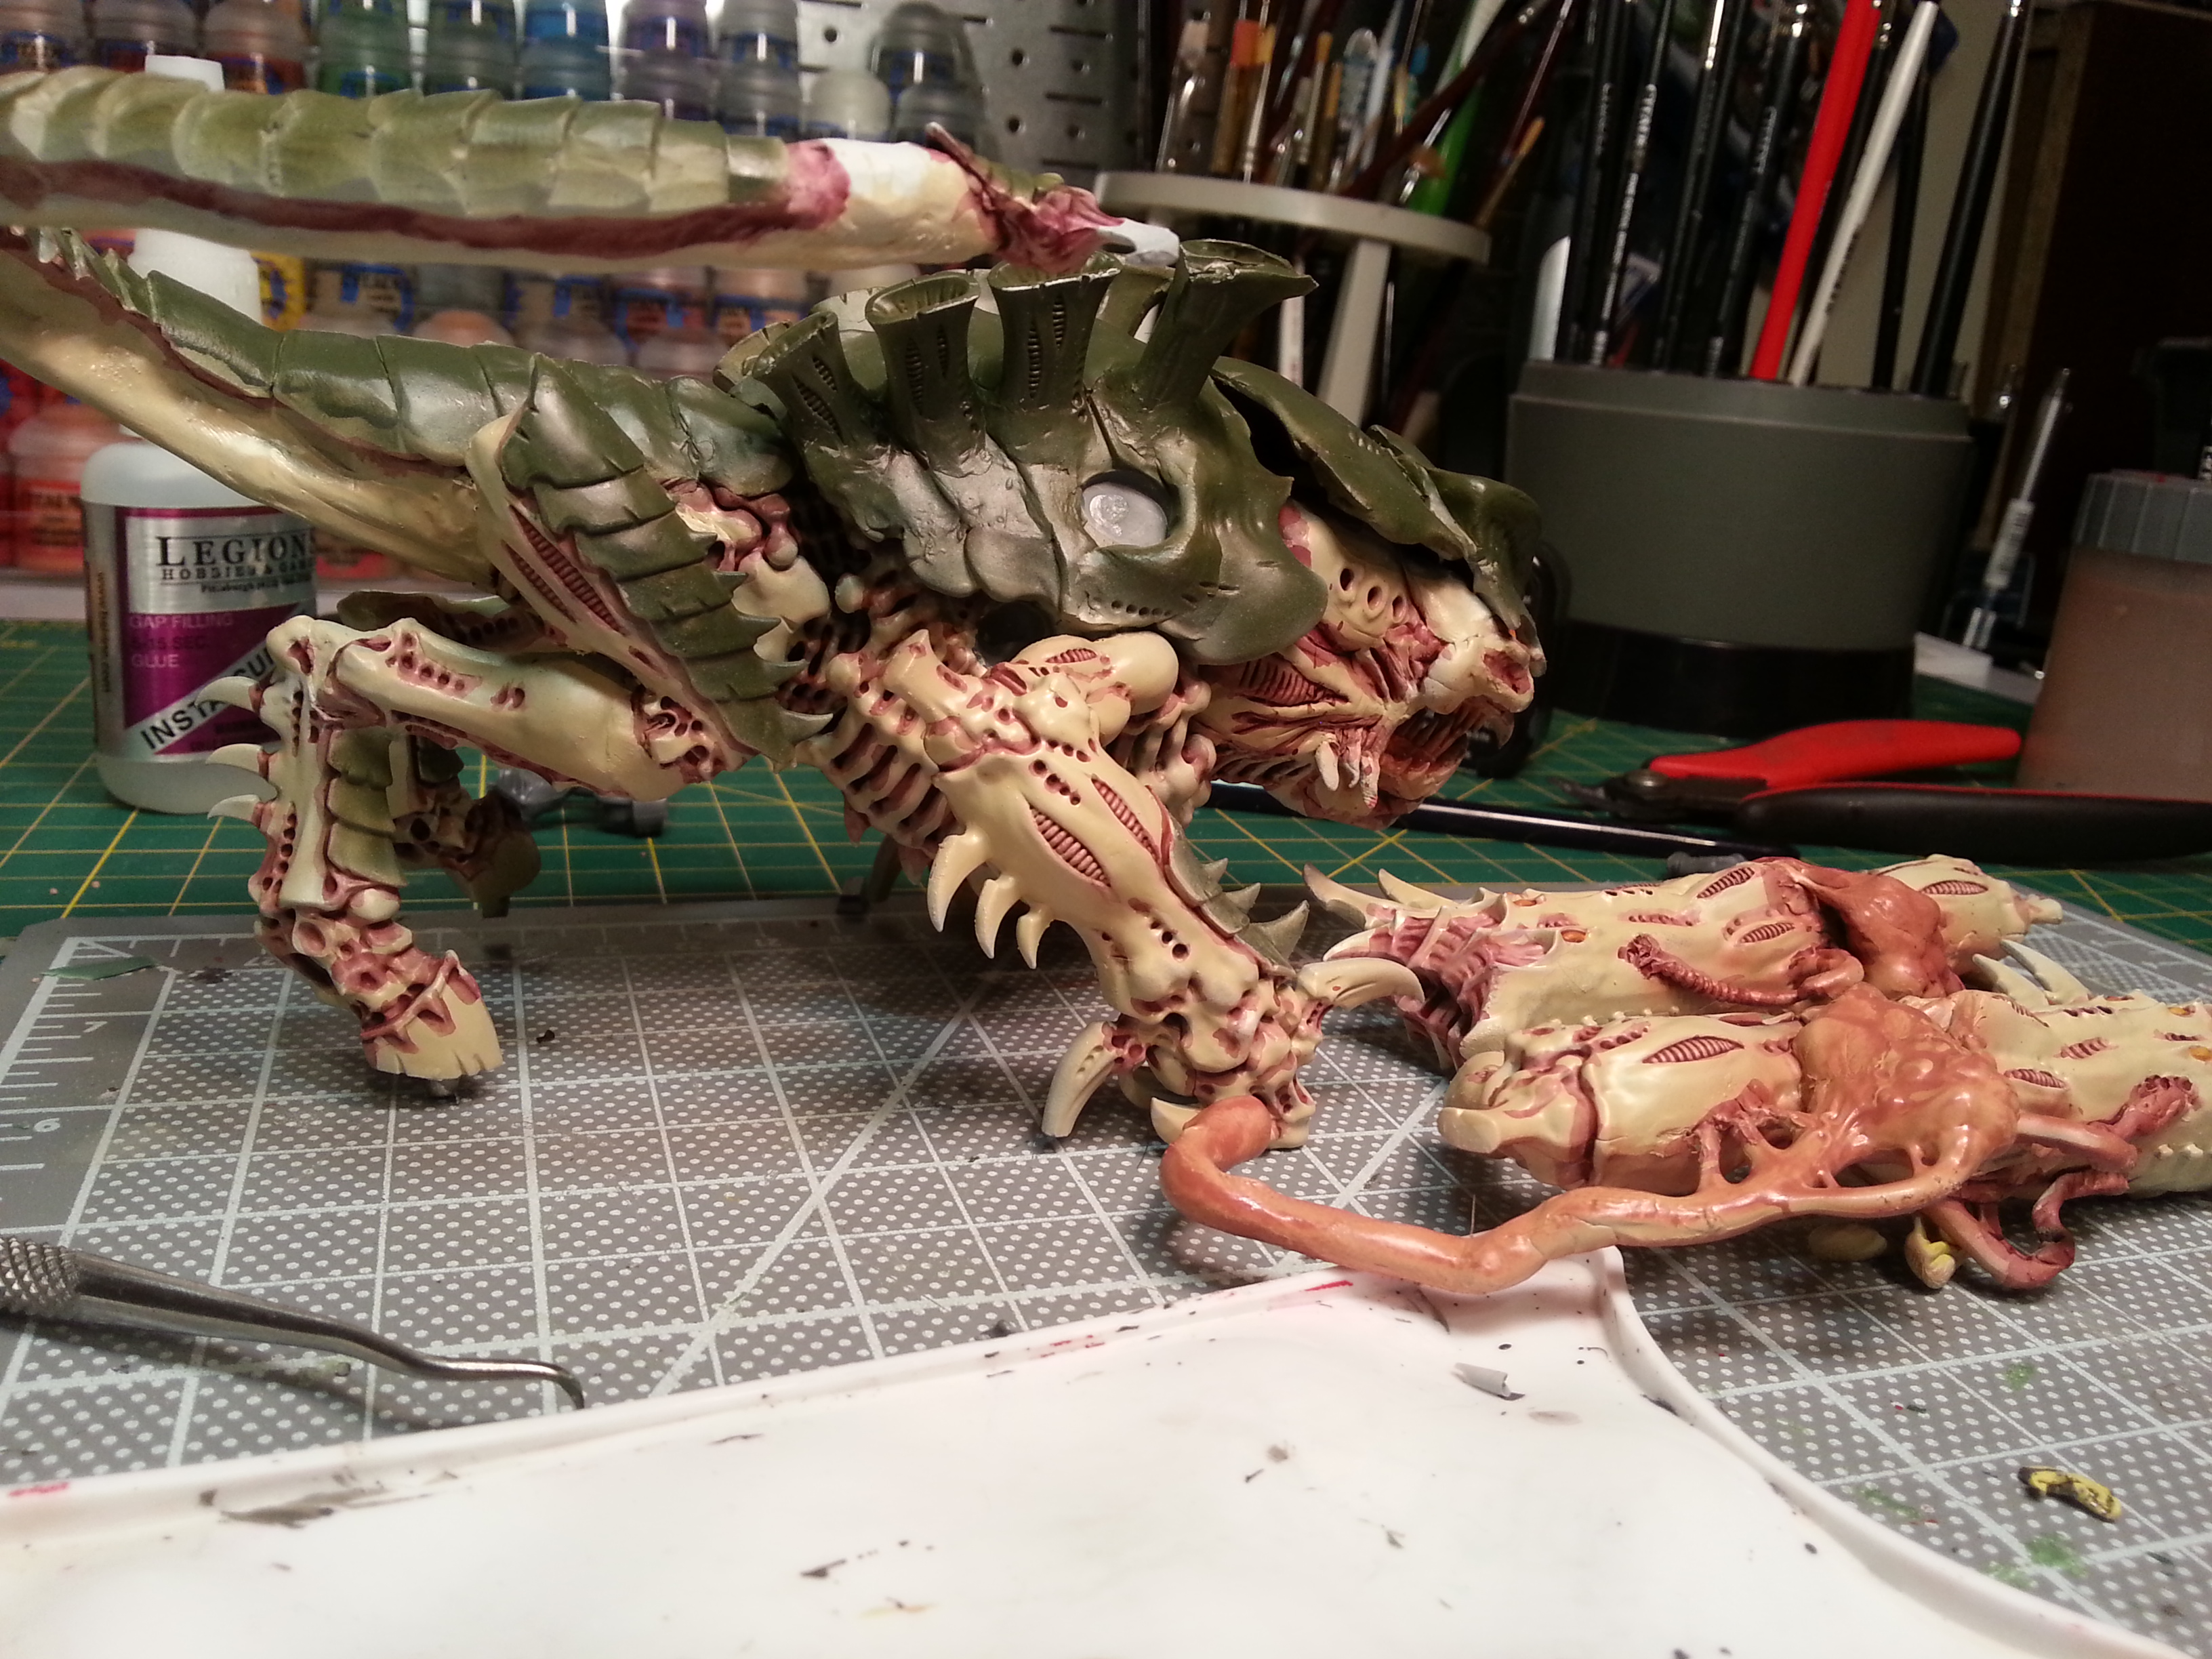
in theory, this will eventually be the upper jaw, eye socket, bony knobs, and sundry connective tissue.
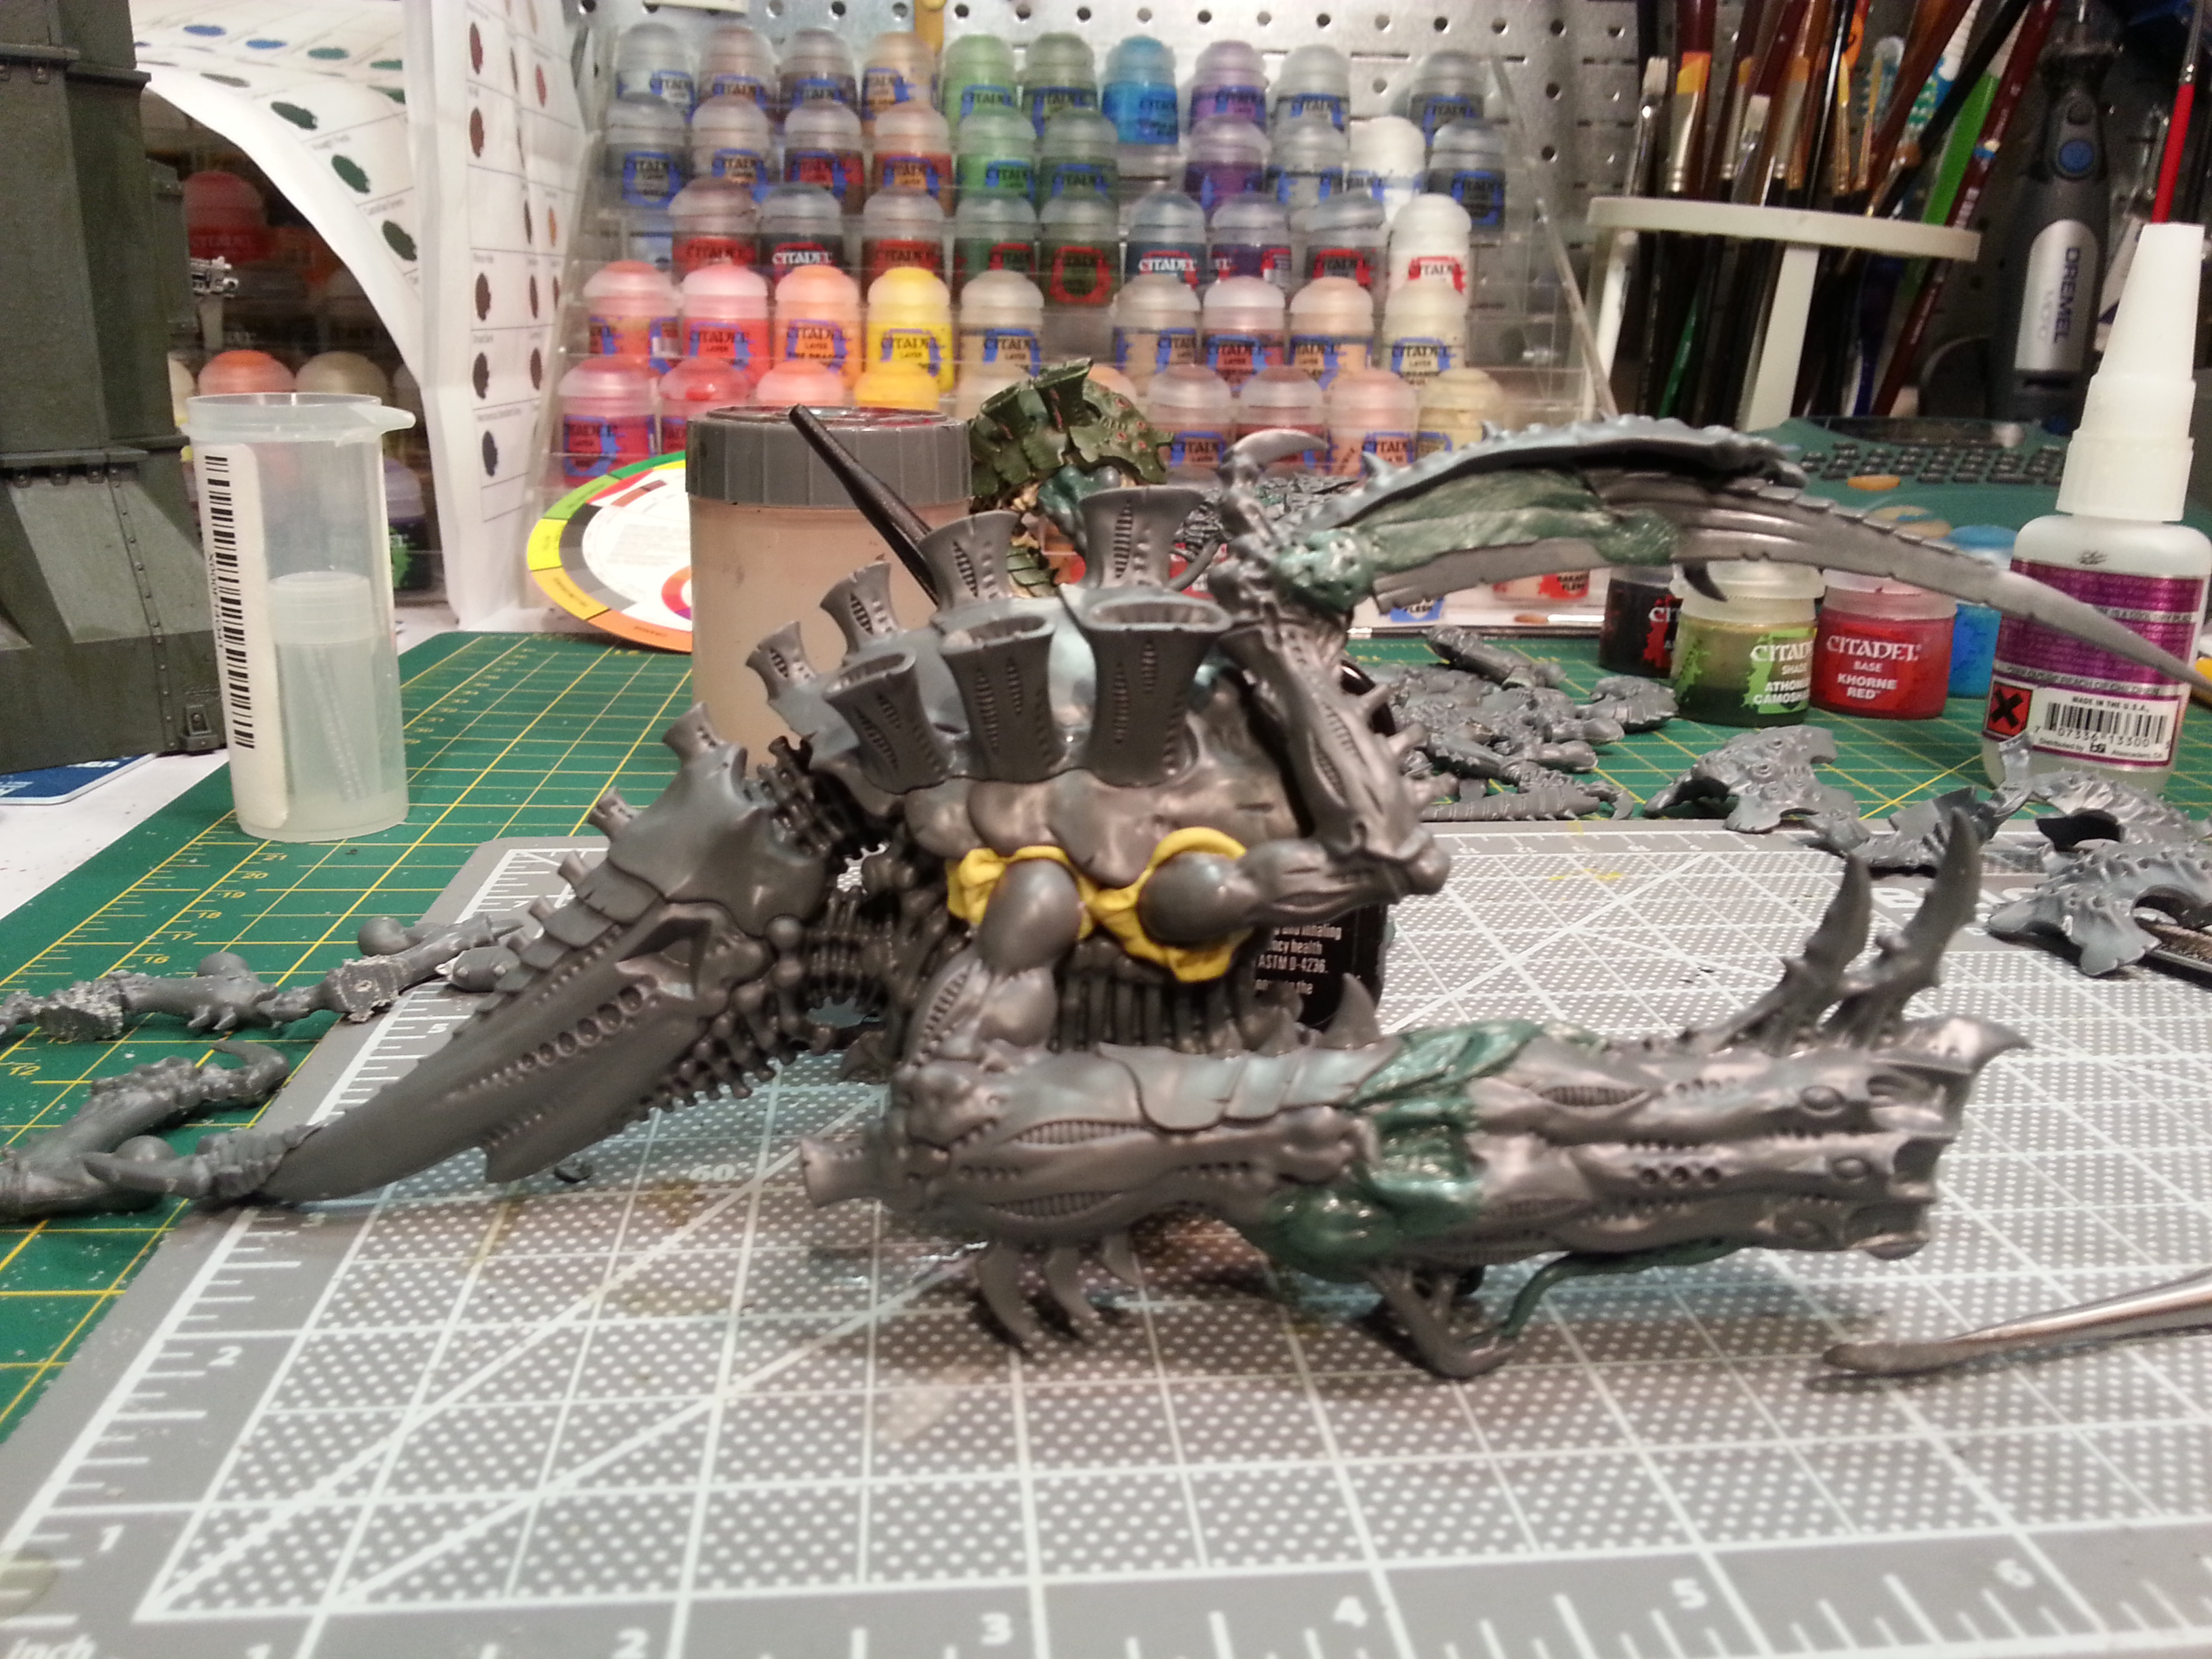
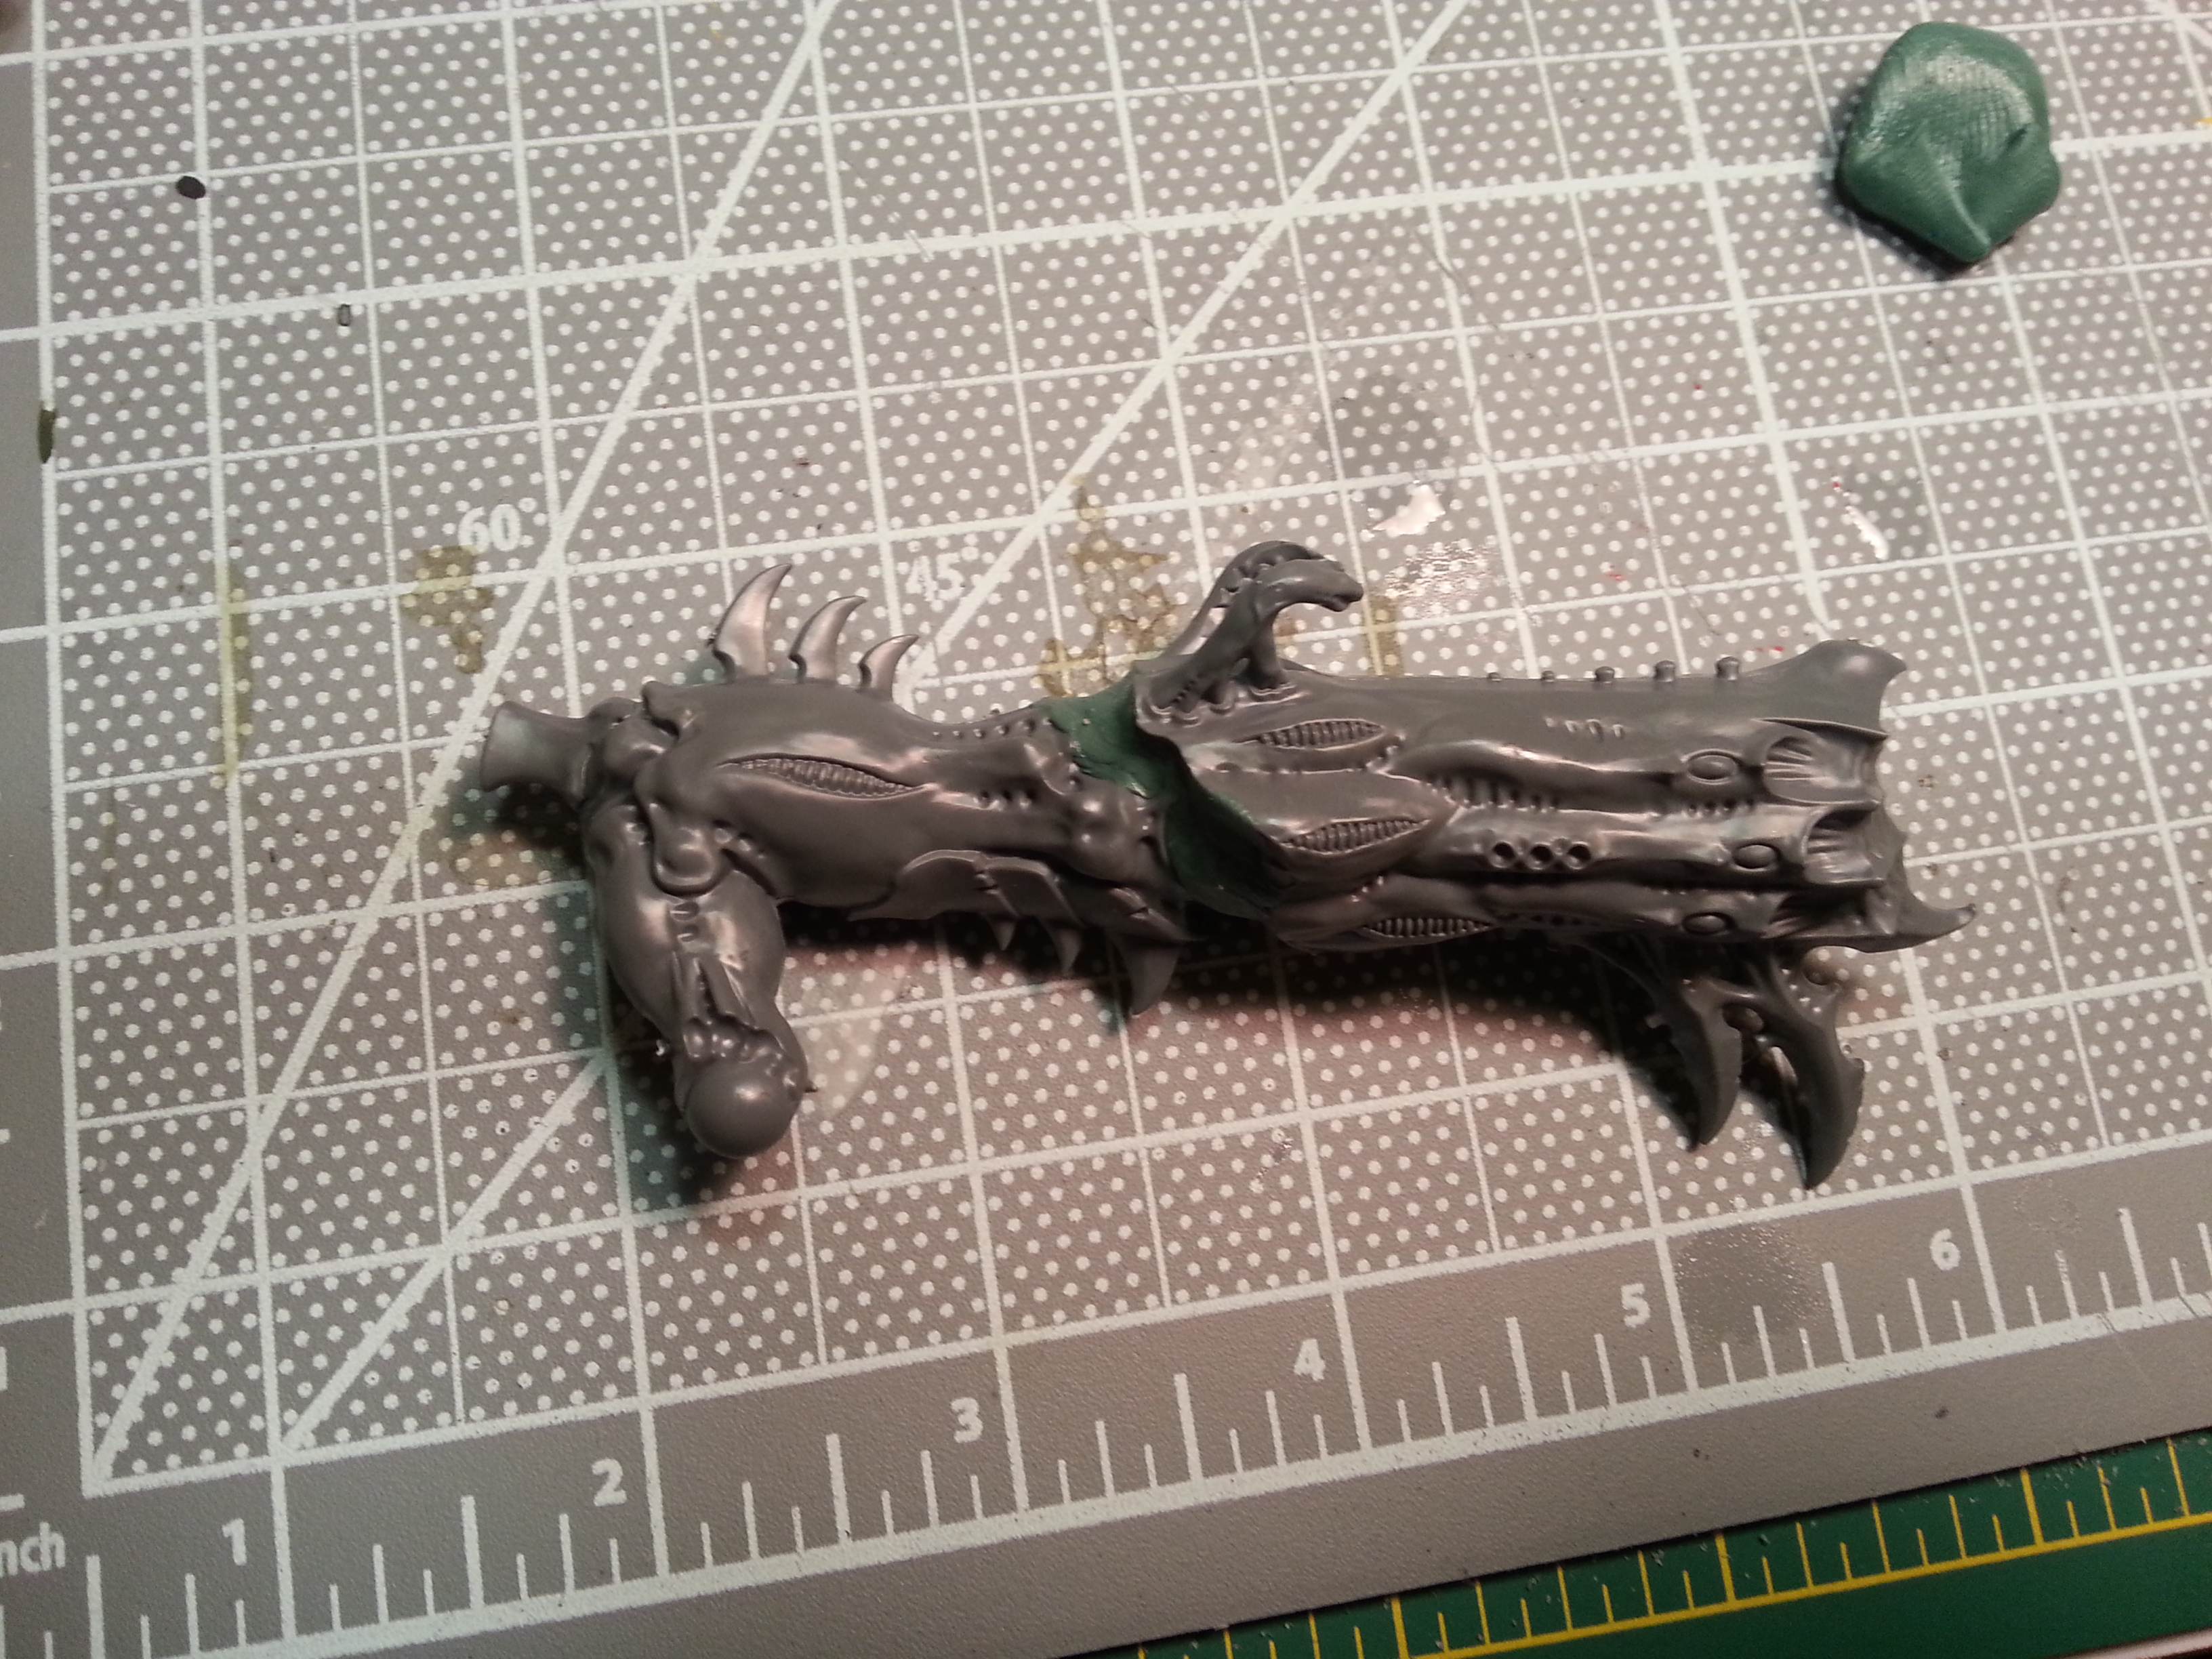
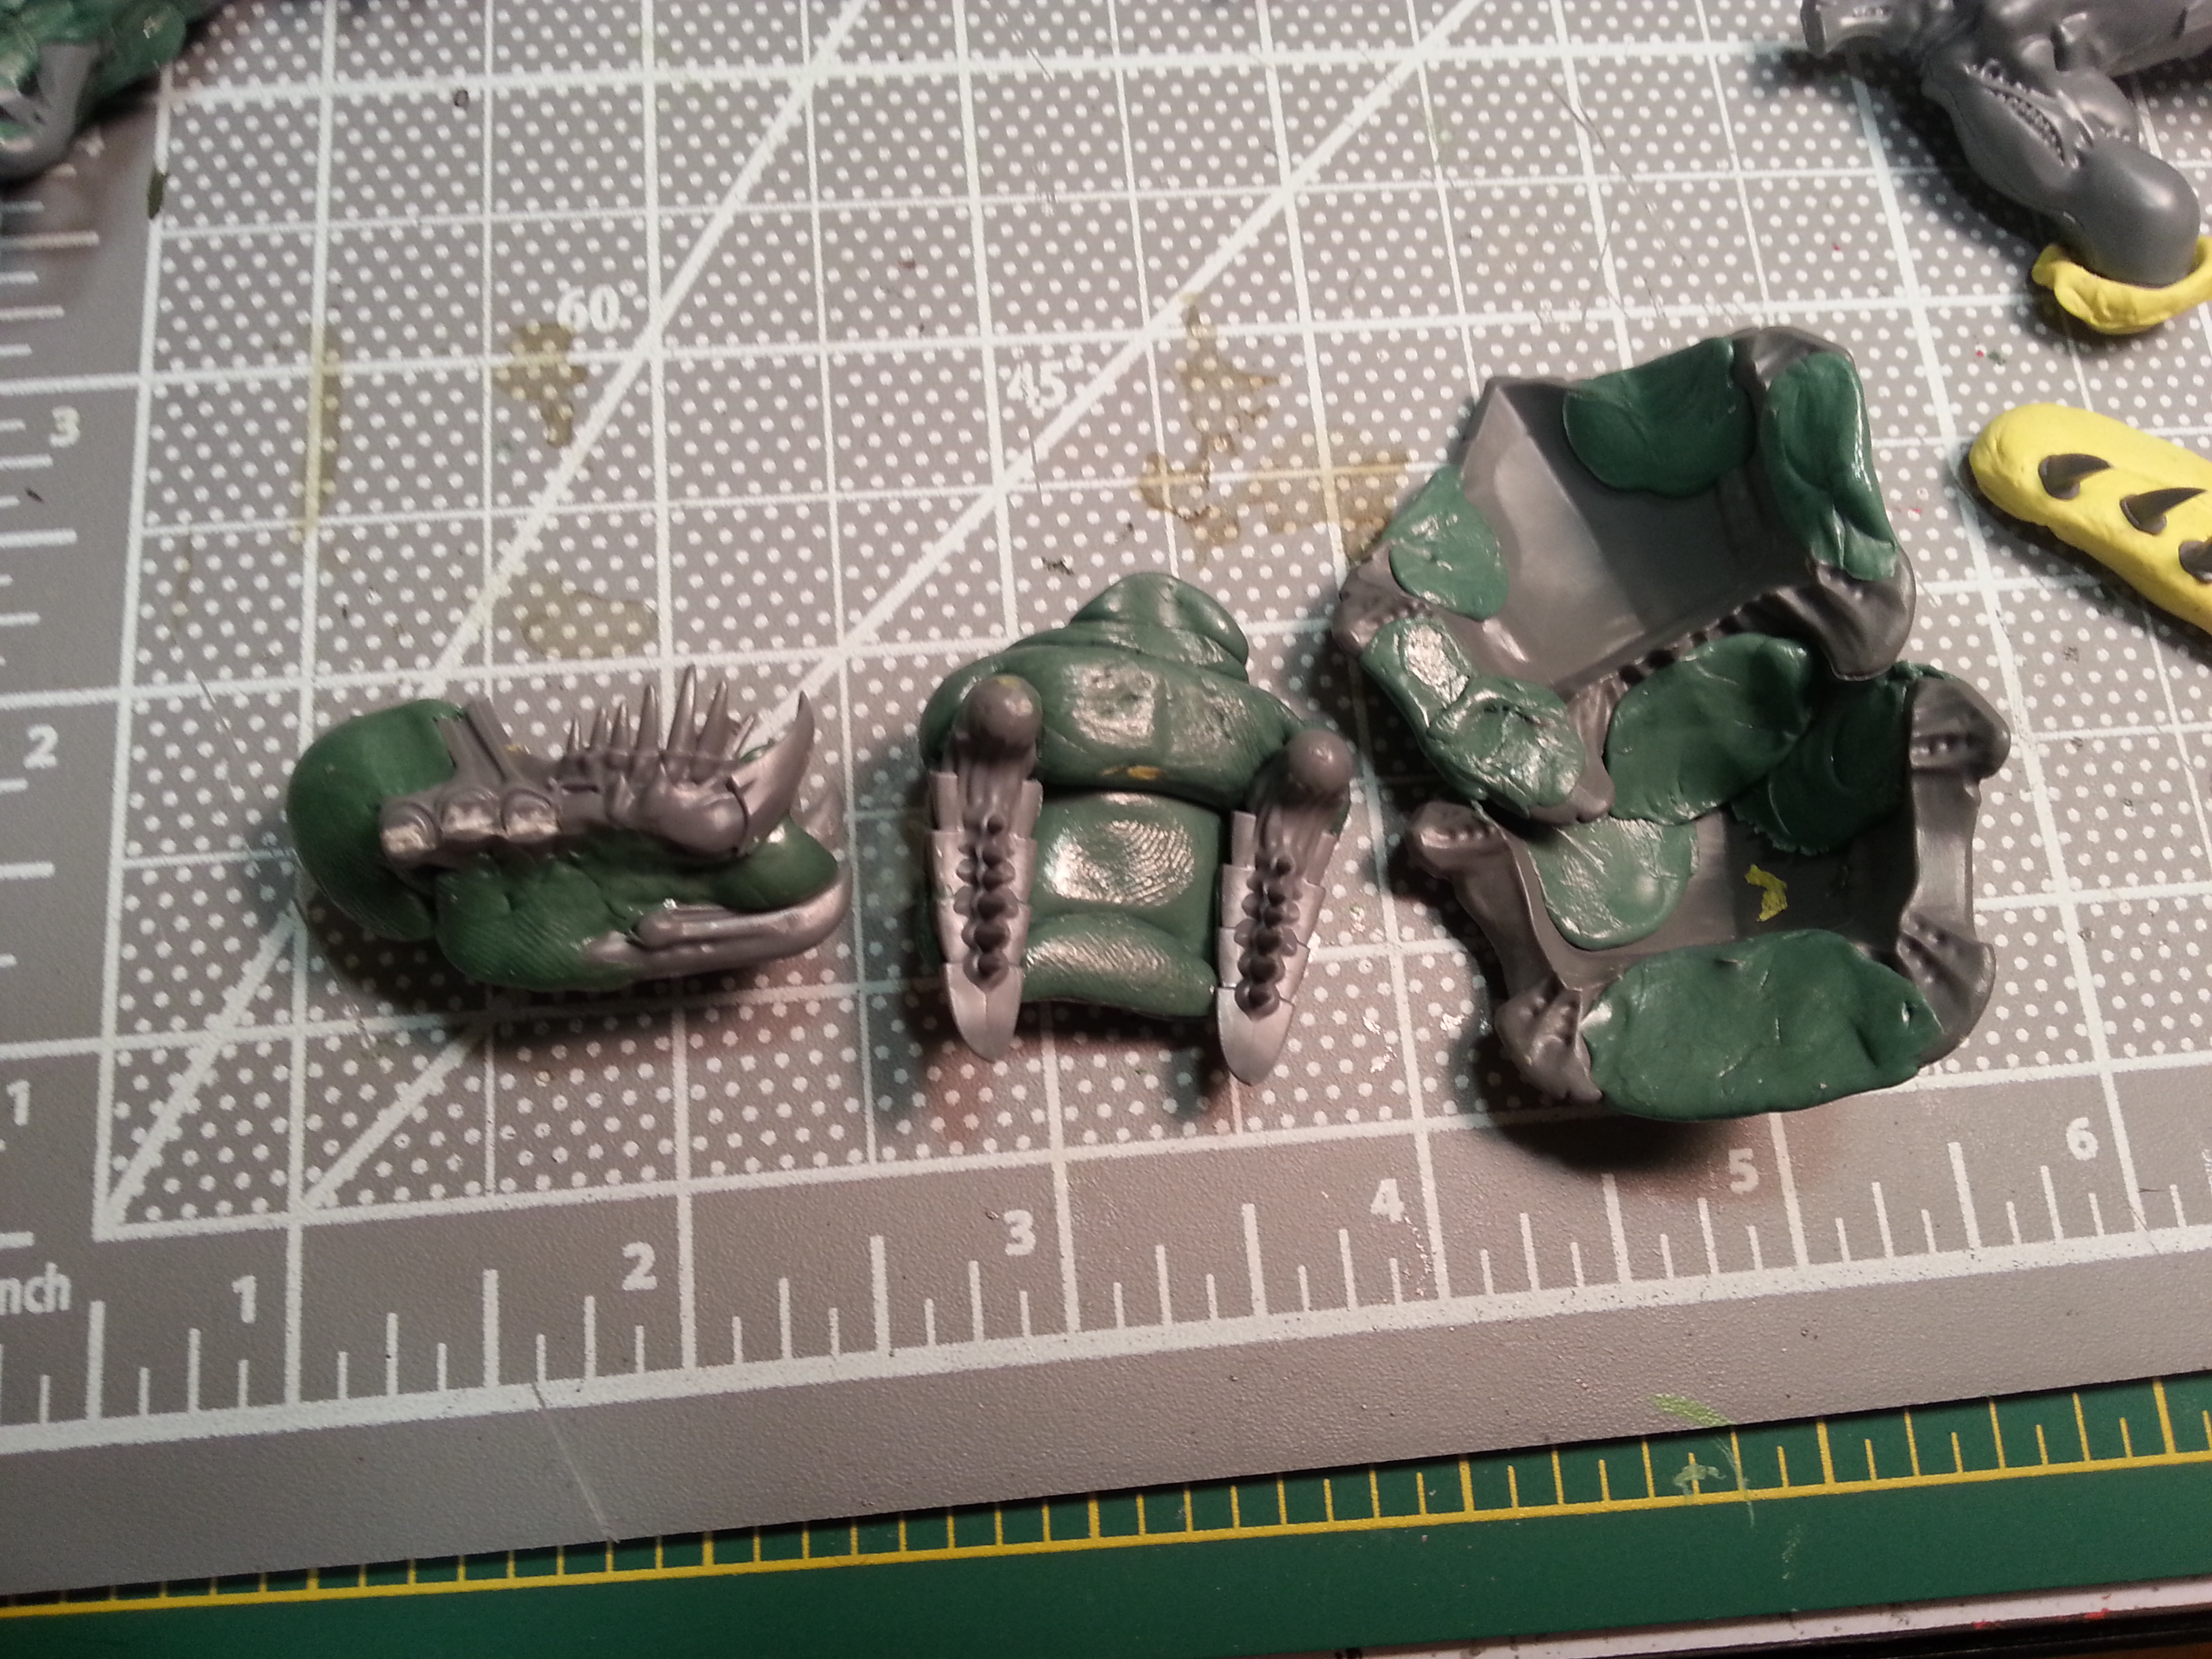
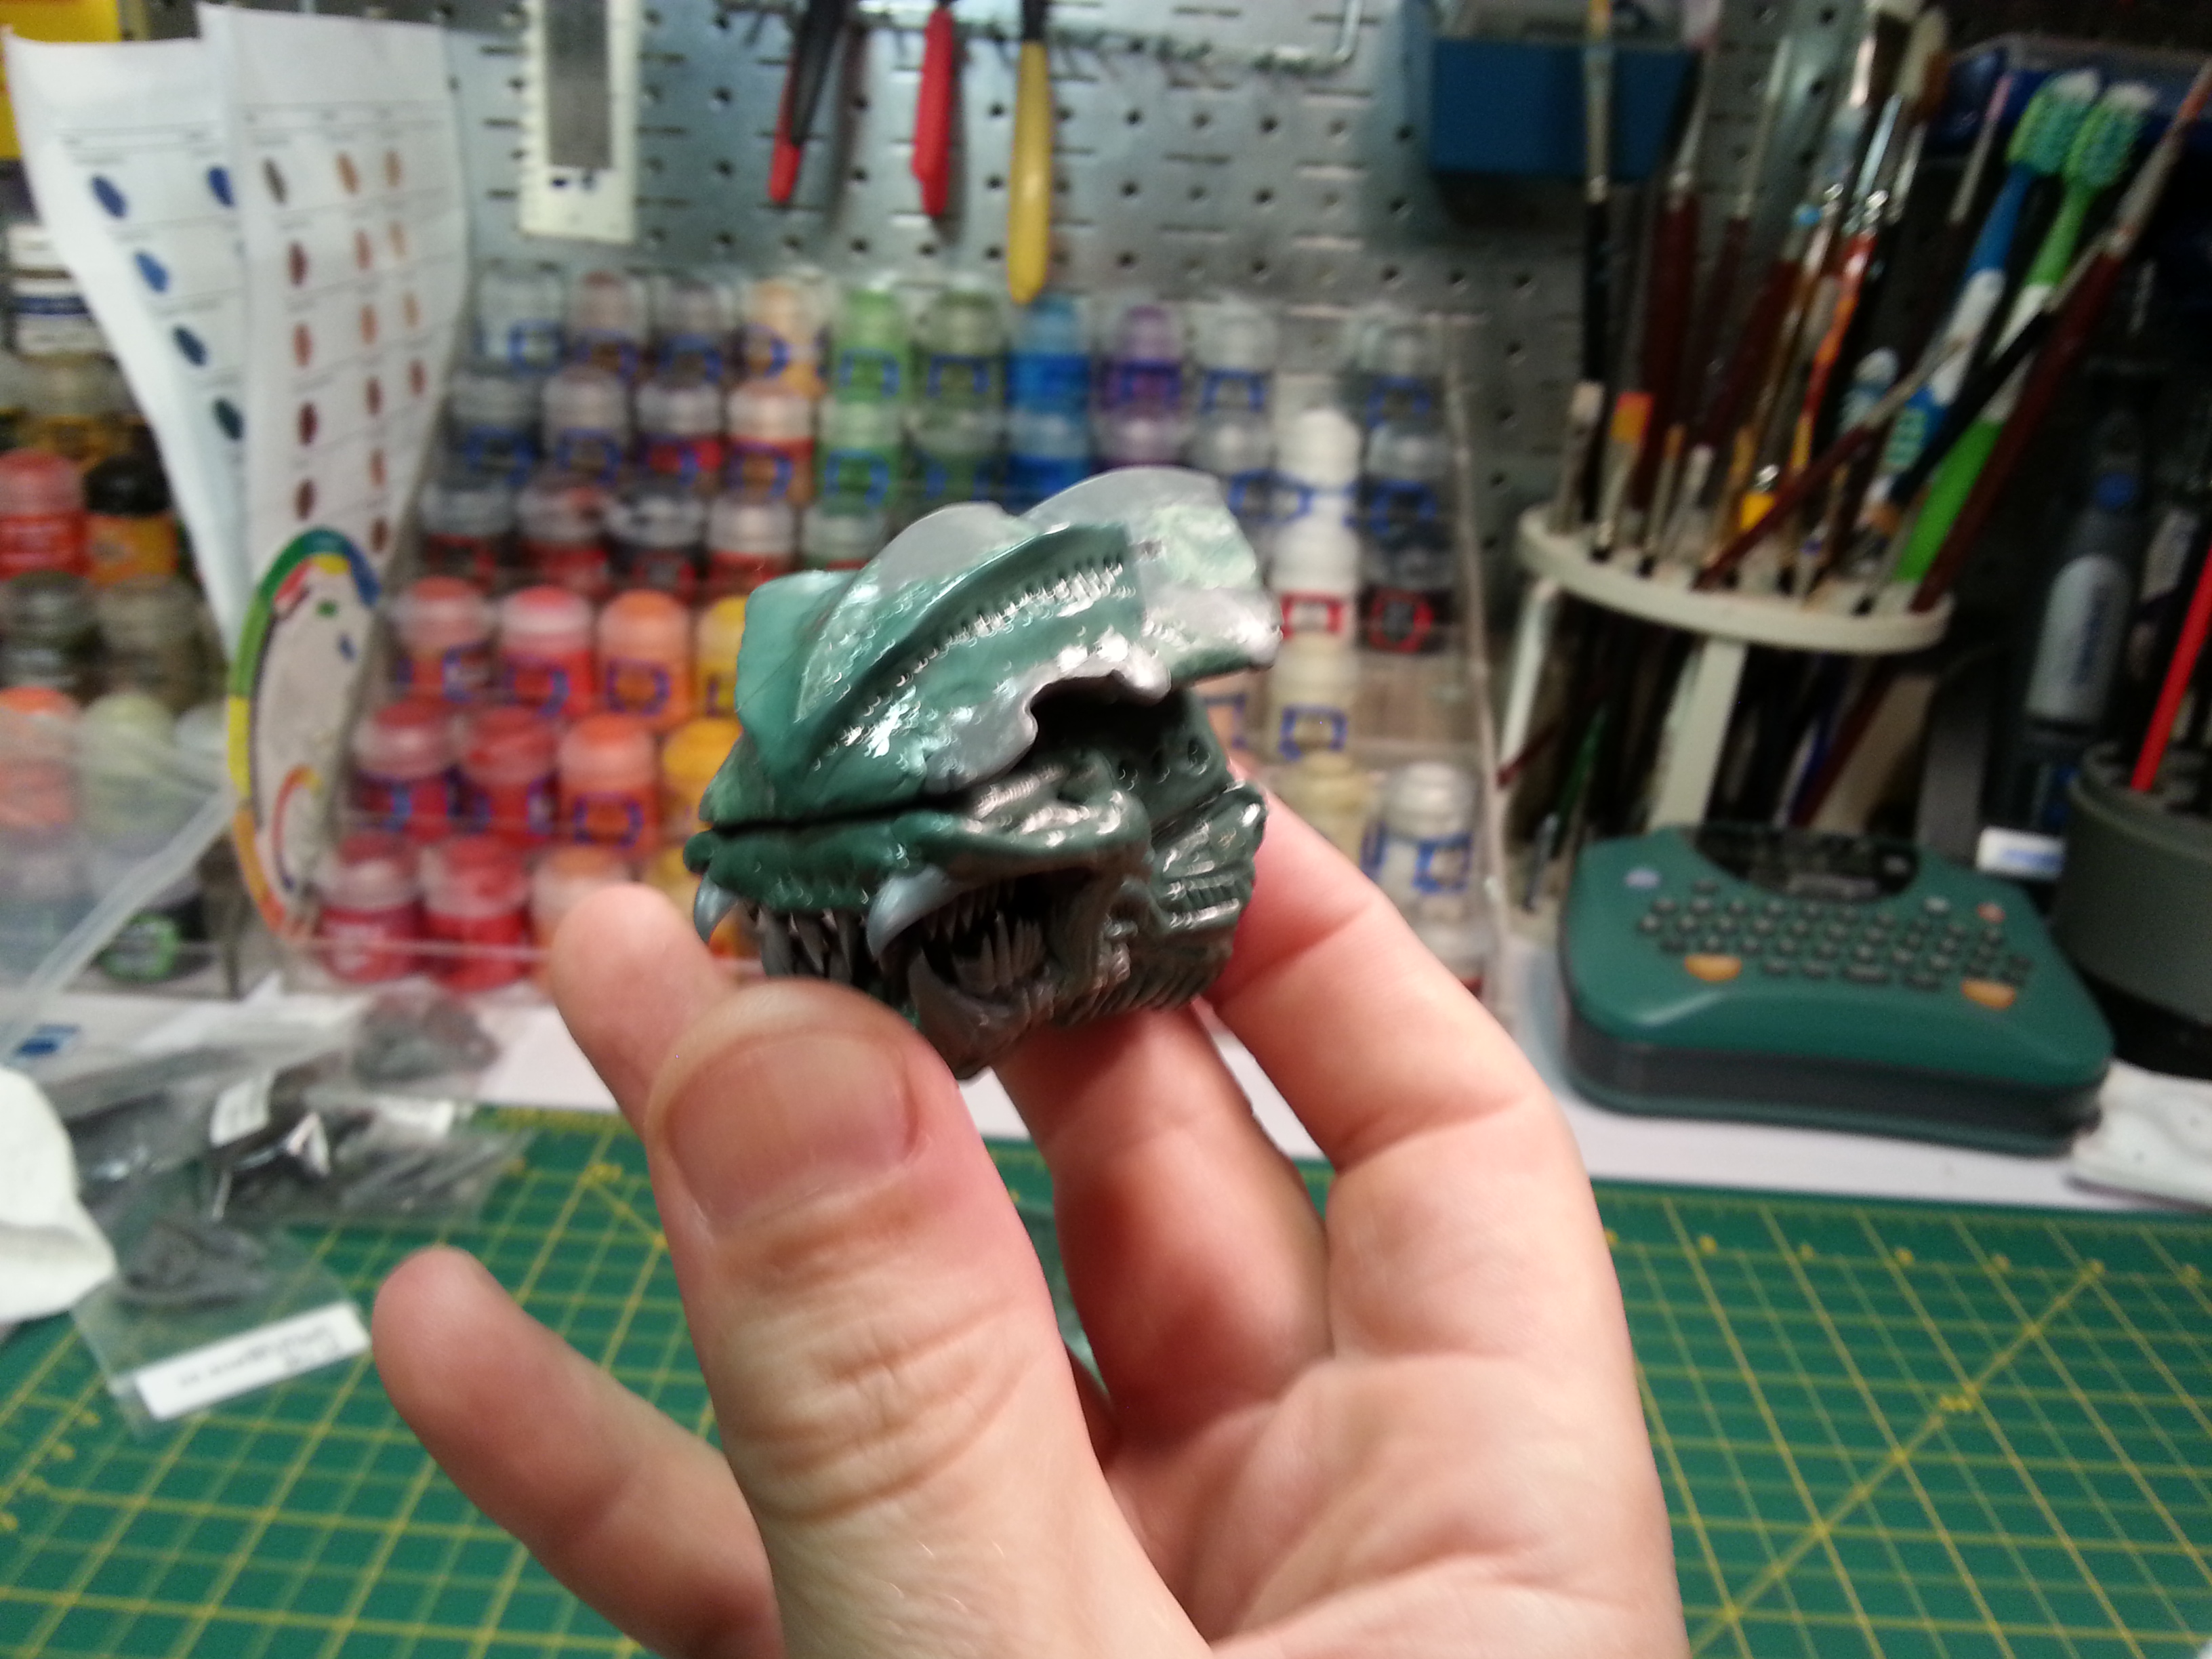
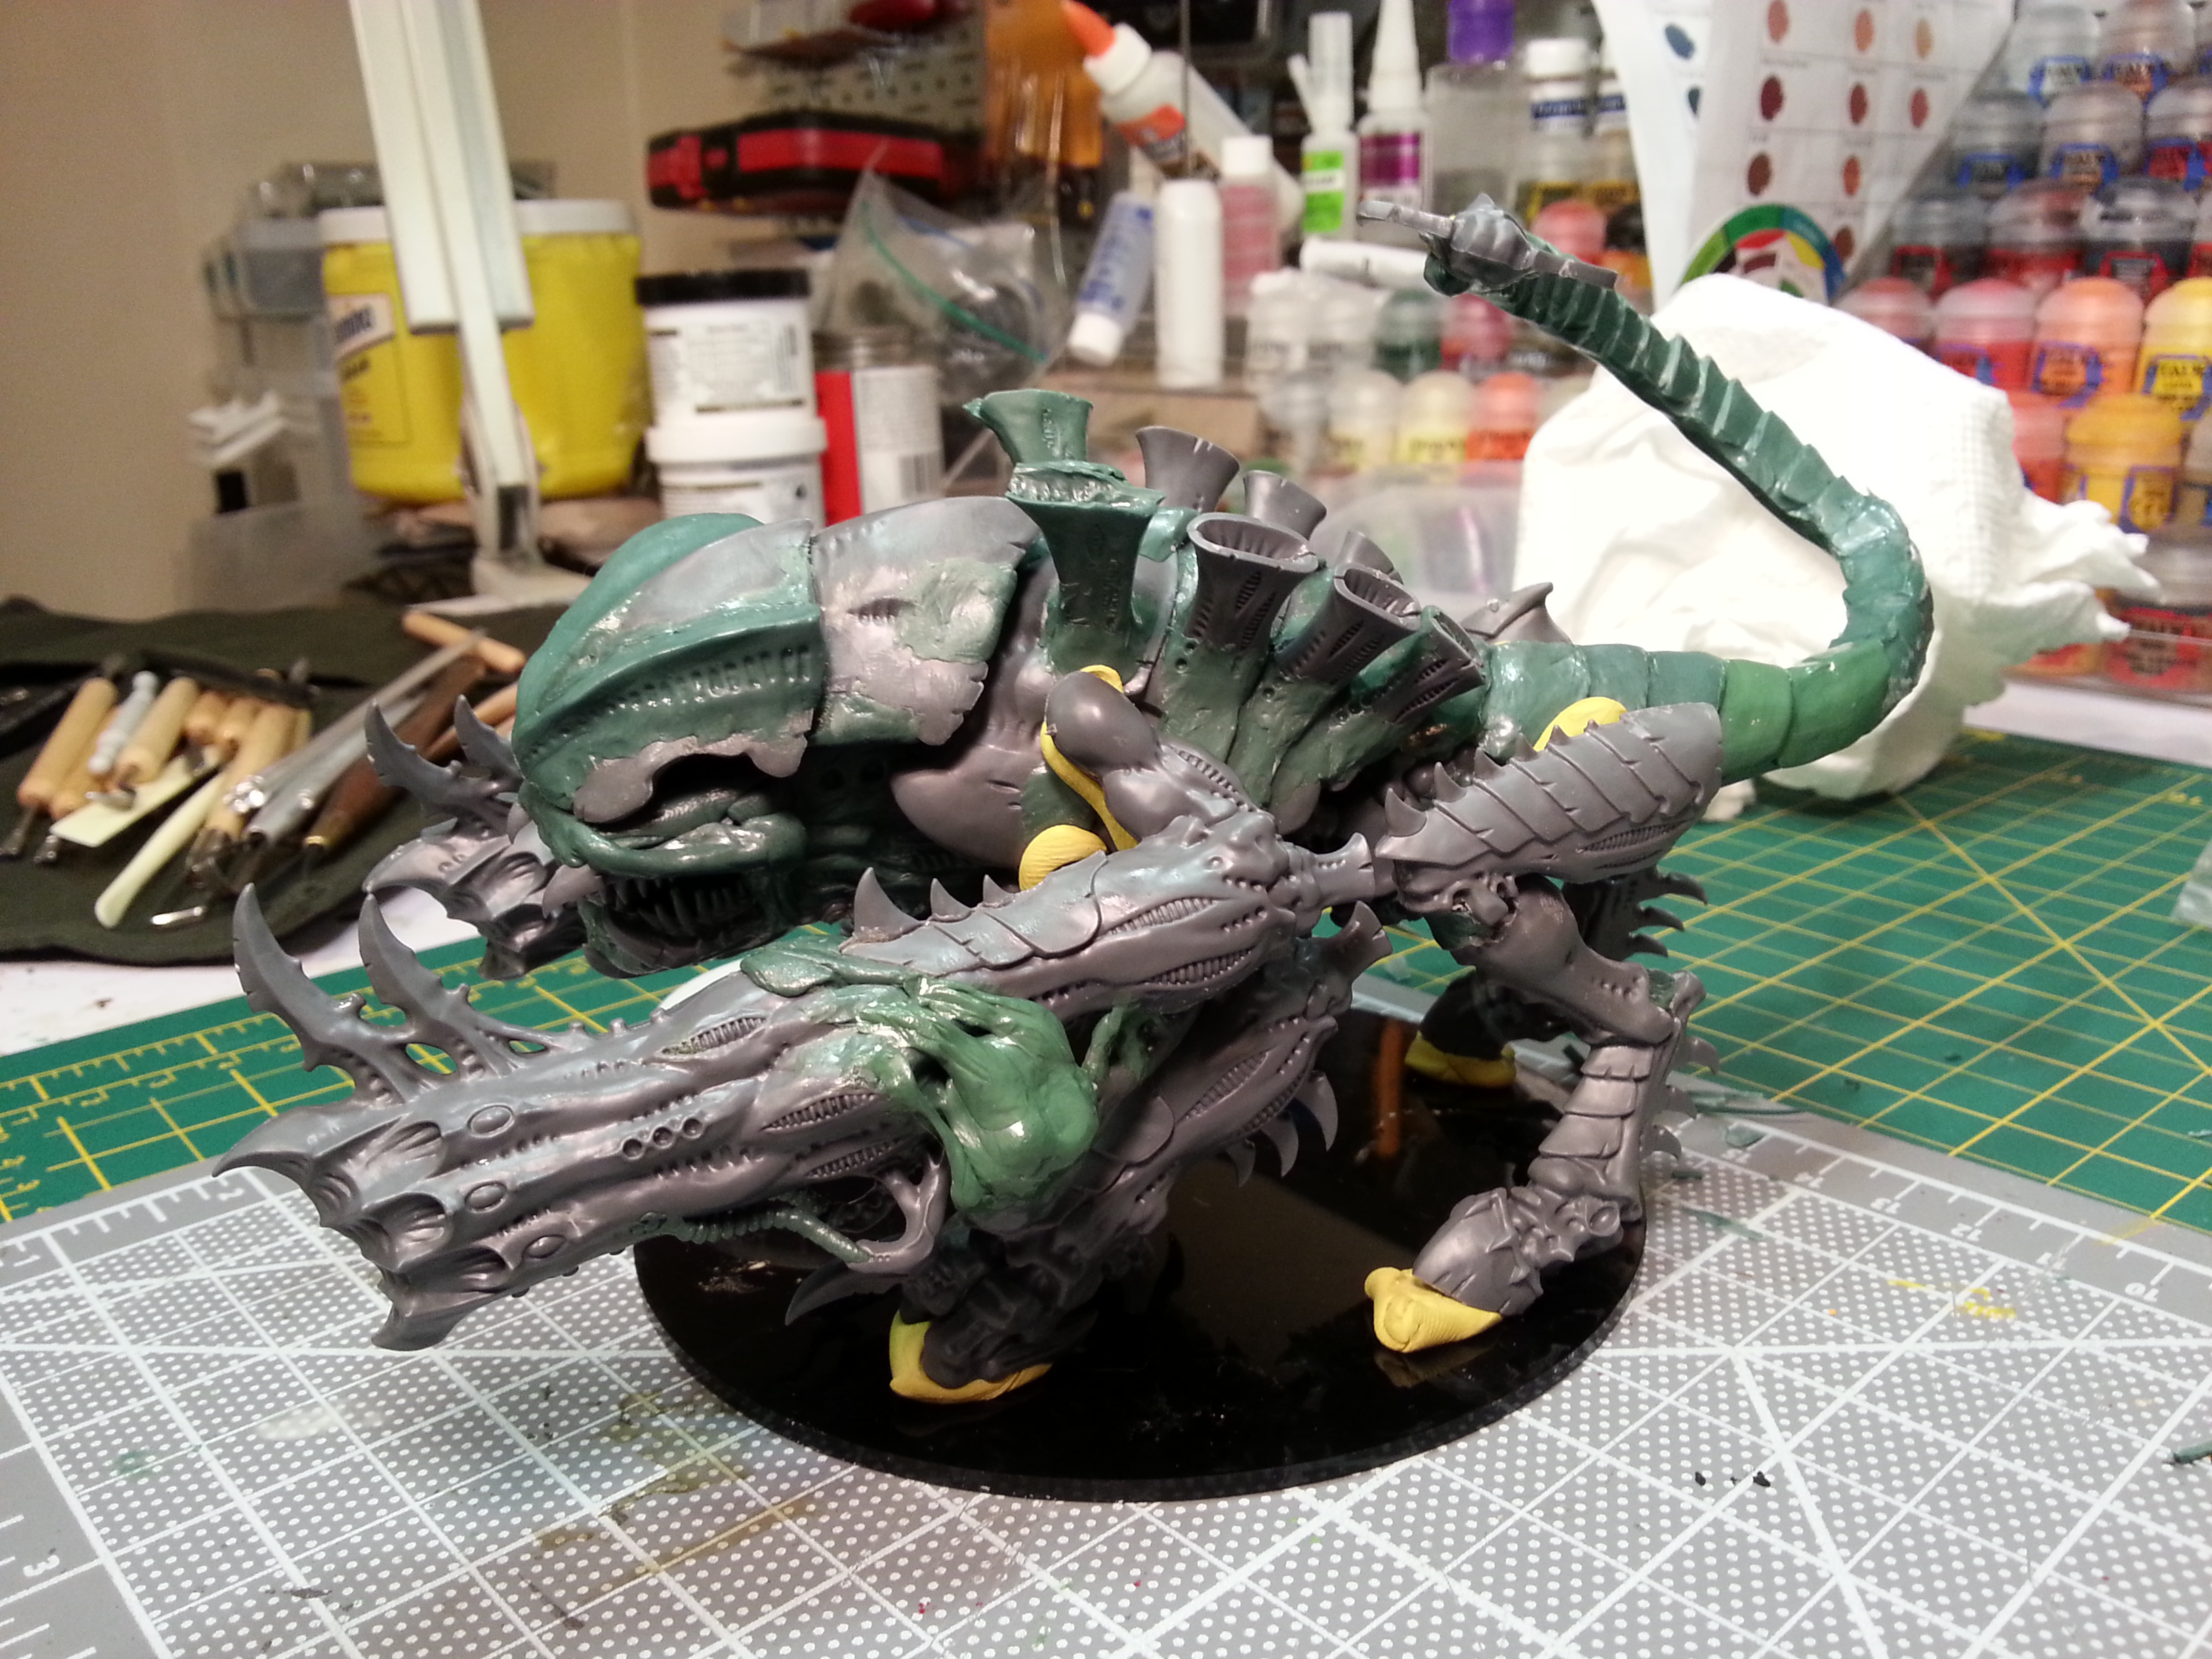
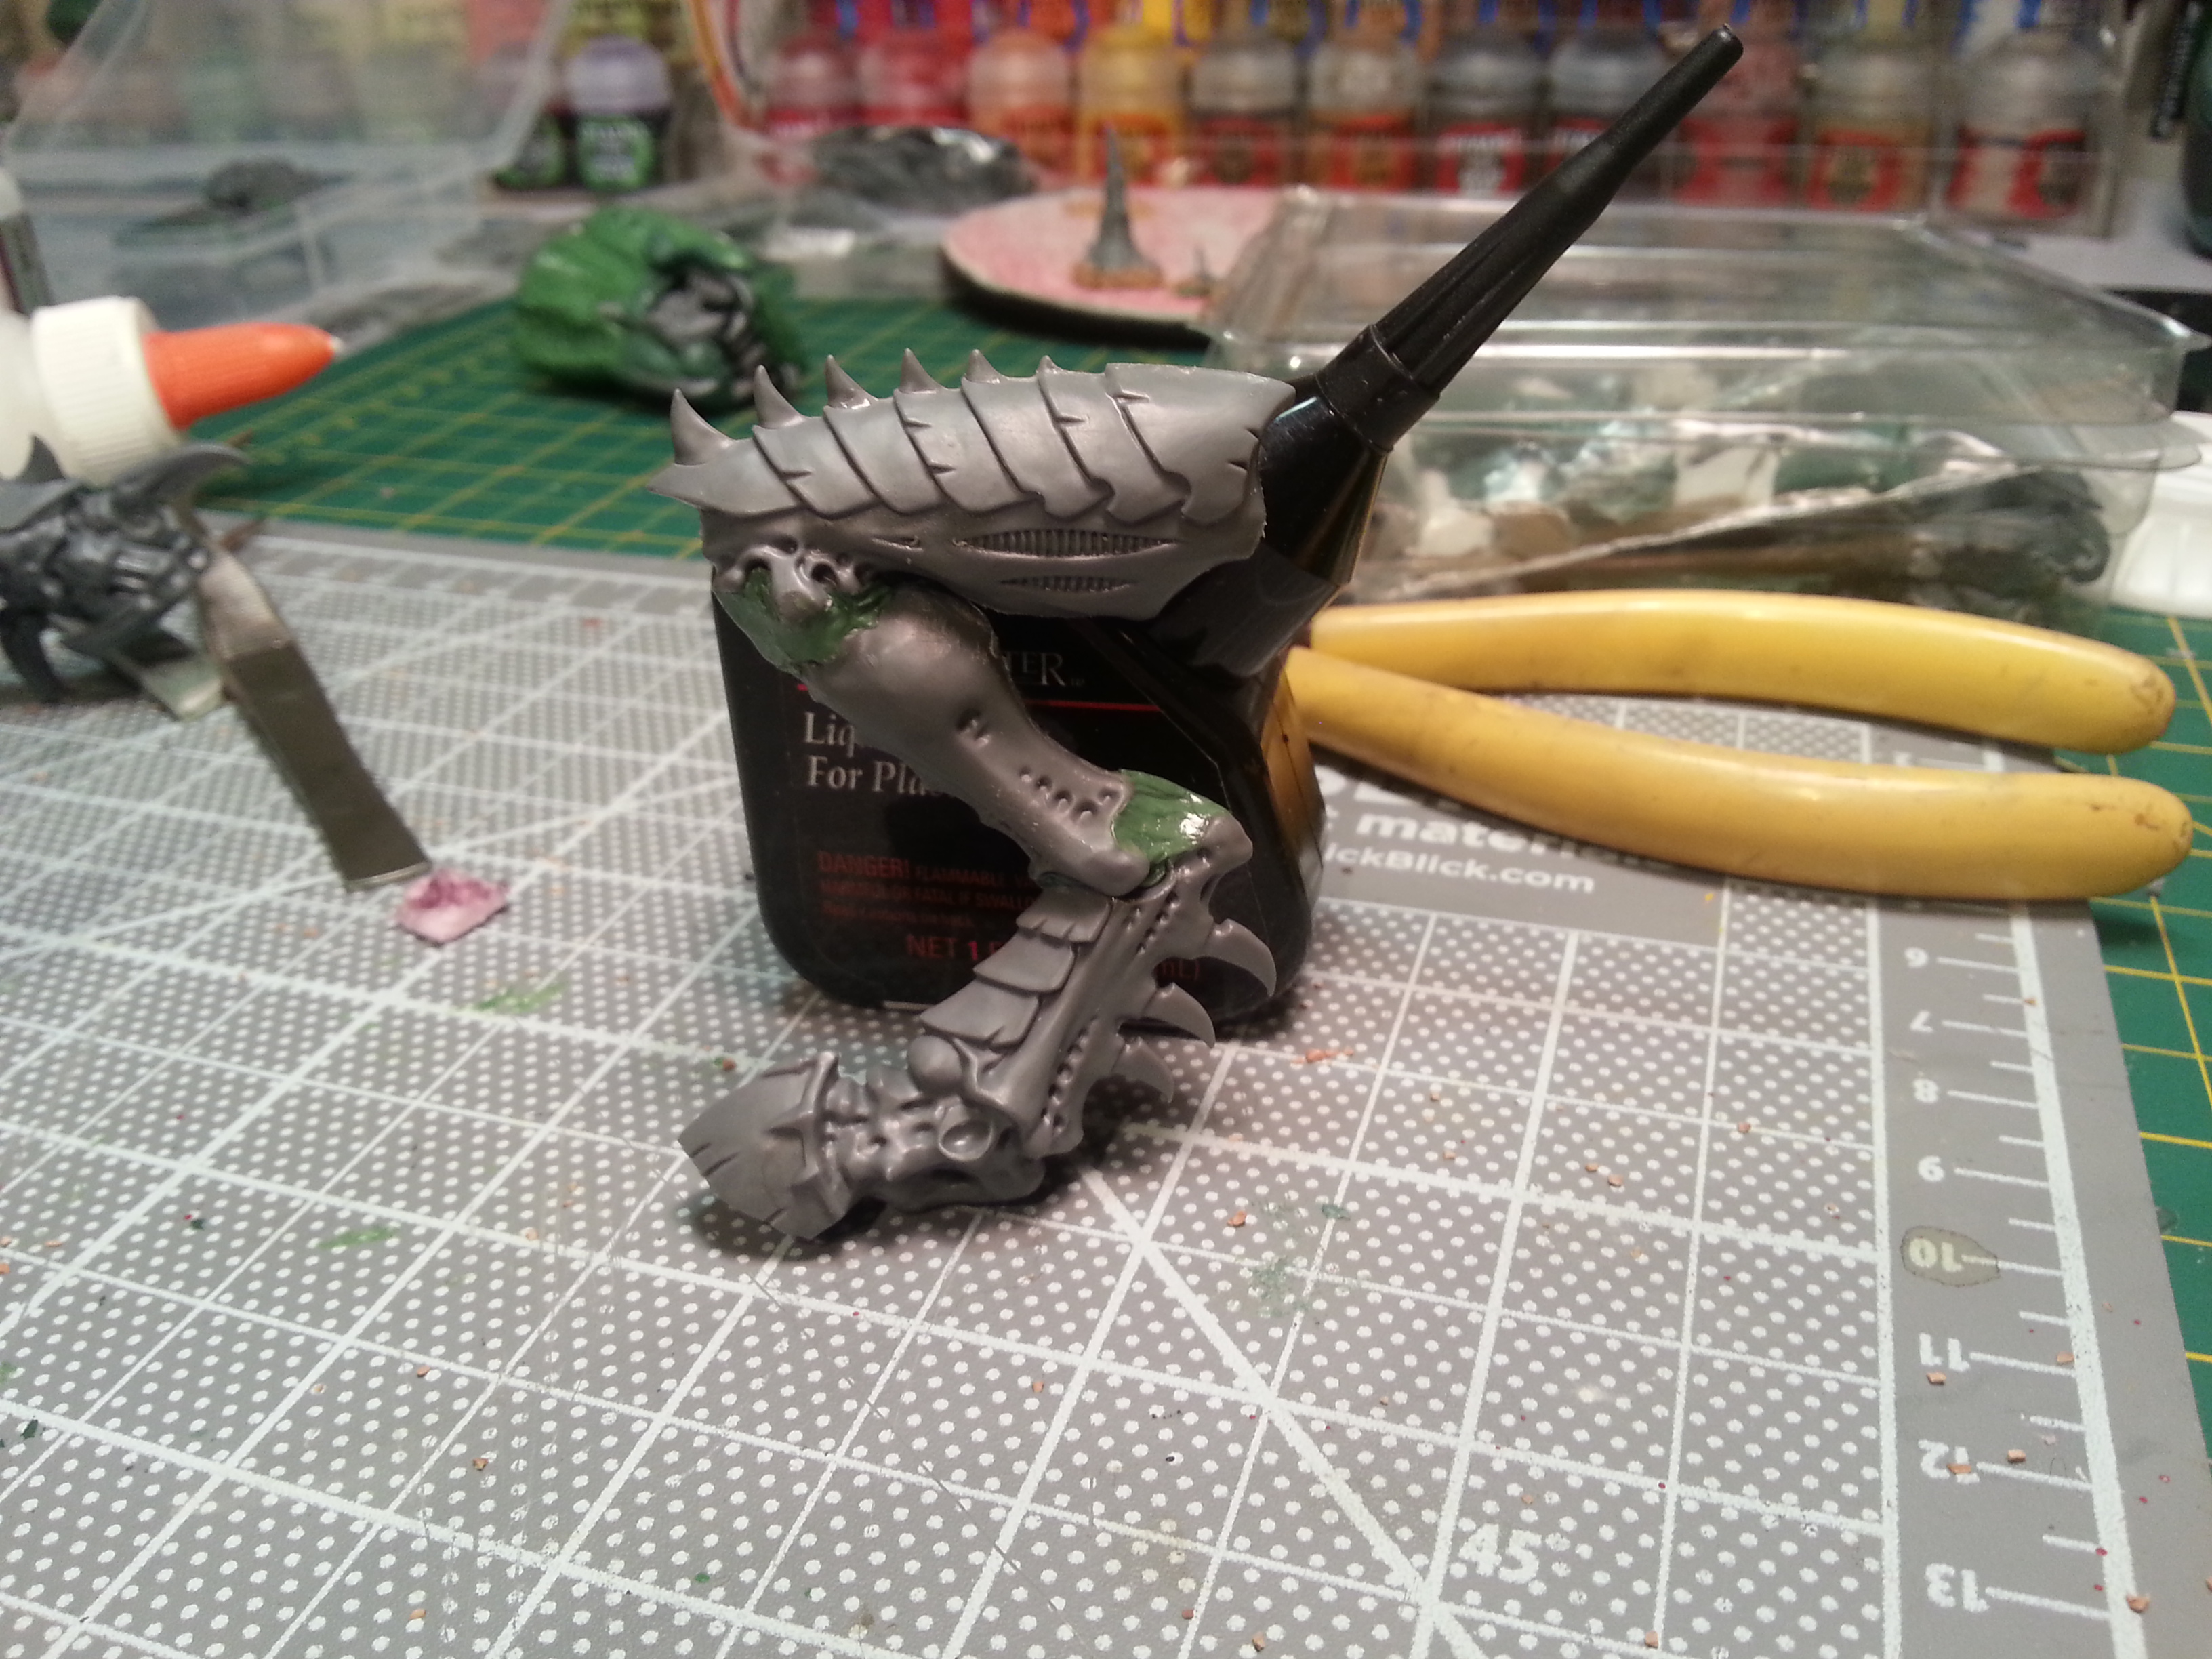
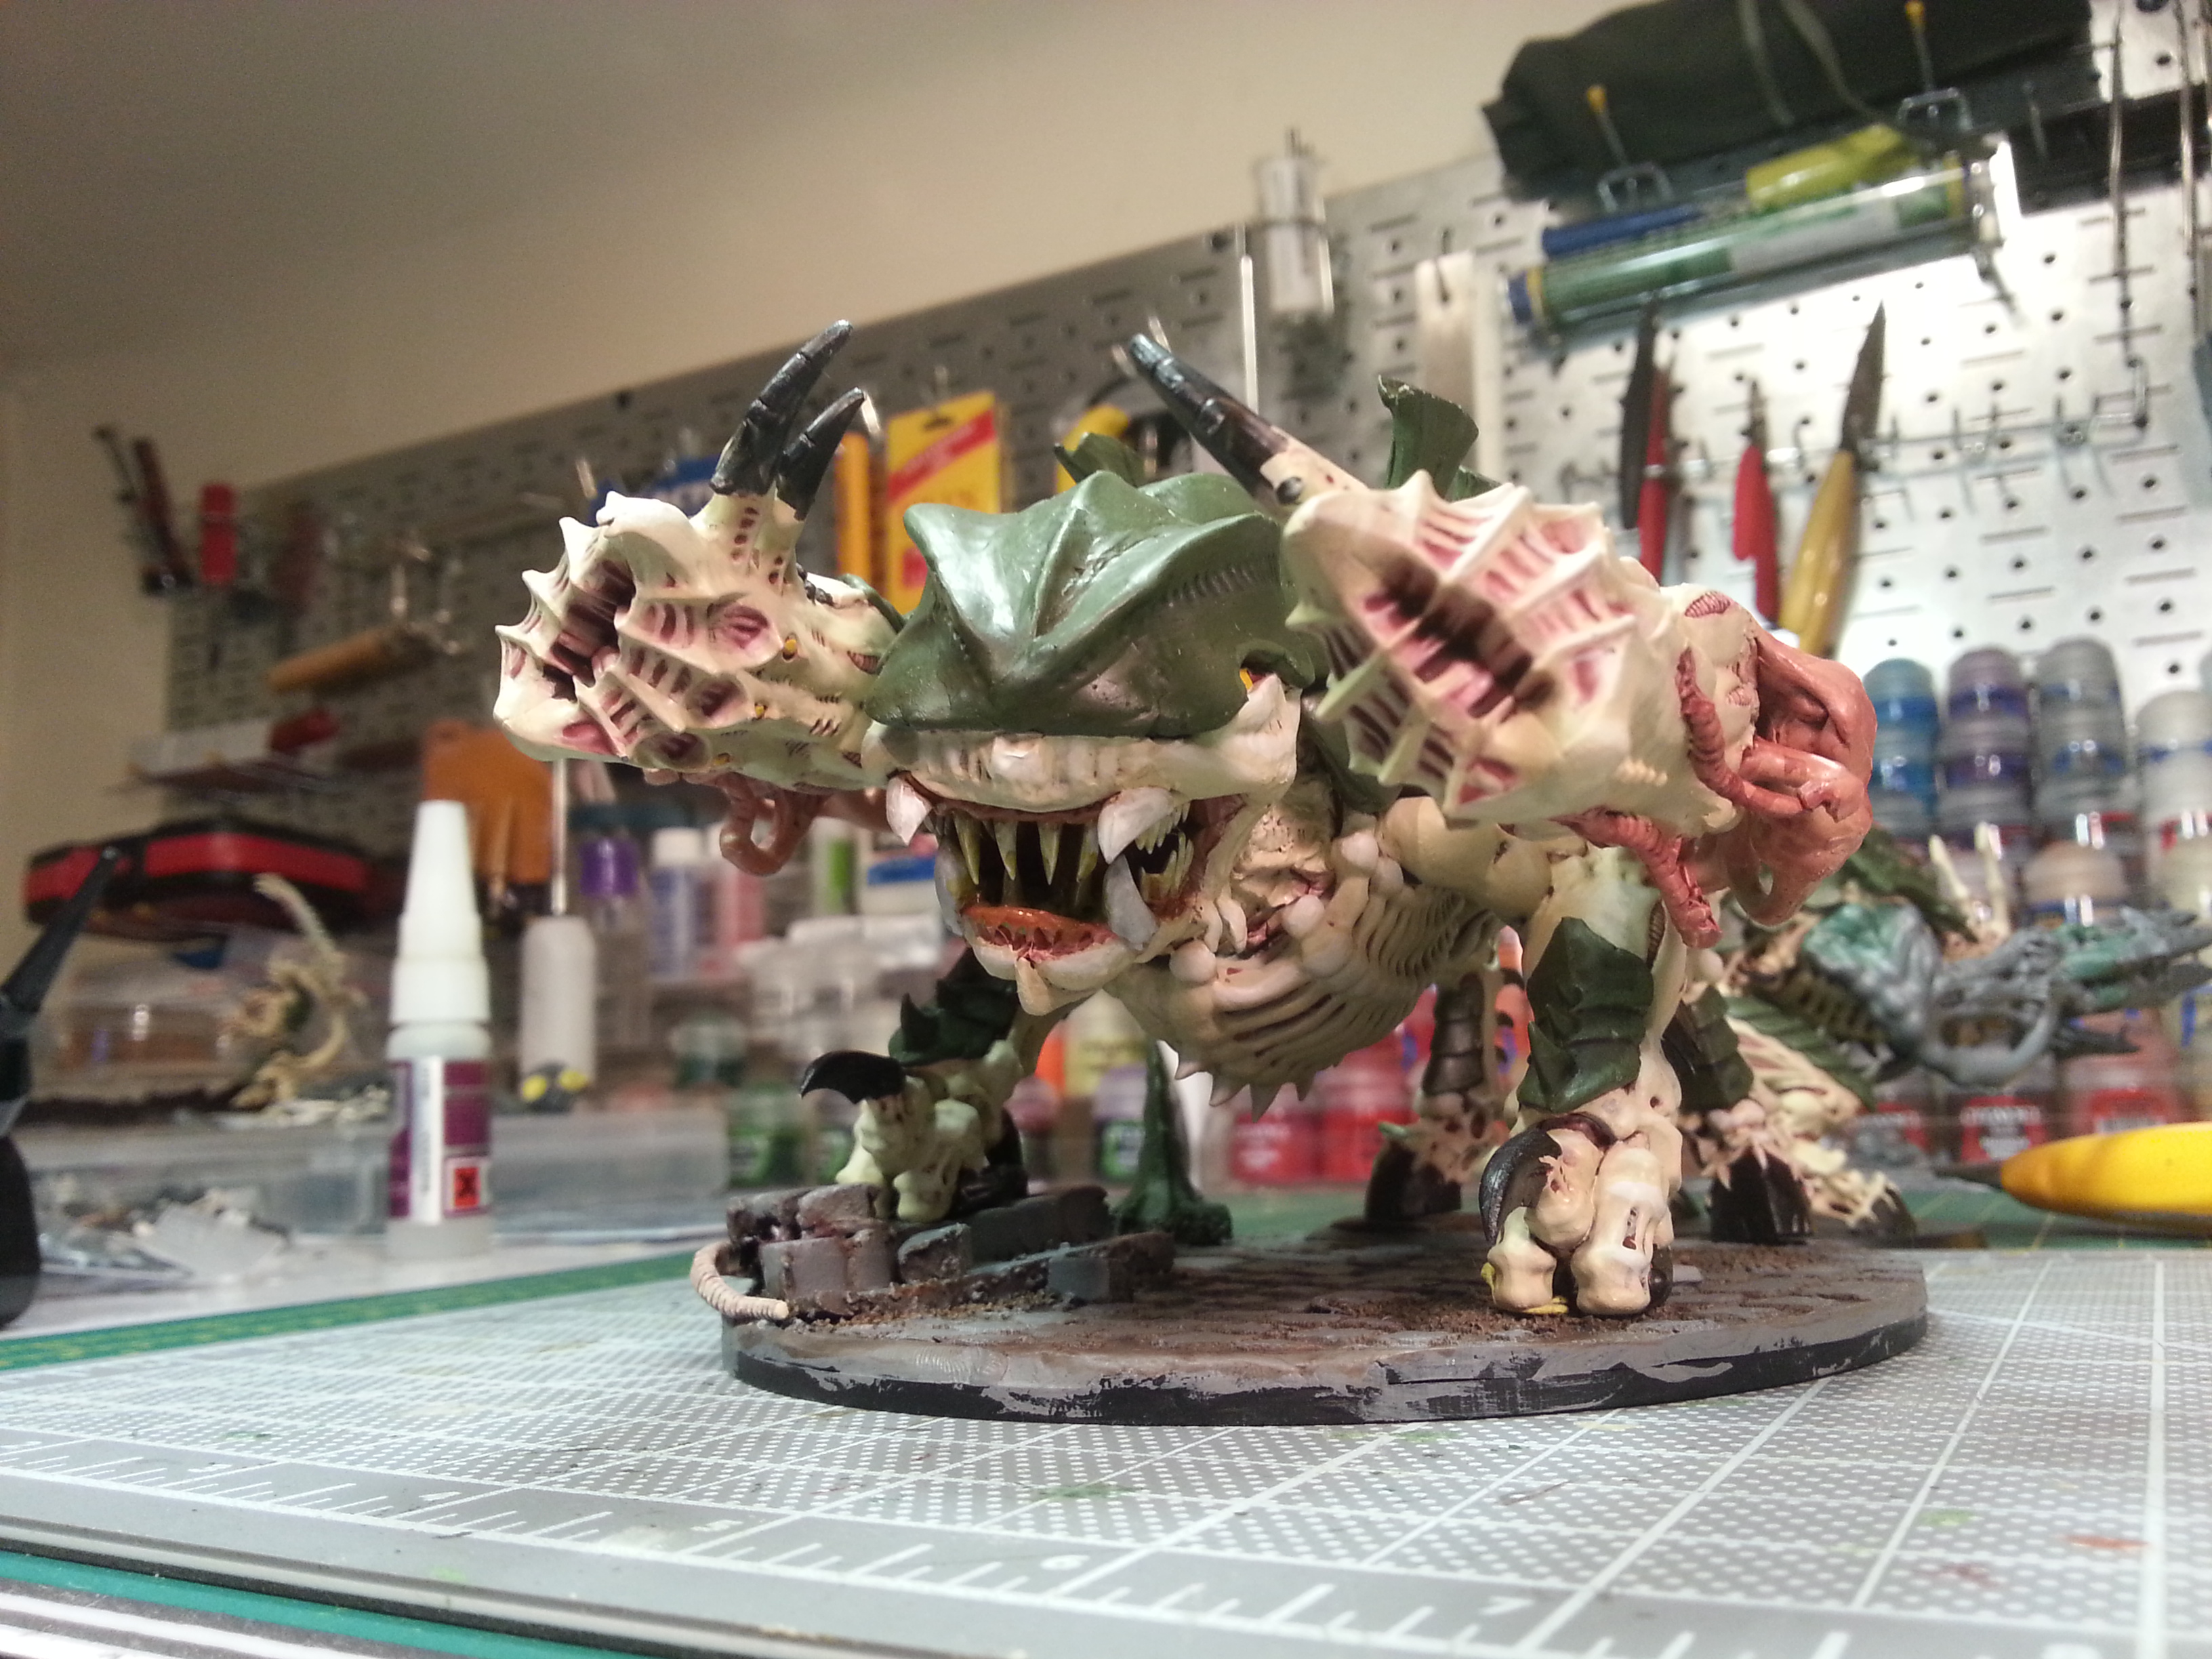
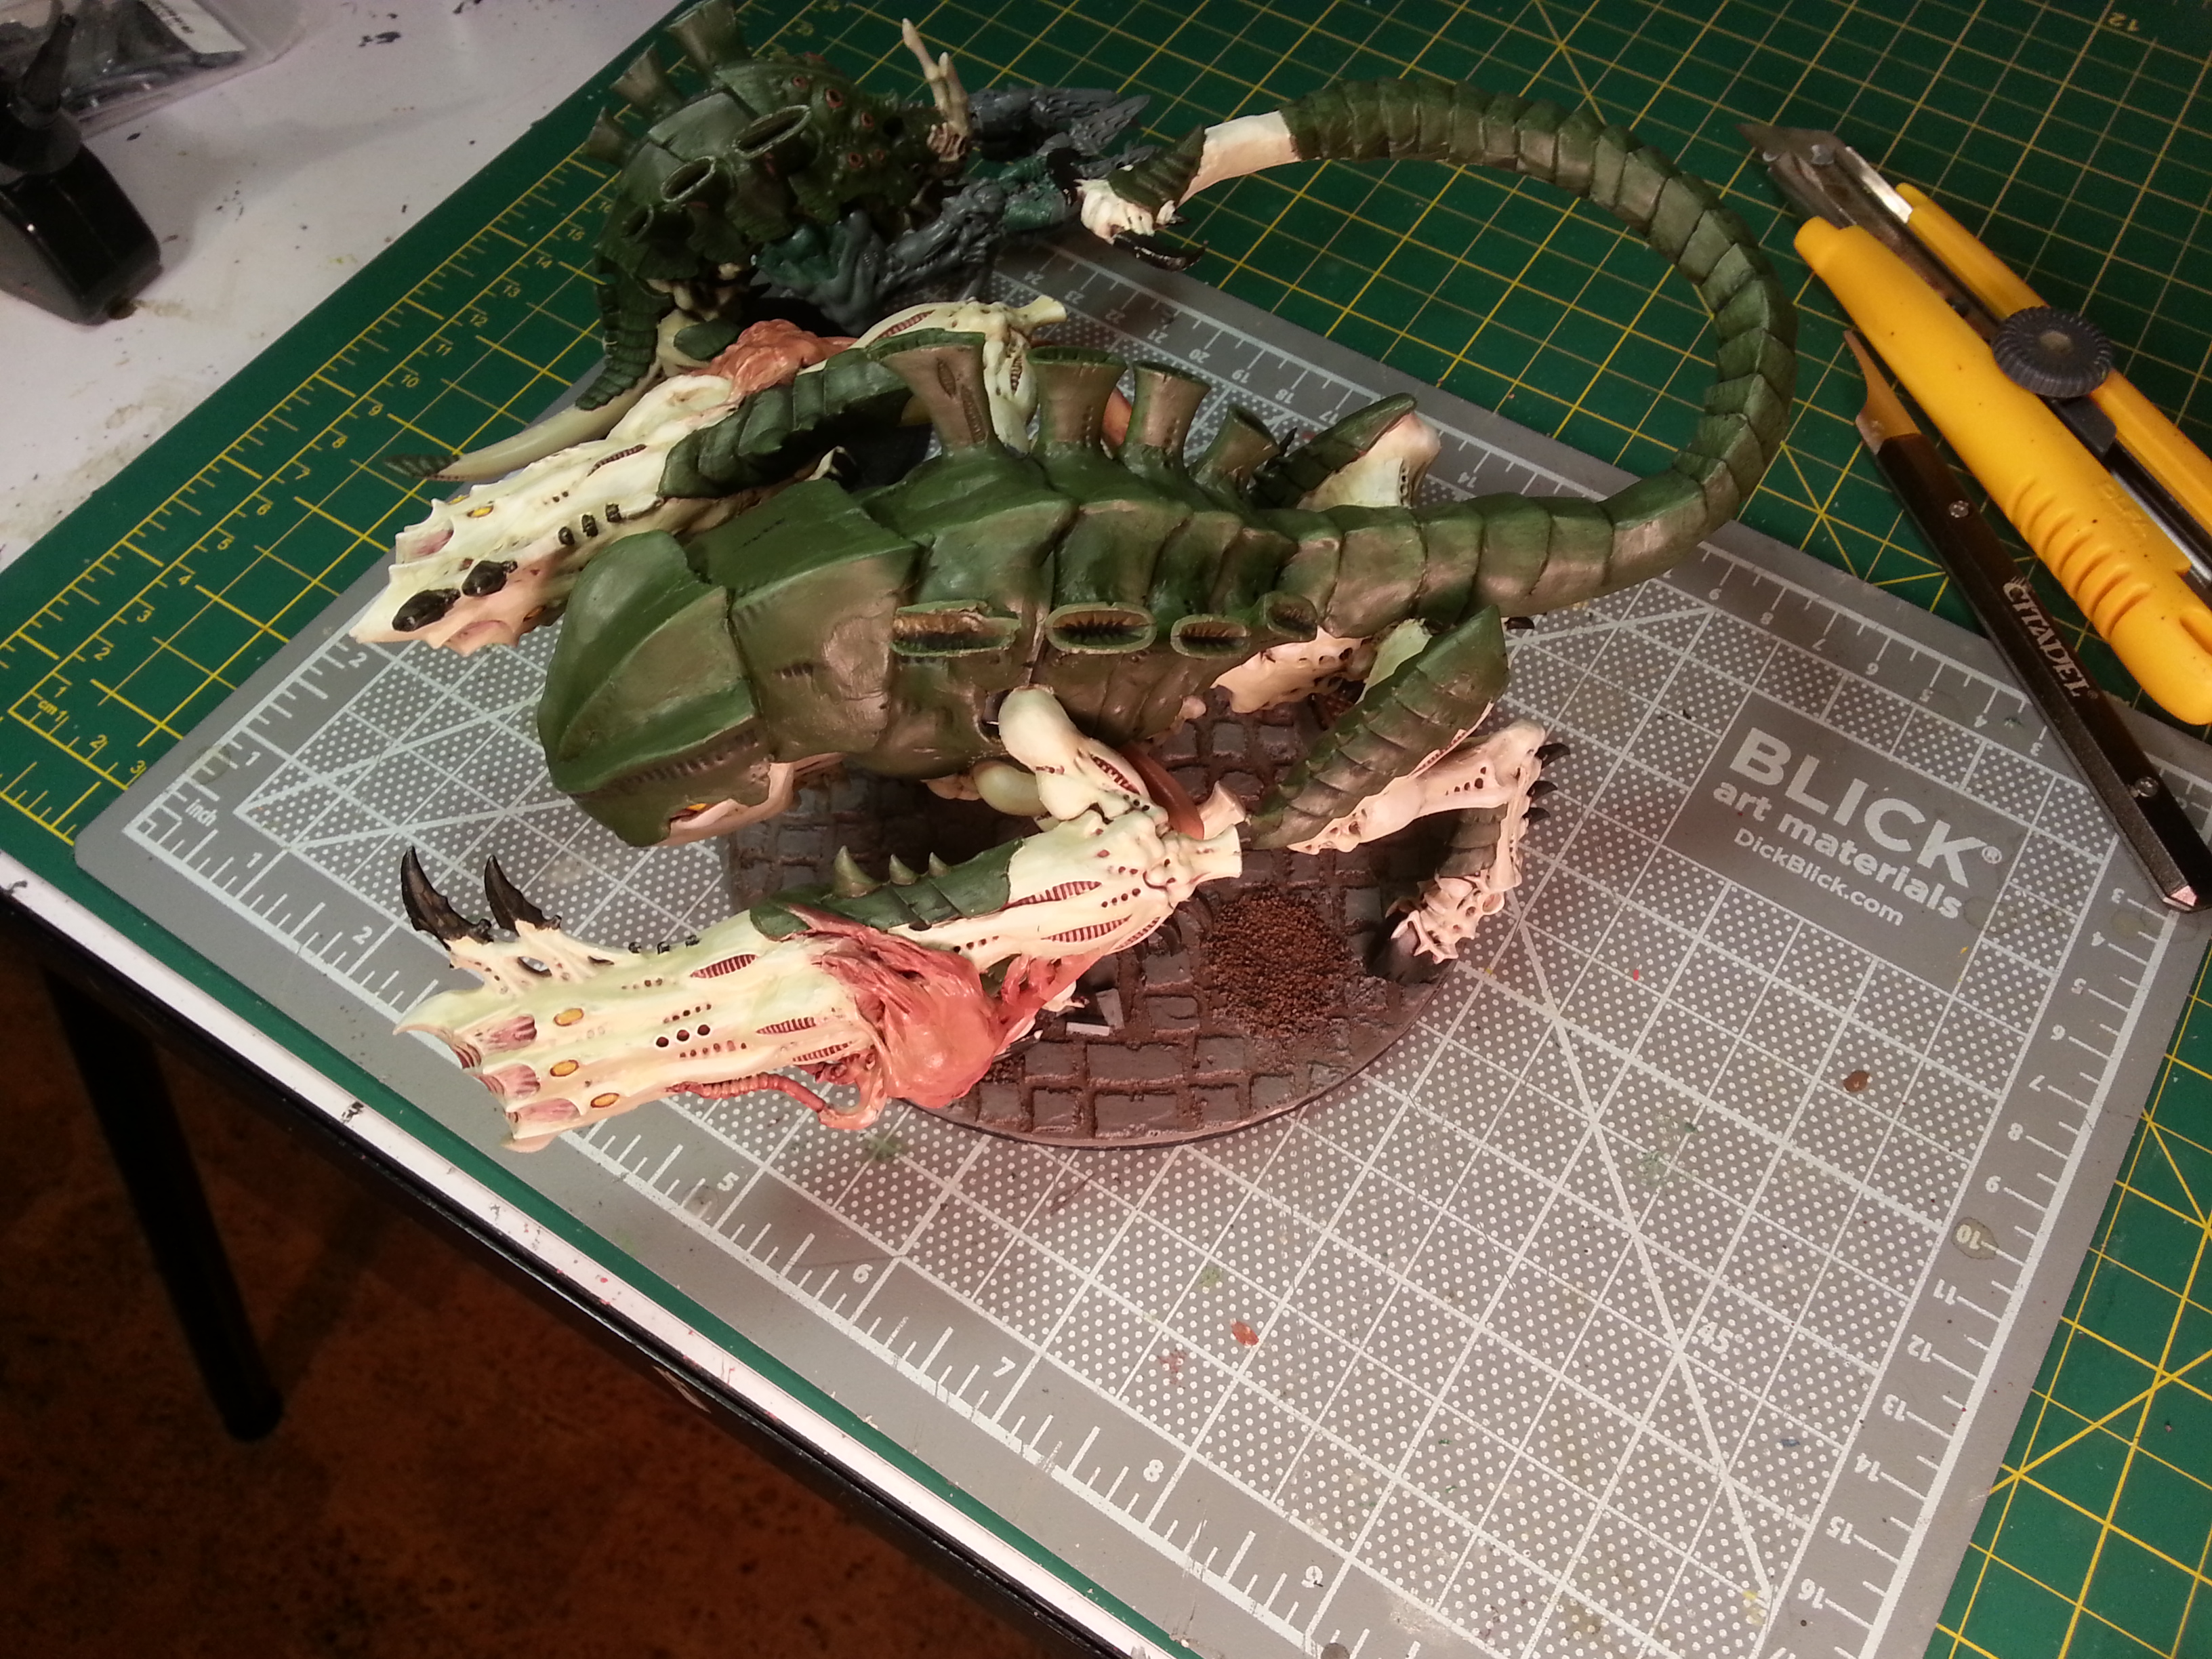
Note the extentions of the hard edges on the carapace plates...makes it look far less like an exocrine torso.
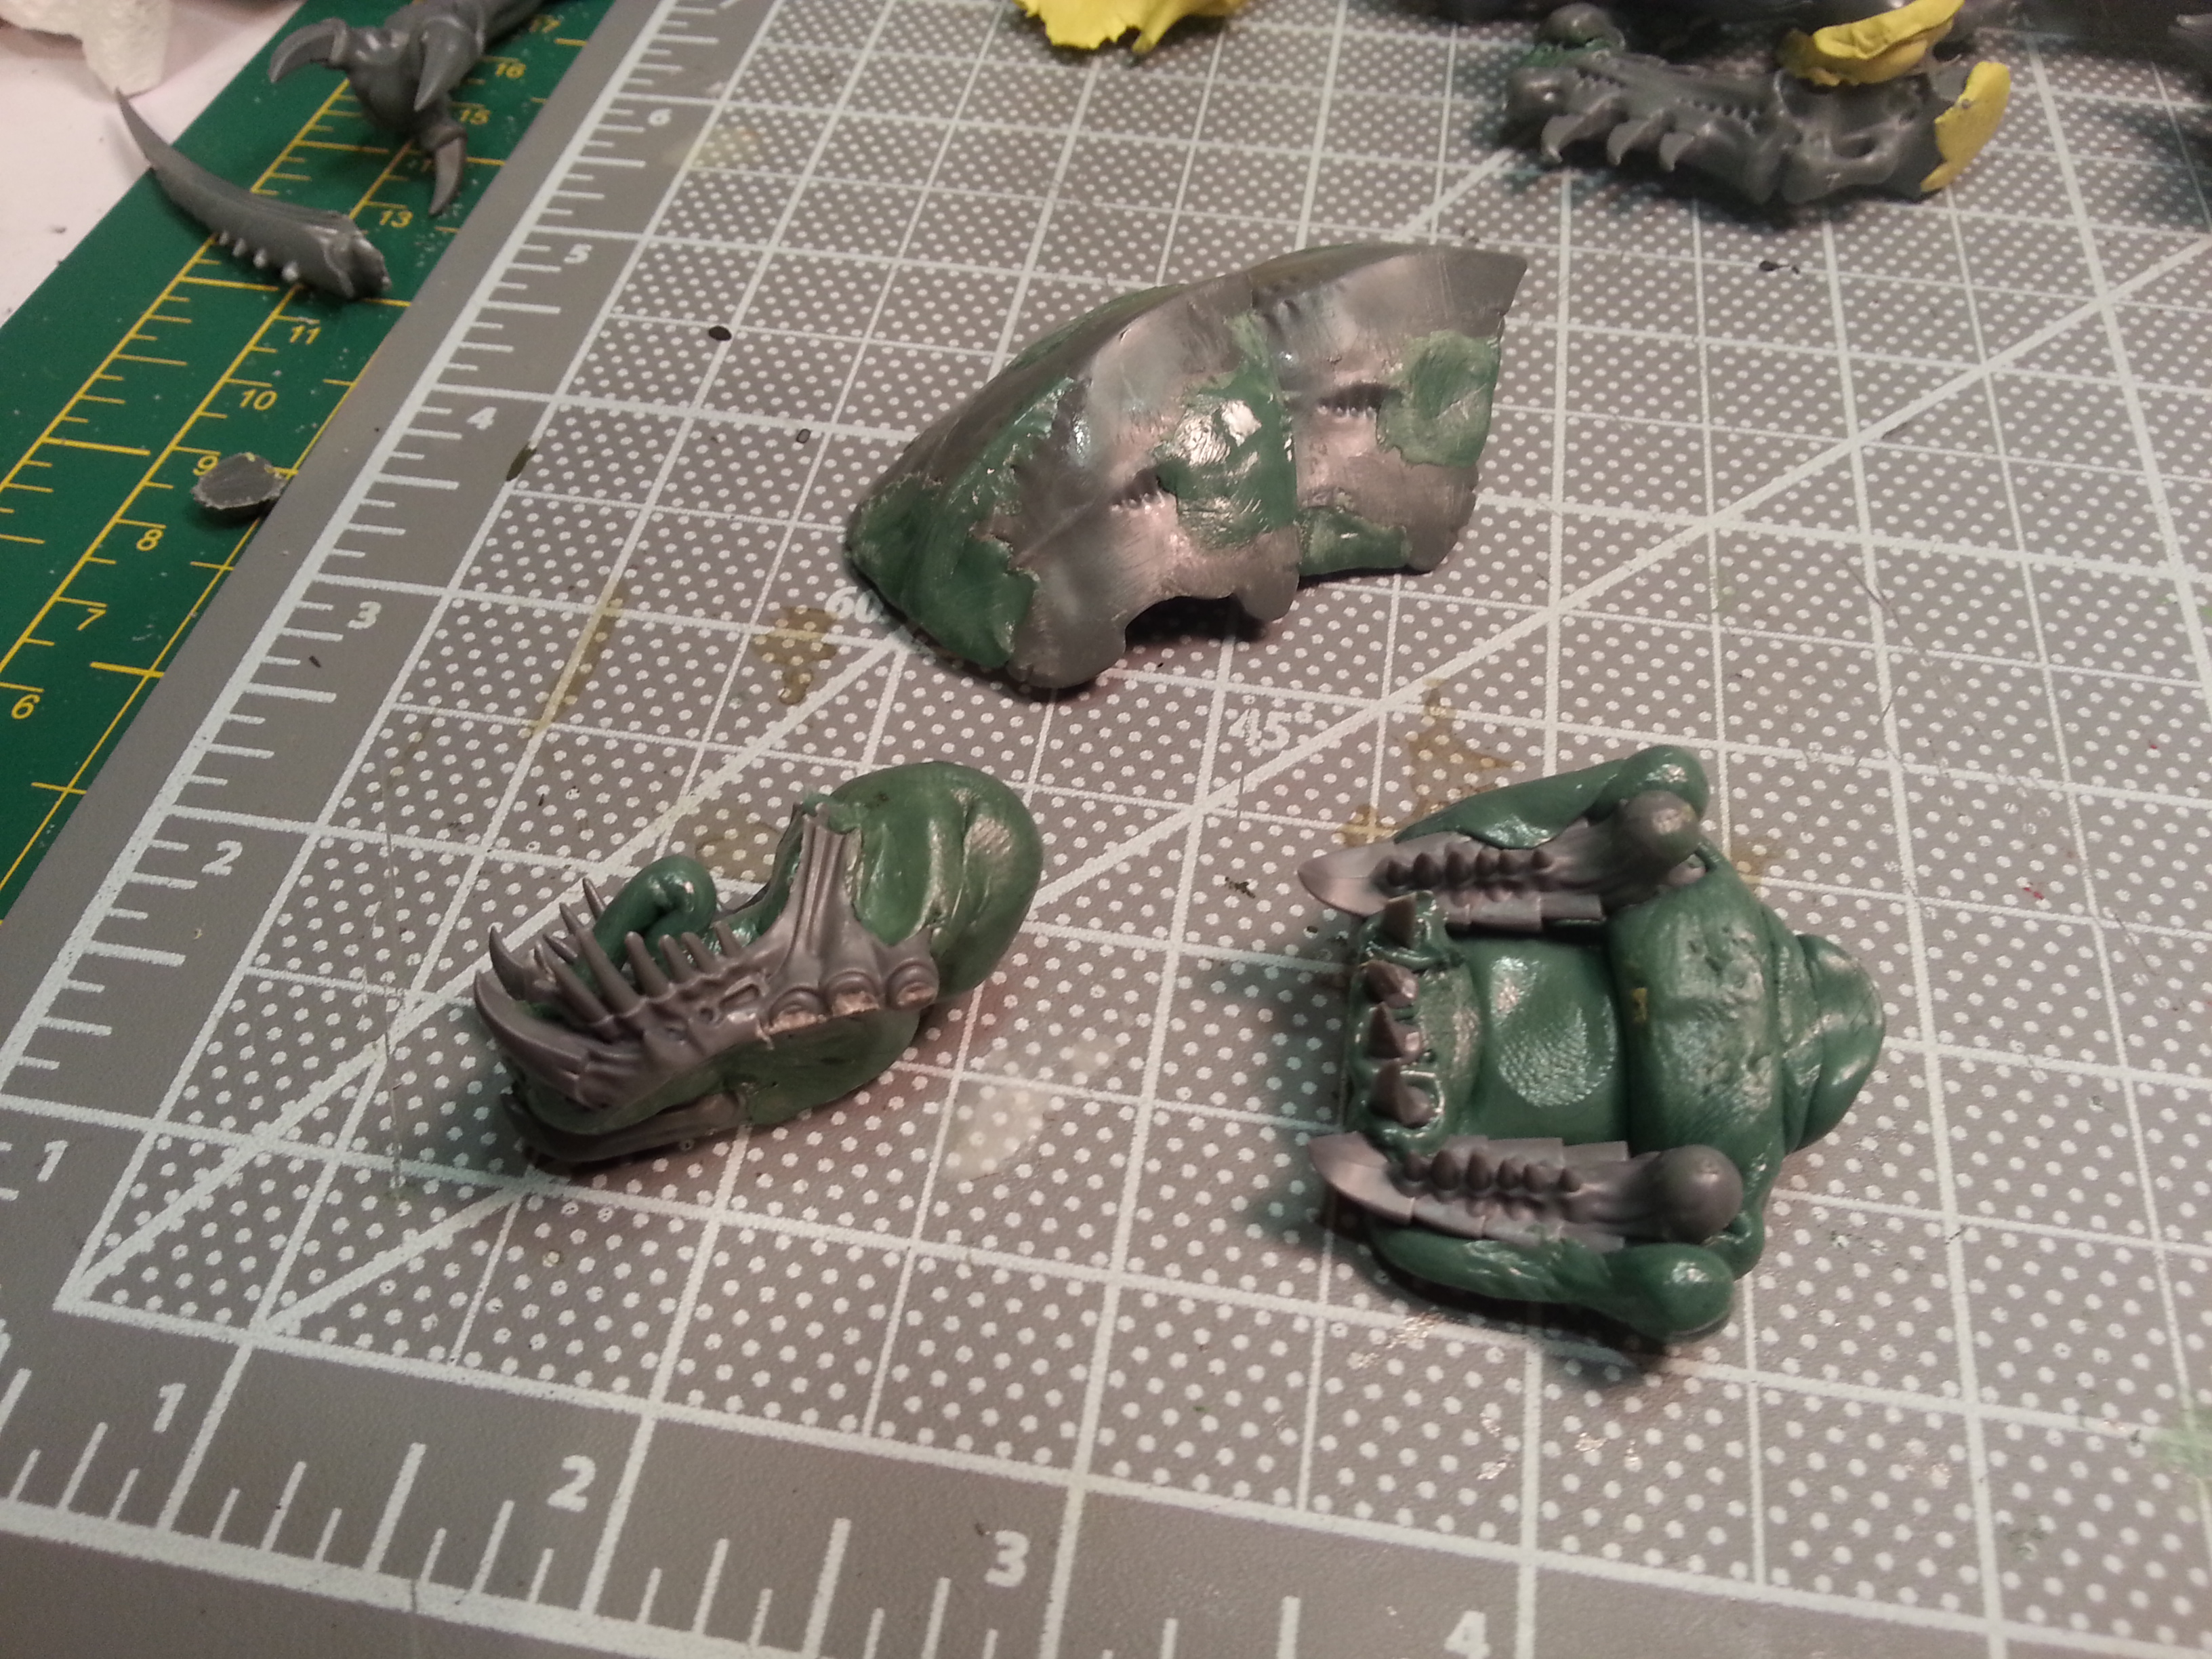
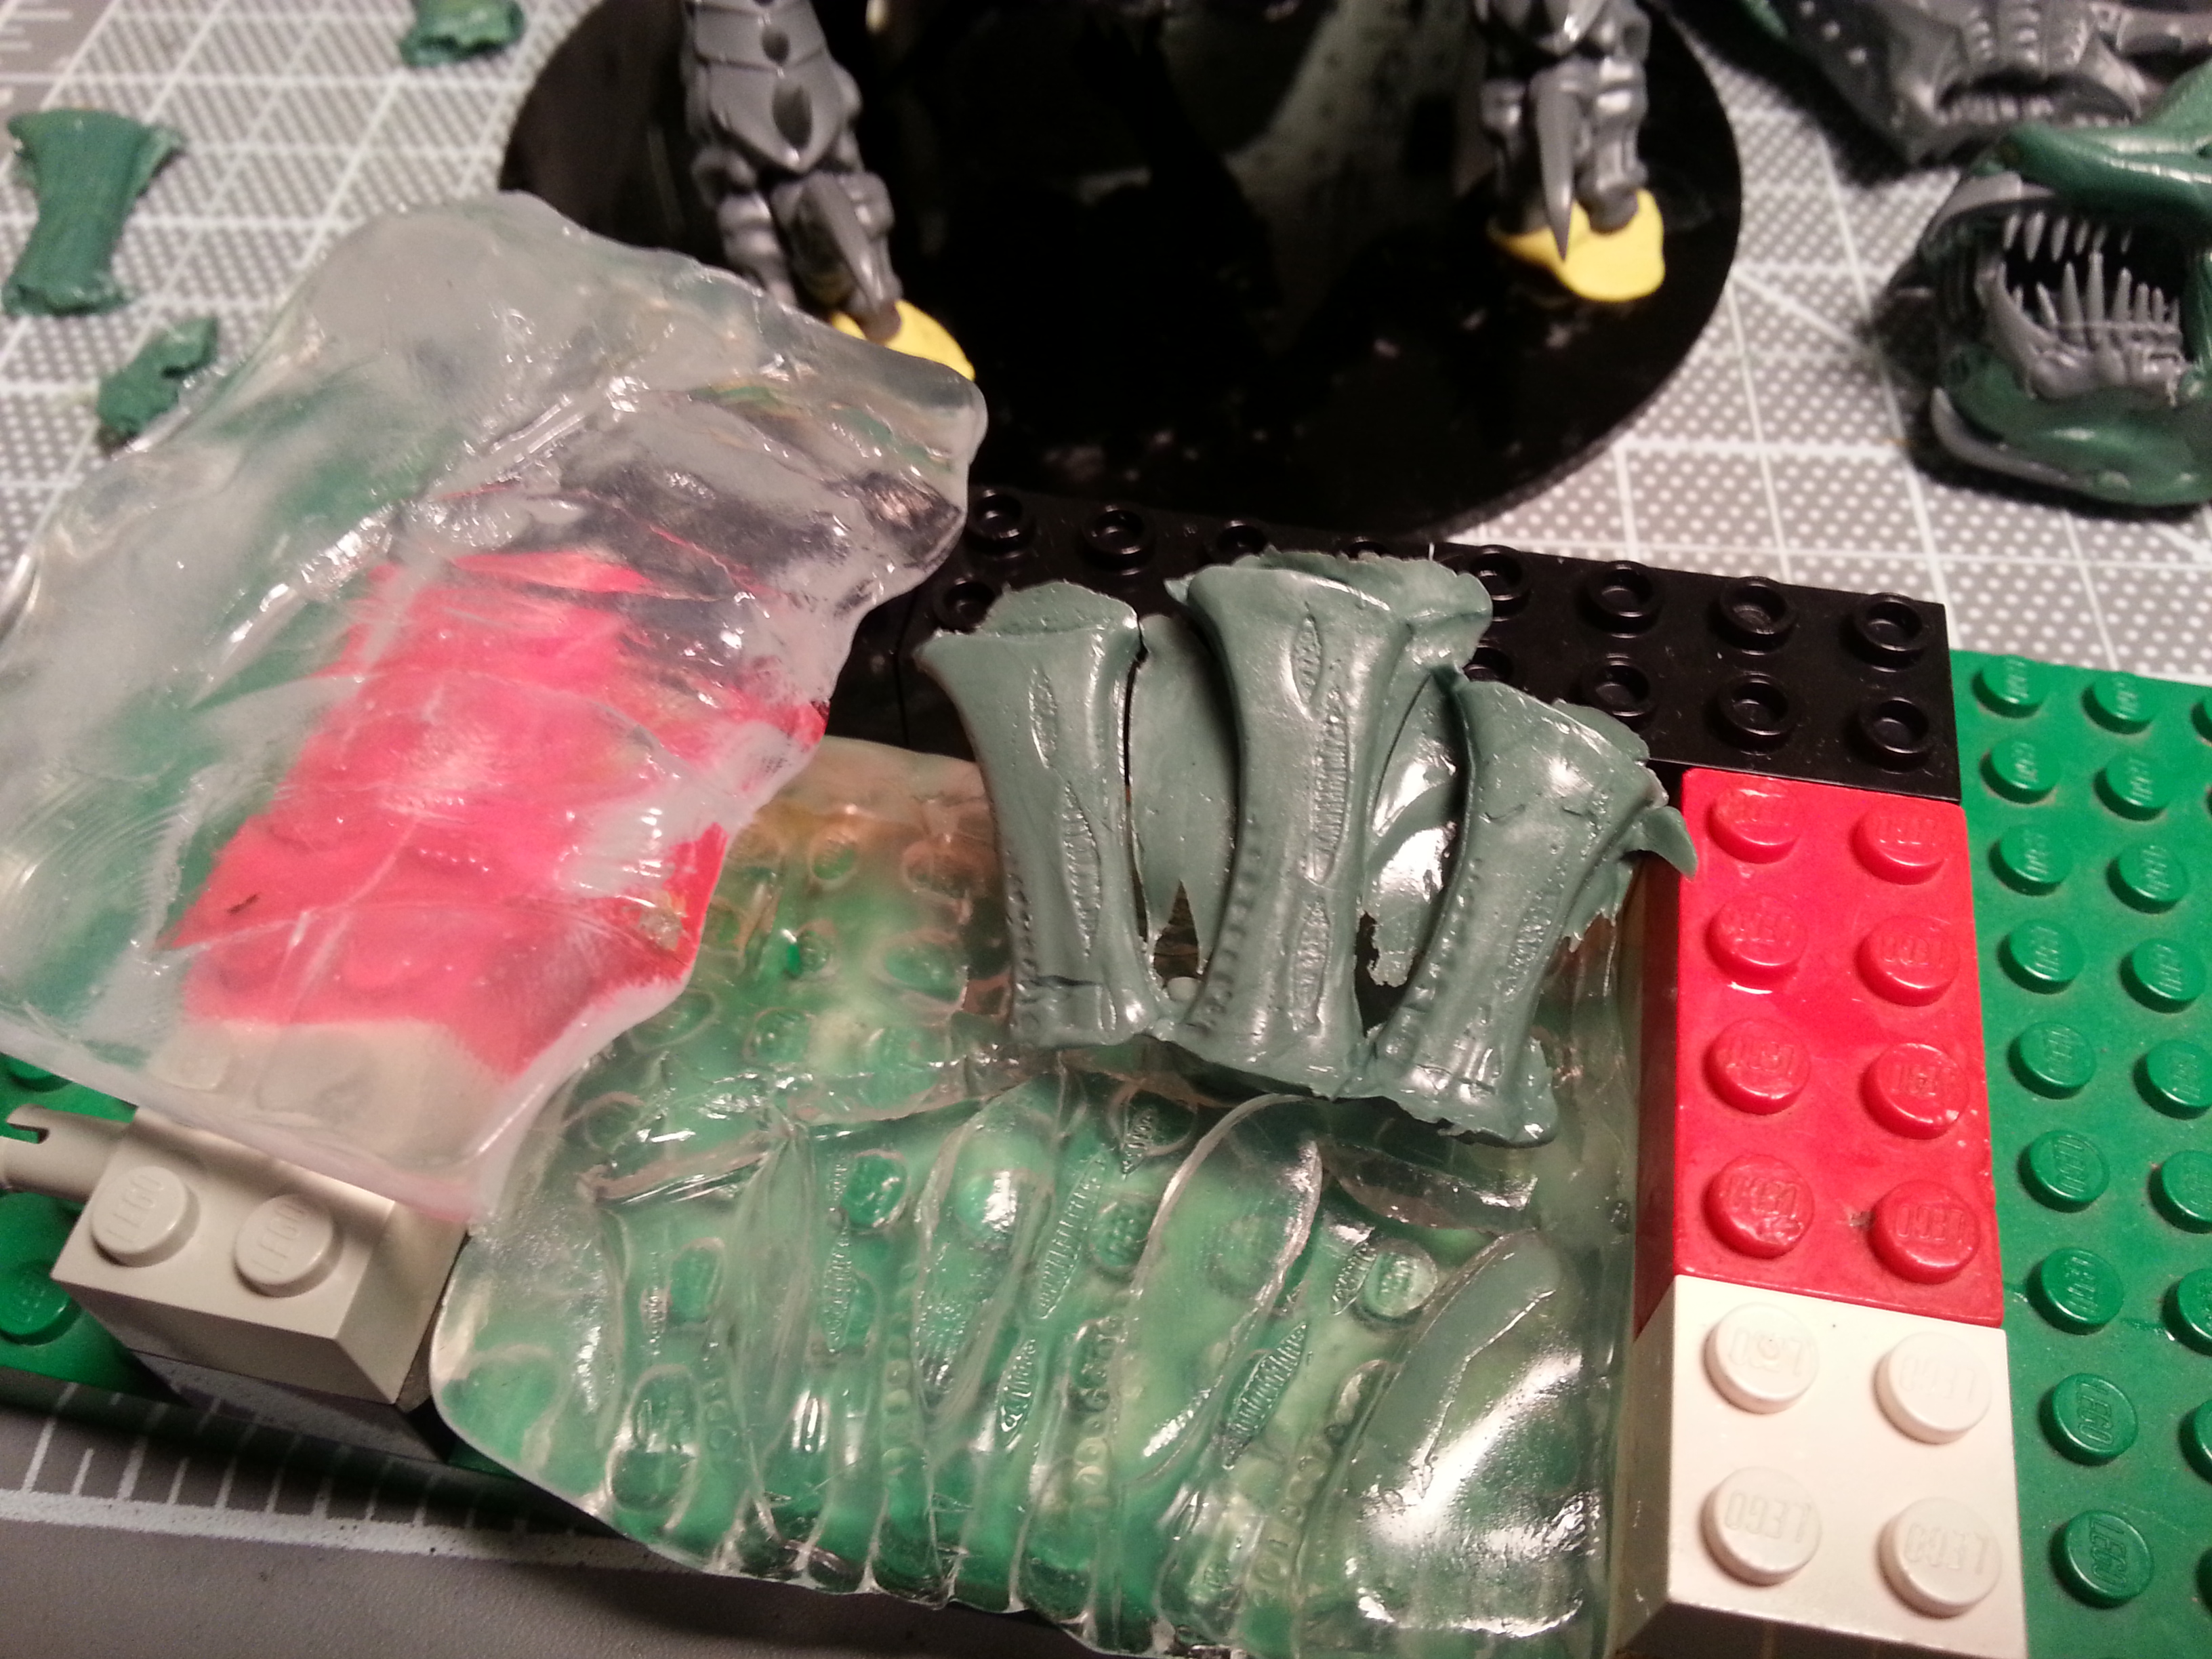
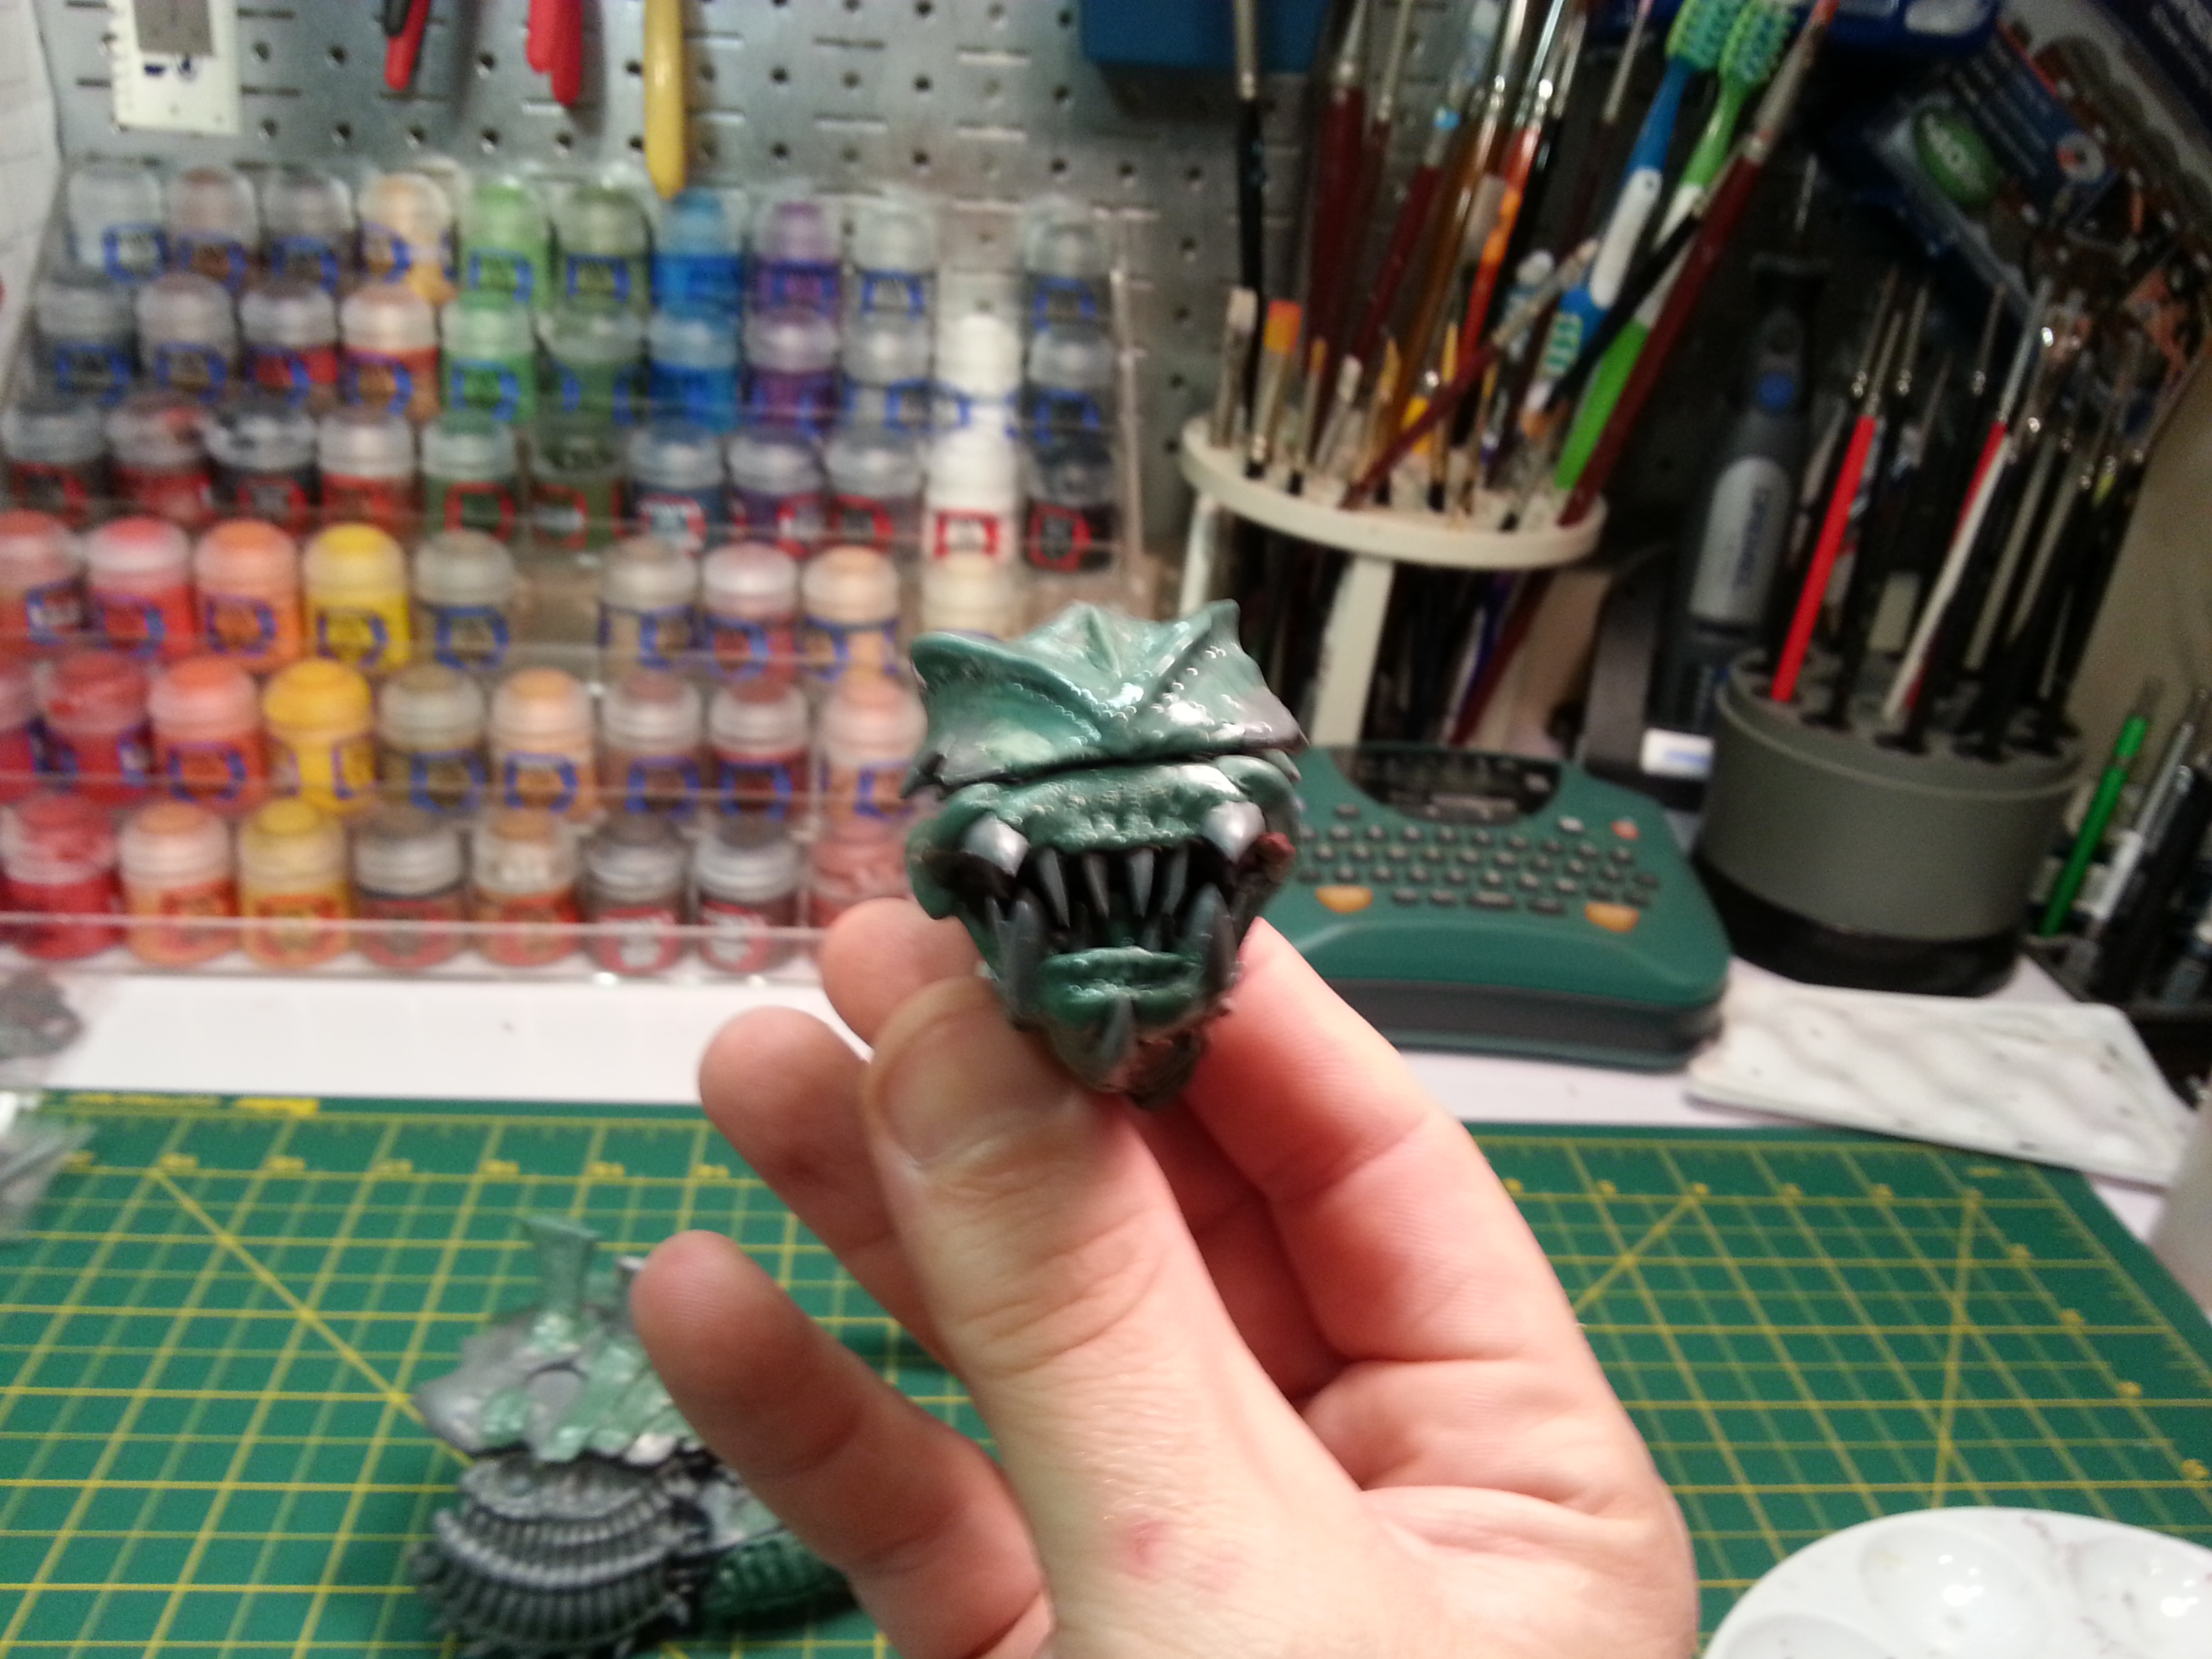
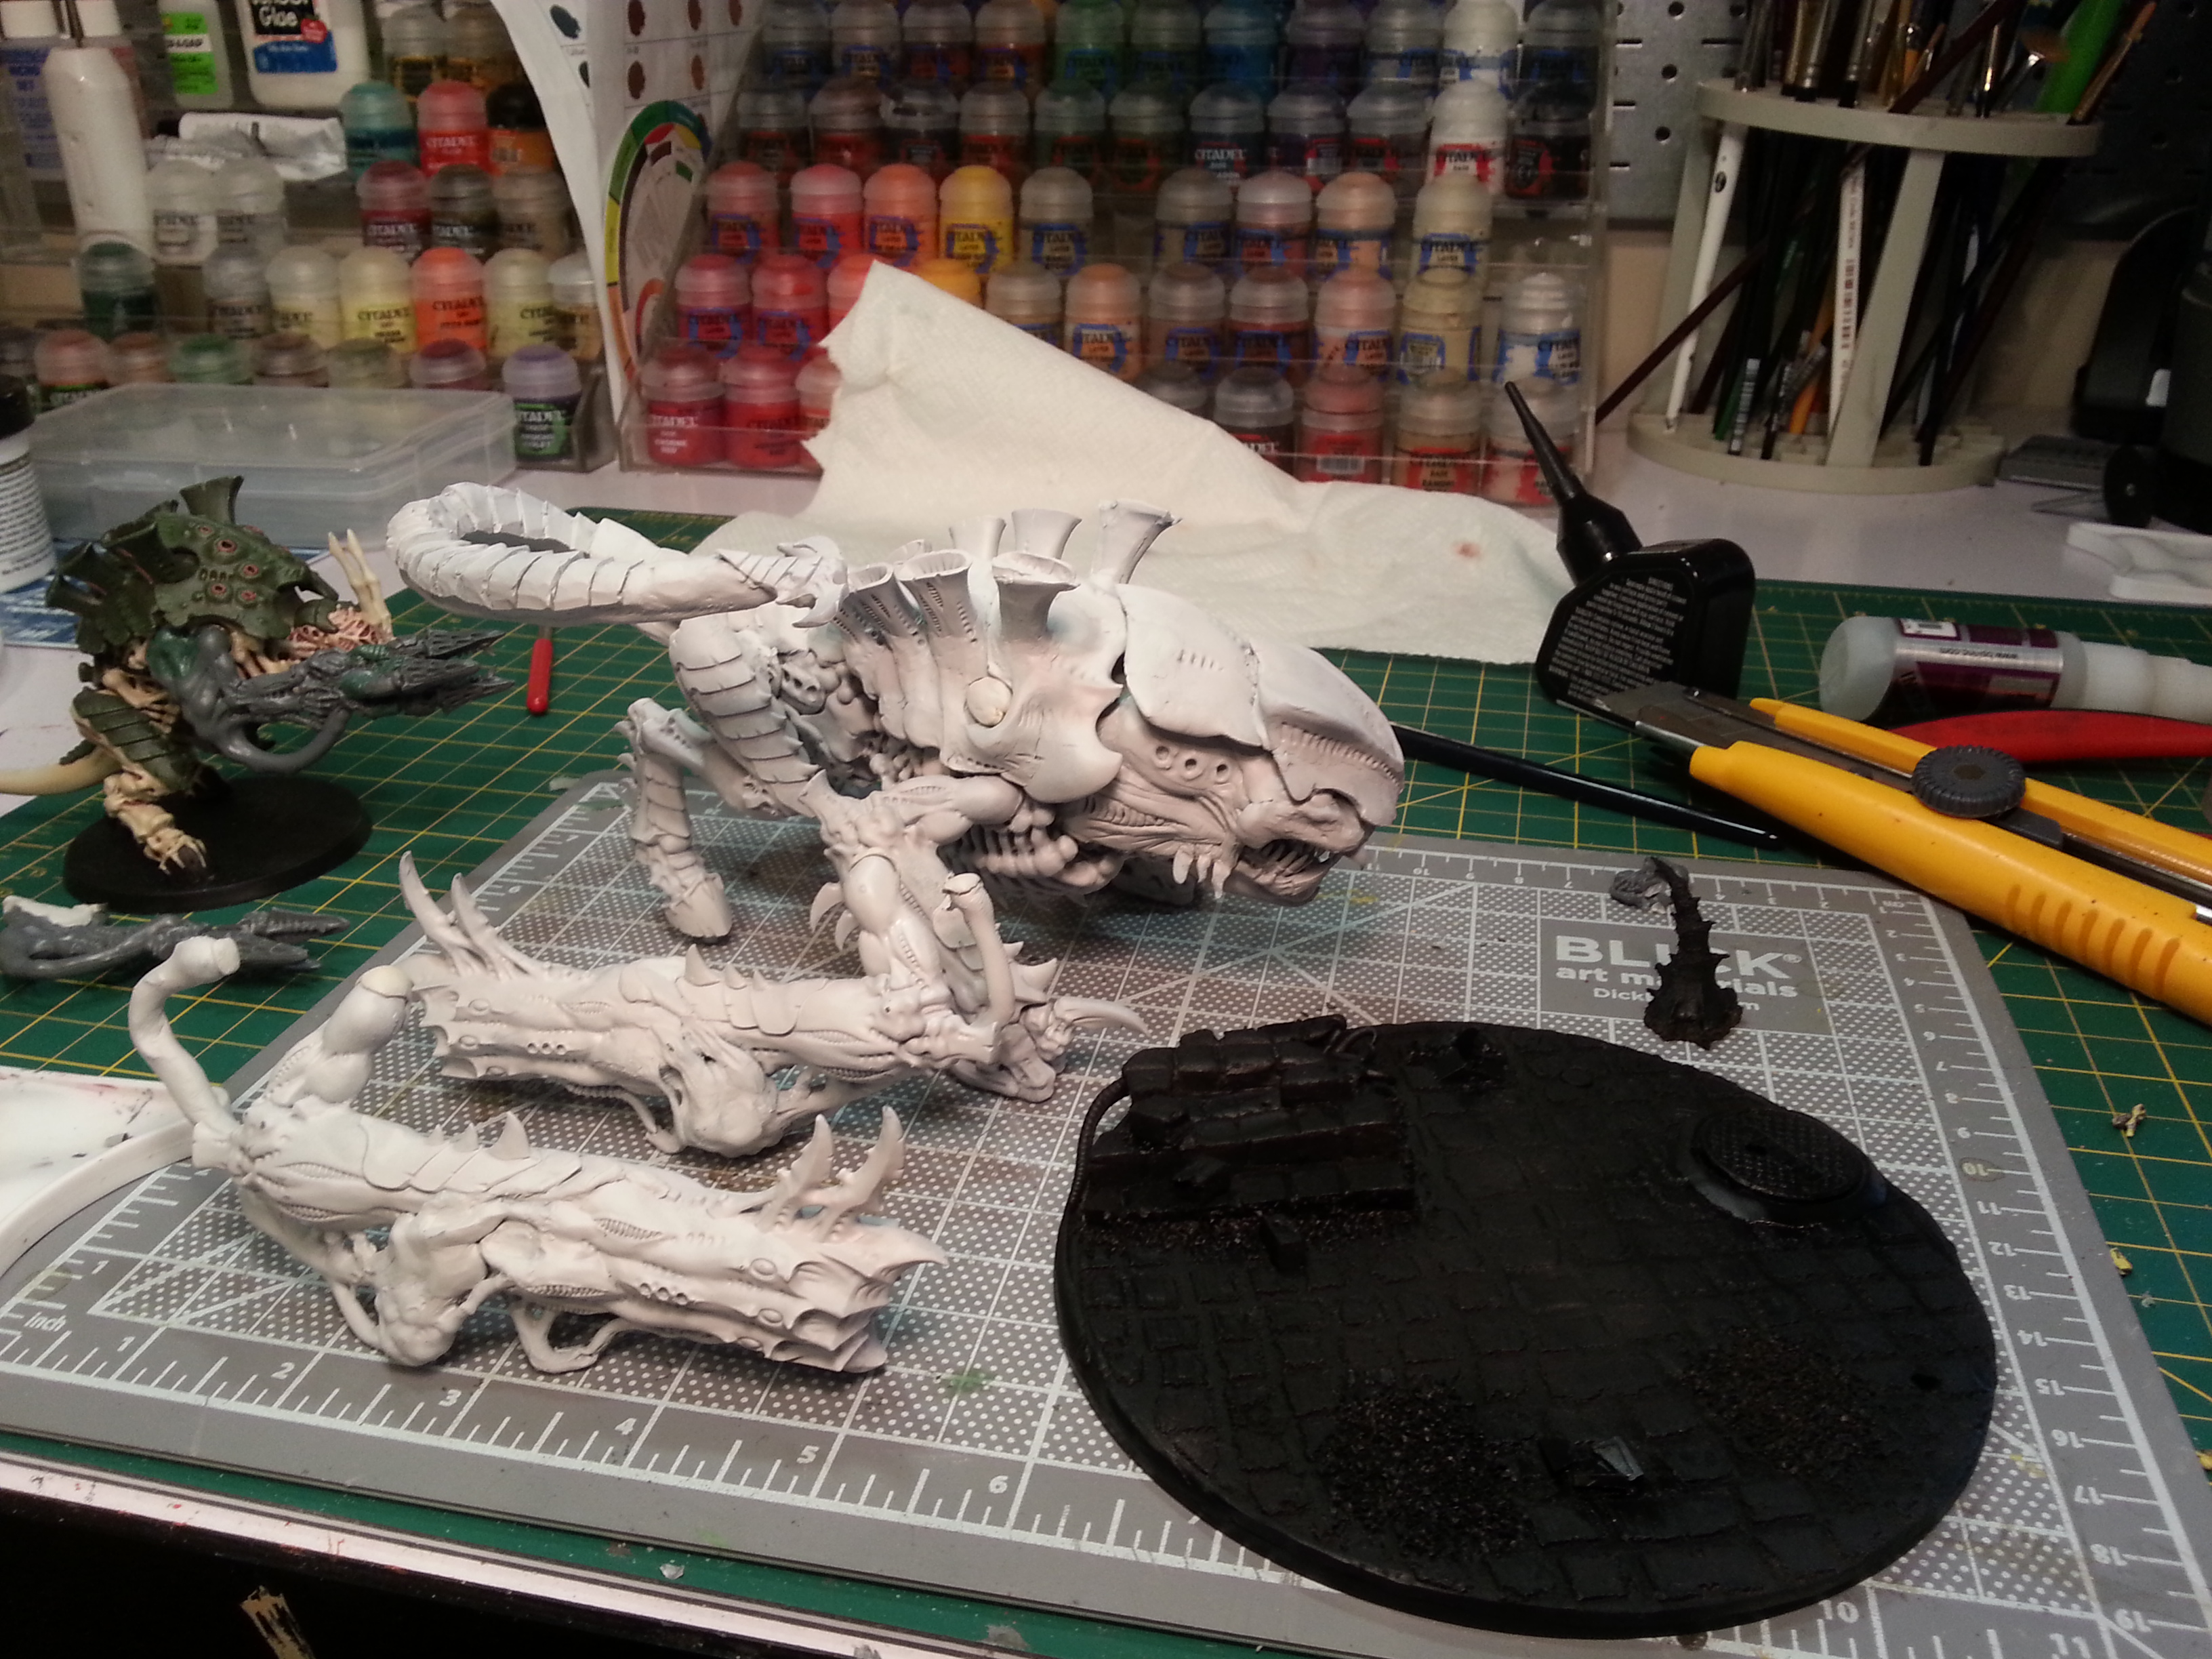
First cast. Not great, but I can work with these. I'll make another set, and pick the two that are least messed up.
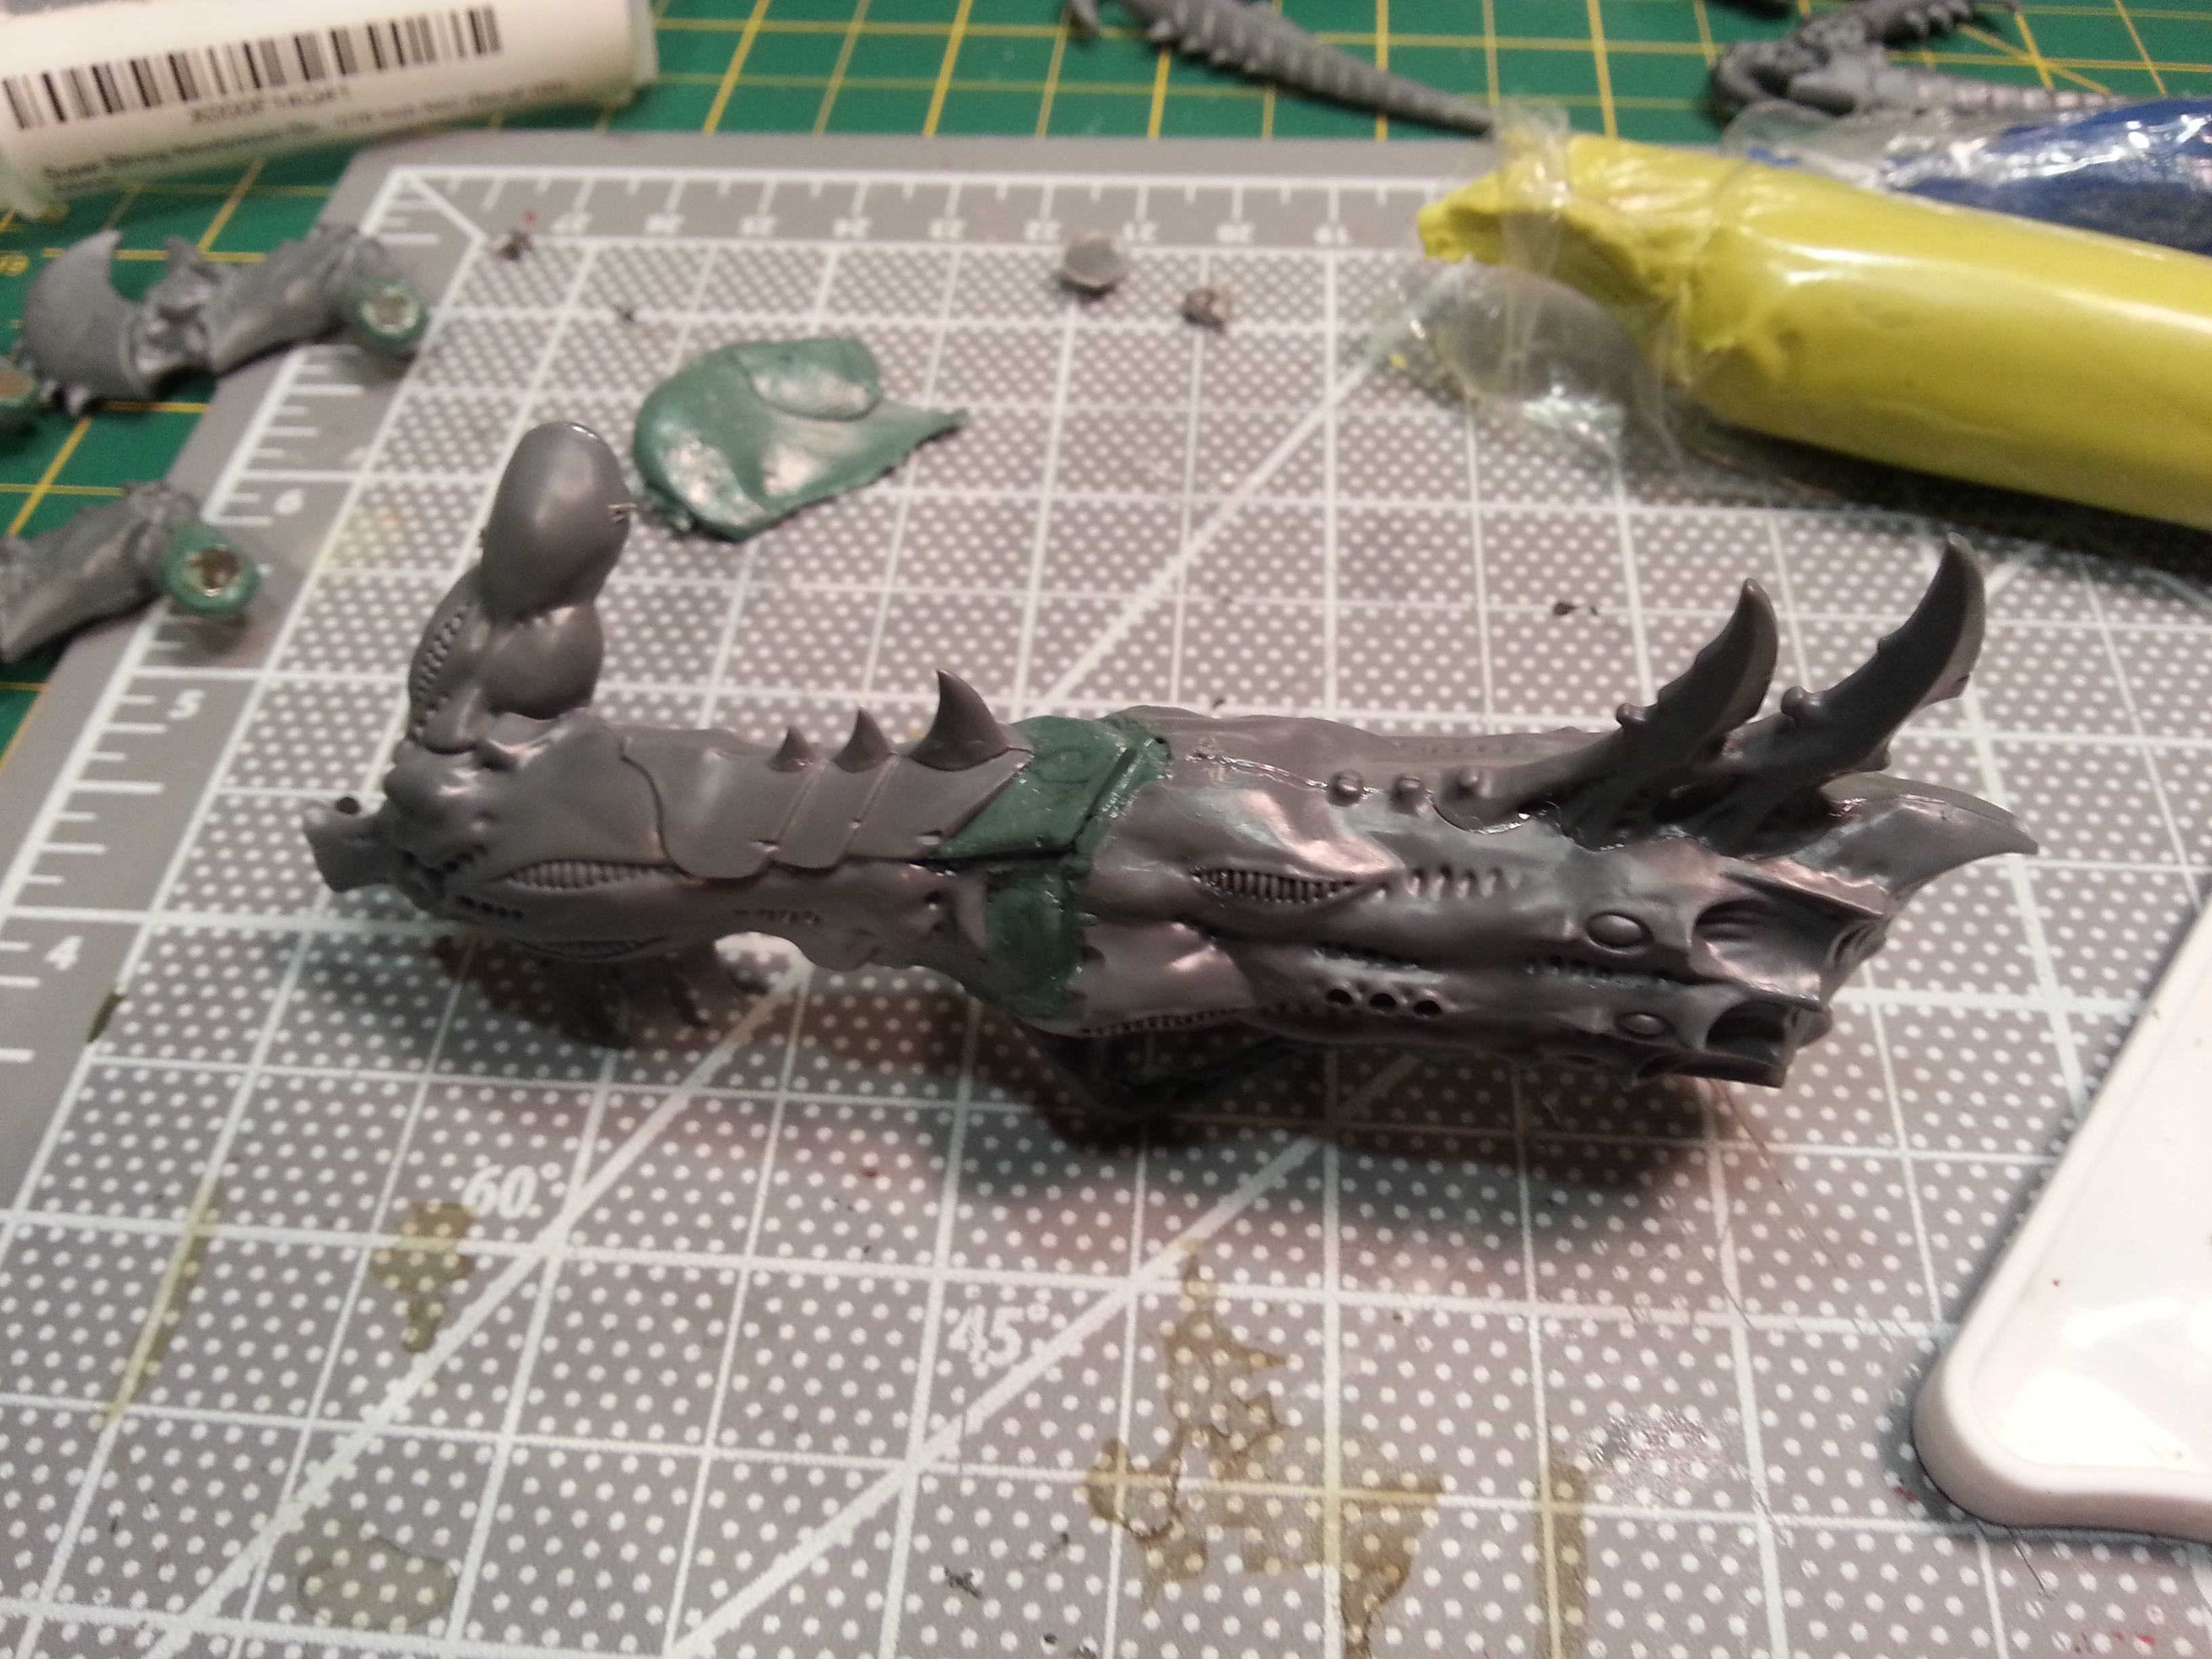
A rare in-progress shot: a slug of green stuff, just prior to being smoothed and blended between the vent and the carapace.
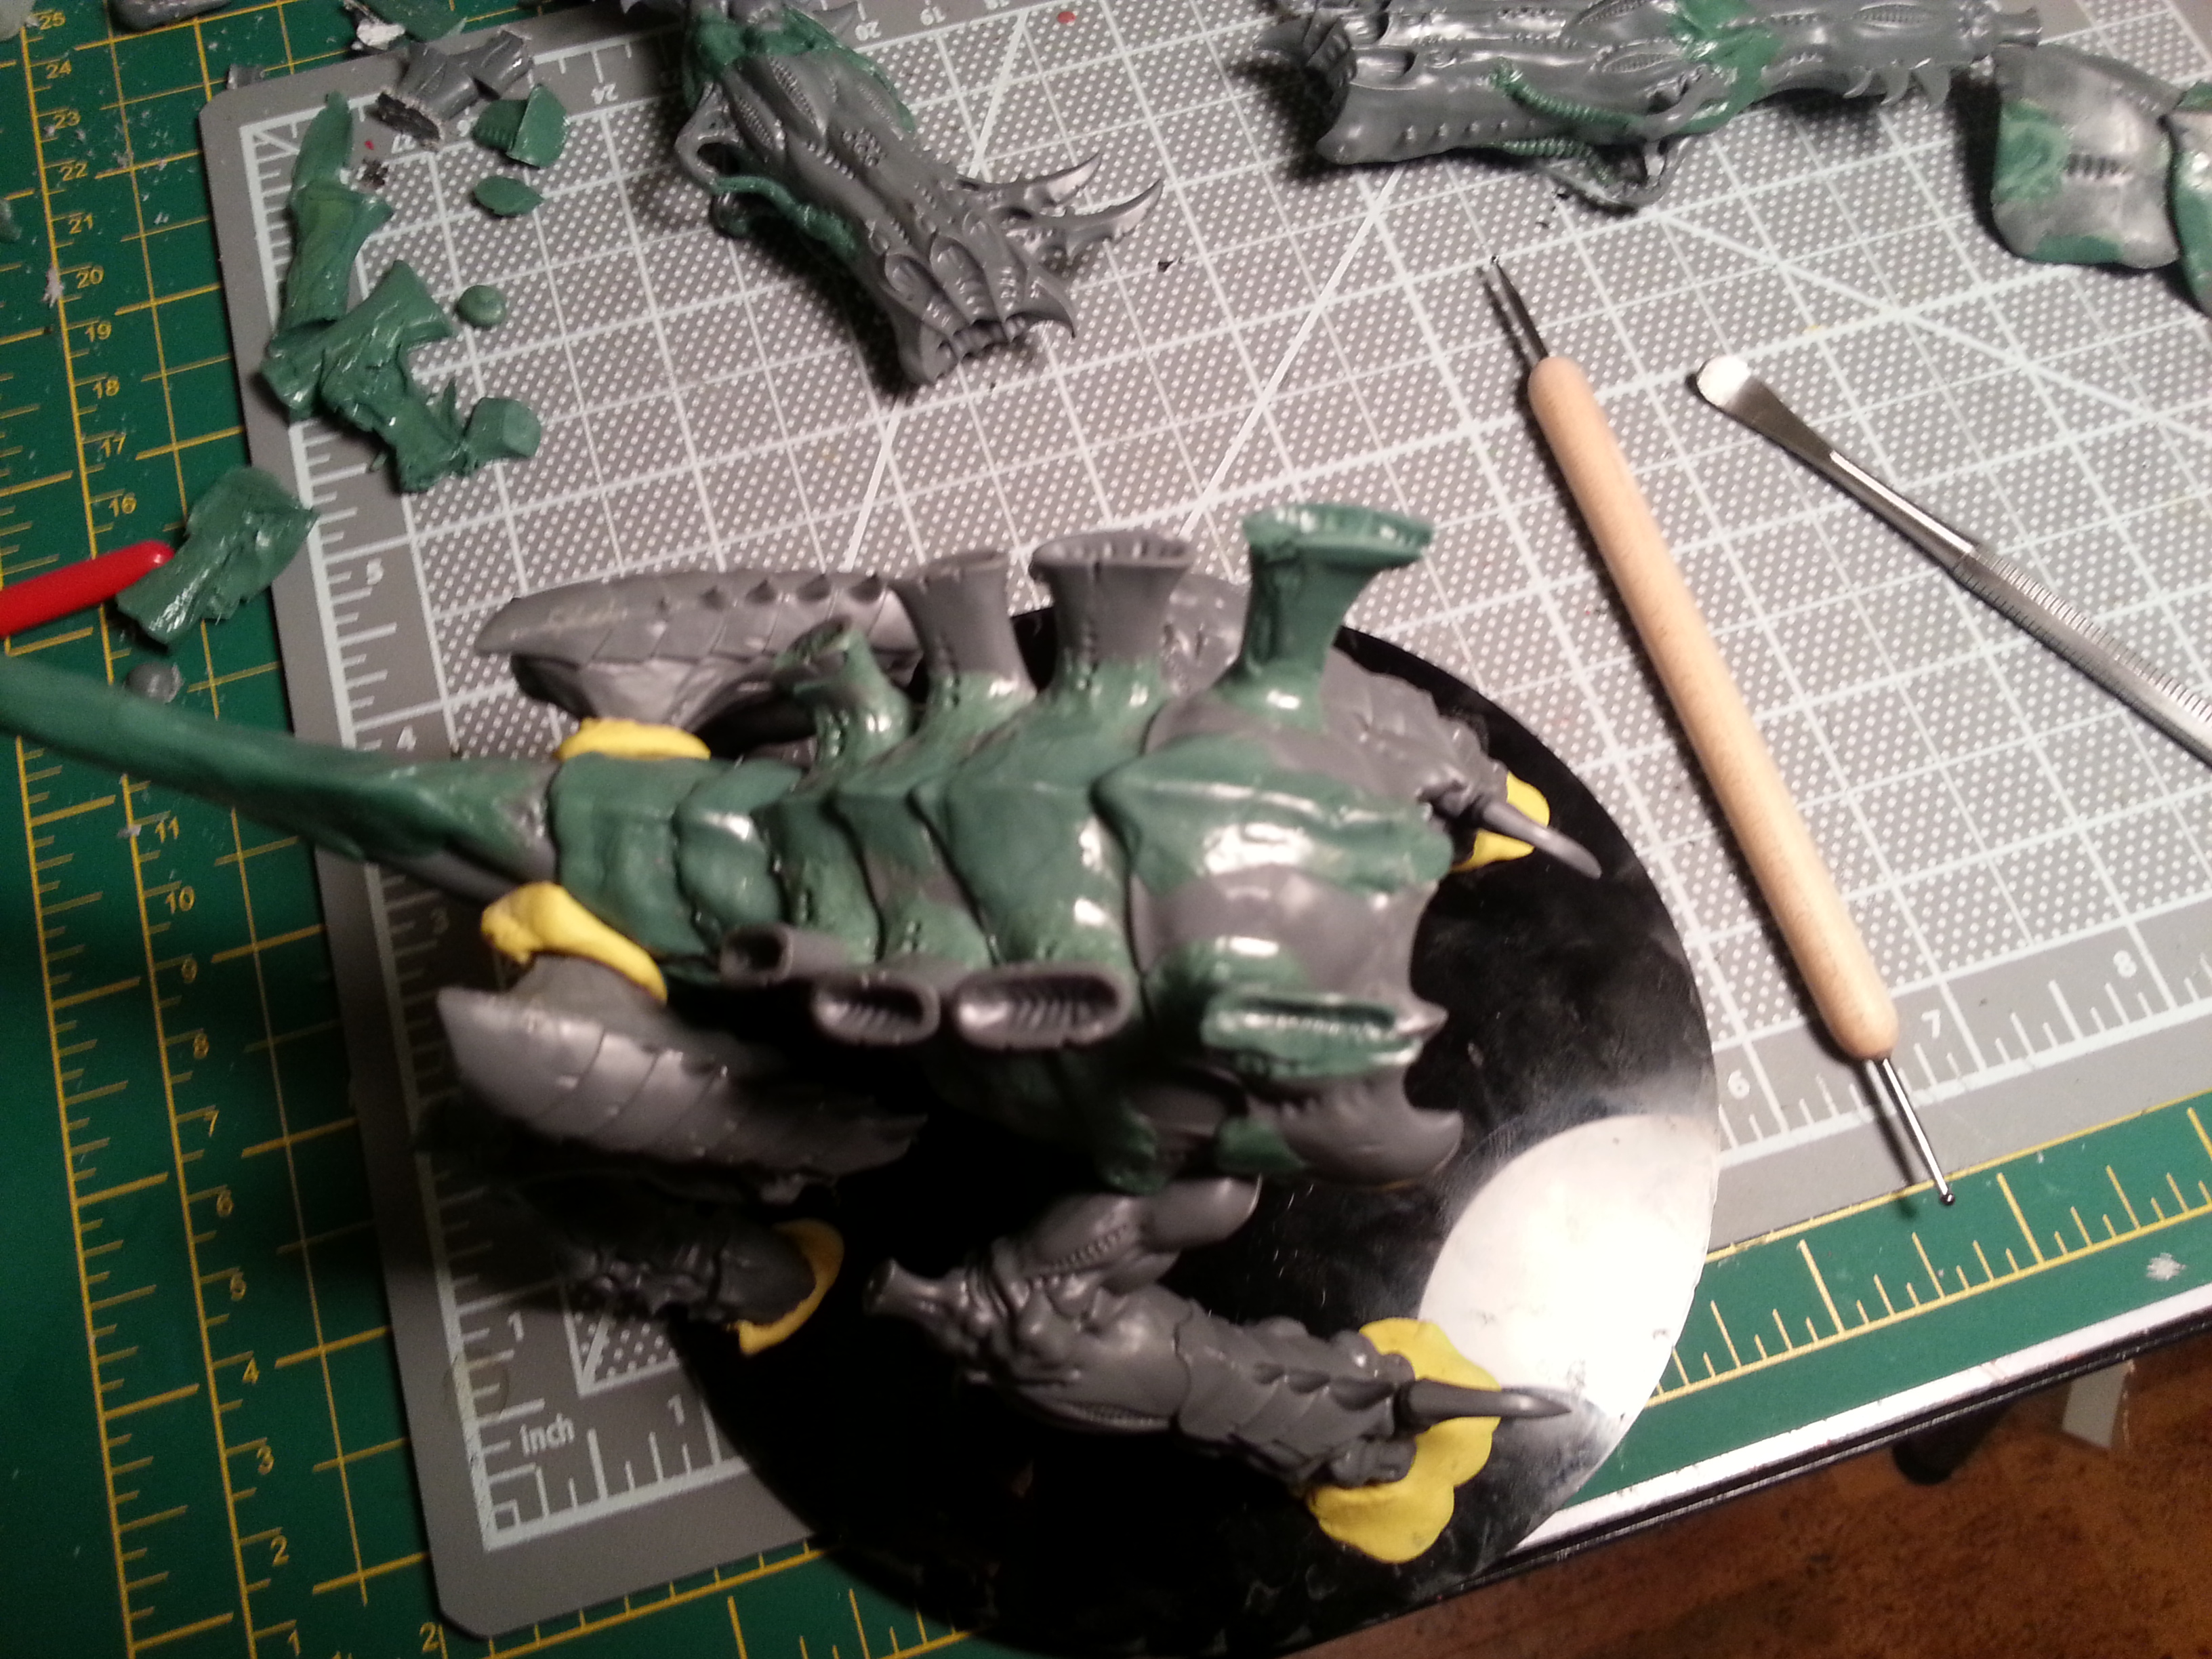
Not too shabby...all vents have been blended into the carapace, and I even extended some of the vent pockmark patterns into the greenstuff.
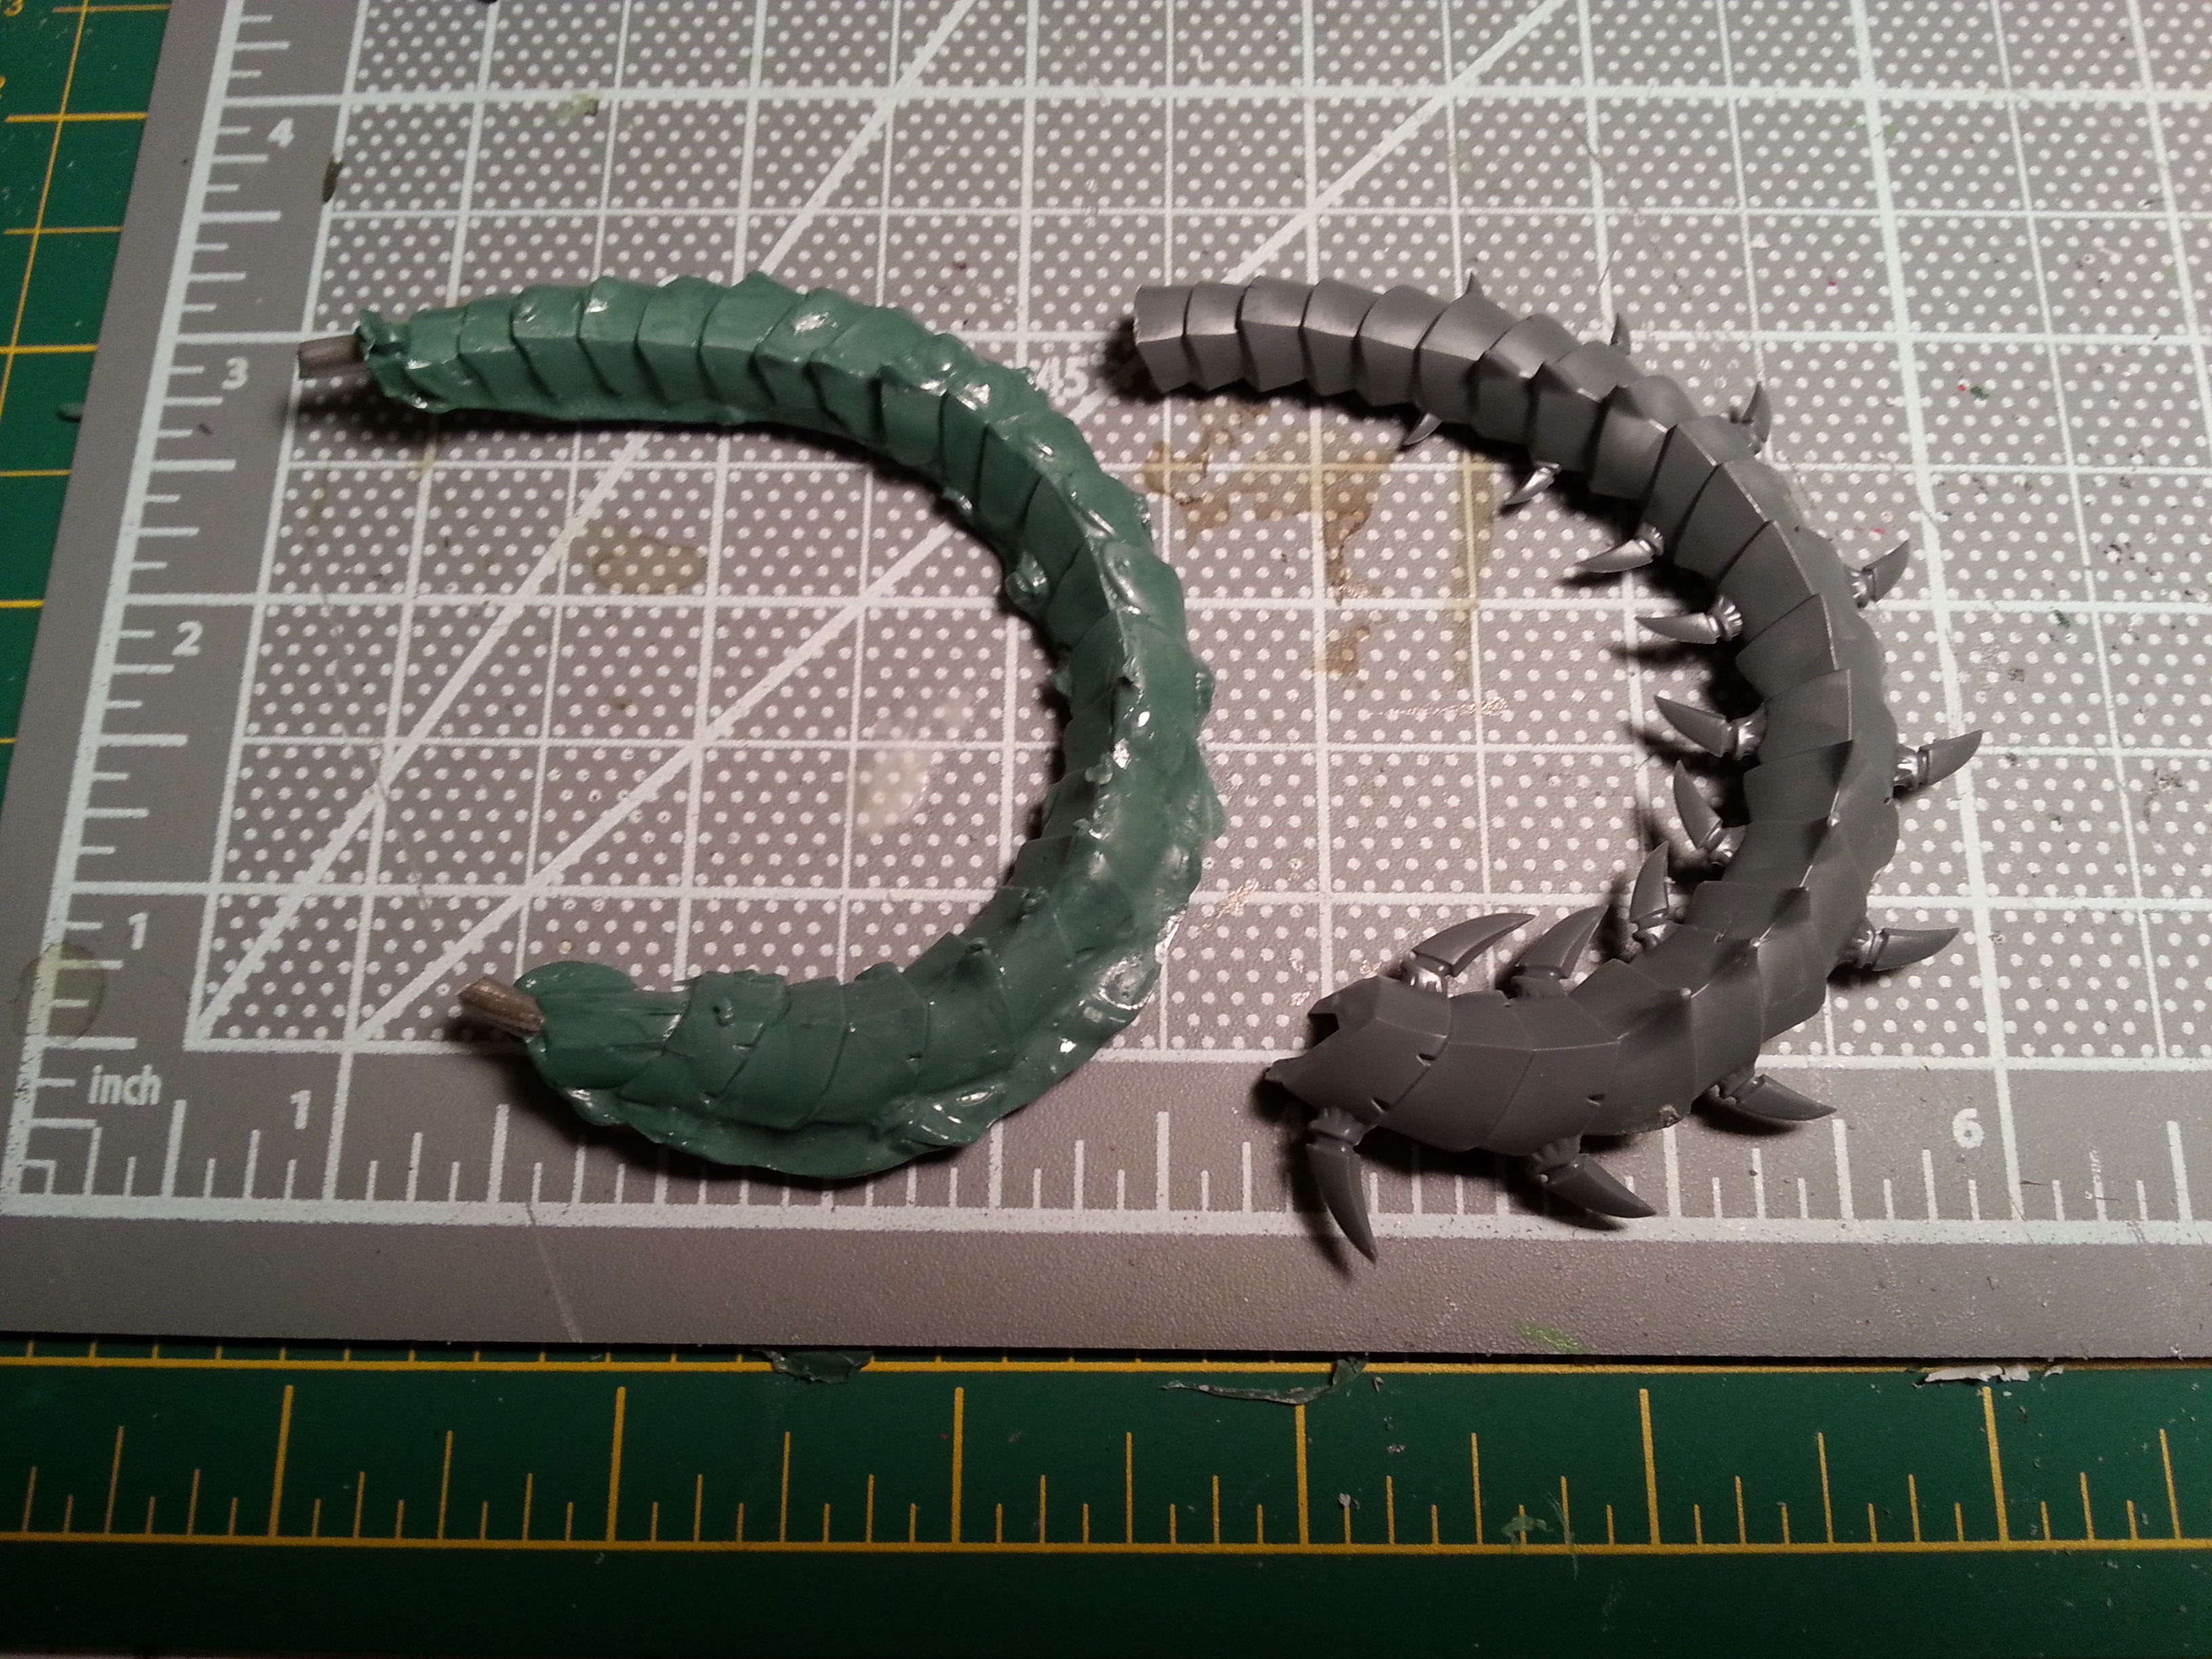
For this, I did a one-piece open mold. The trygon tail didn't have a sculpted underside anyway, so there was no need for a two-parter.
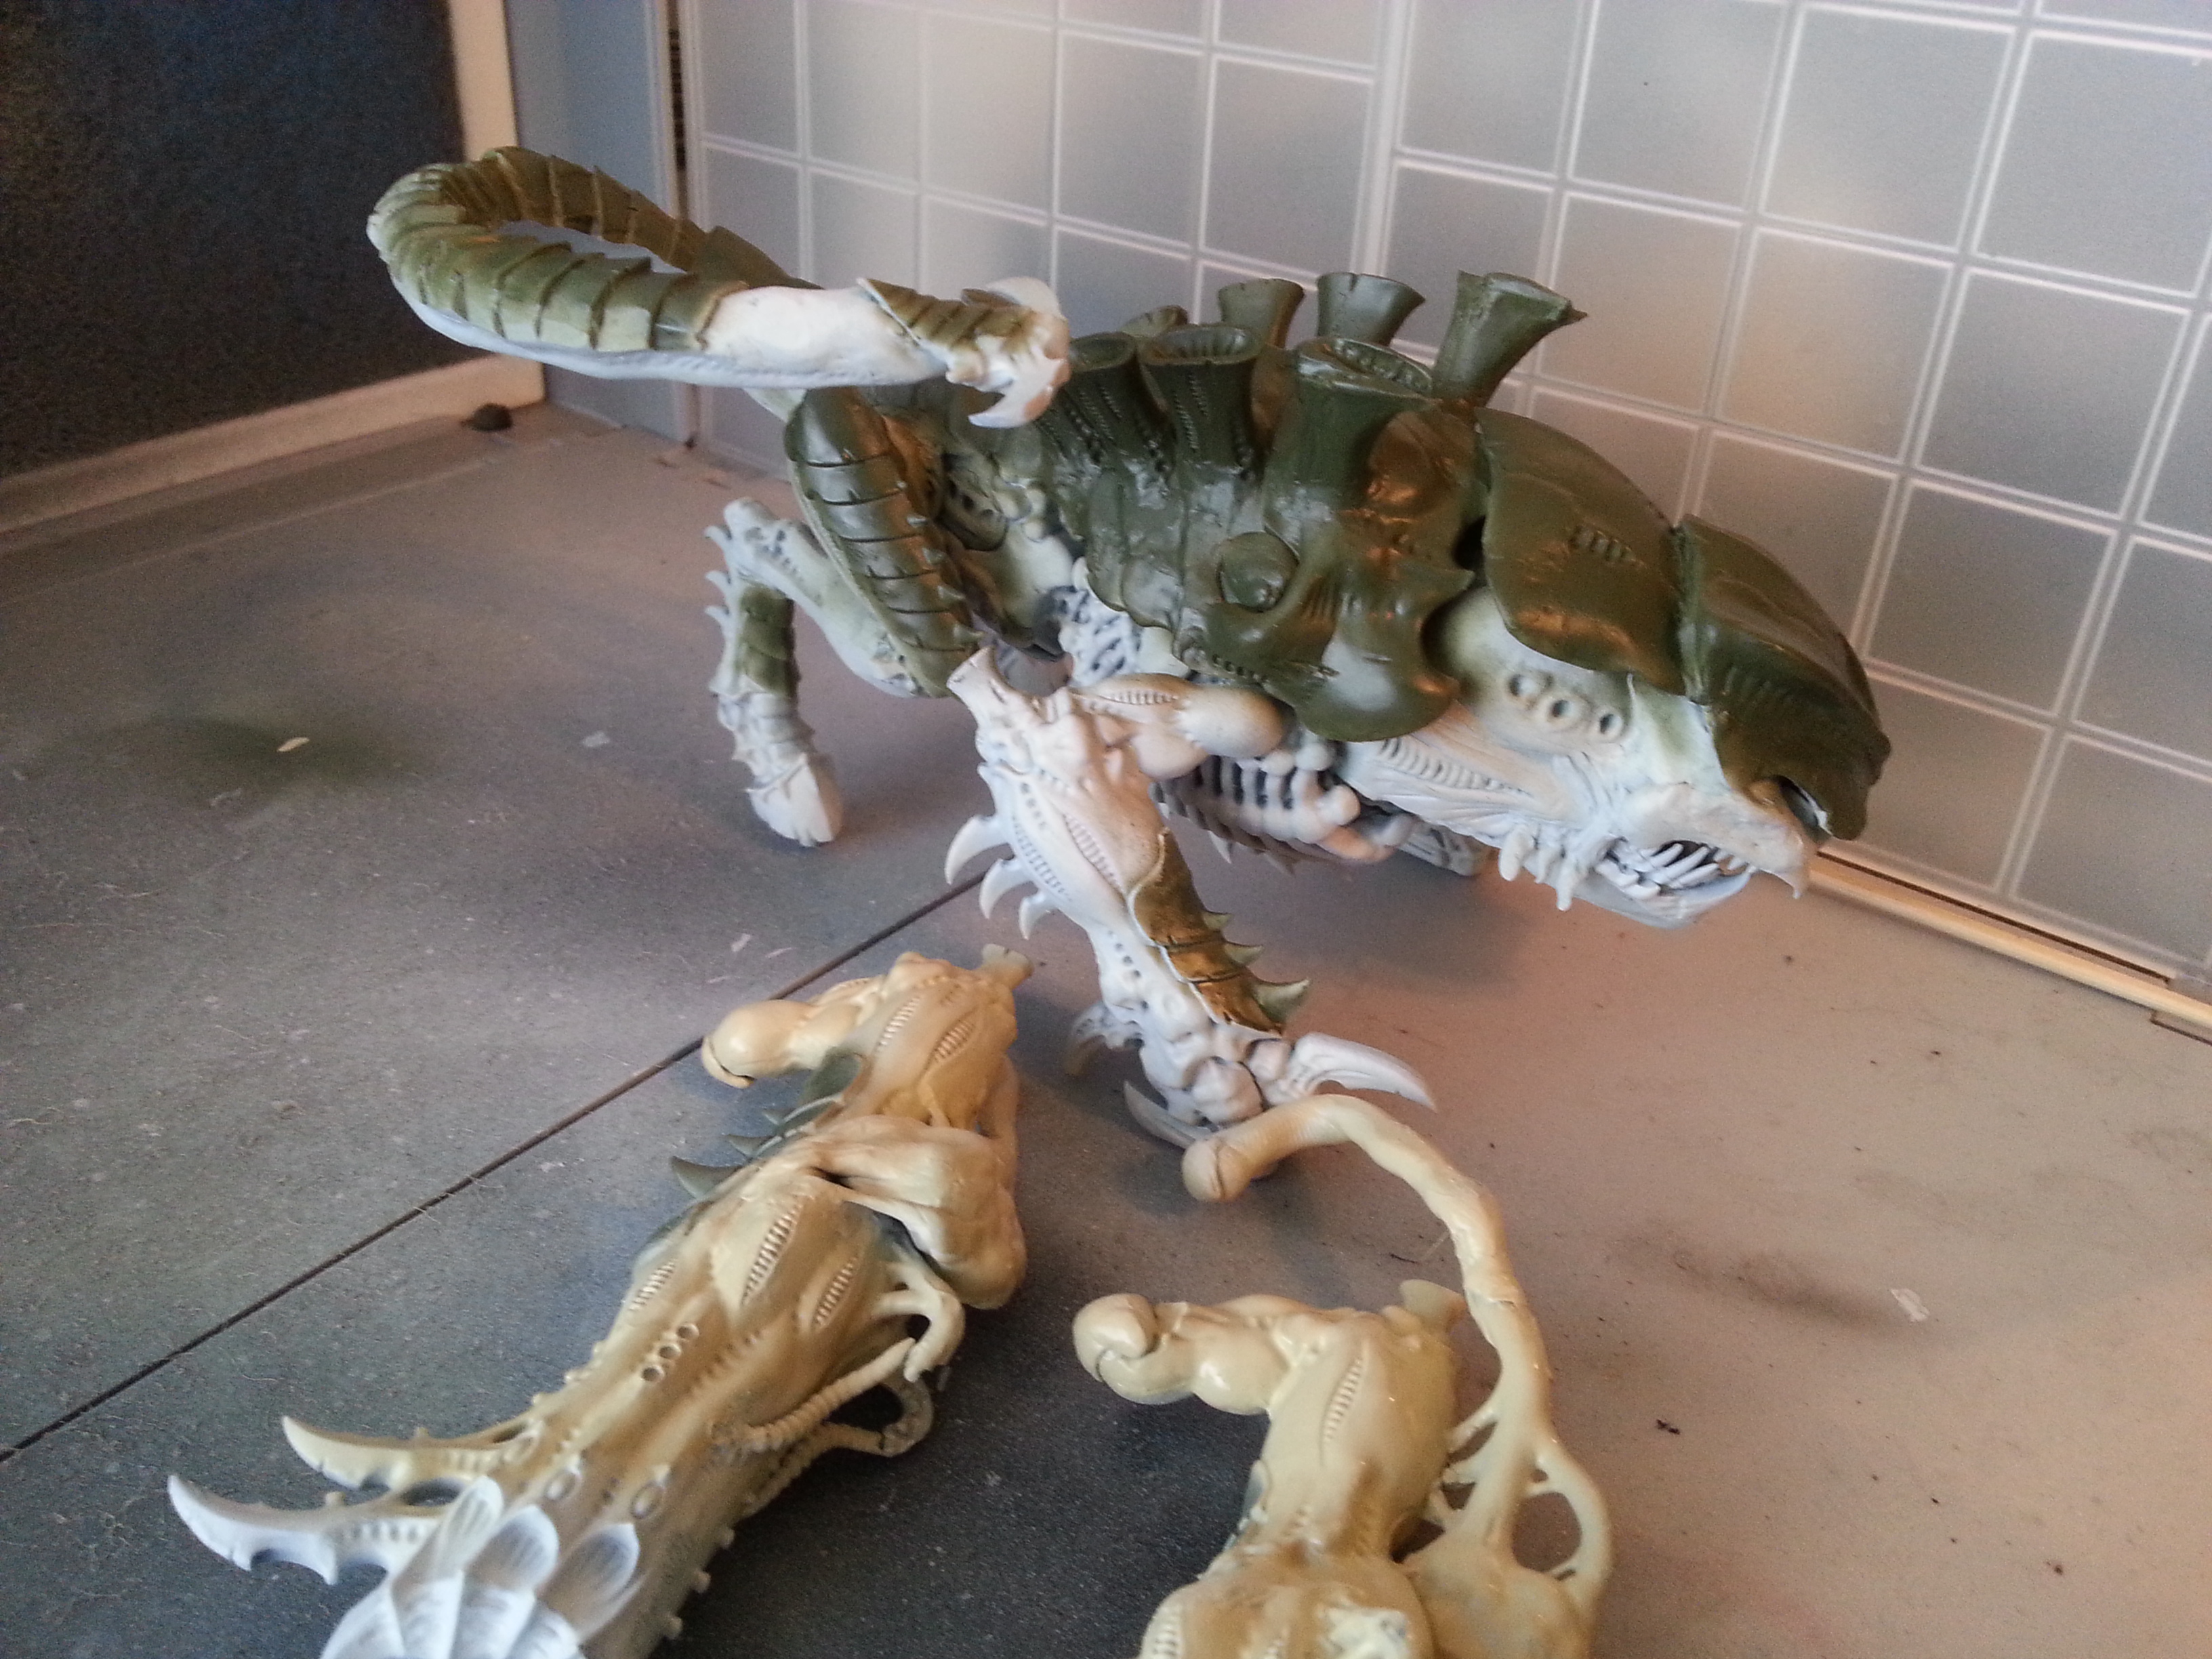
Not bad. Need to let it dry fully before bending to shape, but I can work with that. Beats doing it from scratch.
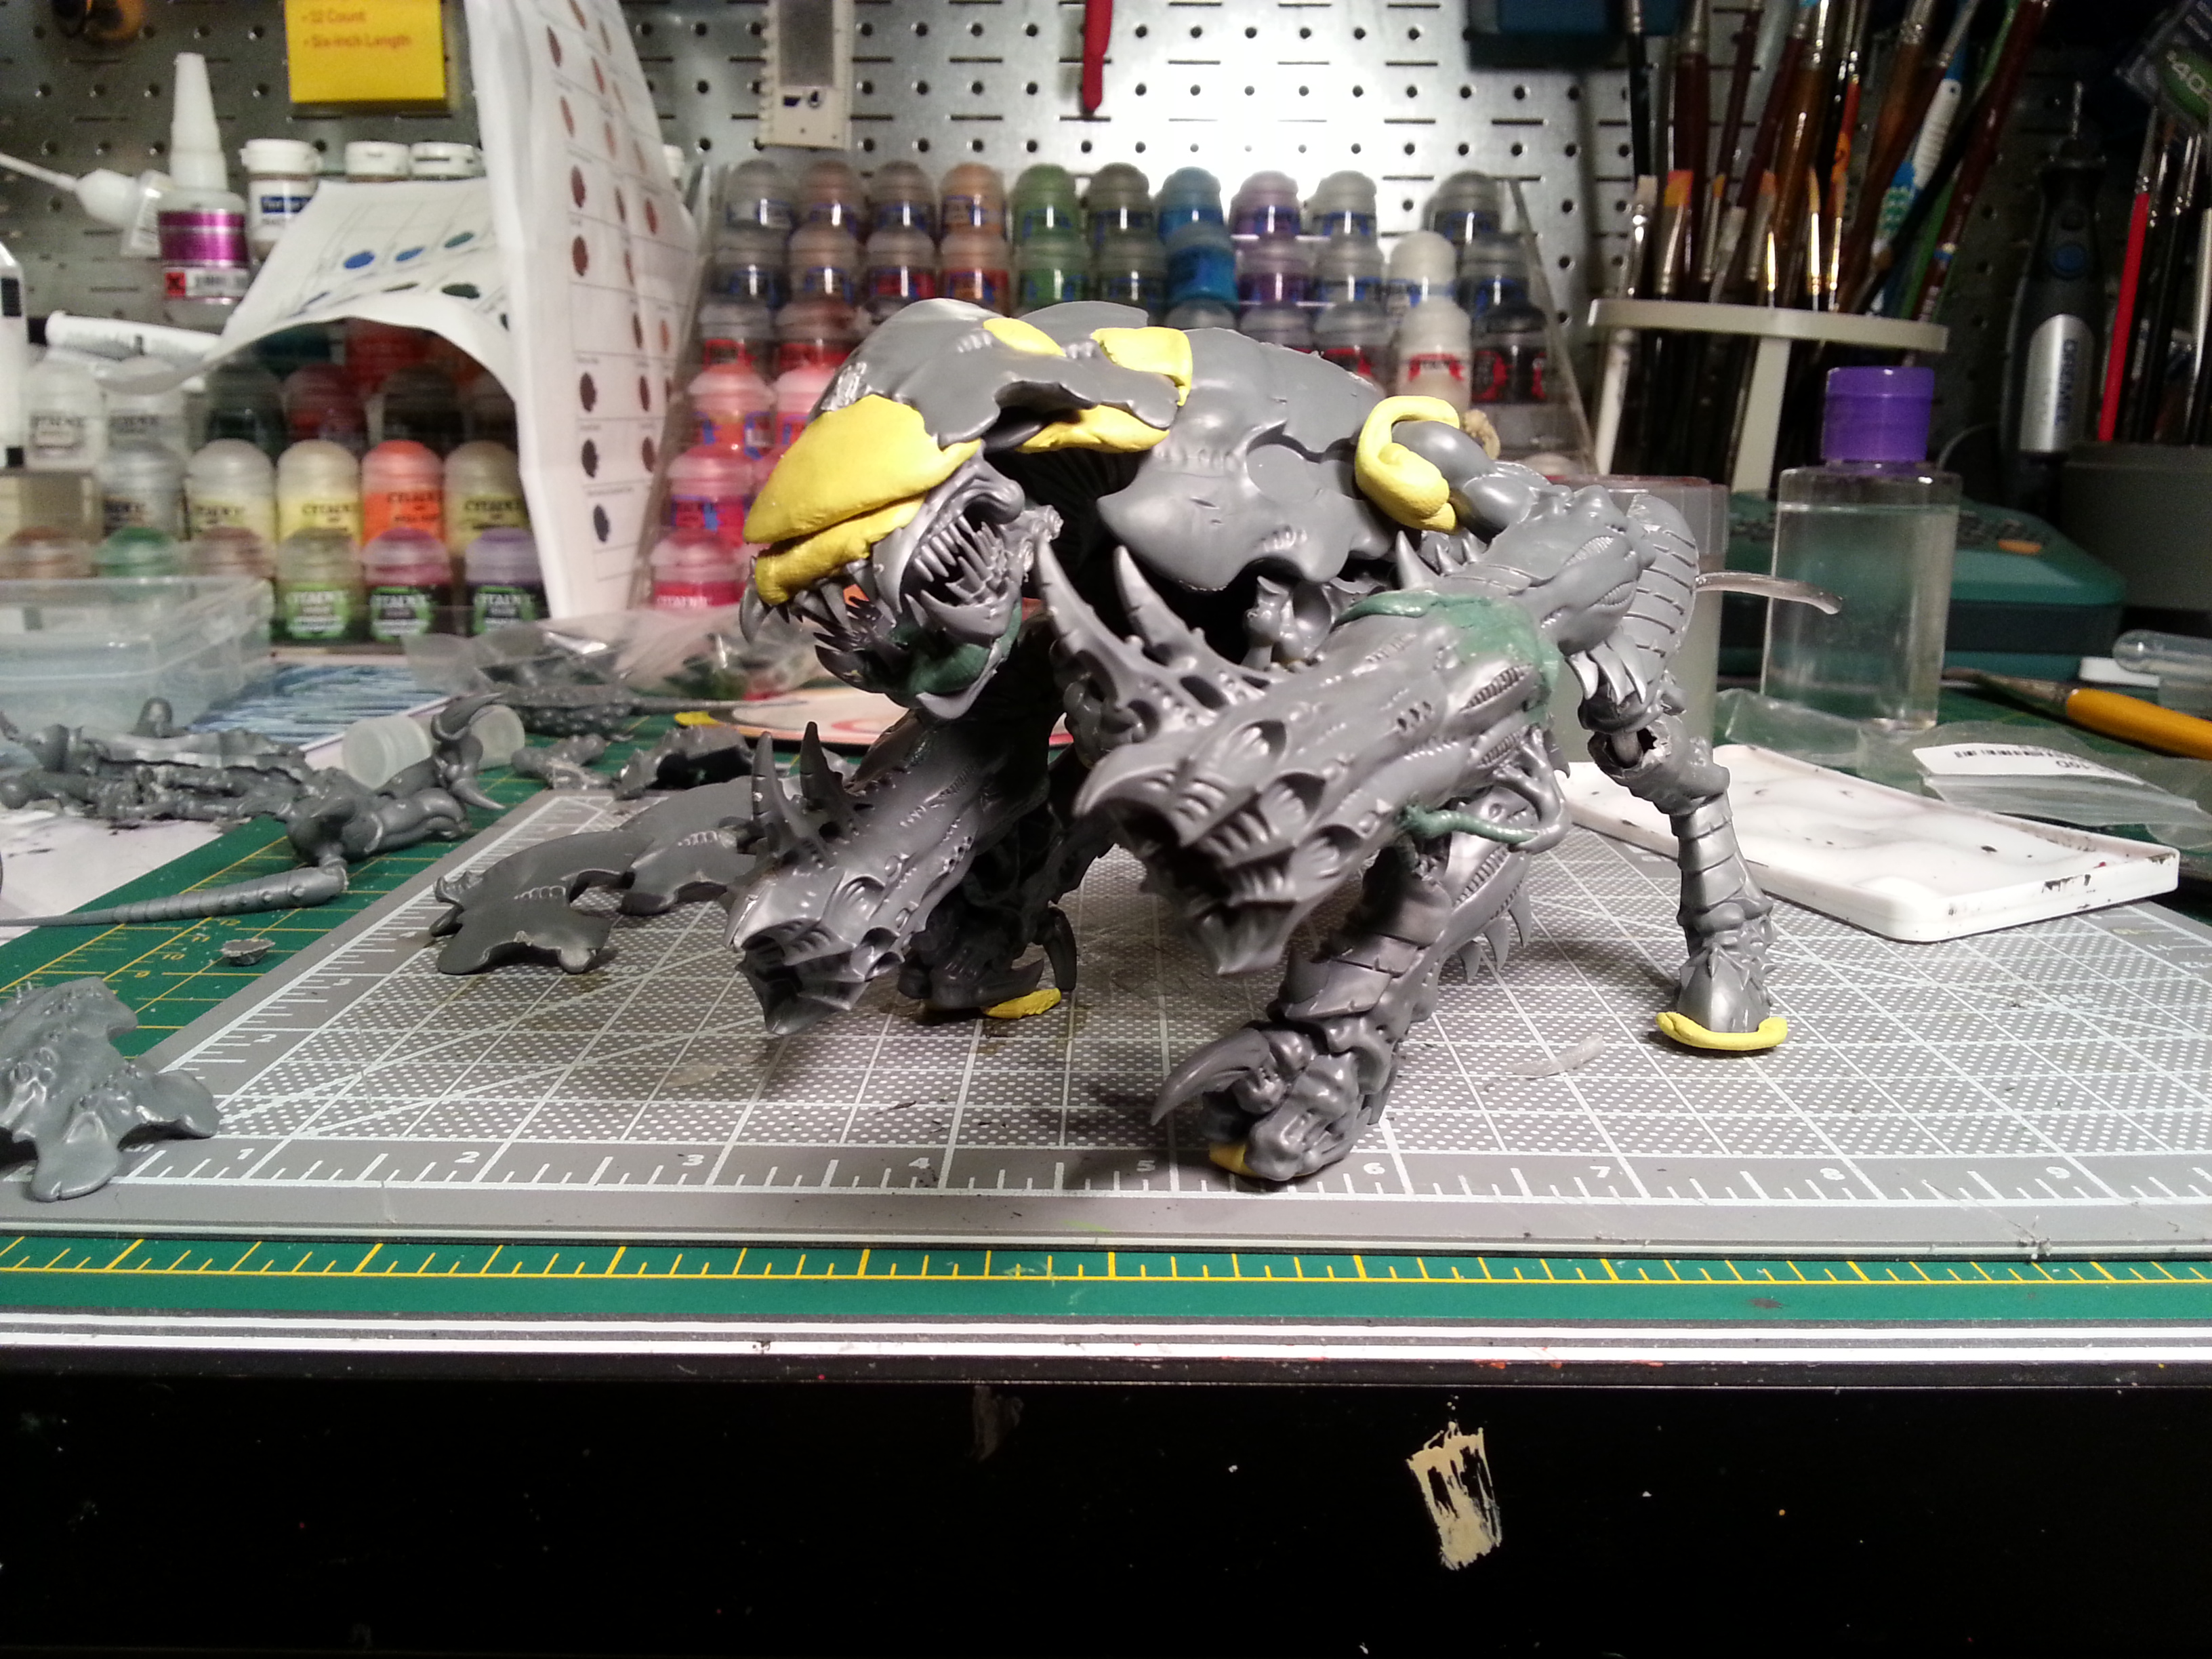
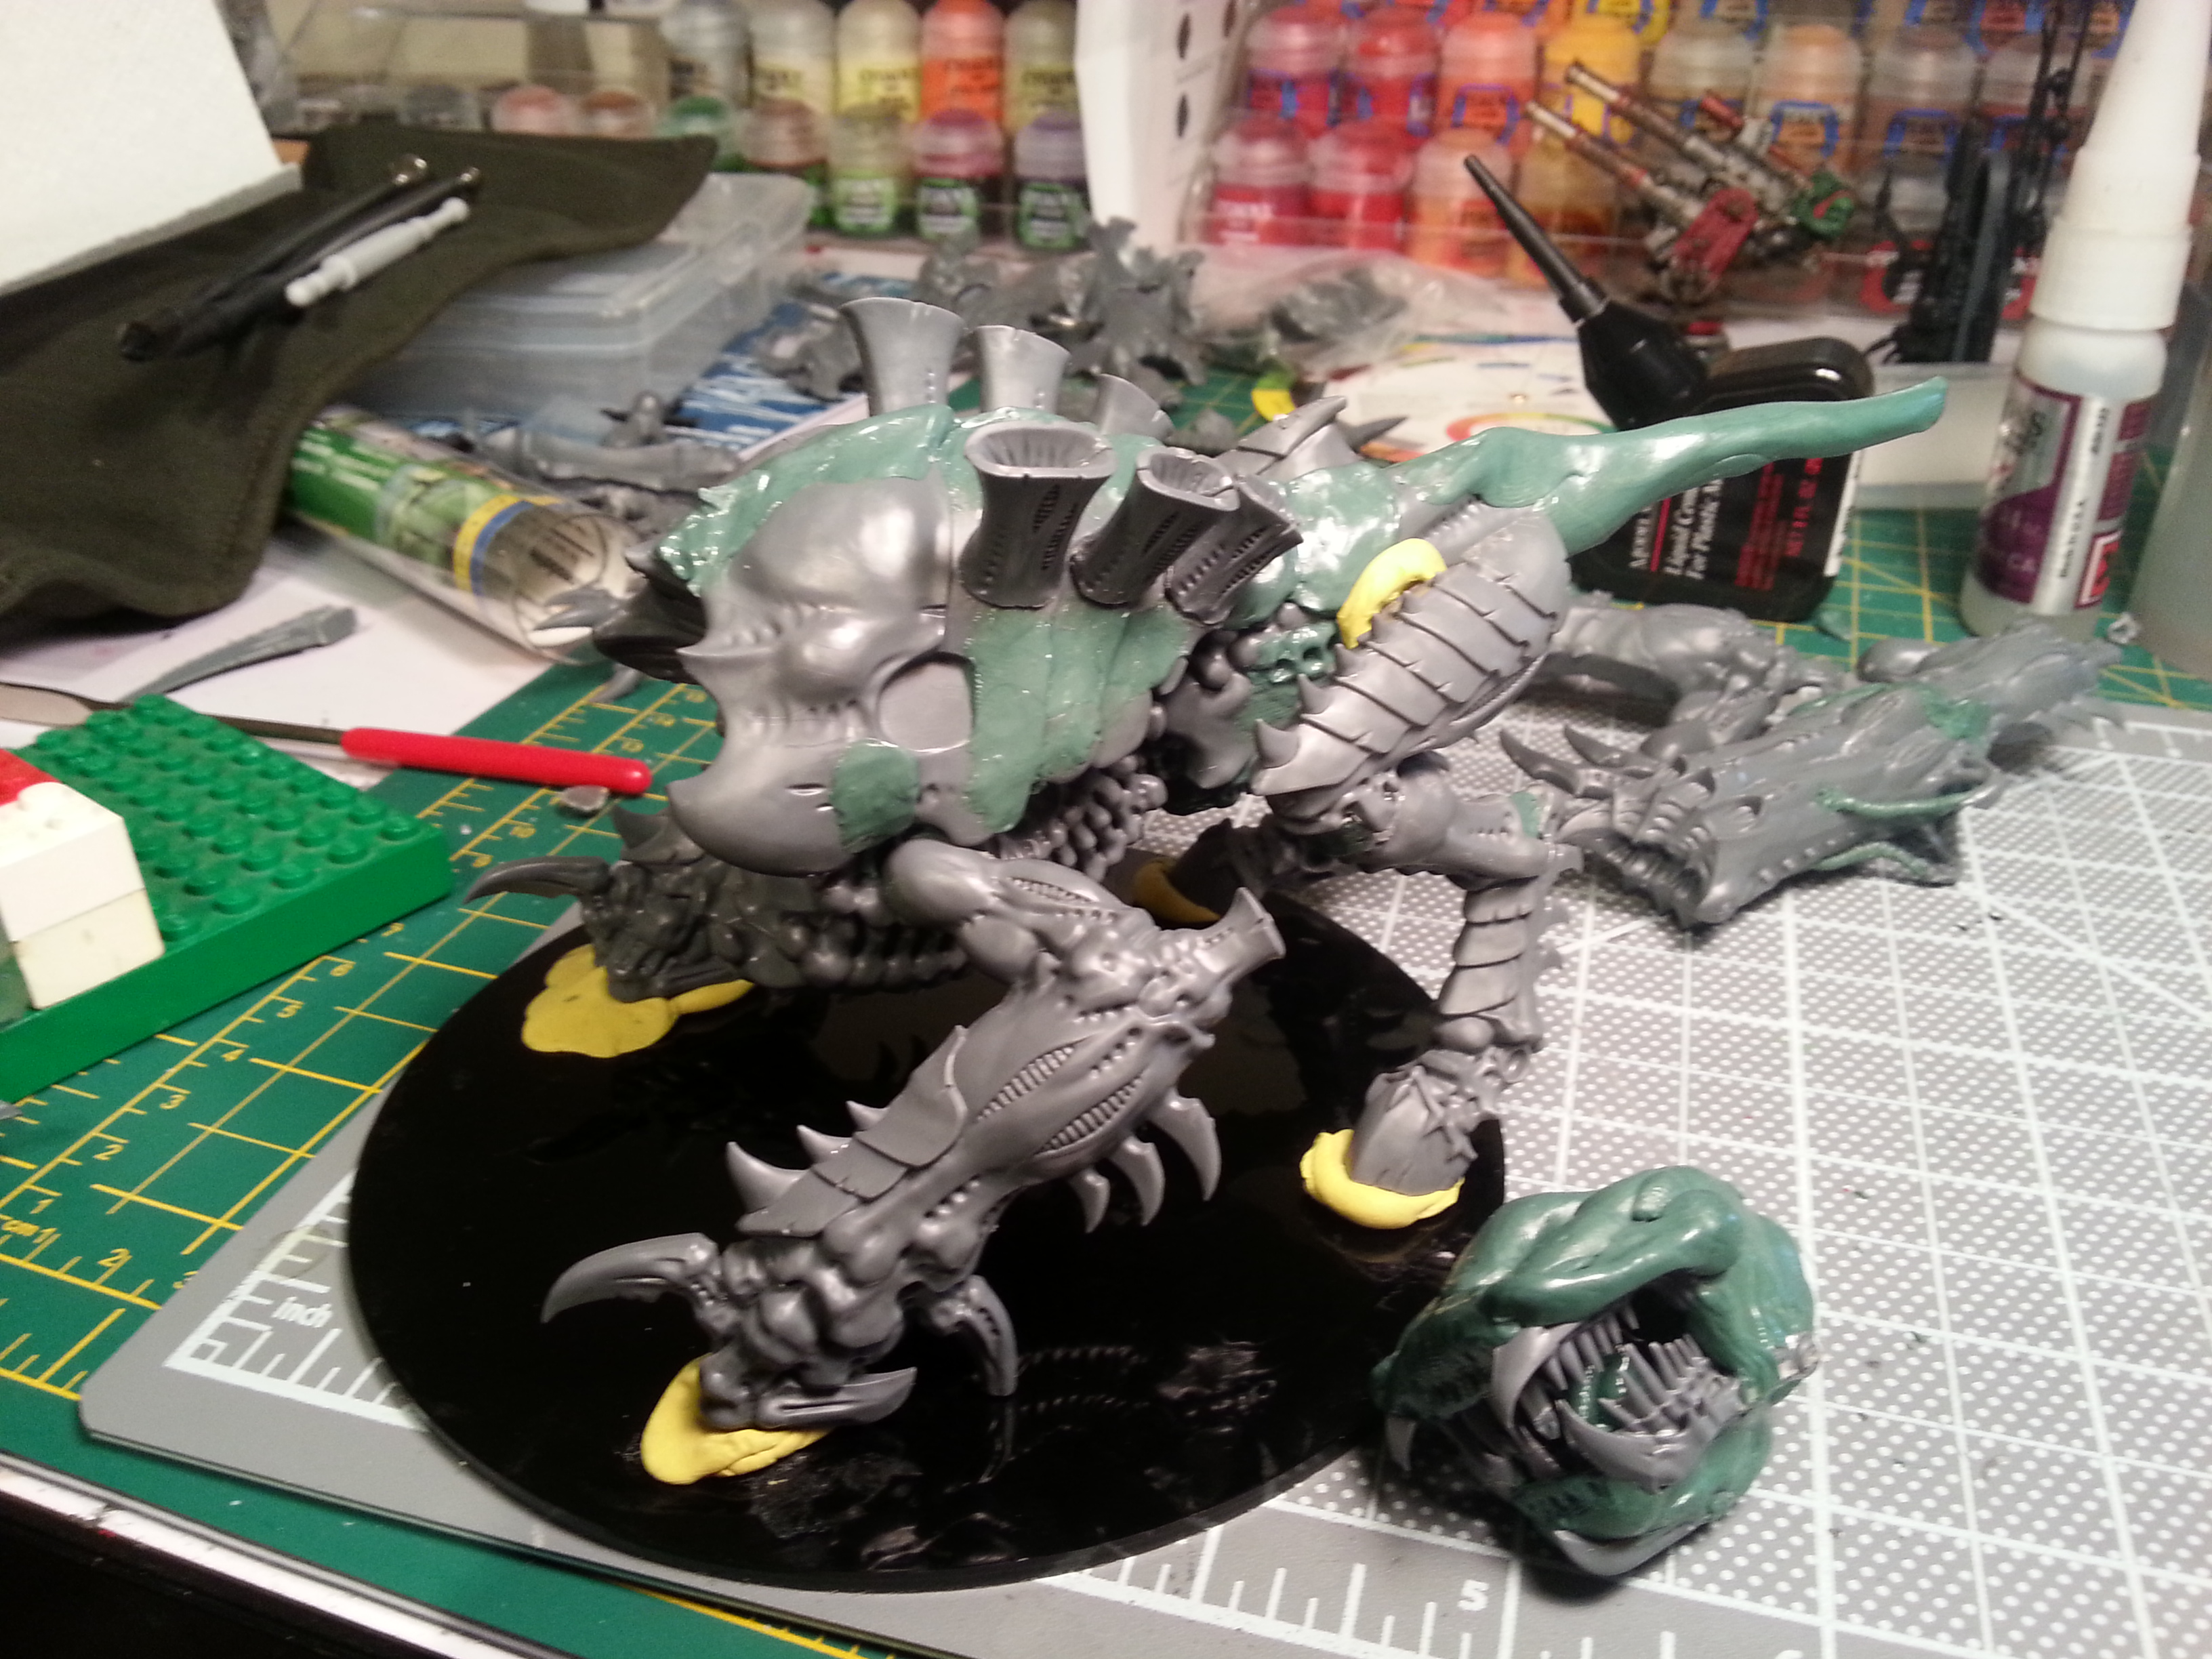
Started blending the hips to the tail. Bad transition, so I'll need to rework a couple of the plates after the current set dry.
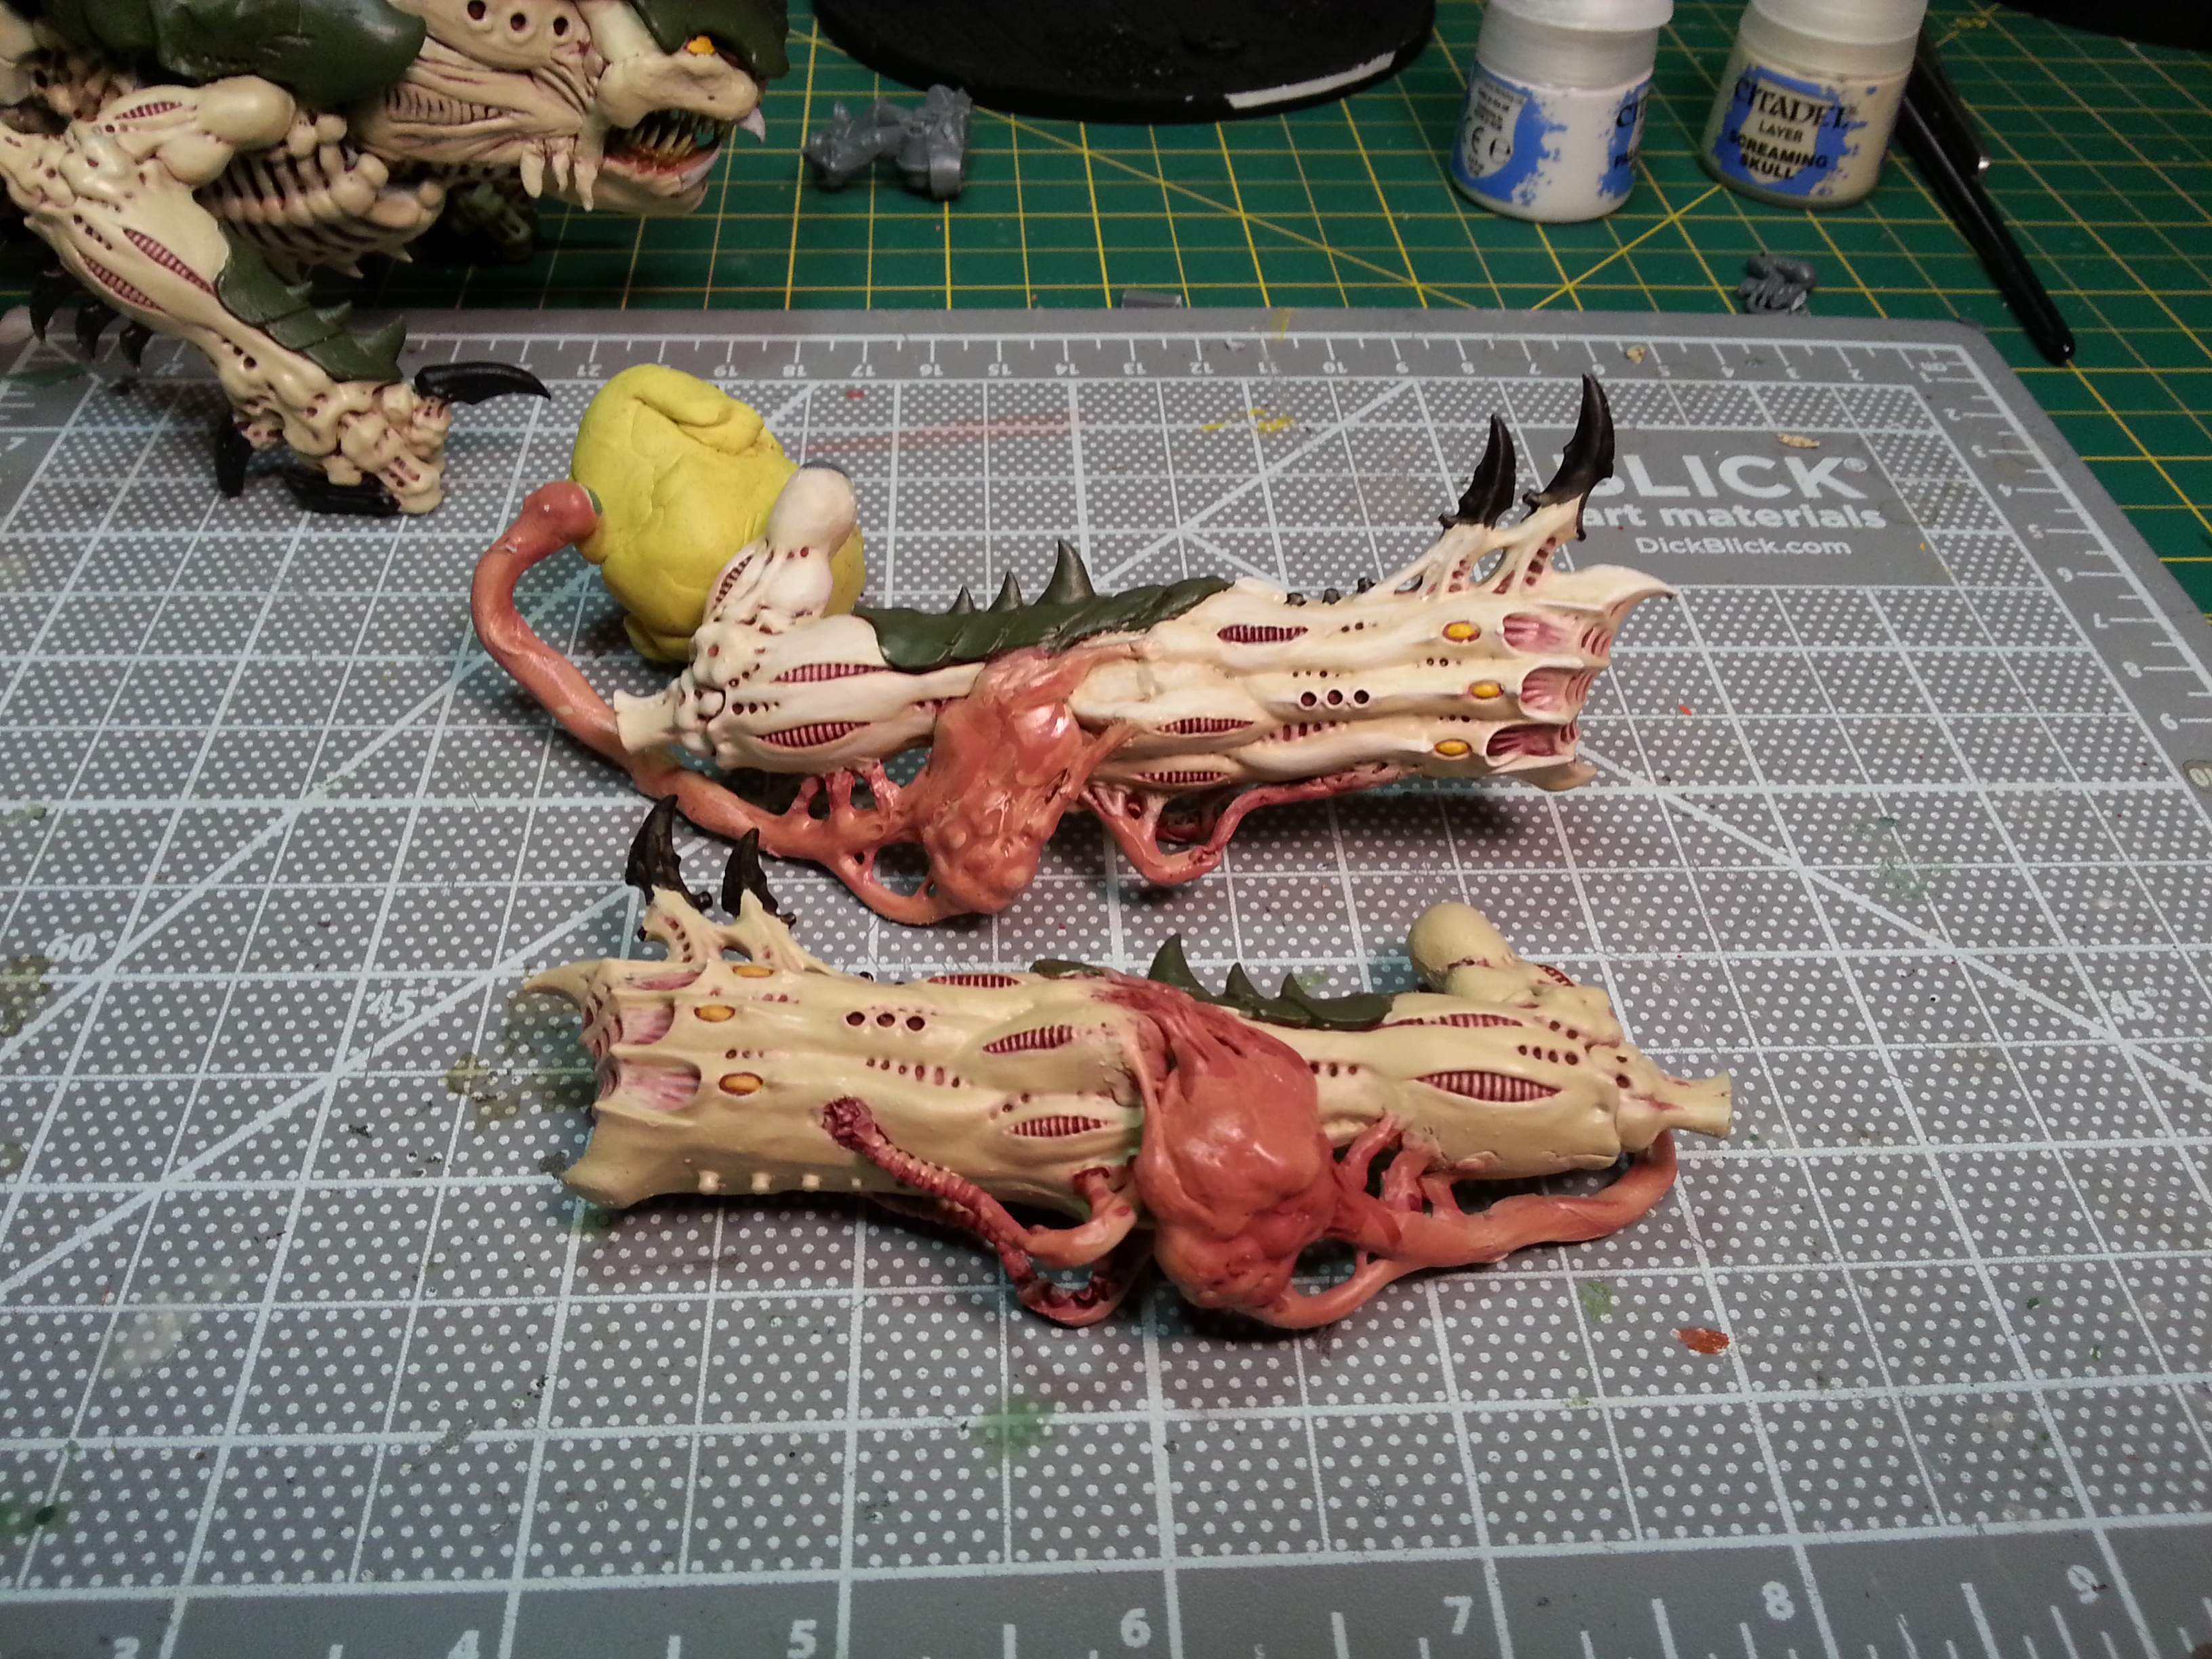
I'm pretty pleased with the (mildly scrotal) ammo sac. The bottom part is from the rupture cannon's left arm, the rest is greenstuff.
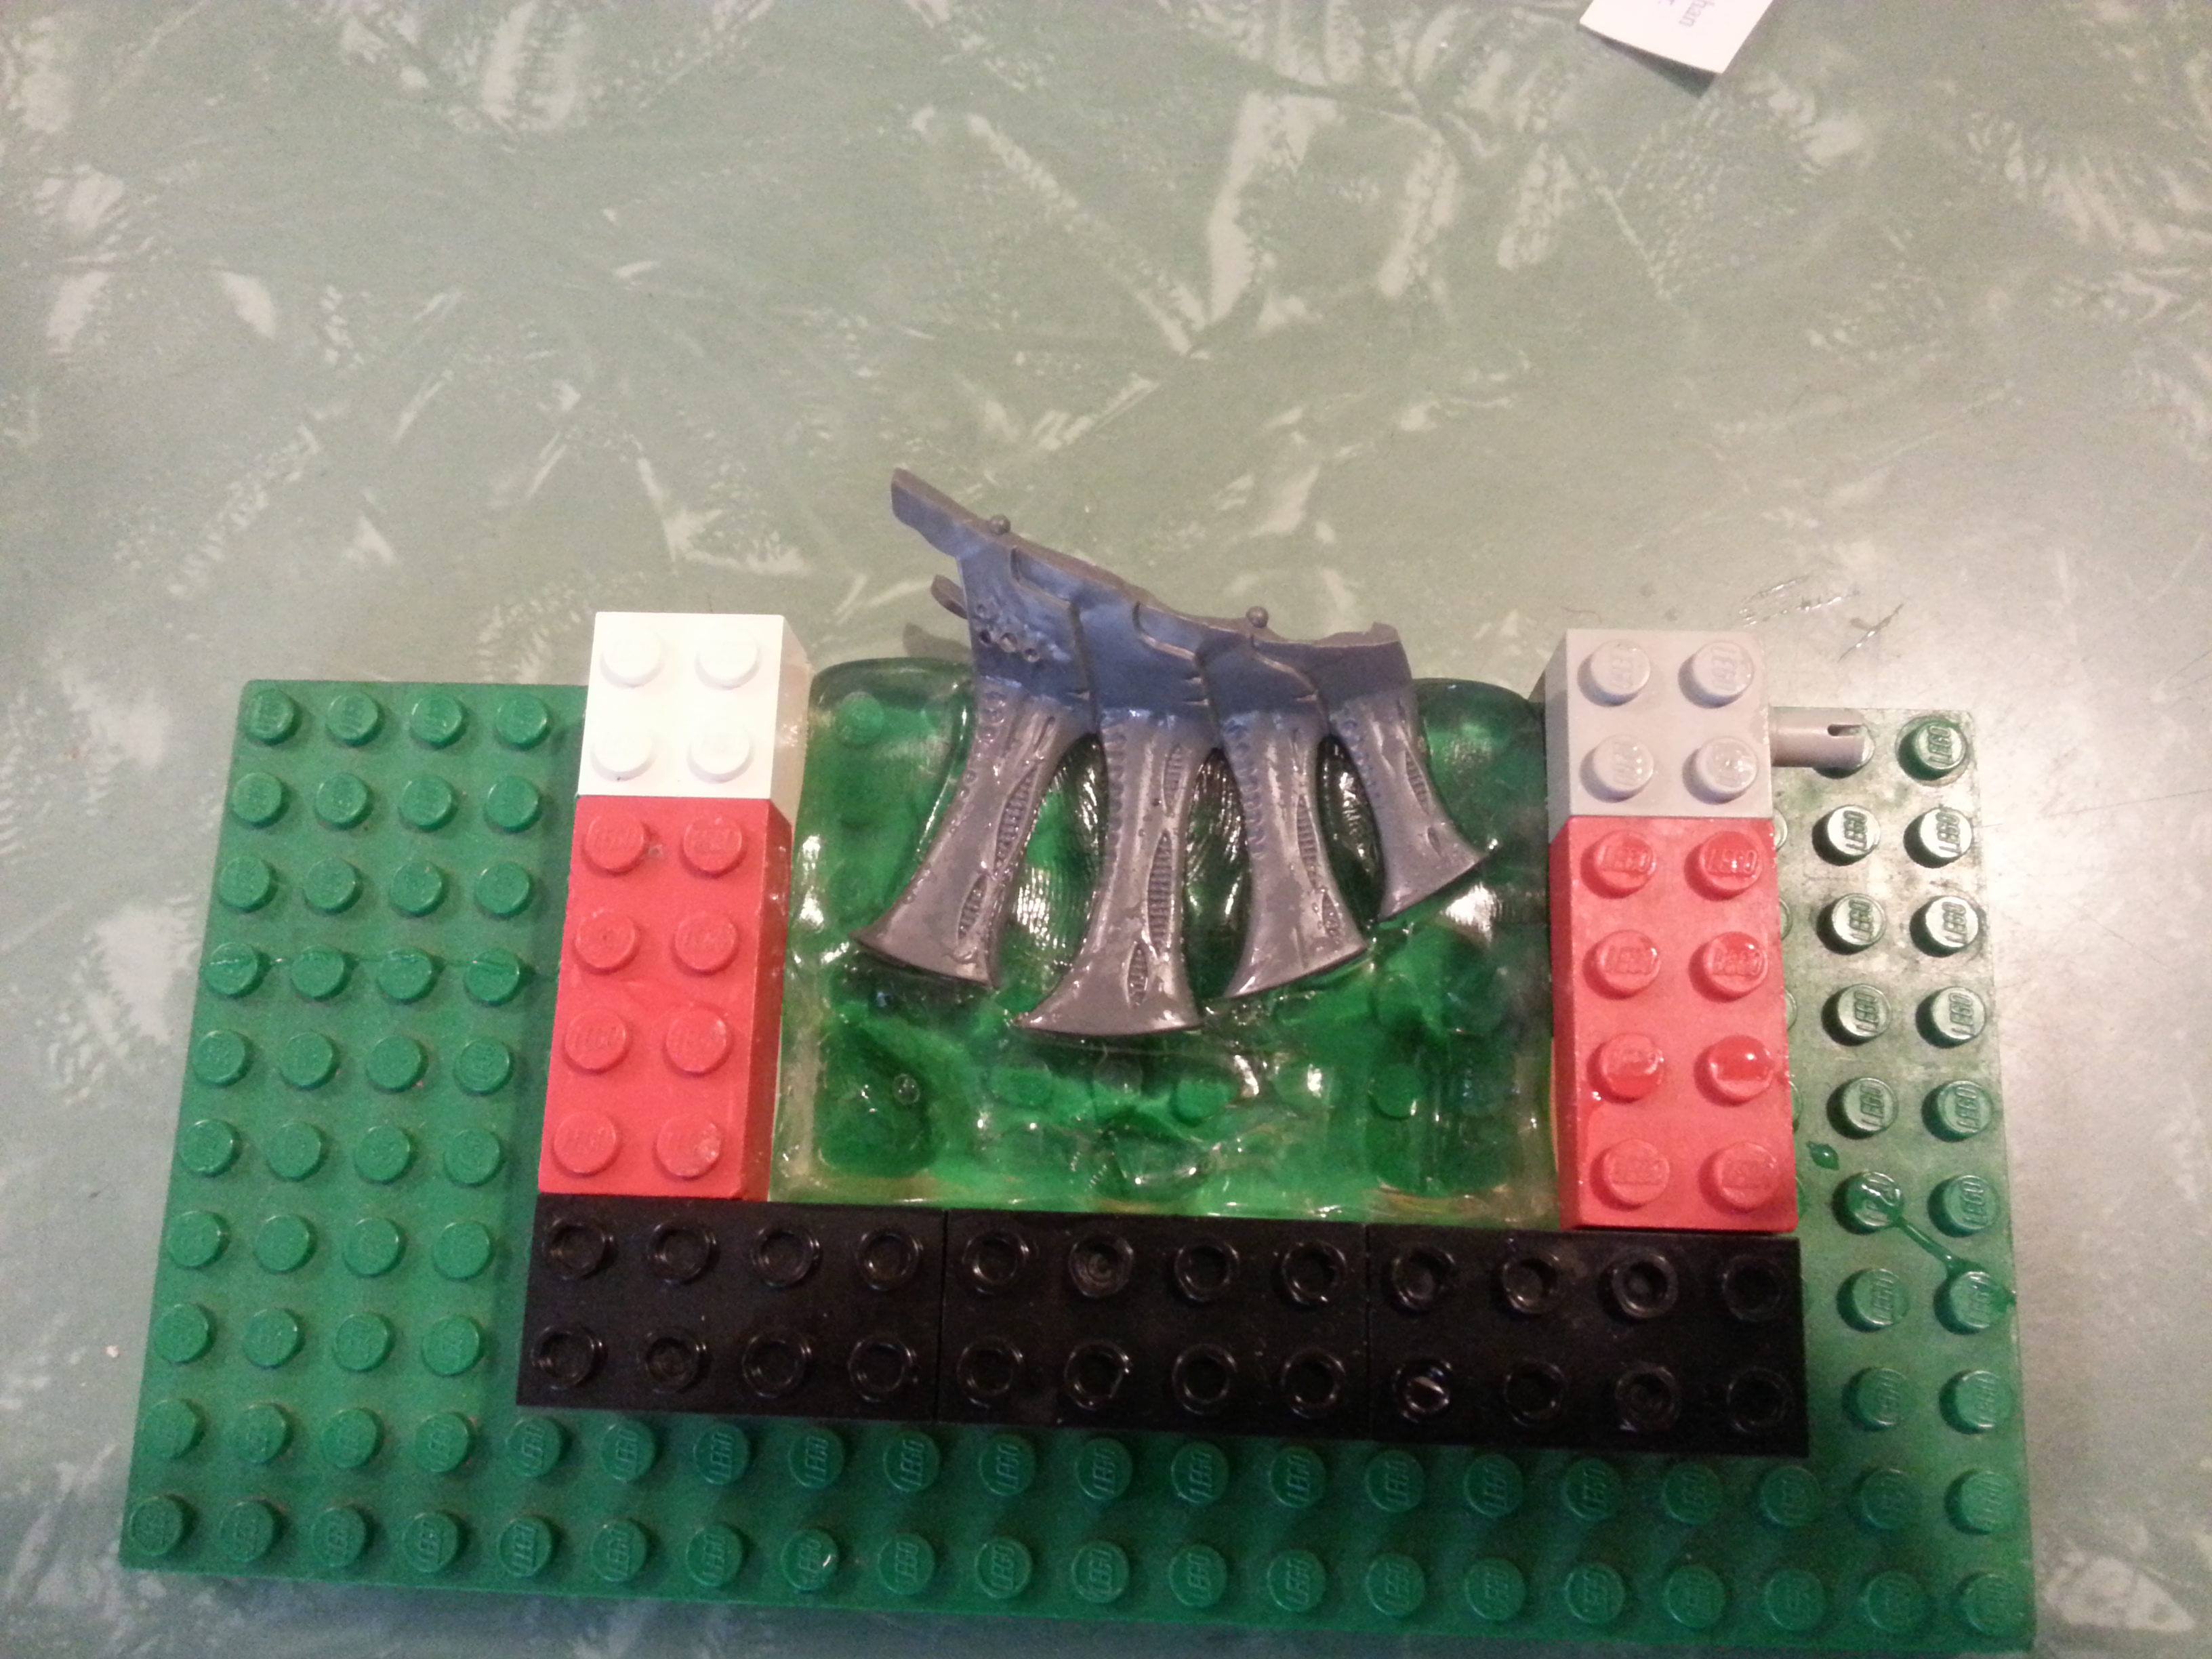
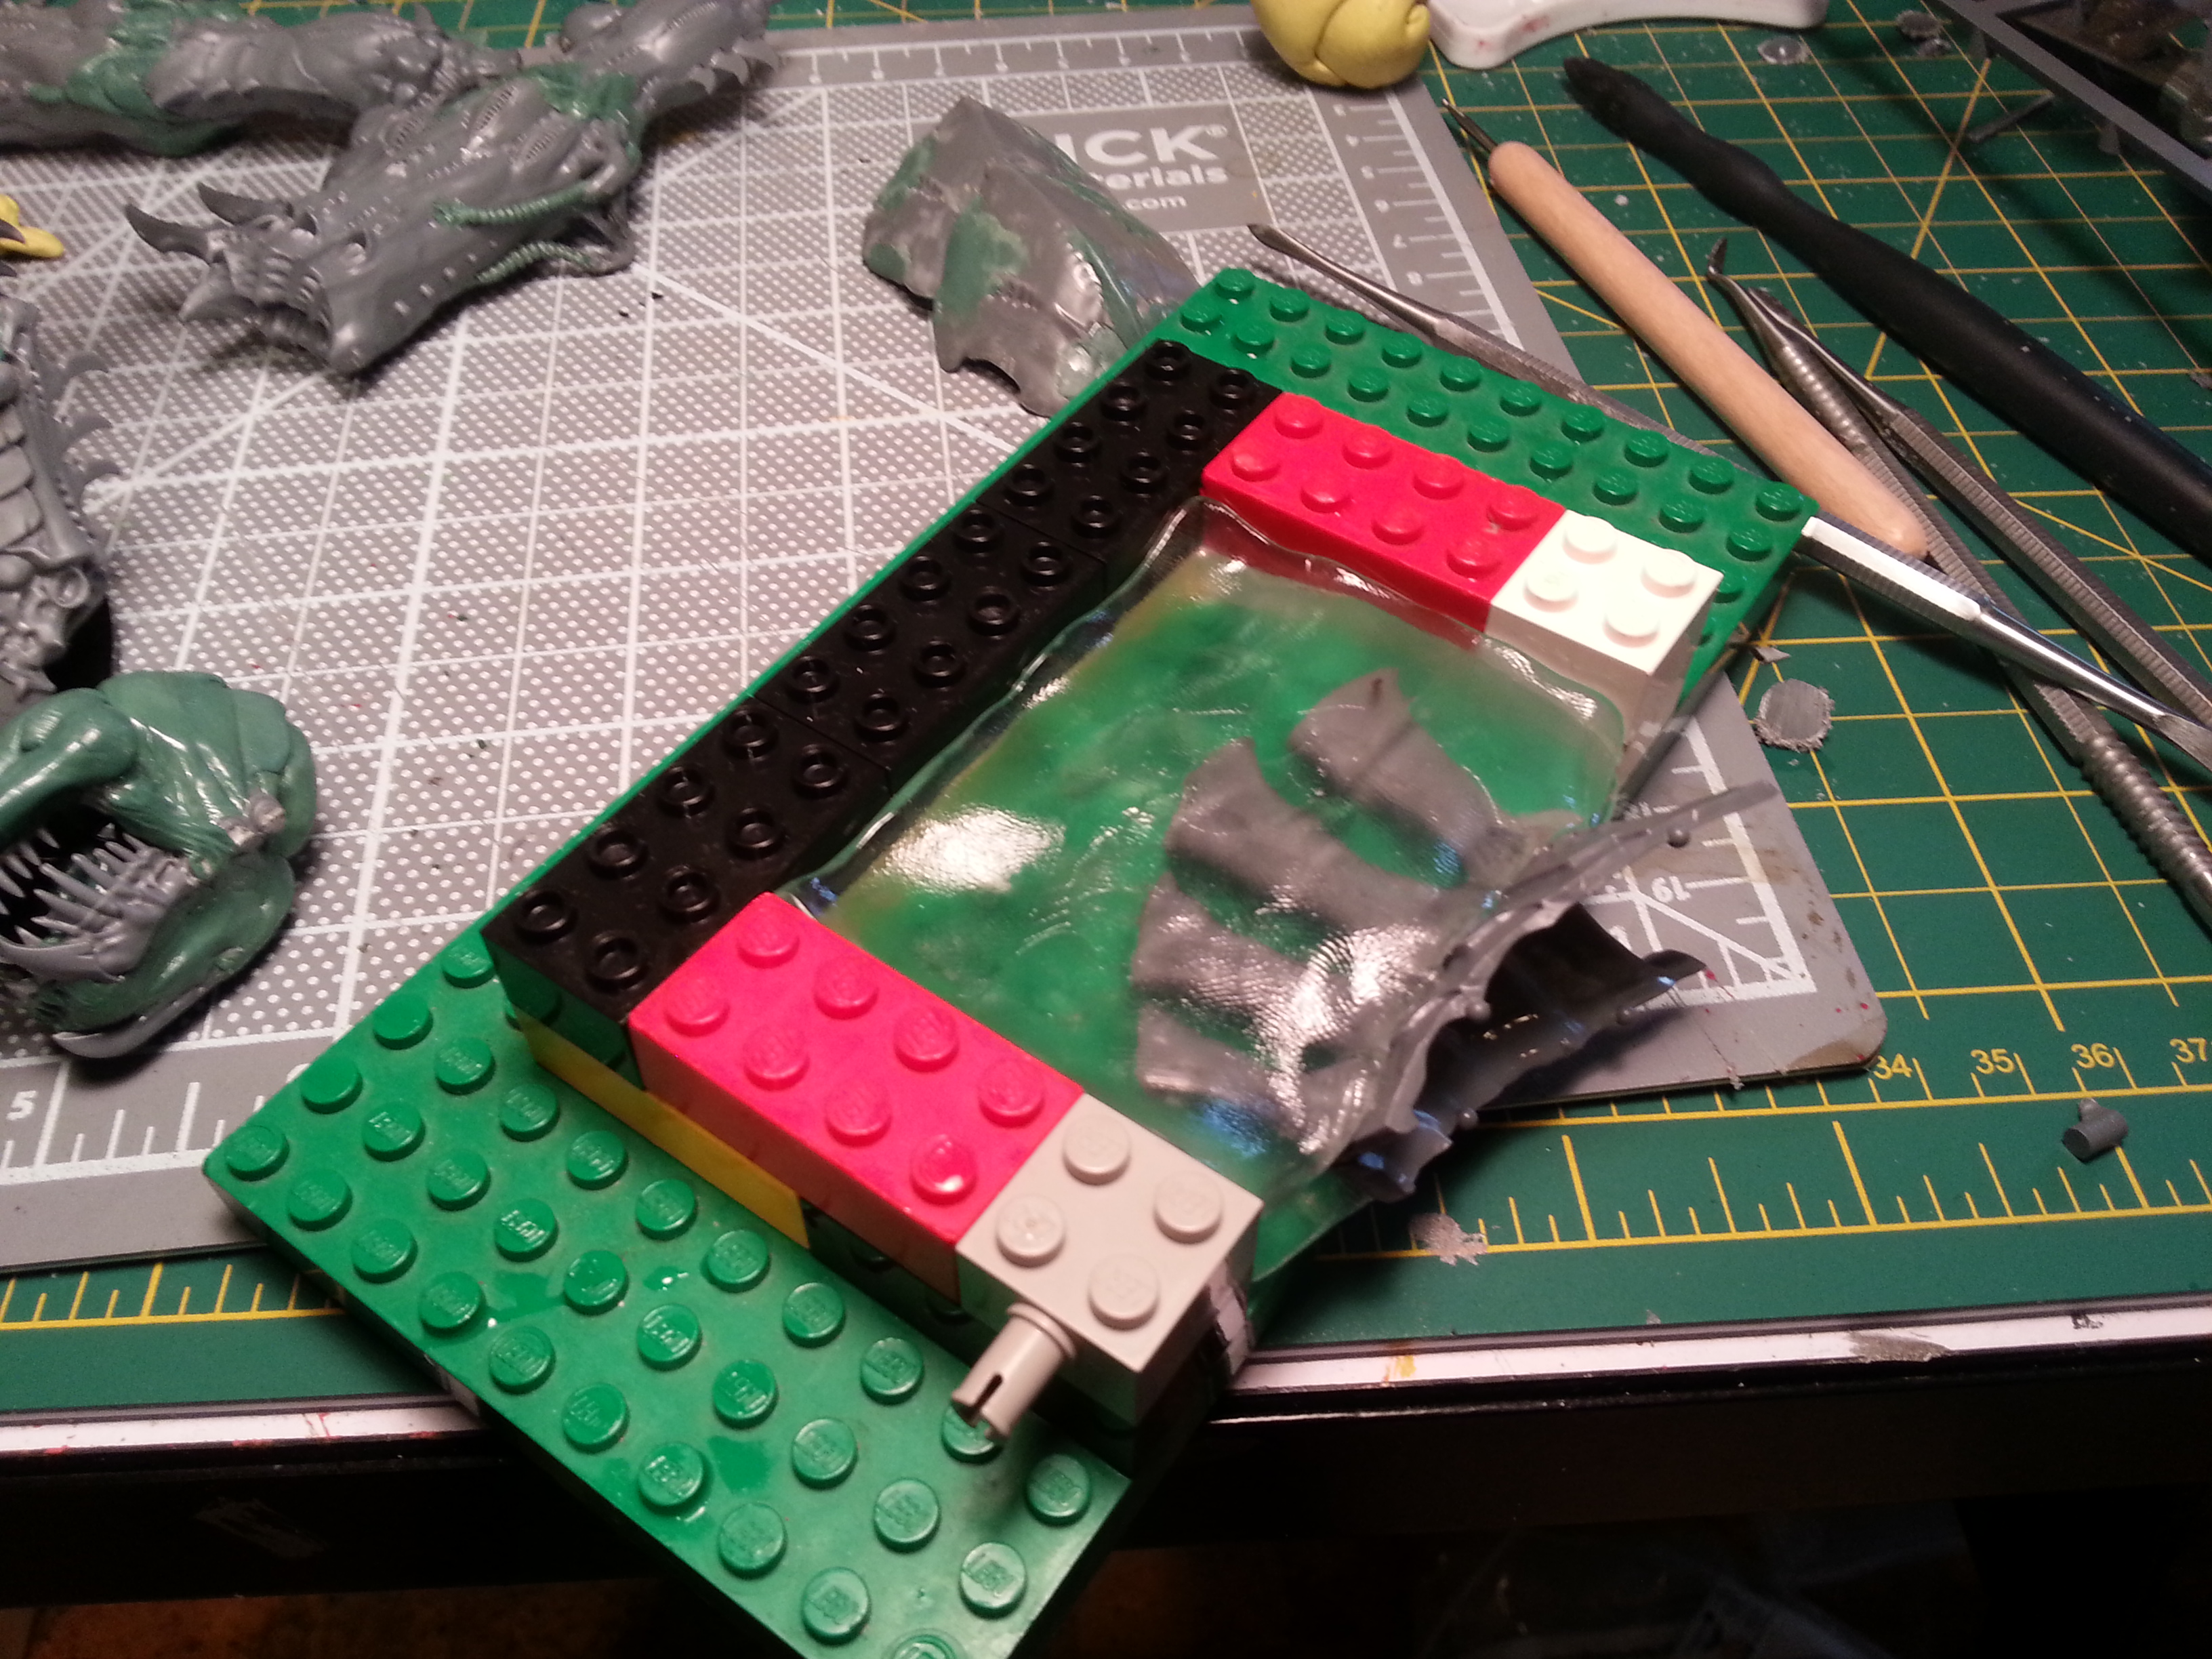
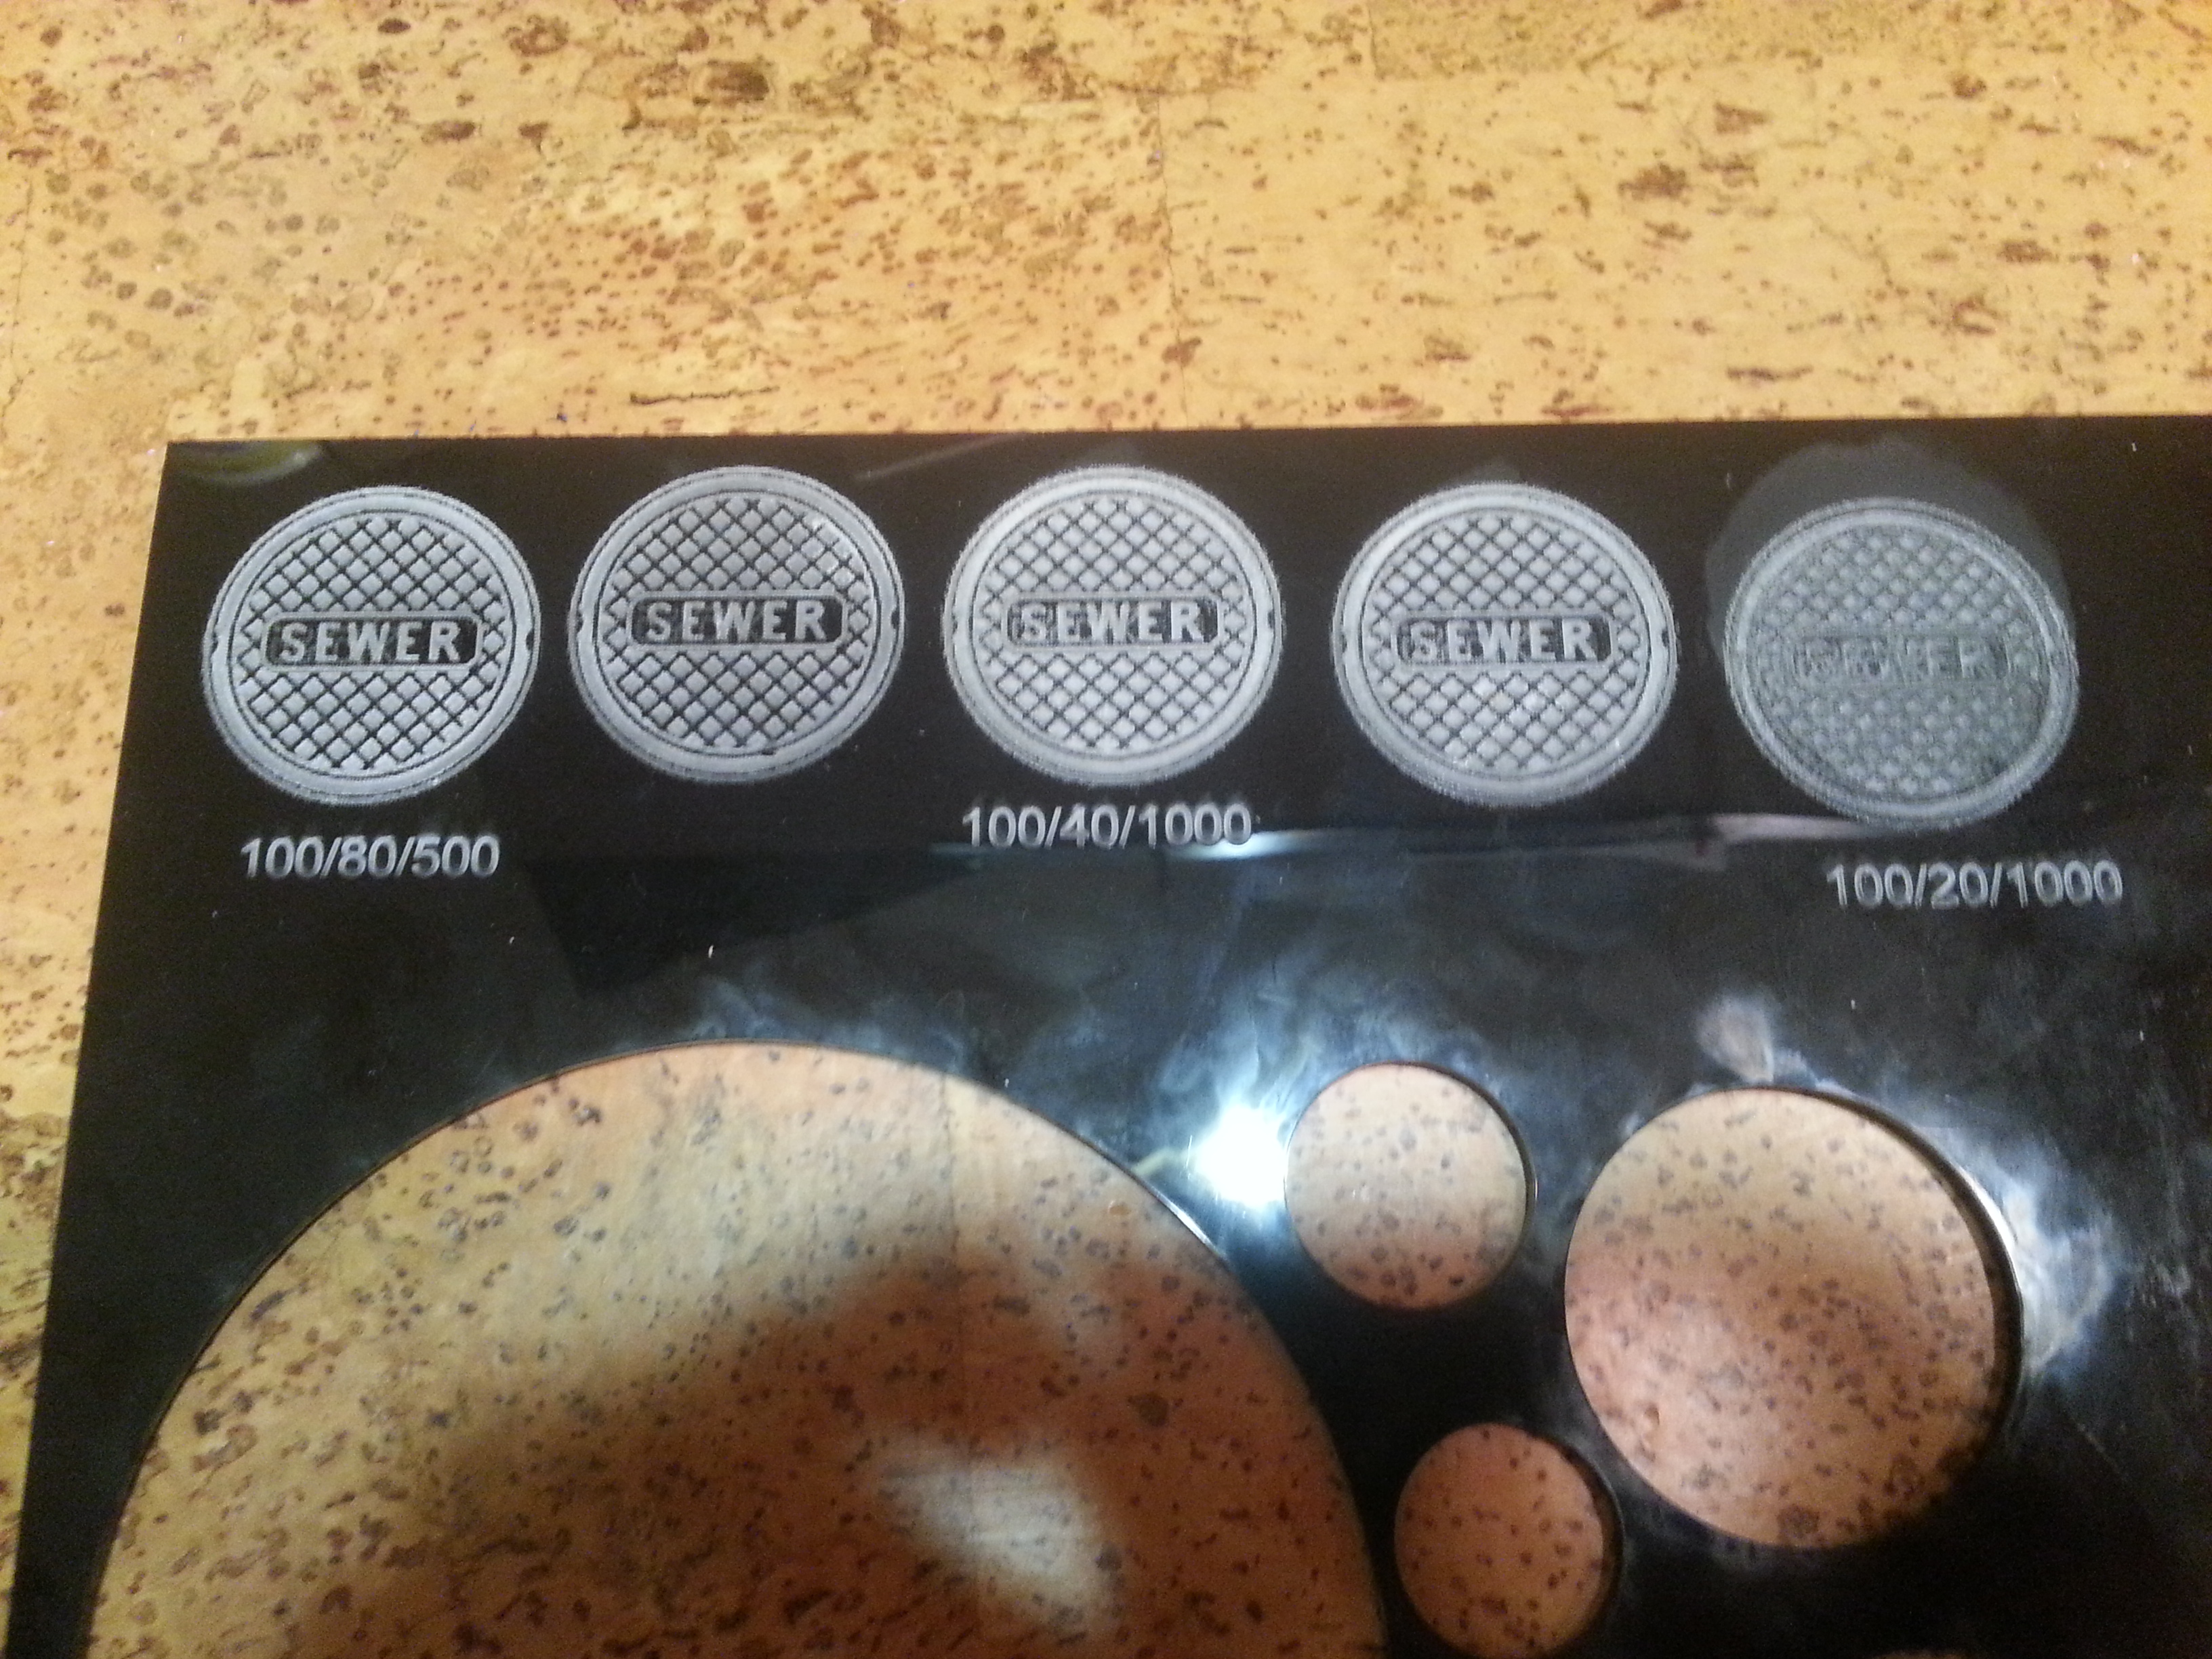
Experimenting with settings. The one to the far left is the default setting, which is nice for visible engraving. The one to the far right is the deepest engraving....not so nice to look at, but better for a mold.
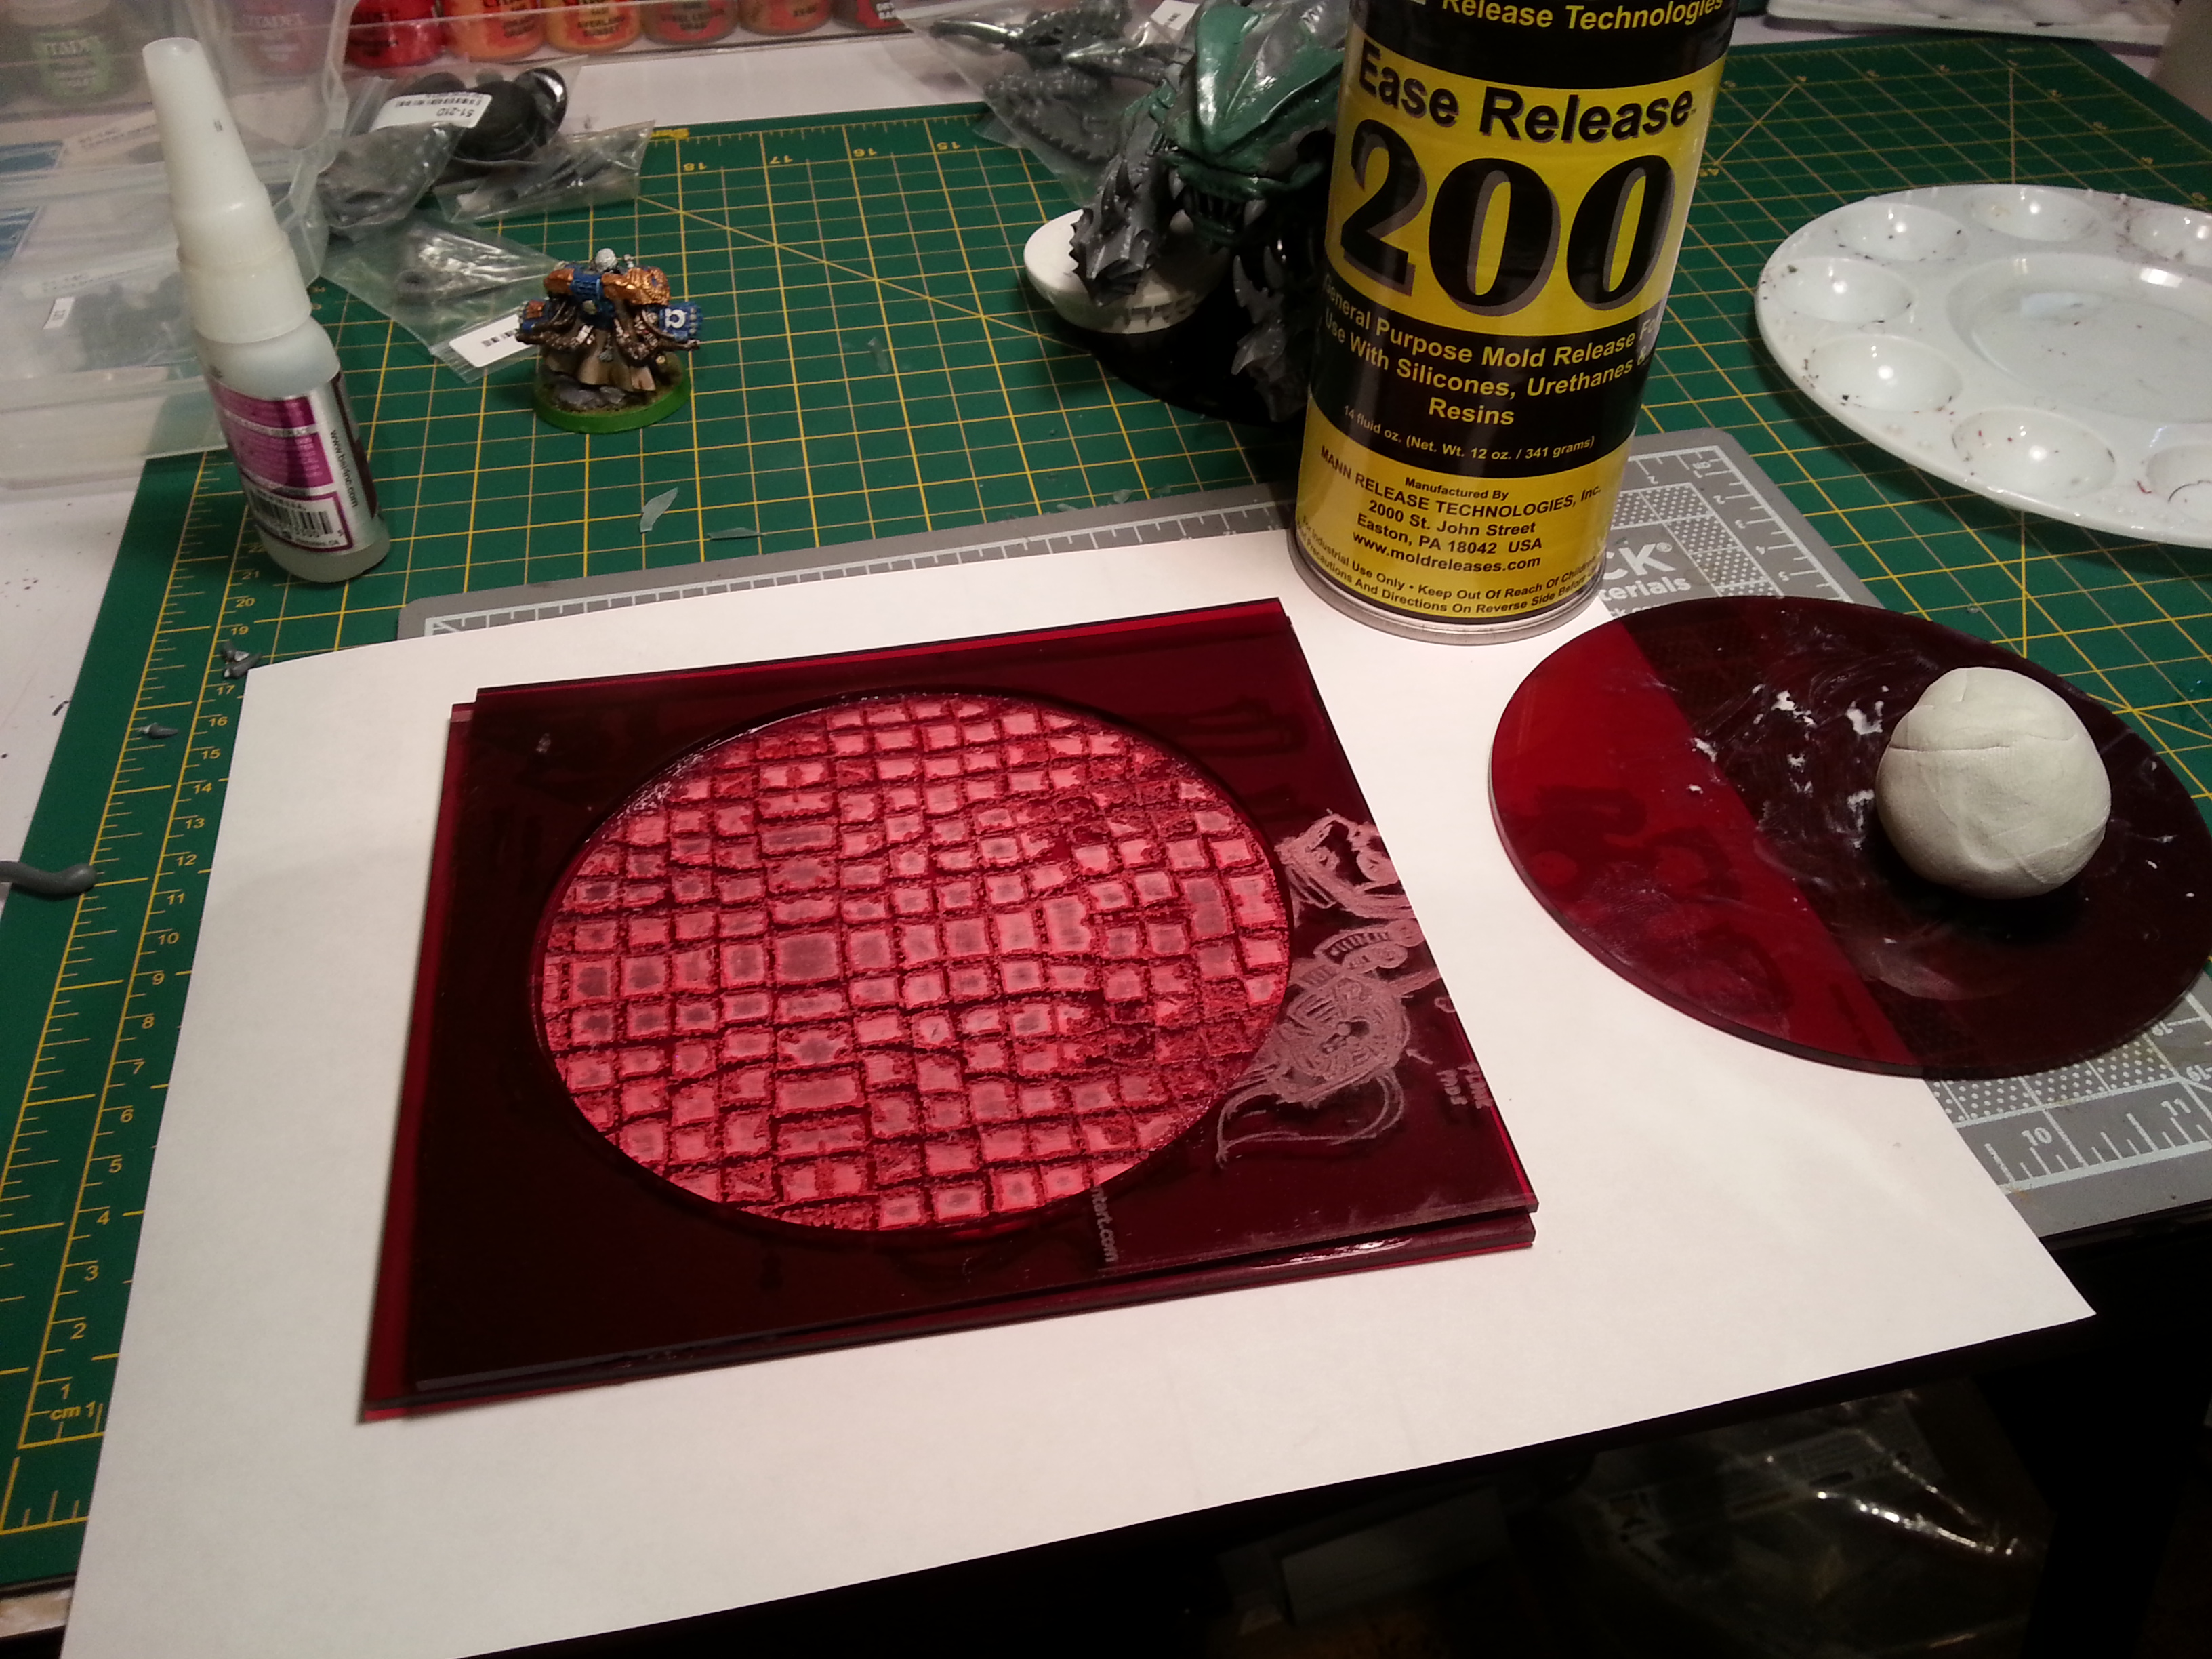
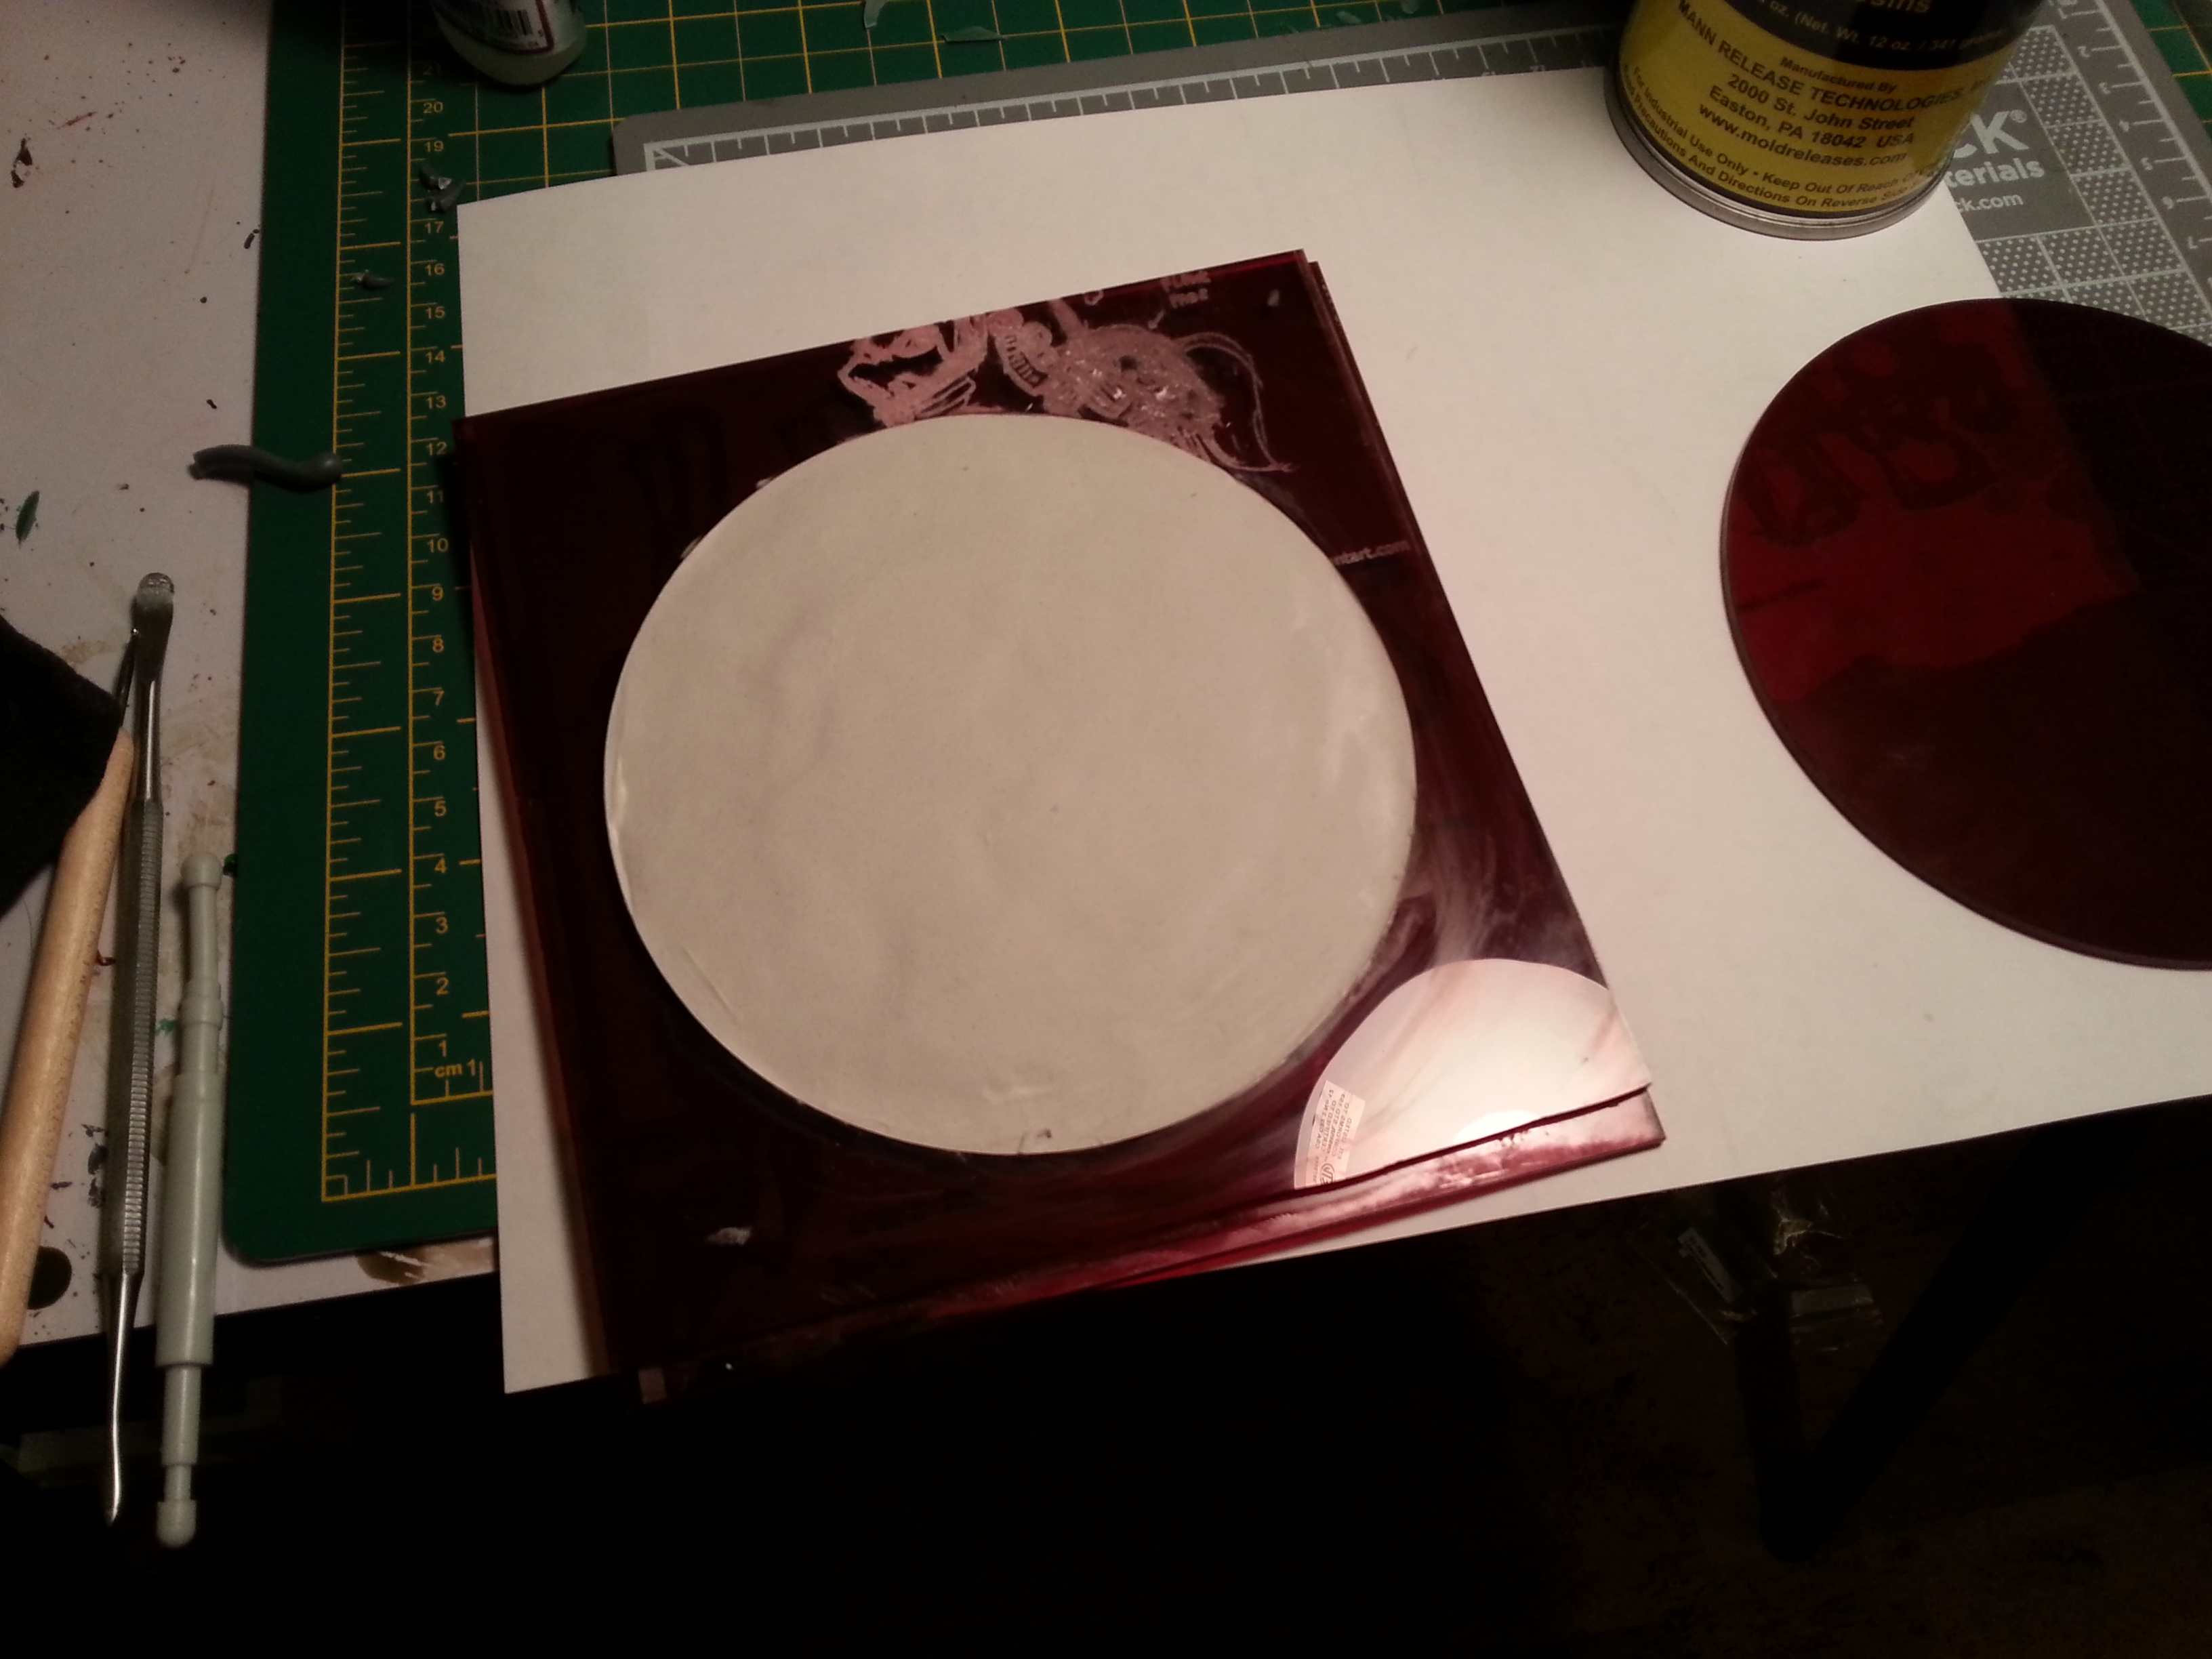
Dried enough to handle, and the disk to which it will be glued. The red tint is due to traces of plastic dust left over from the laser engraving process, which I didn't bother to try to clean out of the mold.
Spore chimney thing, held on with a pair of magnets, plus the random stone steps of whatever it is that is in the process of shattering under Barbie's weight.
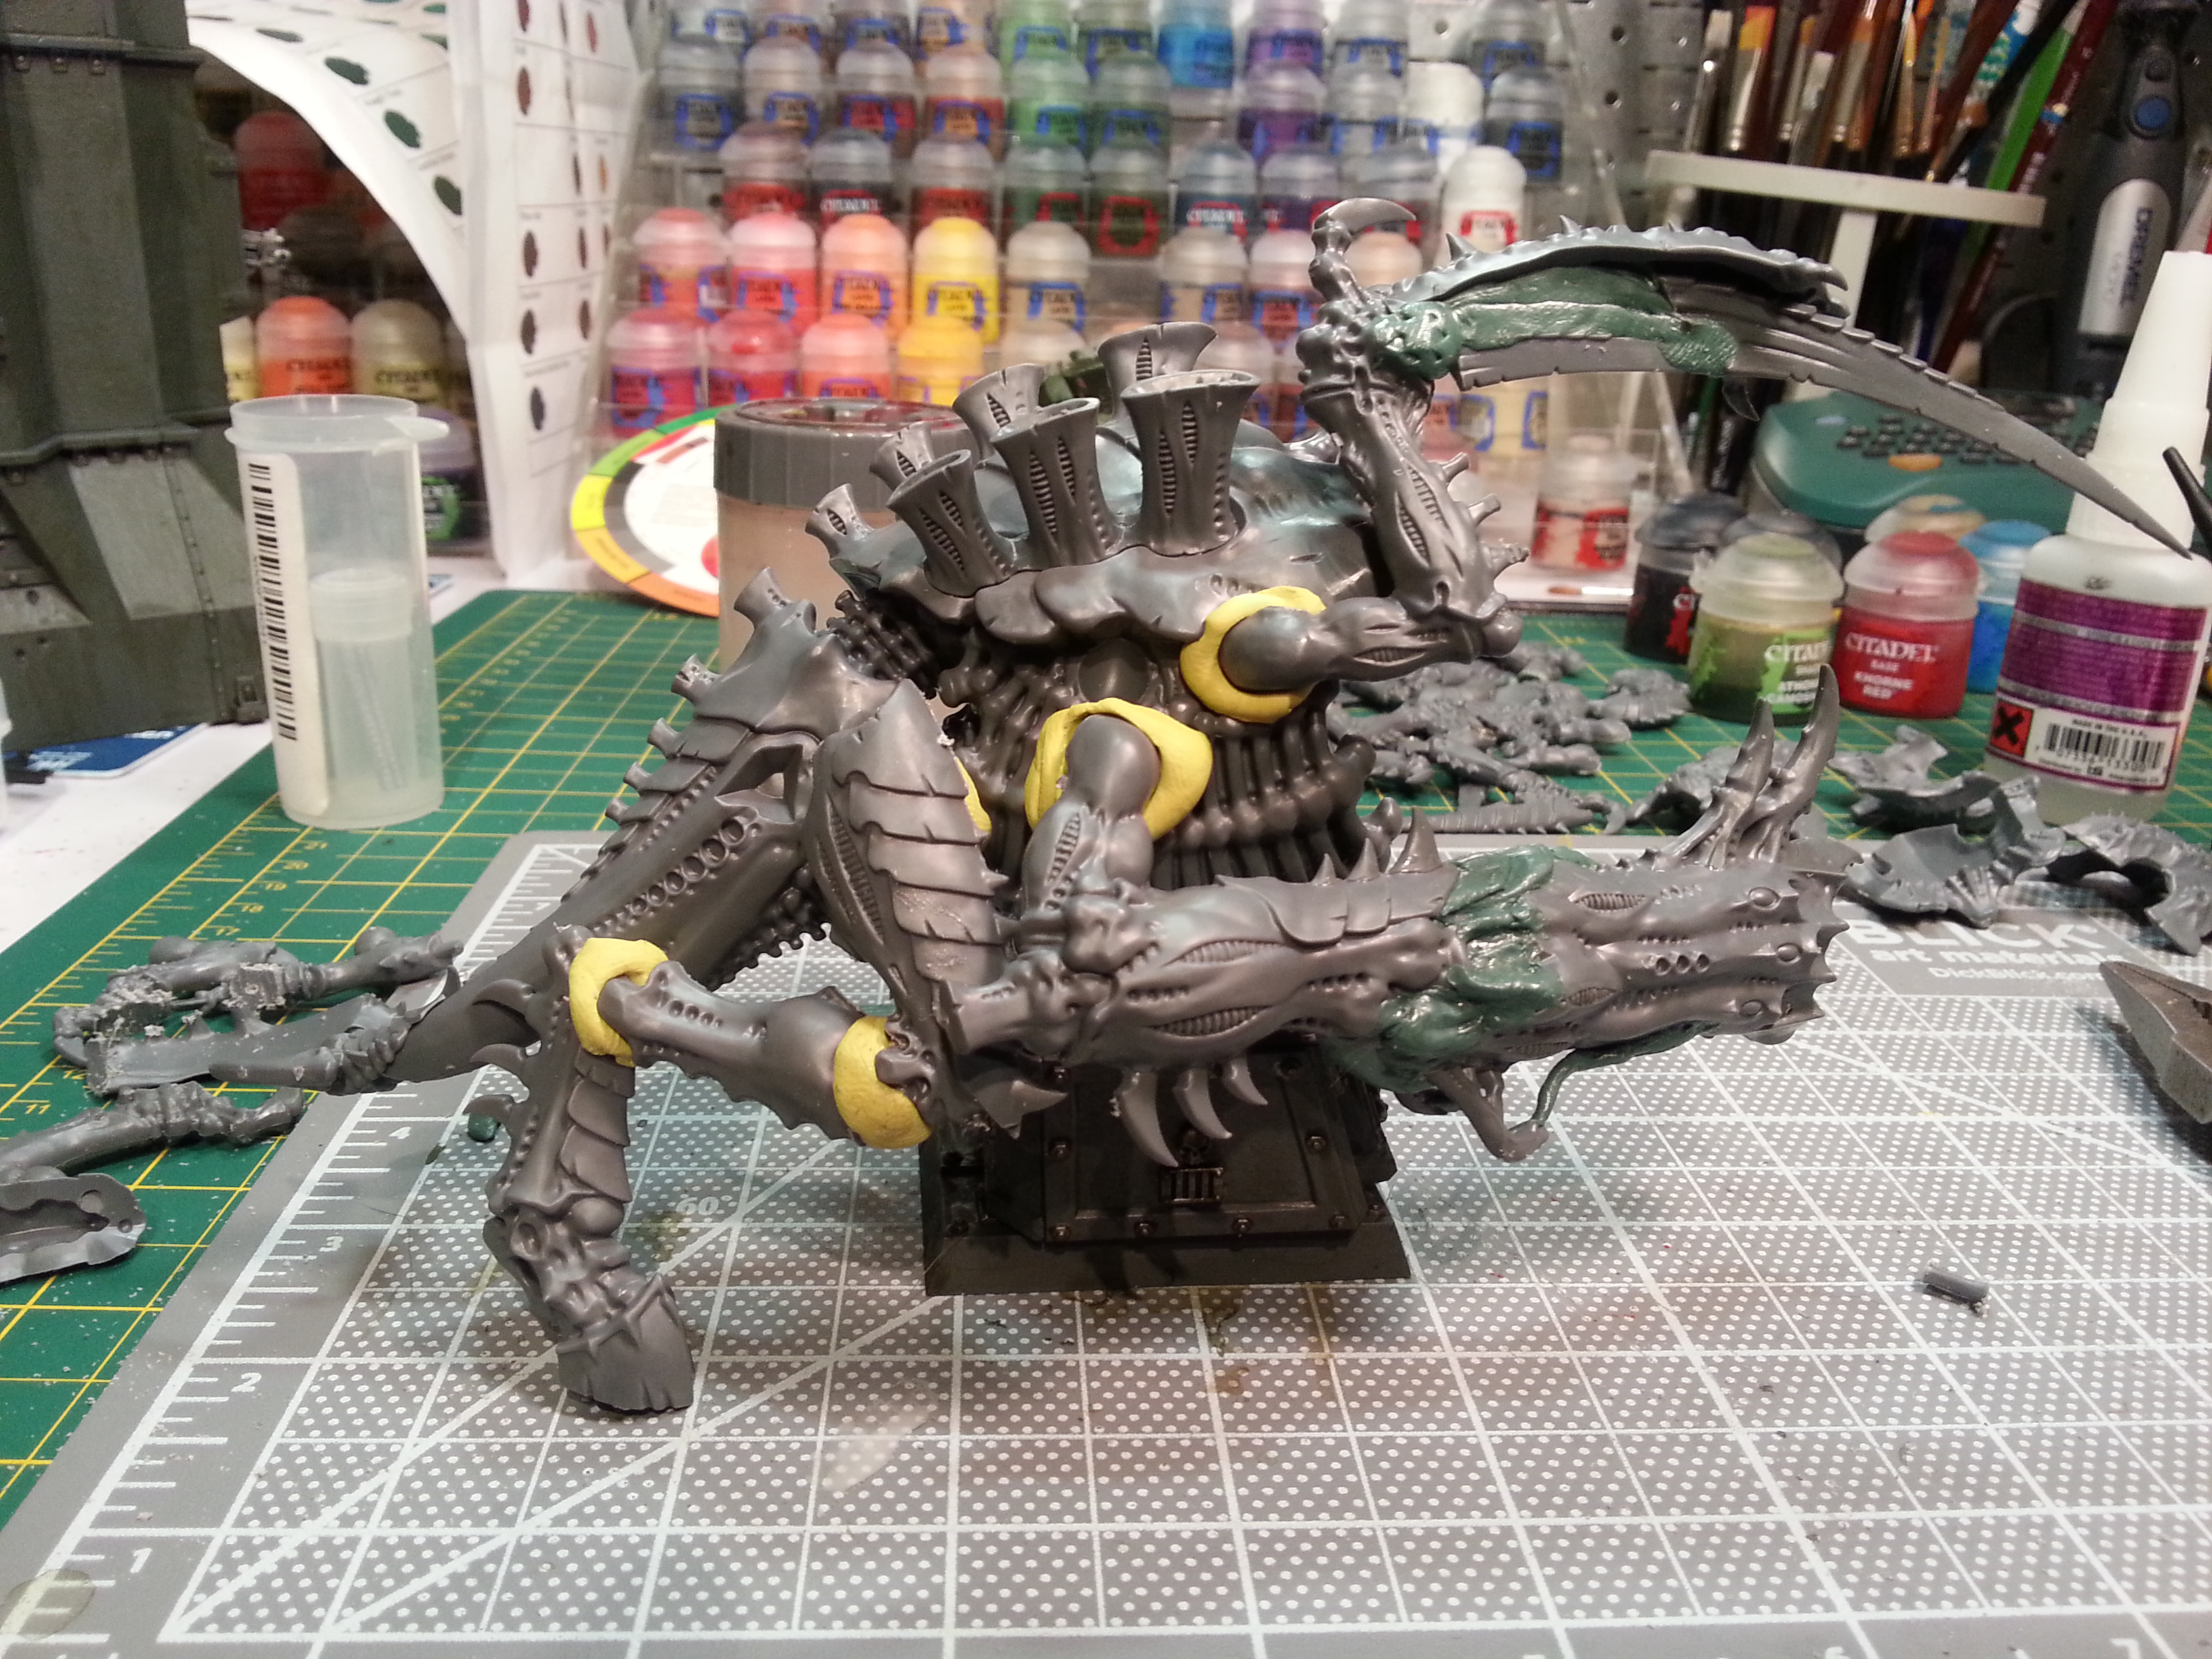
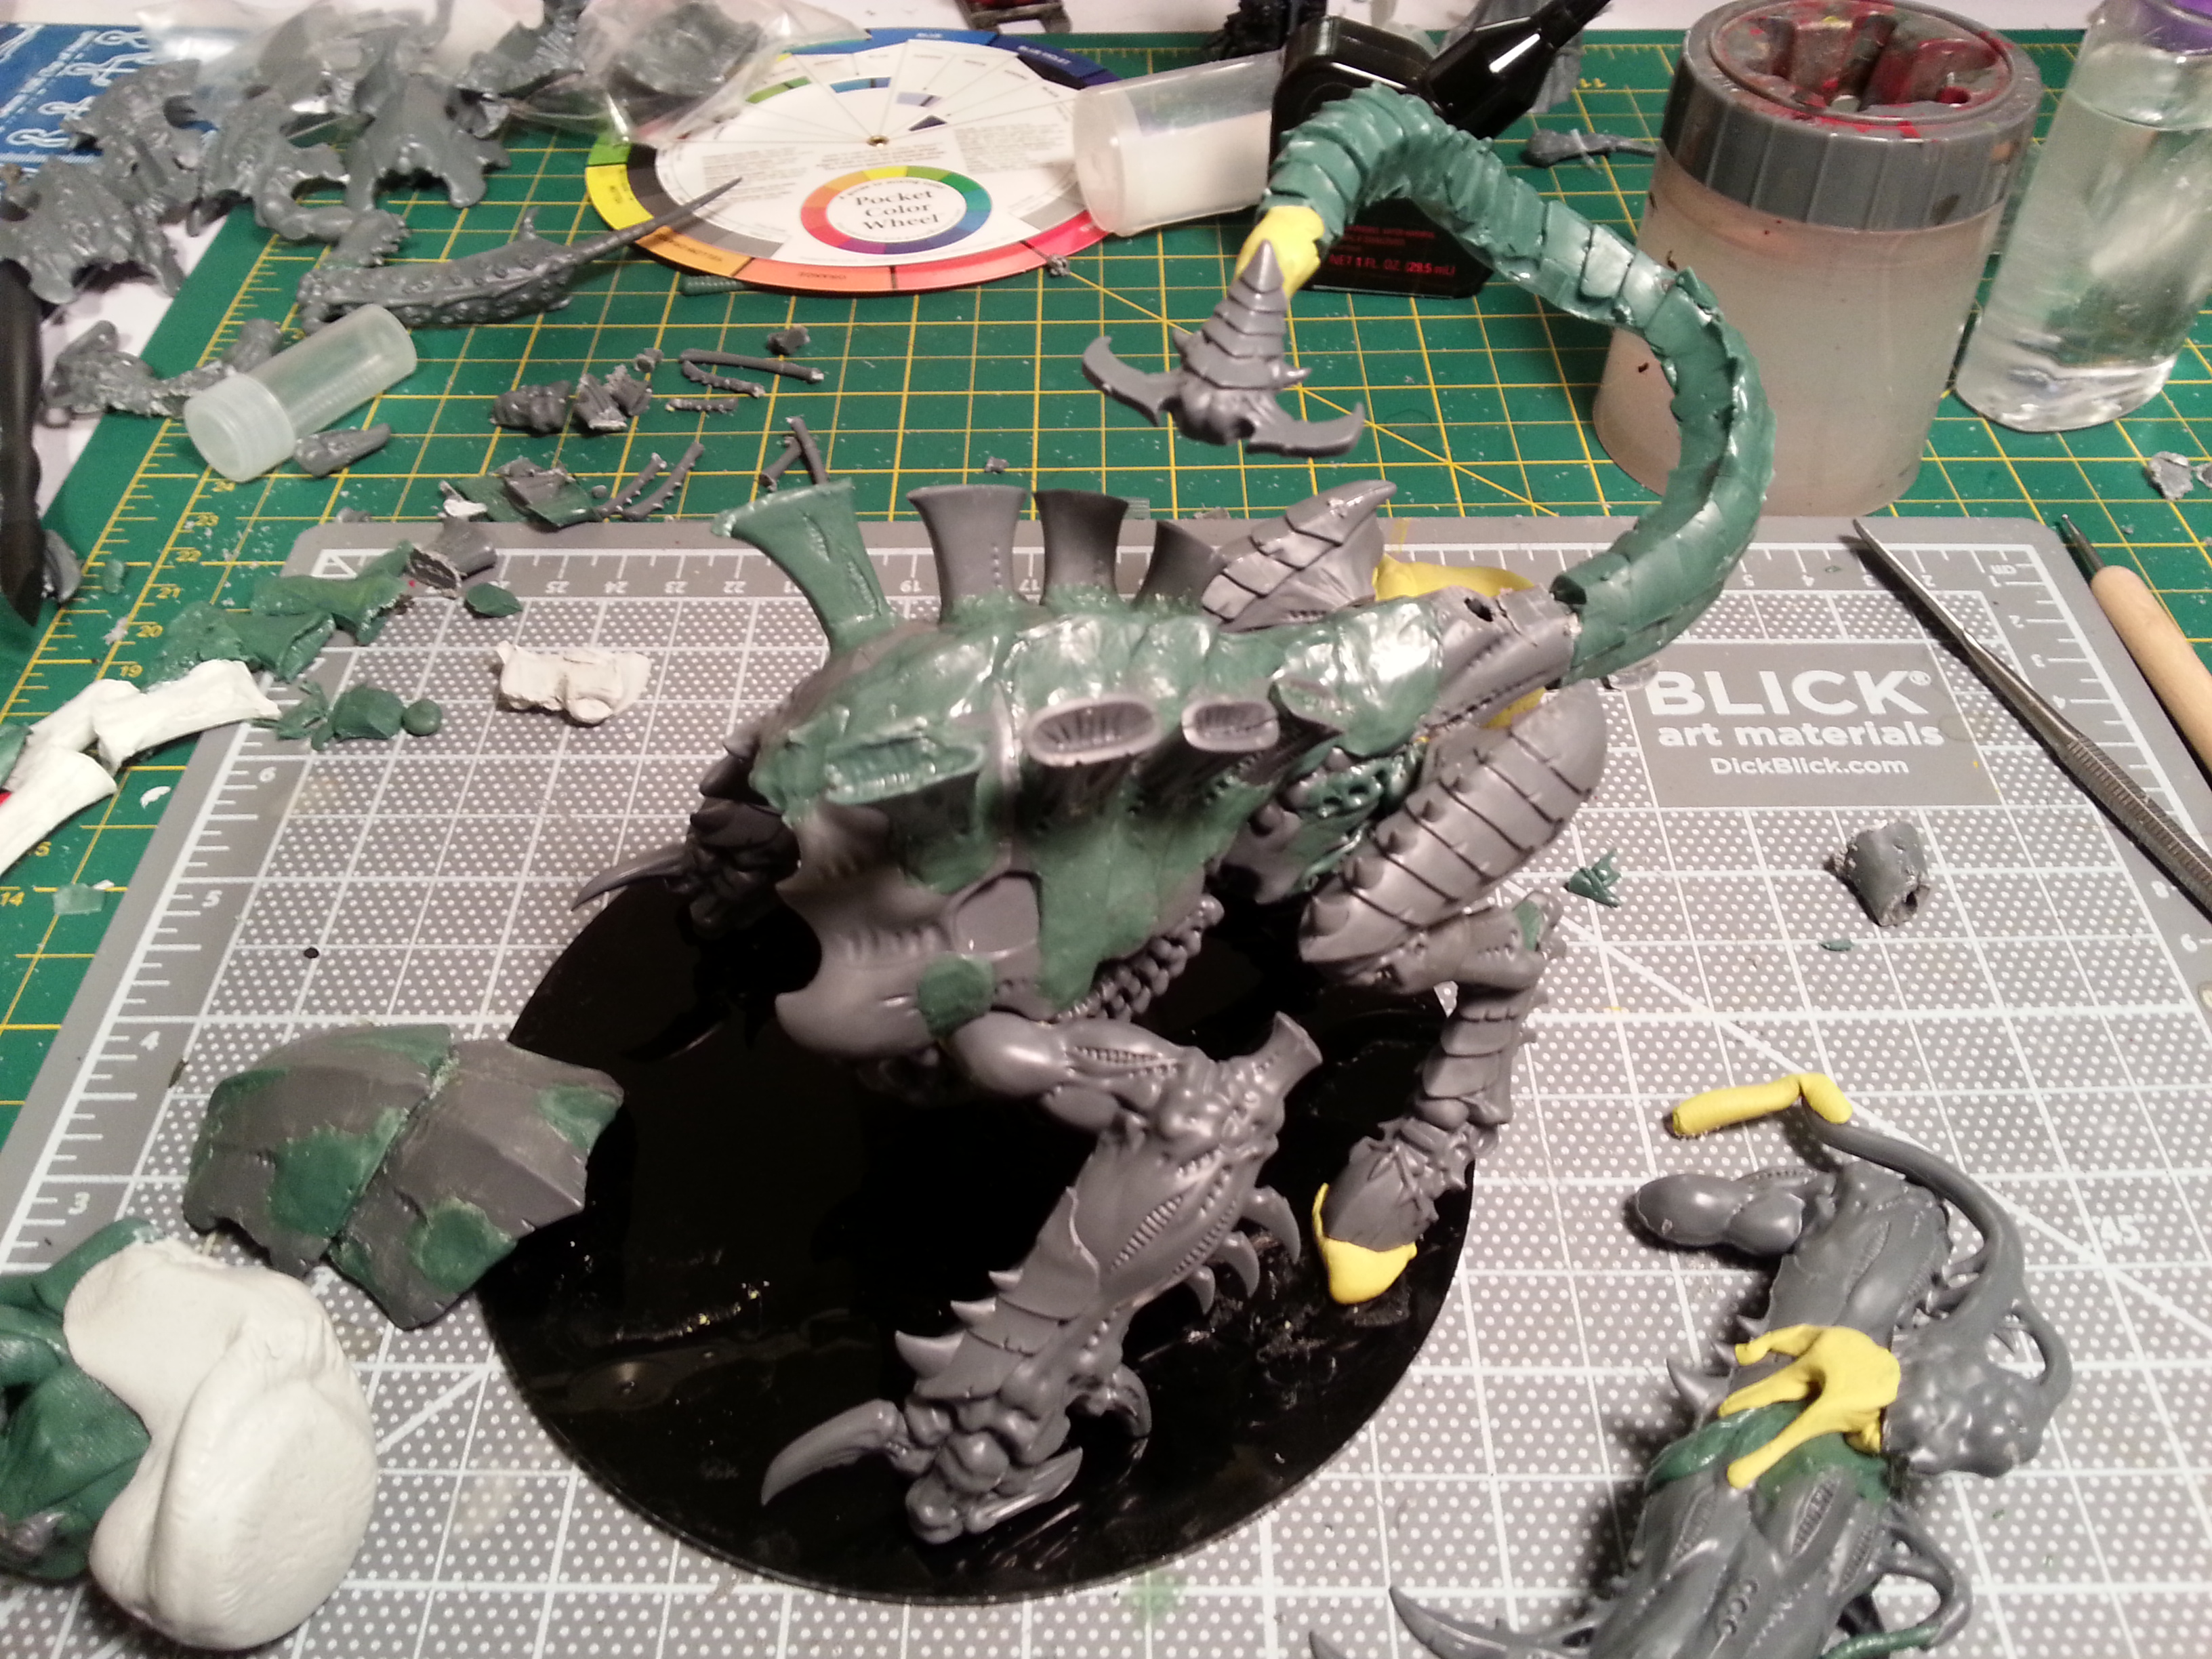
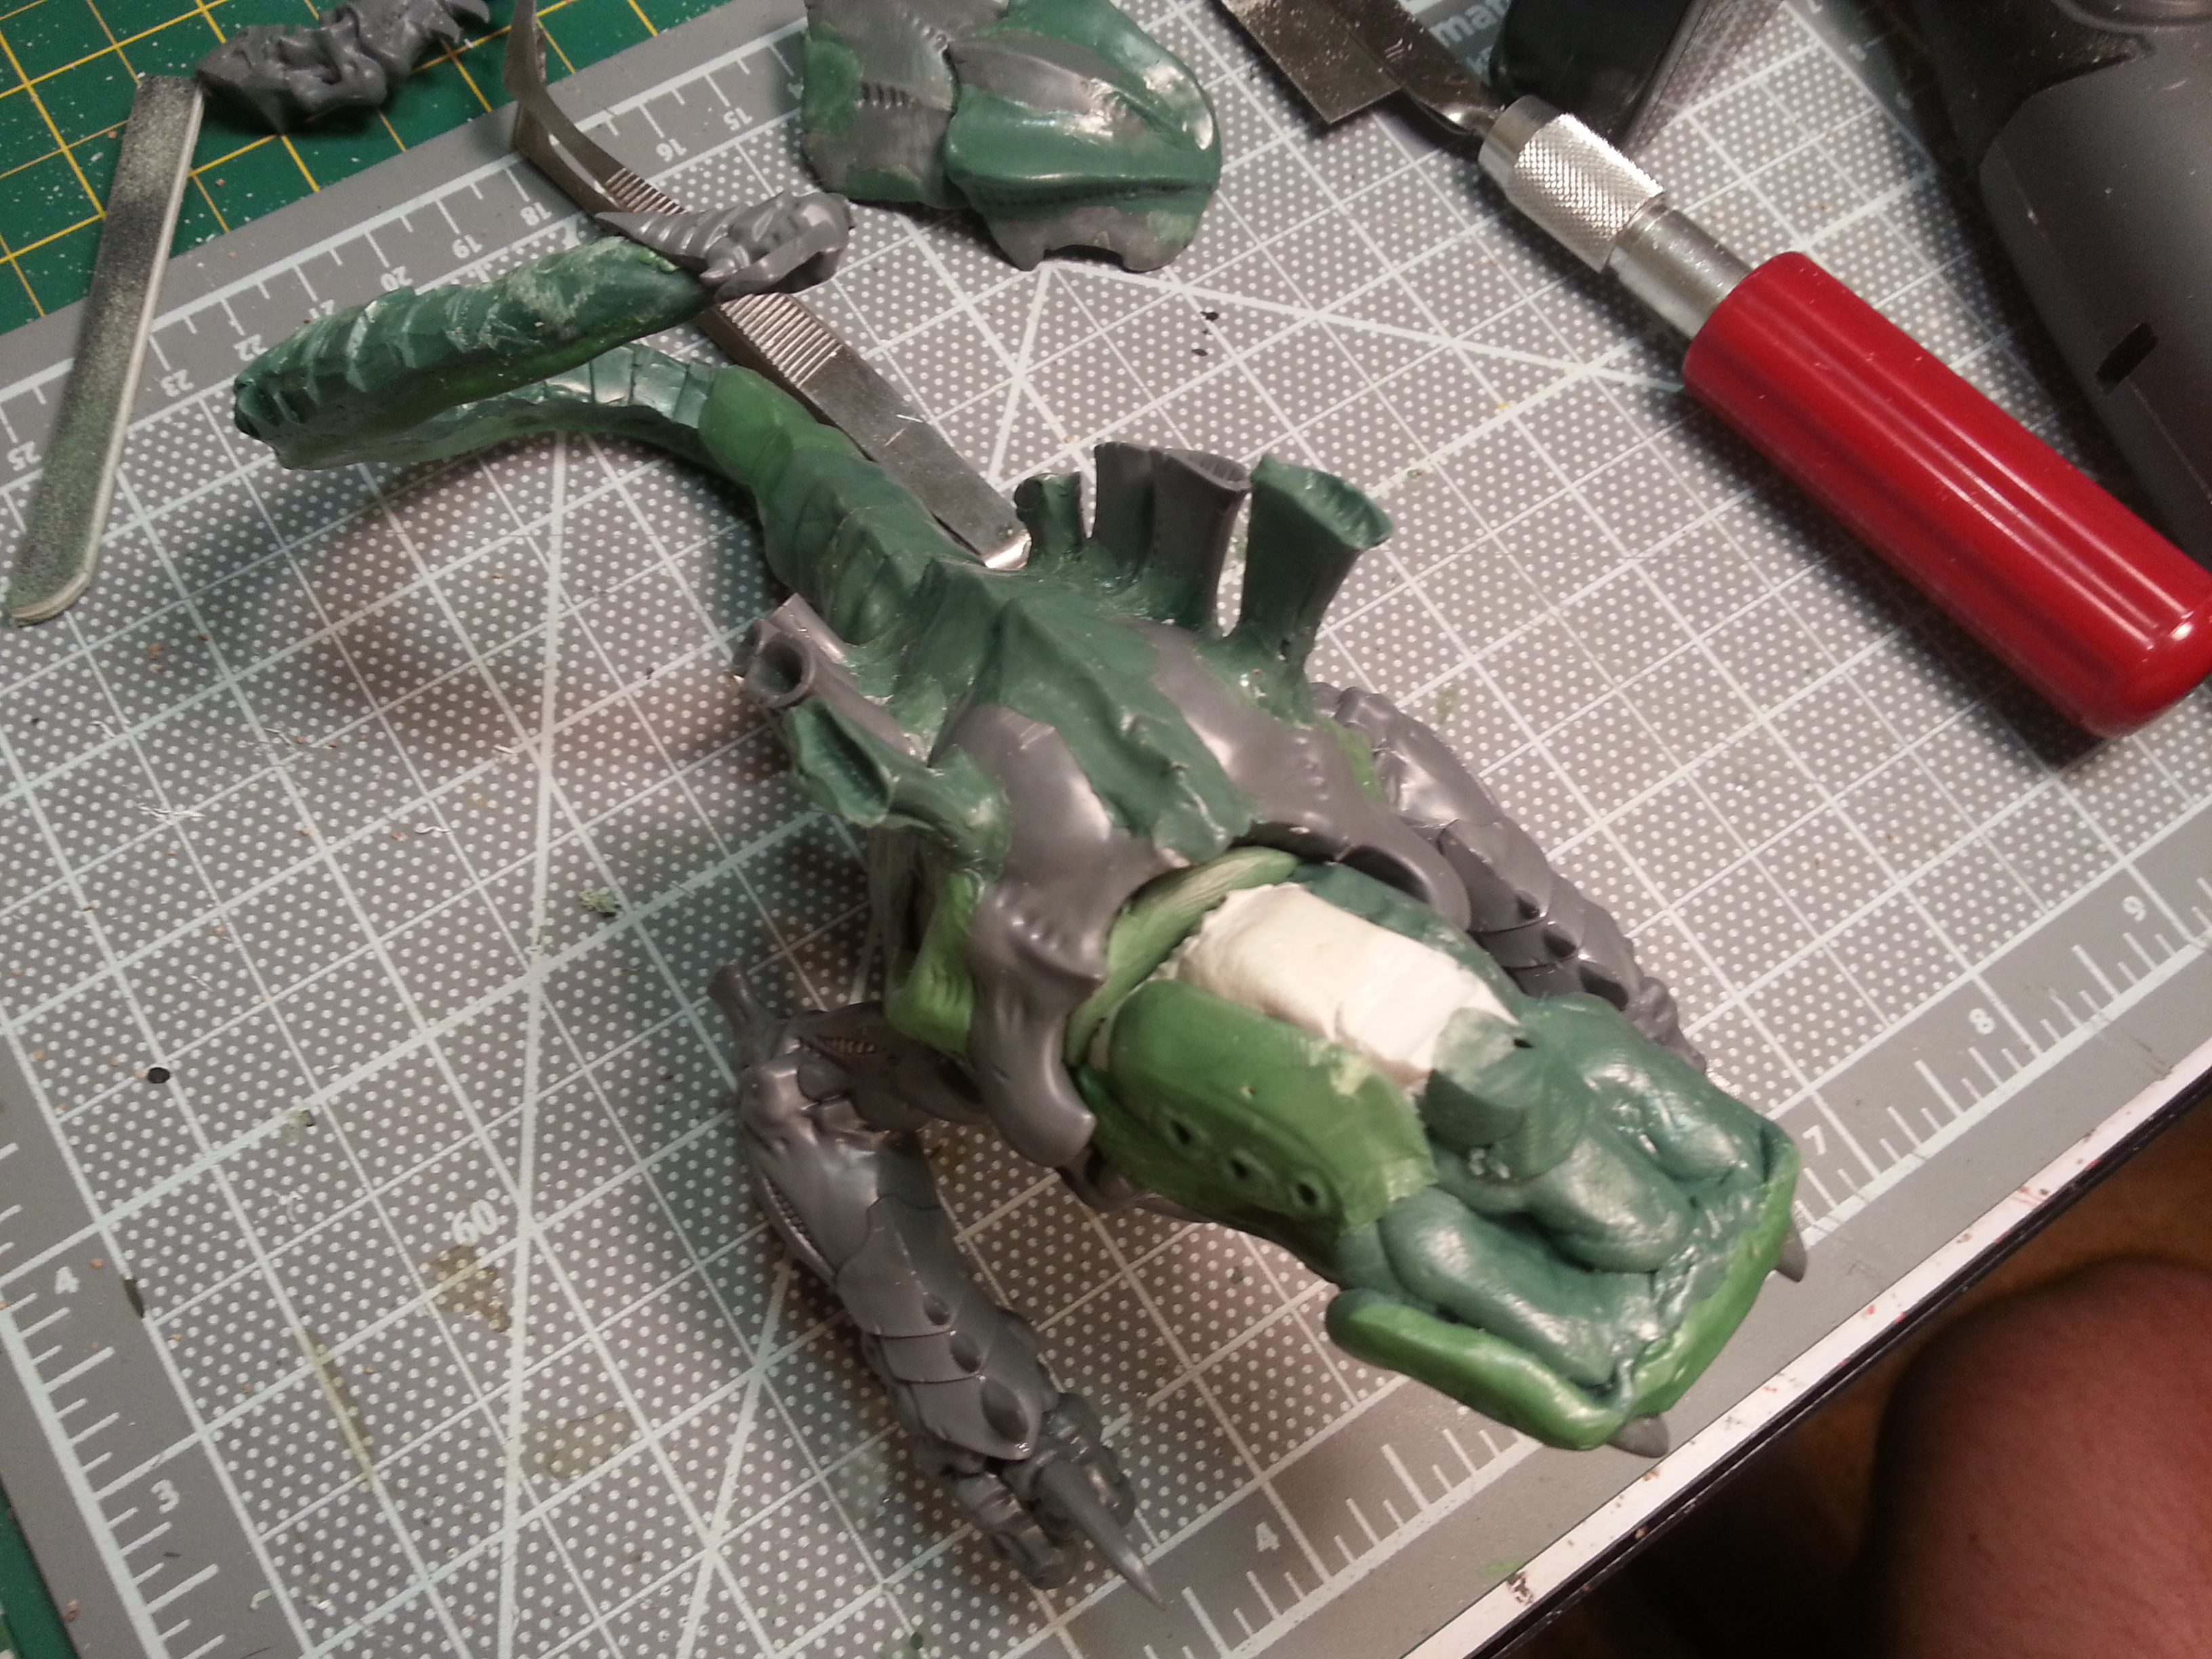
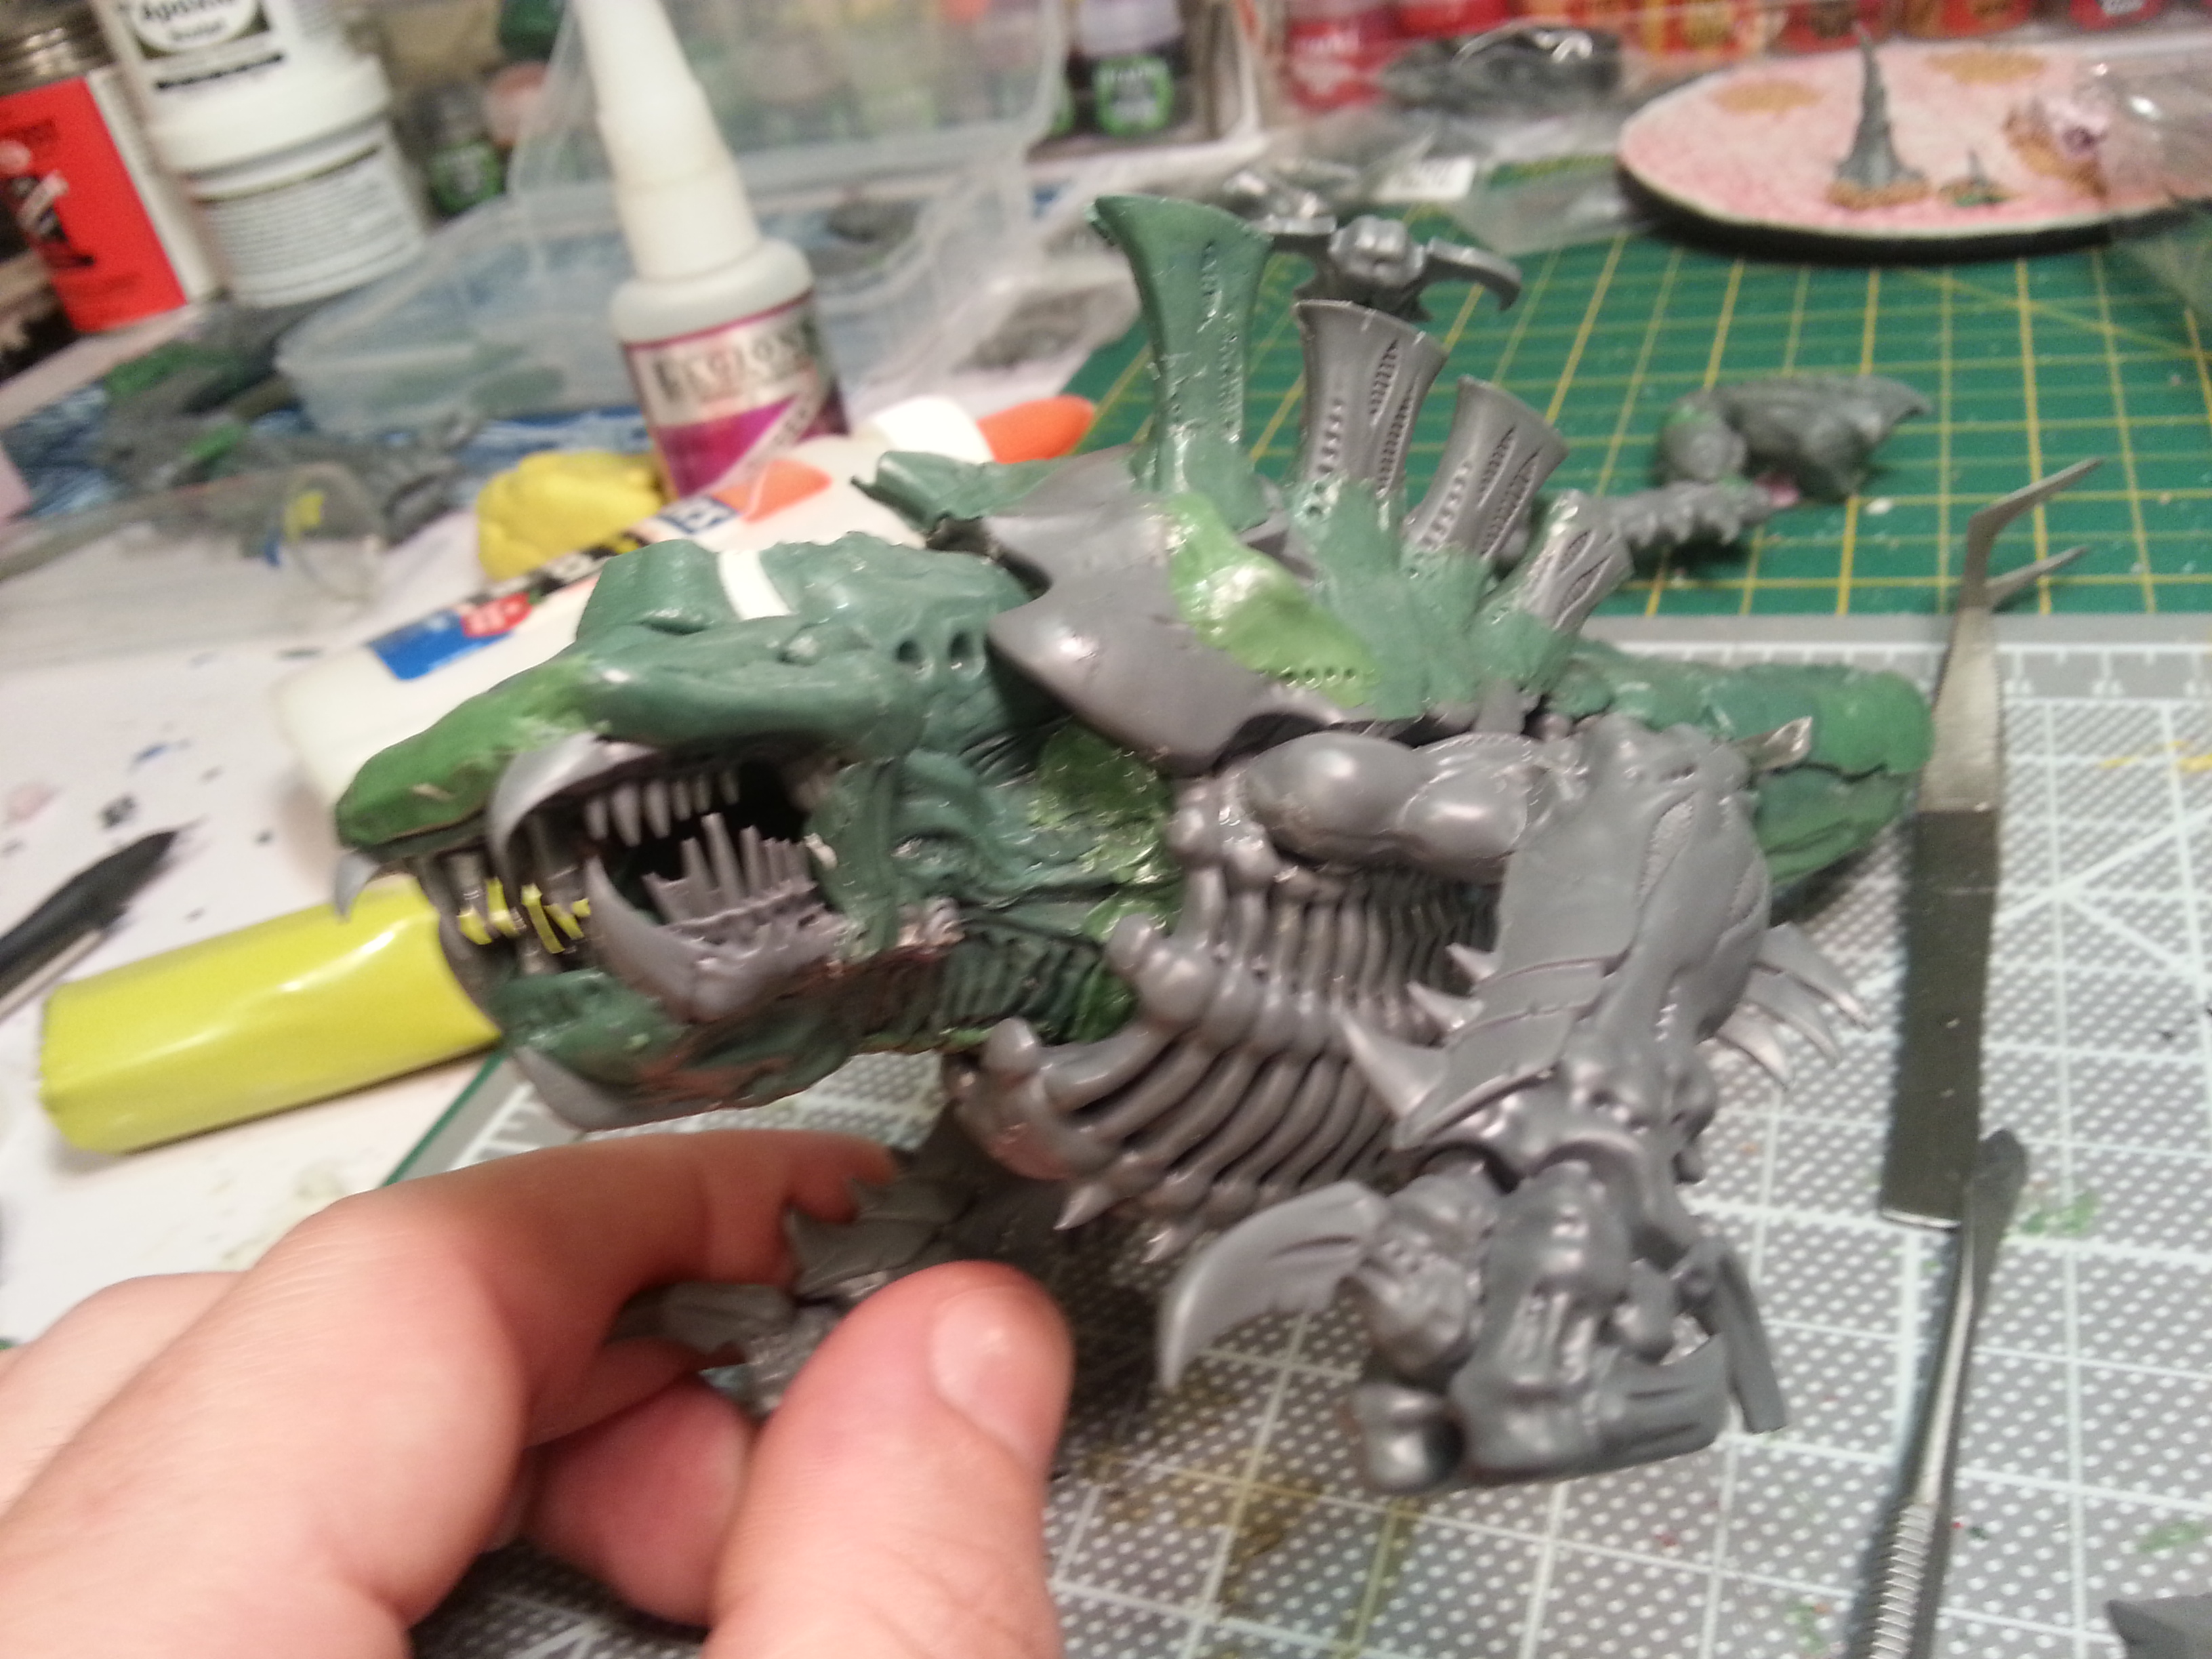
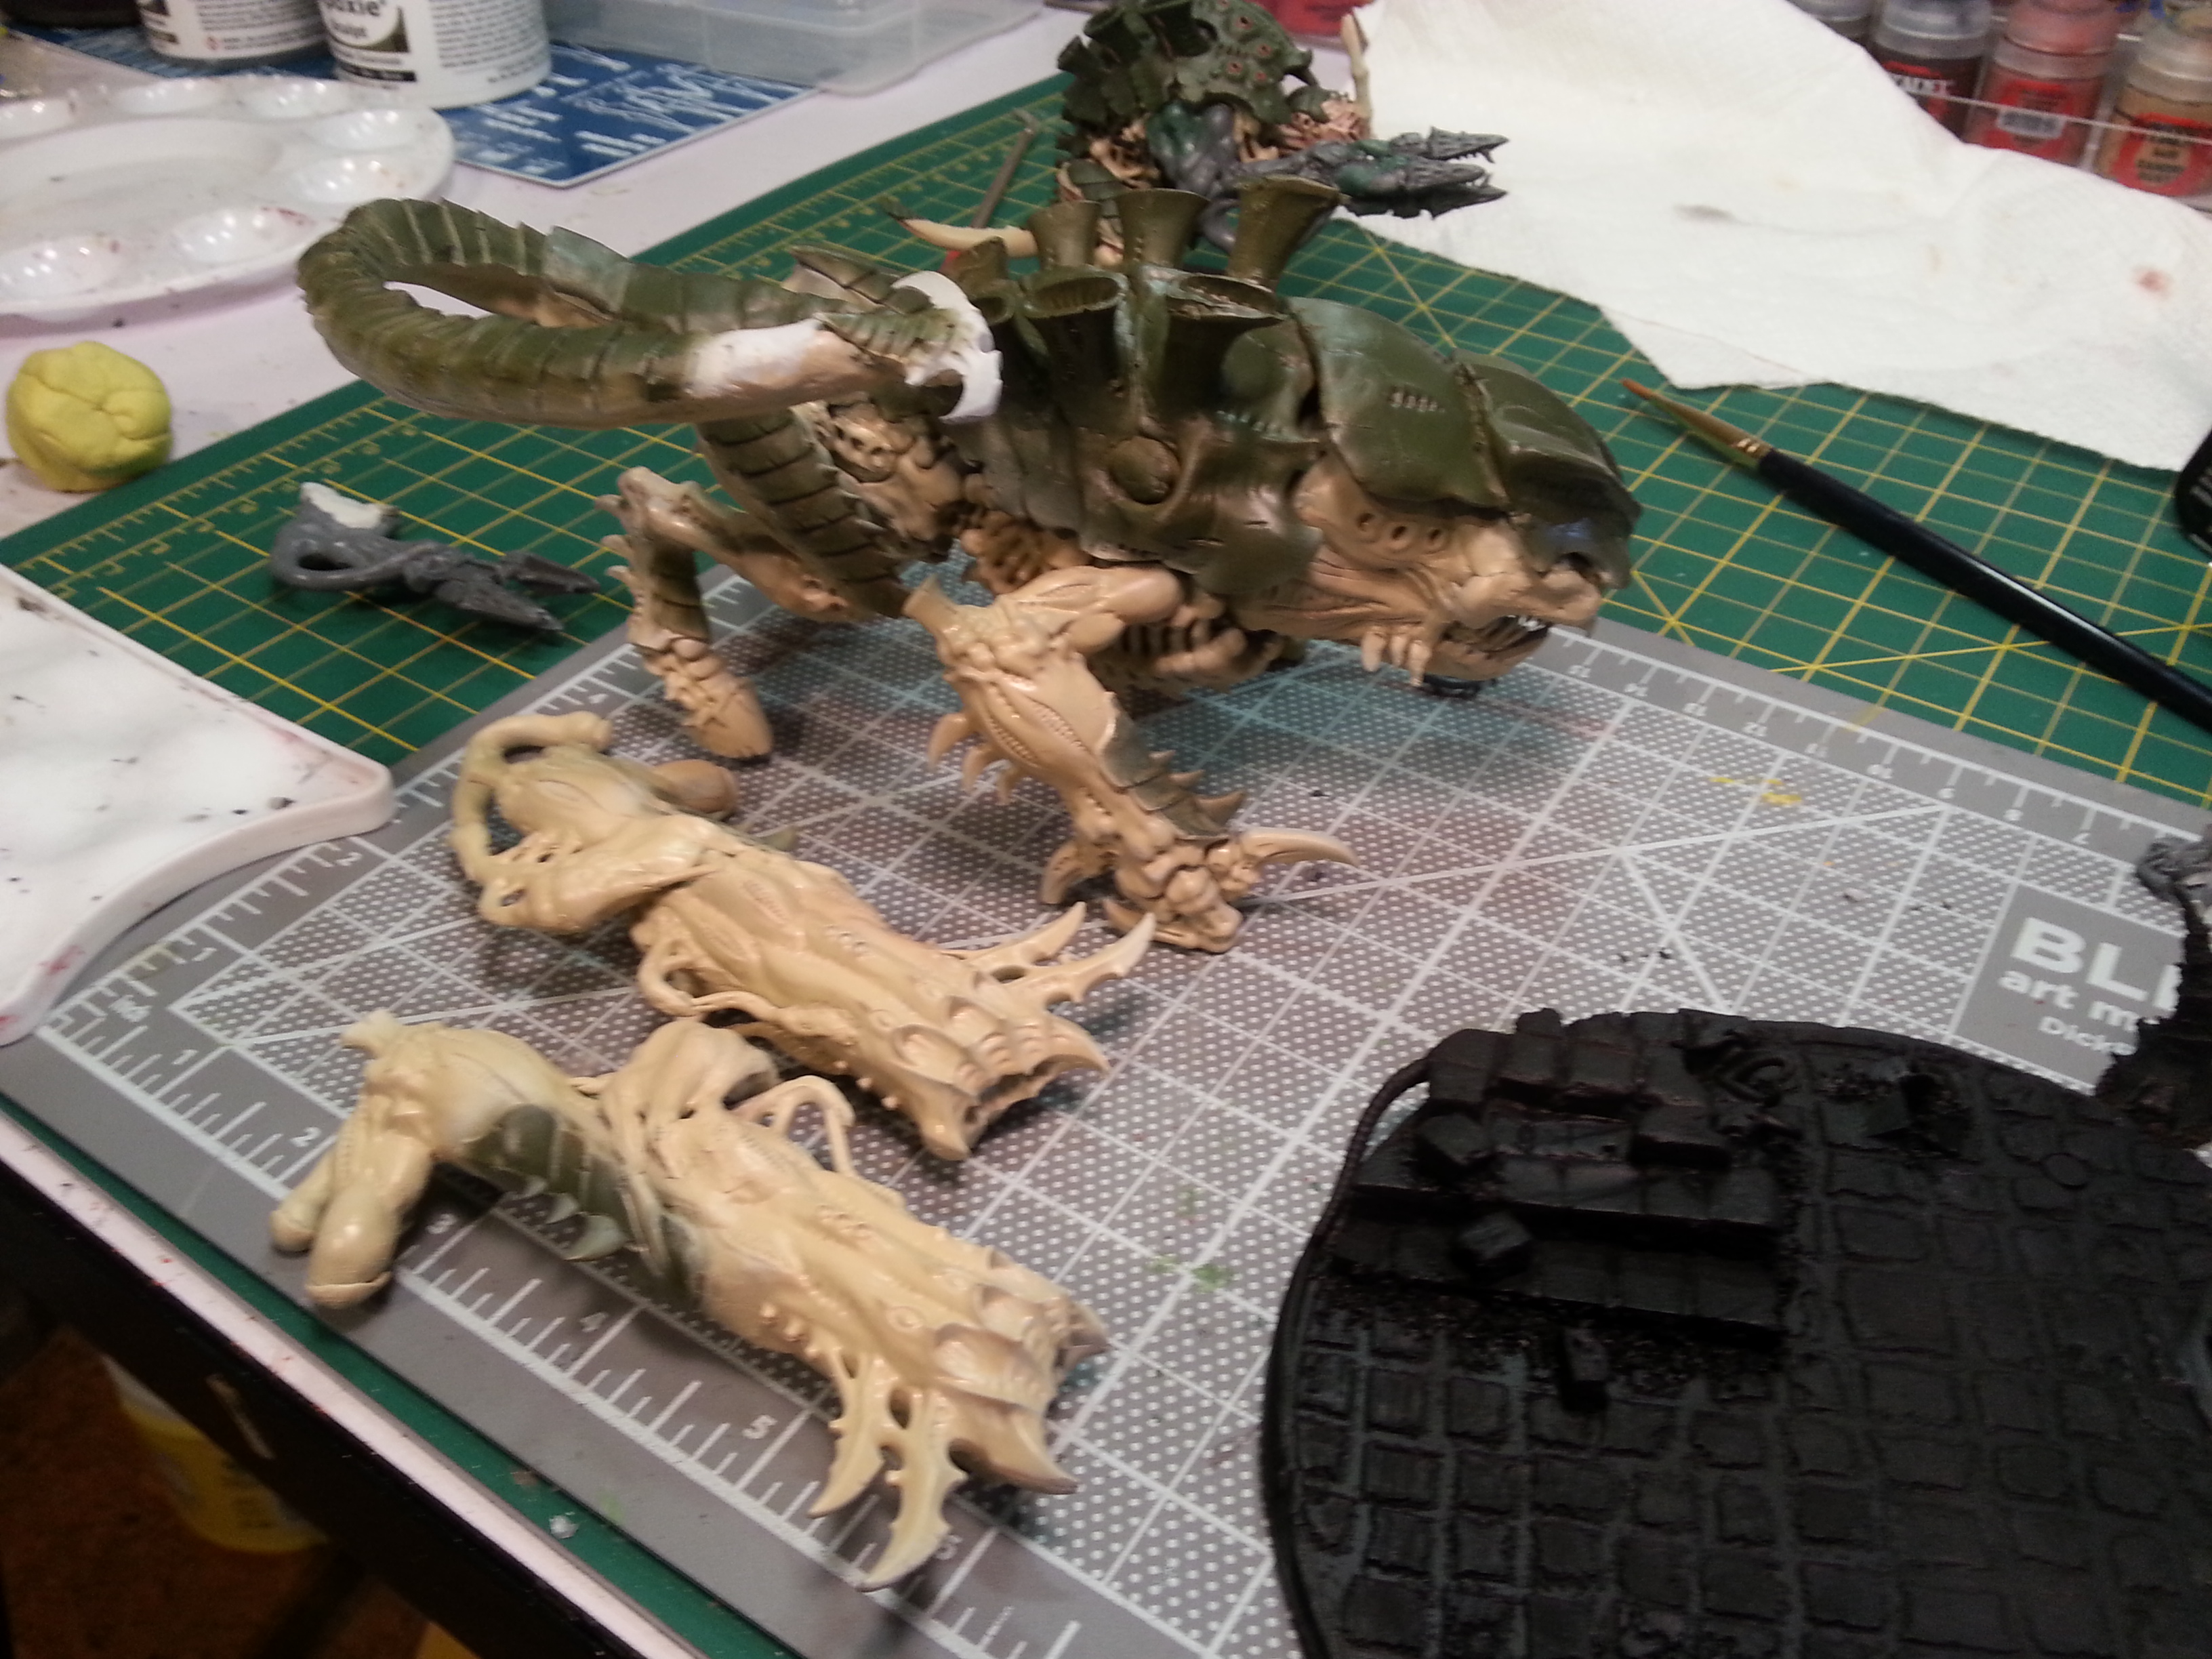
Time to bite the bullet and permanently attach the head. Note the small sausages of greenstuff at the joint.
Sausage number 2, although less critical than the sides...it'll be under the carapace plates, unless i change my mind.
Airbrushed GW's Castellan Green (thinned with Liquitex airbrush medium, of course) on the carapace plates.
Since I modelled the mouth too closed to get a %^&*ing paintbrush in there, I thinned some GW Bugman's Glow and blasted it into the mouth with the airbrush, then used the remainder to lay a little base color on the fleshy ammo sack.
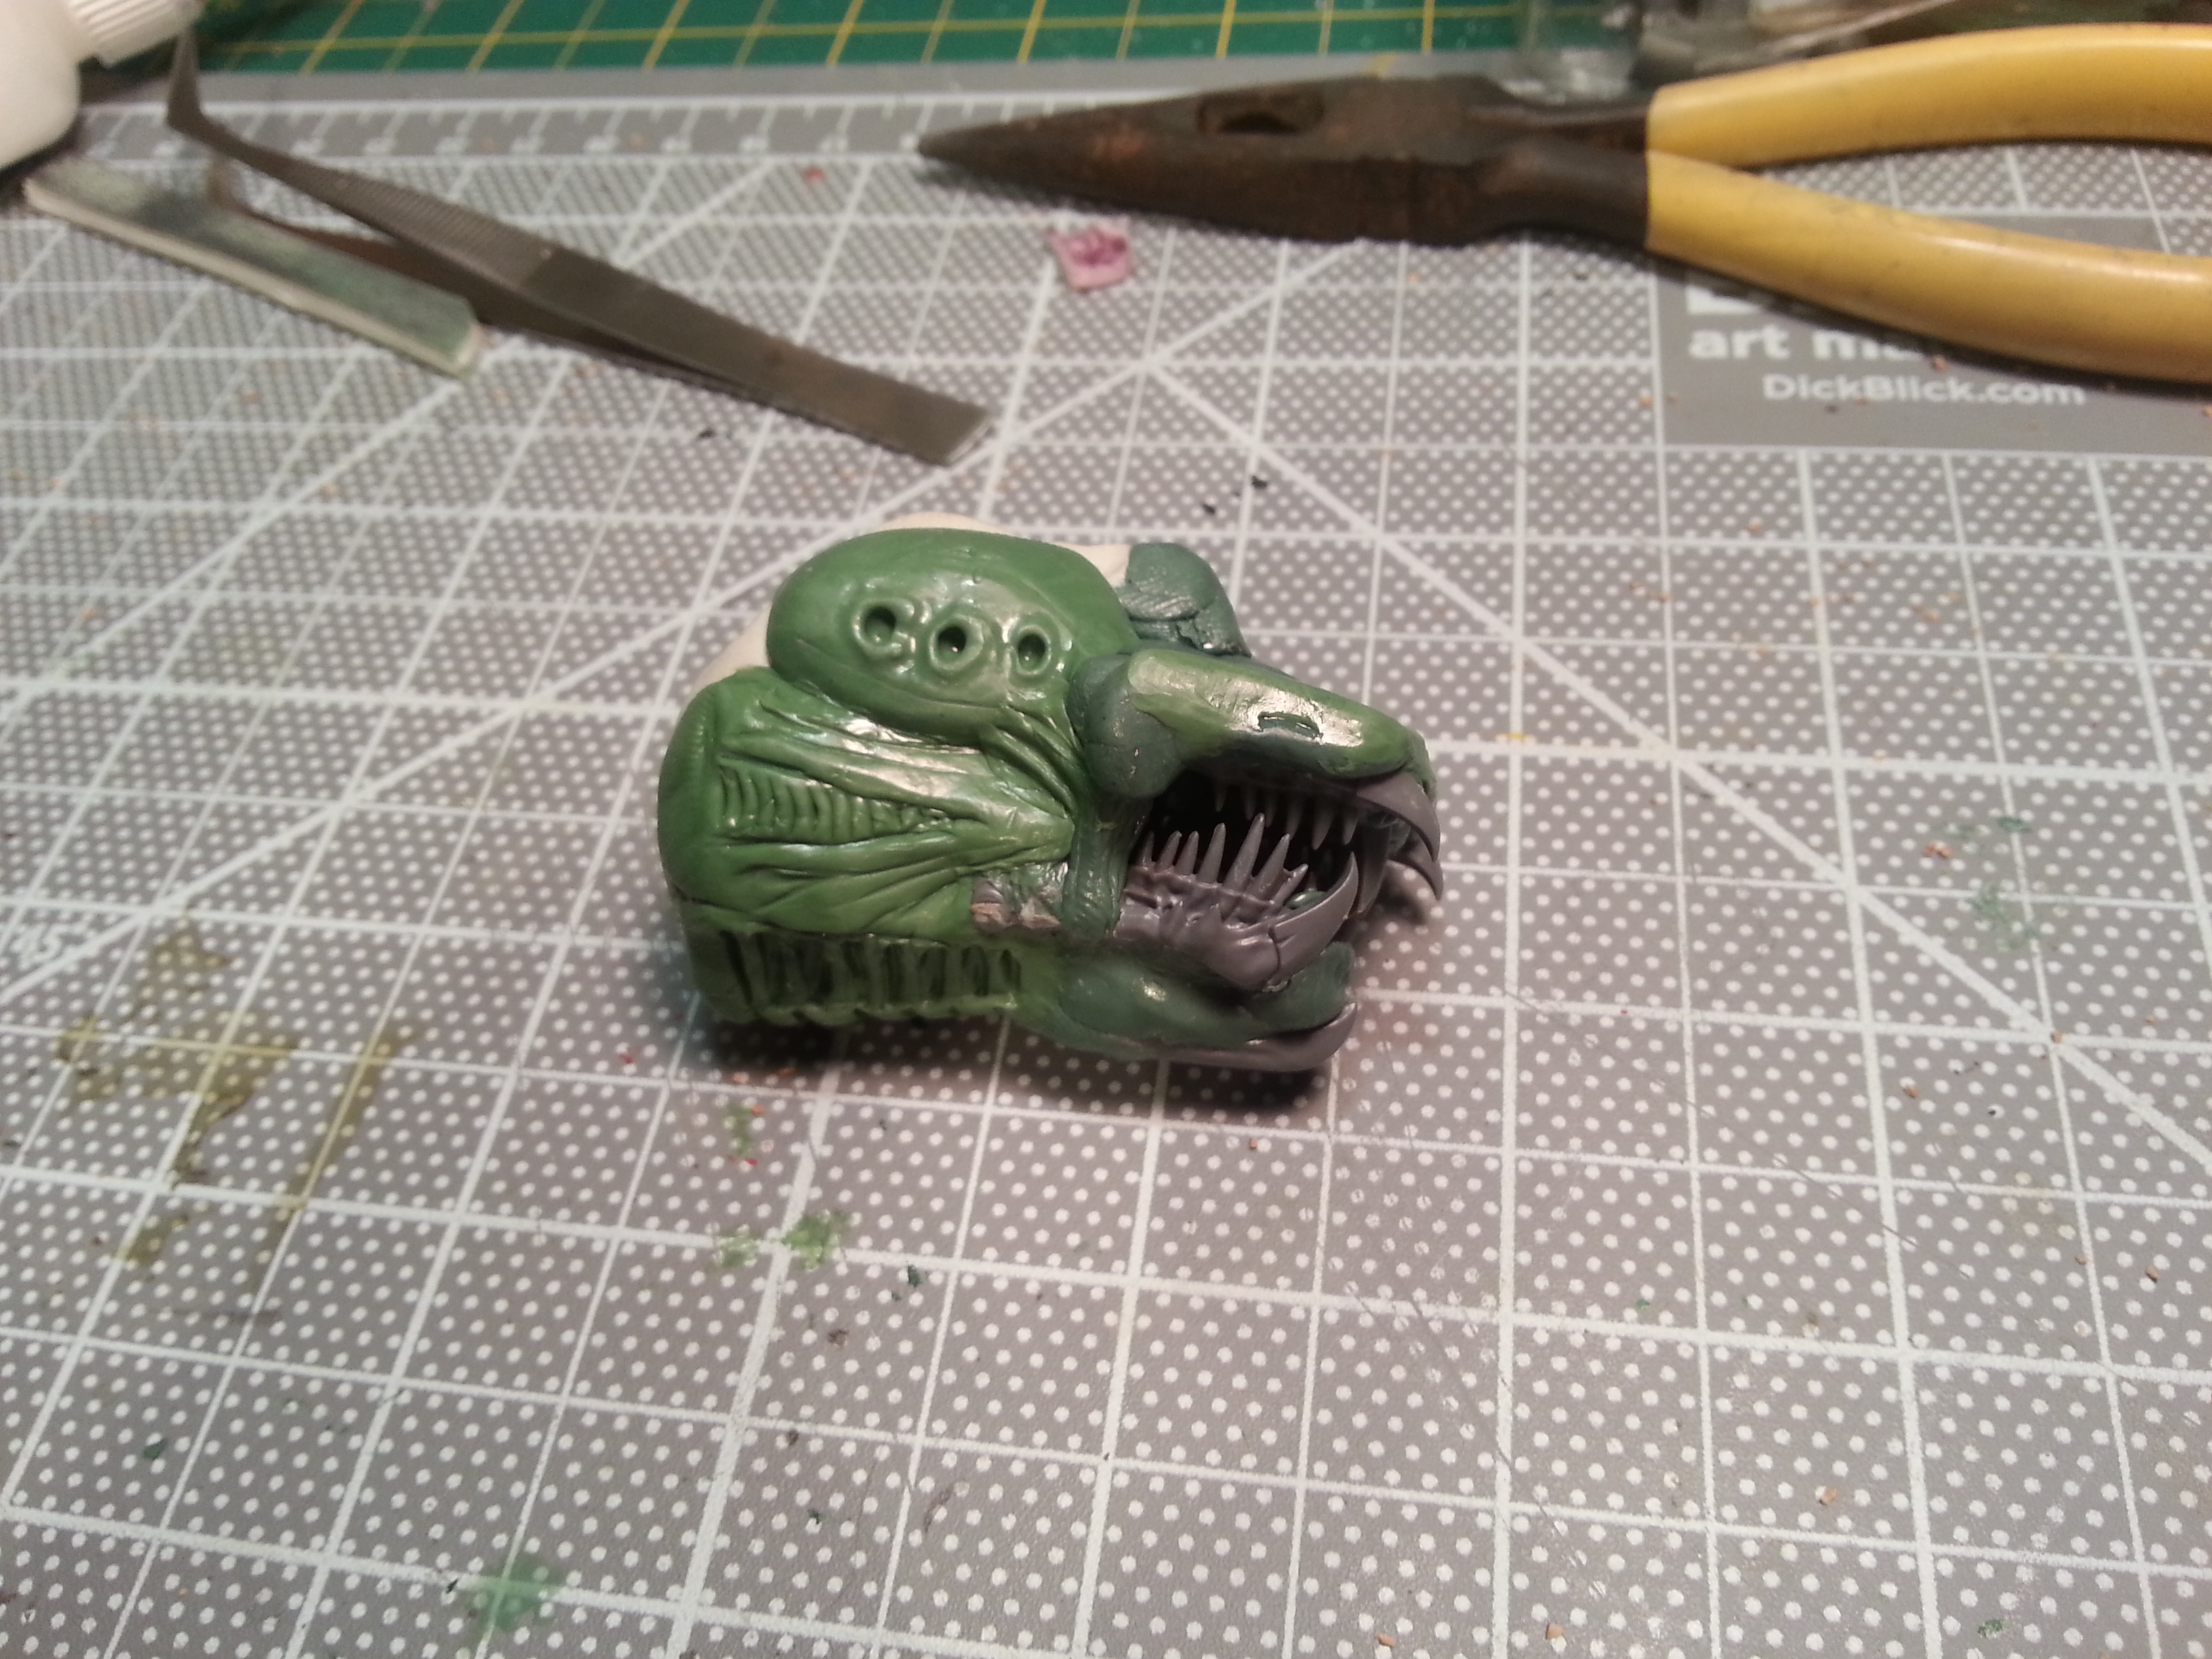
Base coat pretty much done, plus some GW Rakarth Flesh/Seraphim Sepia/Rakarth/Pallid Wych Flesh/Nurgle's Rot on the mouth.
A before-and-after shot, showing the difference between the skin base coat alone, and the layers: GW's Screaming Skull as the main layer, then a 1-to-2 mix of Screaming Skull and Rakarth Flesh for the highlights.
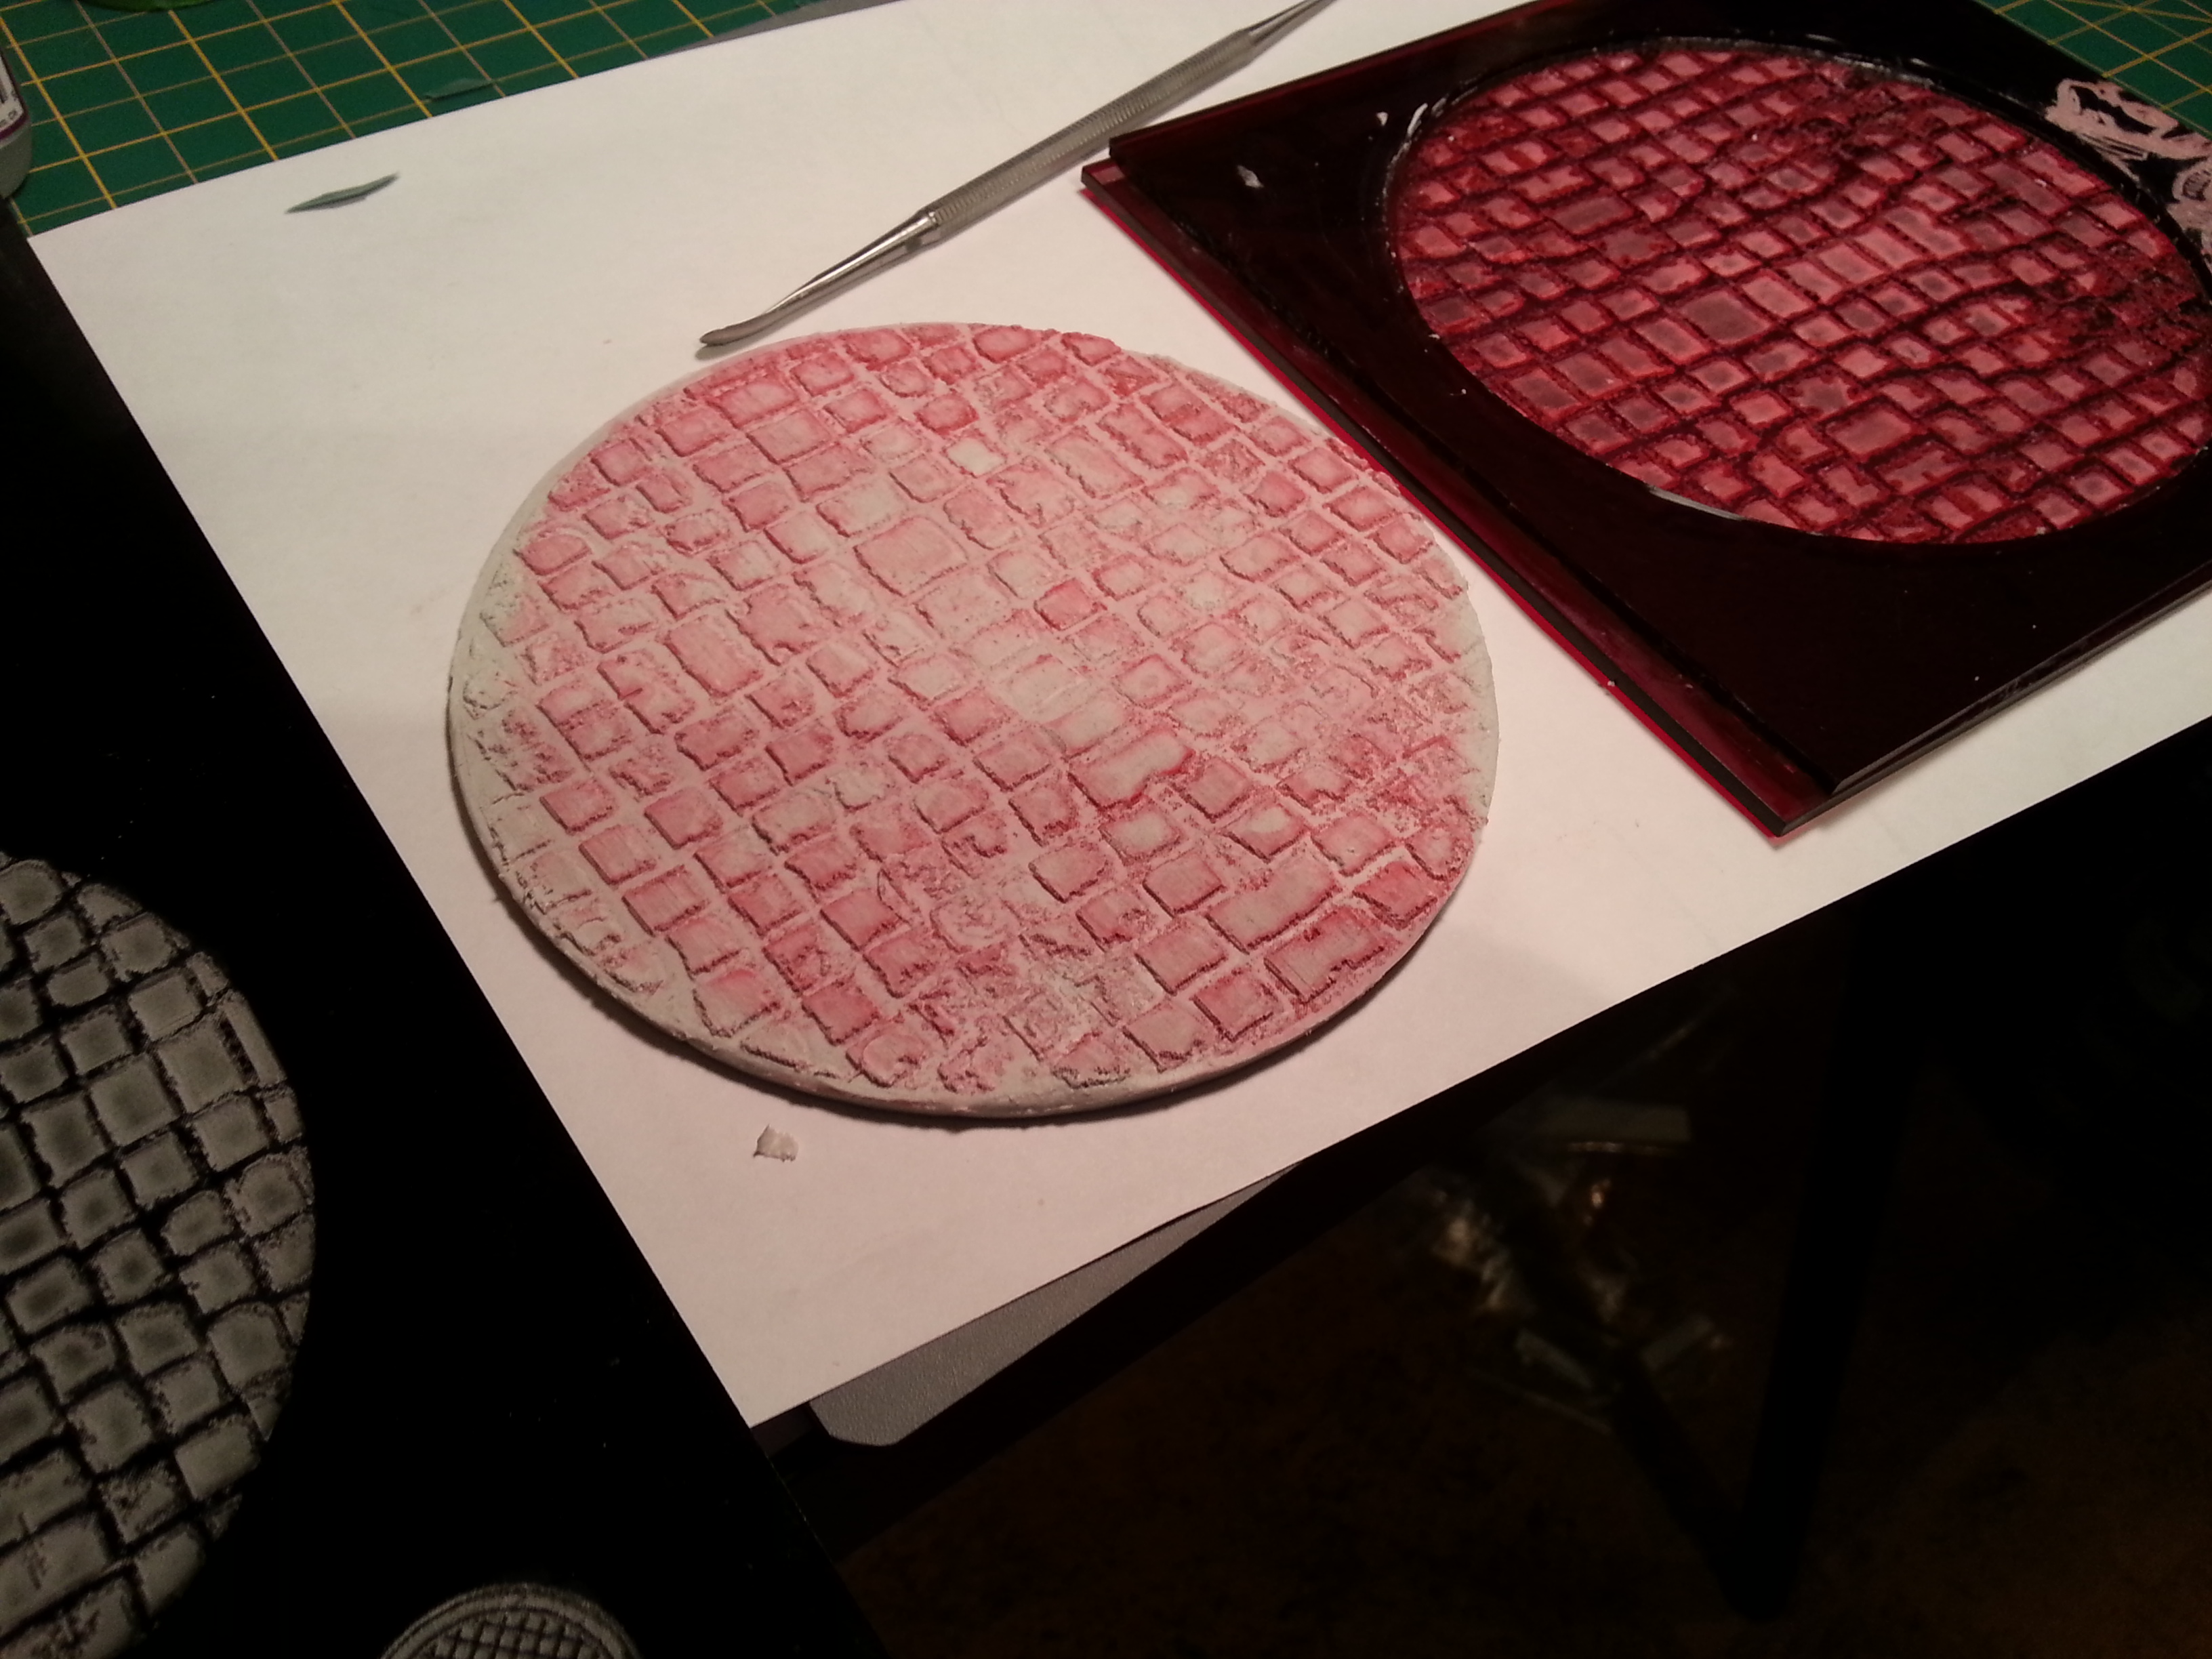
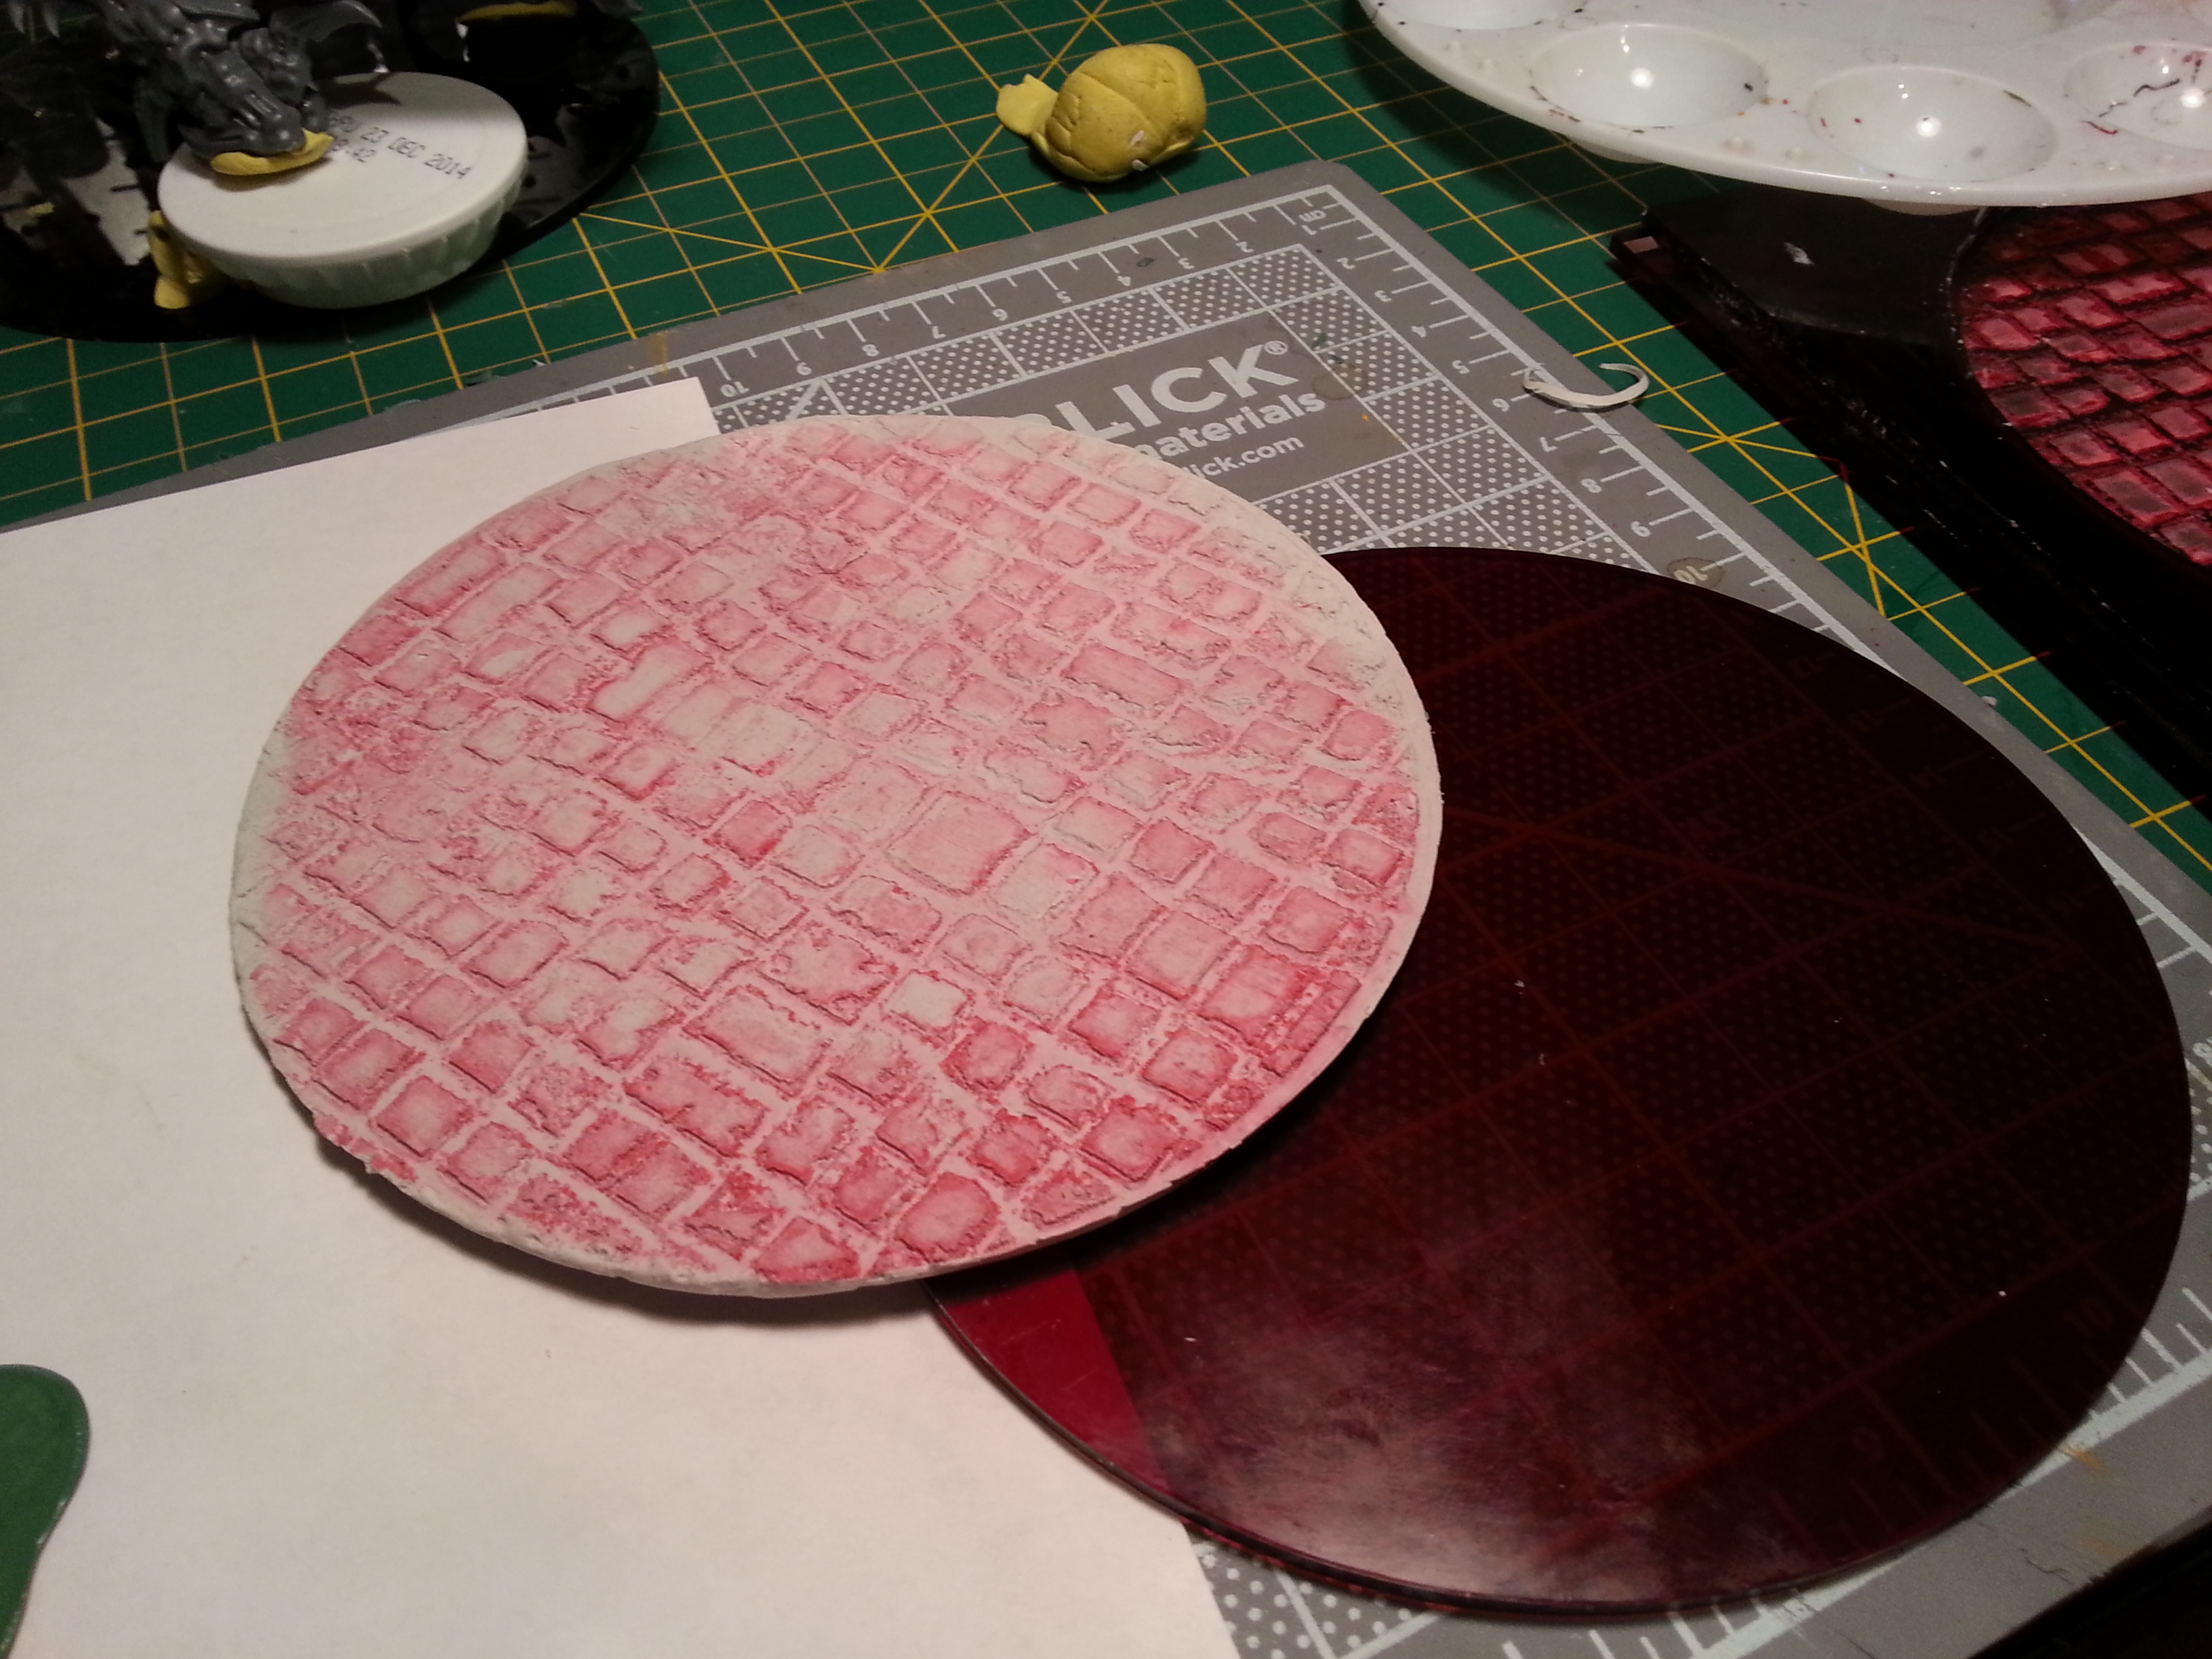
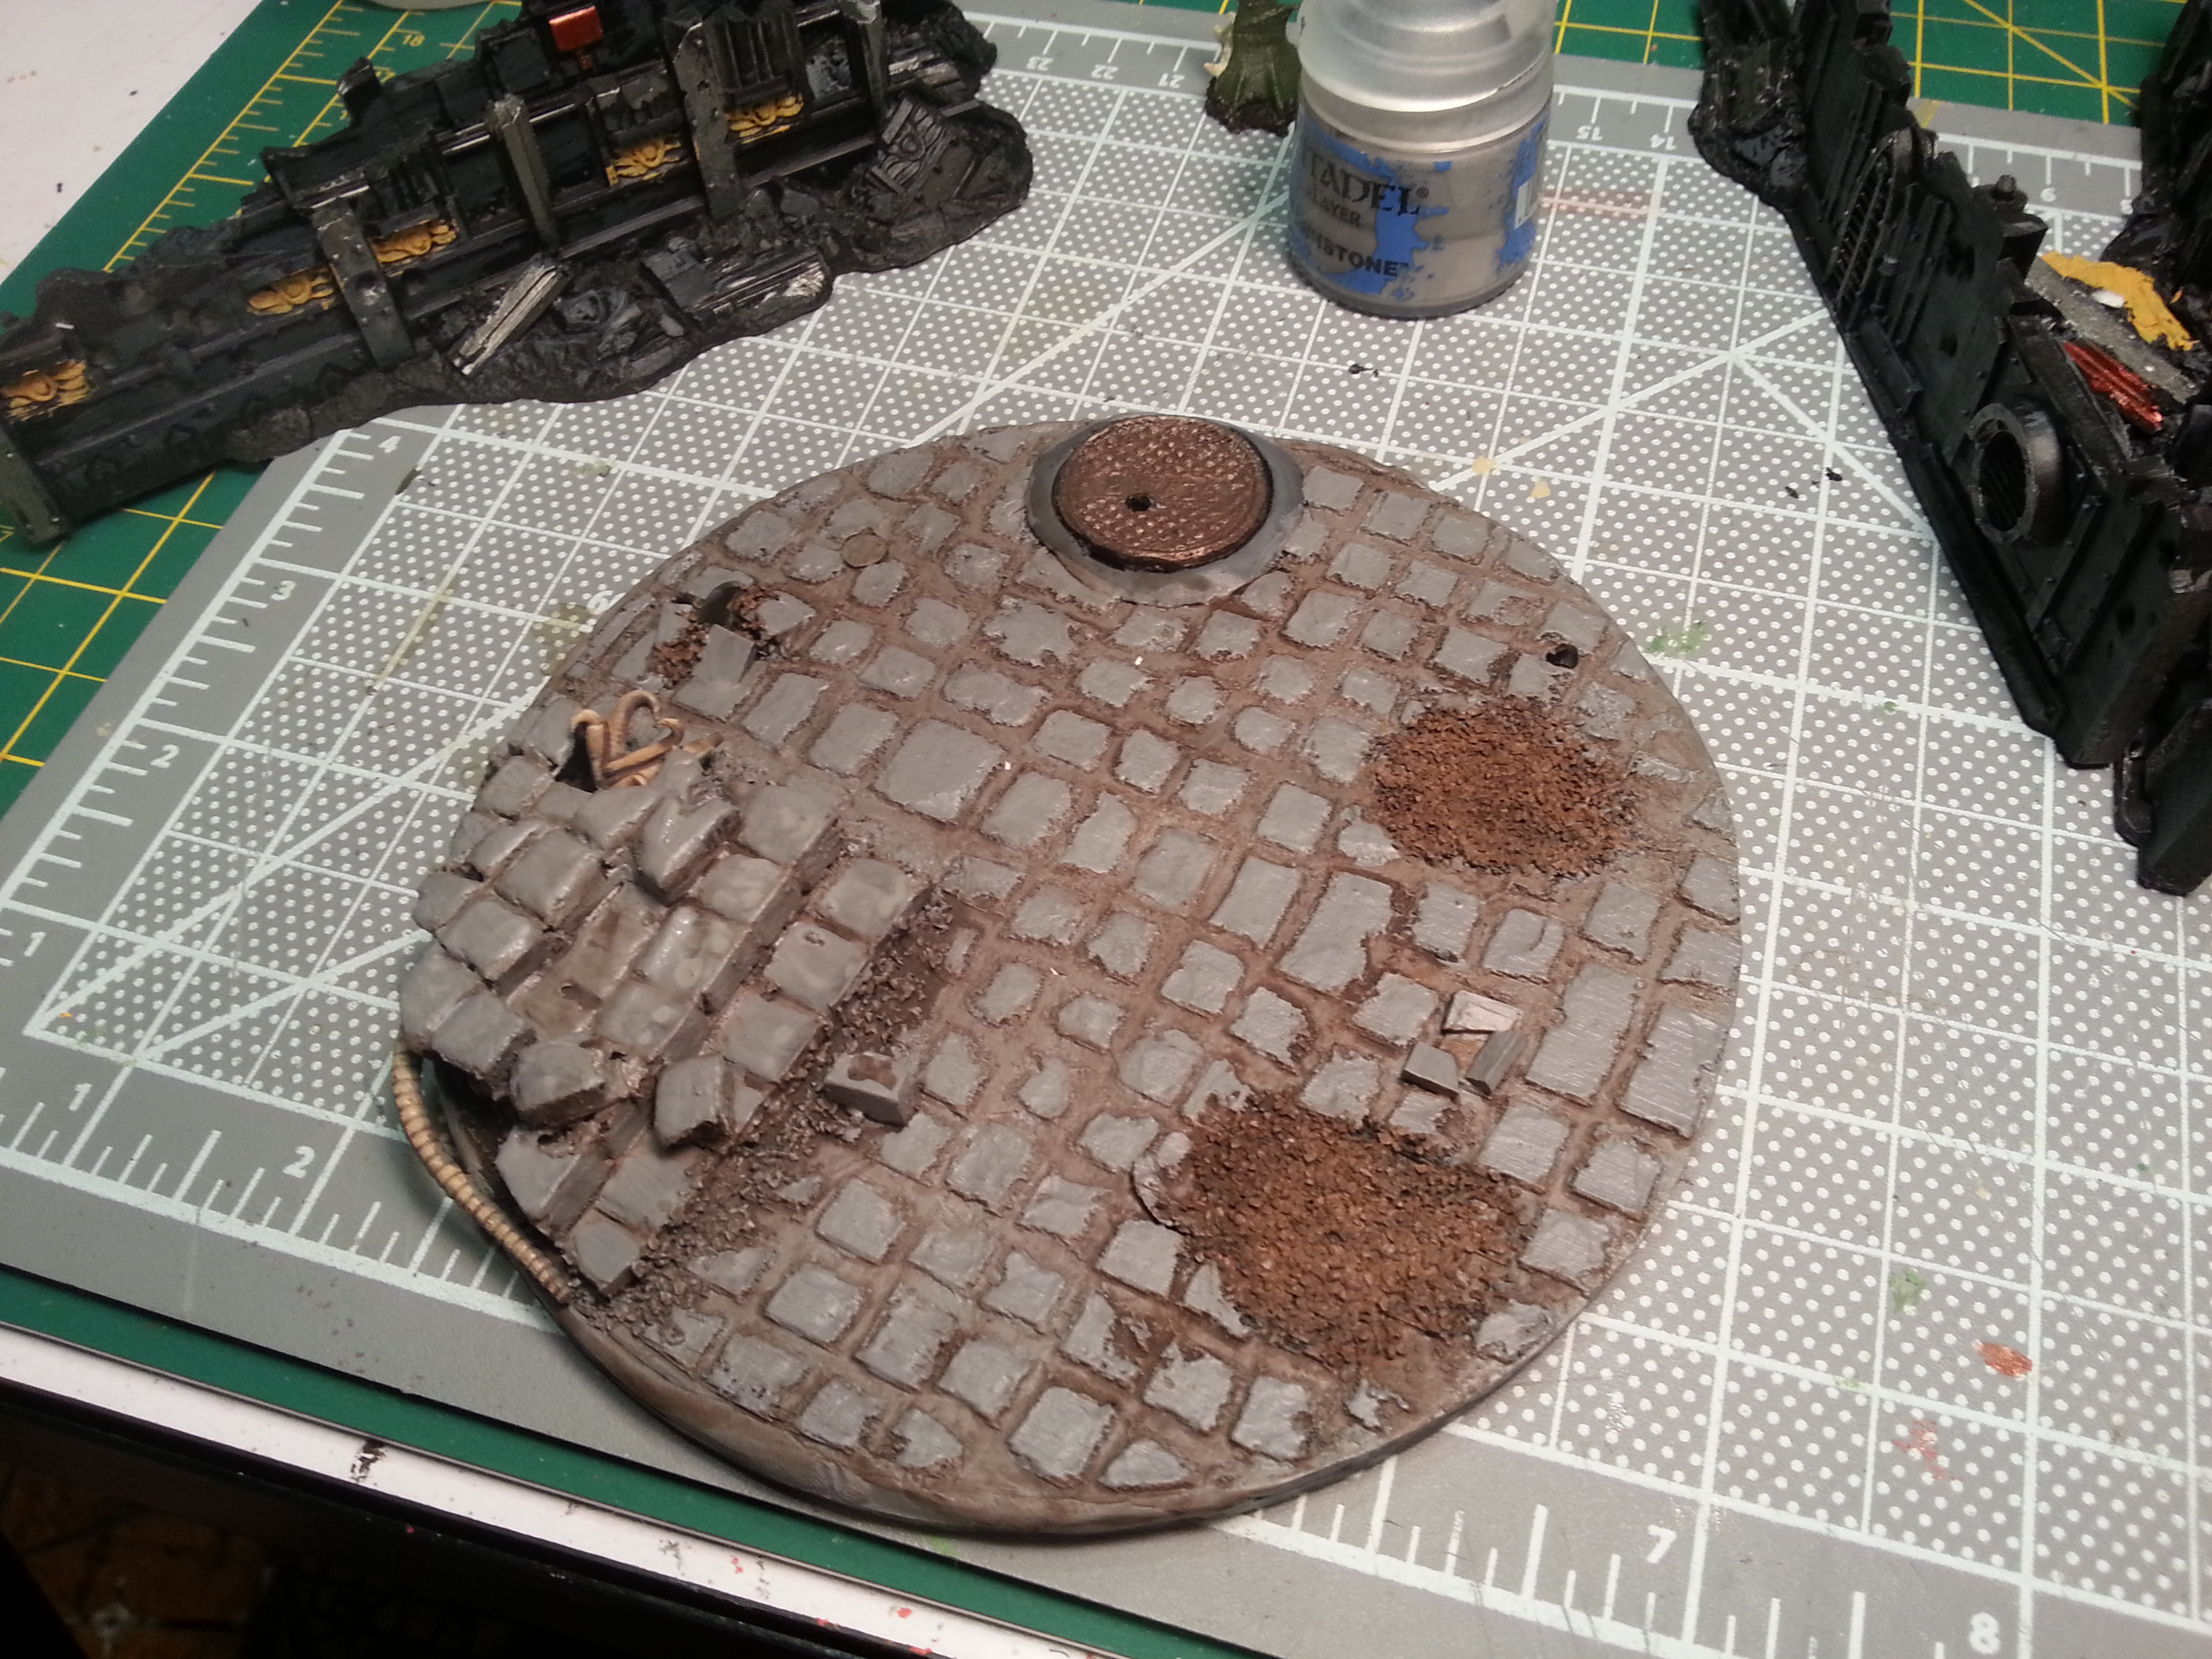
The base, in progress. Base coat of GW's Dawnstone, followed by a wash of Agrax Earthshade, and (as can be seen in the upper right quadrant) a reapplied layer of Dawnstone on the top surface of the cobblestones.
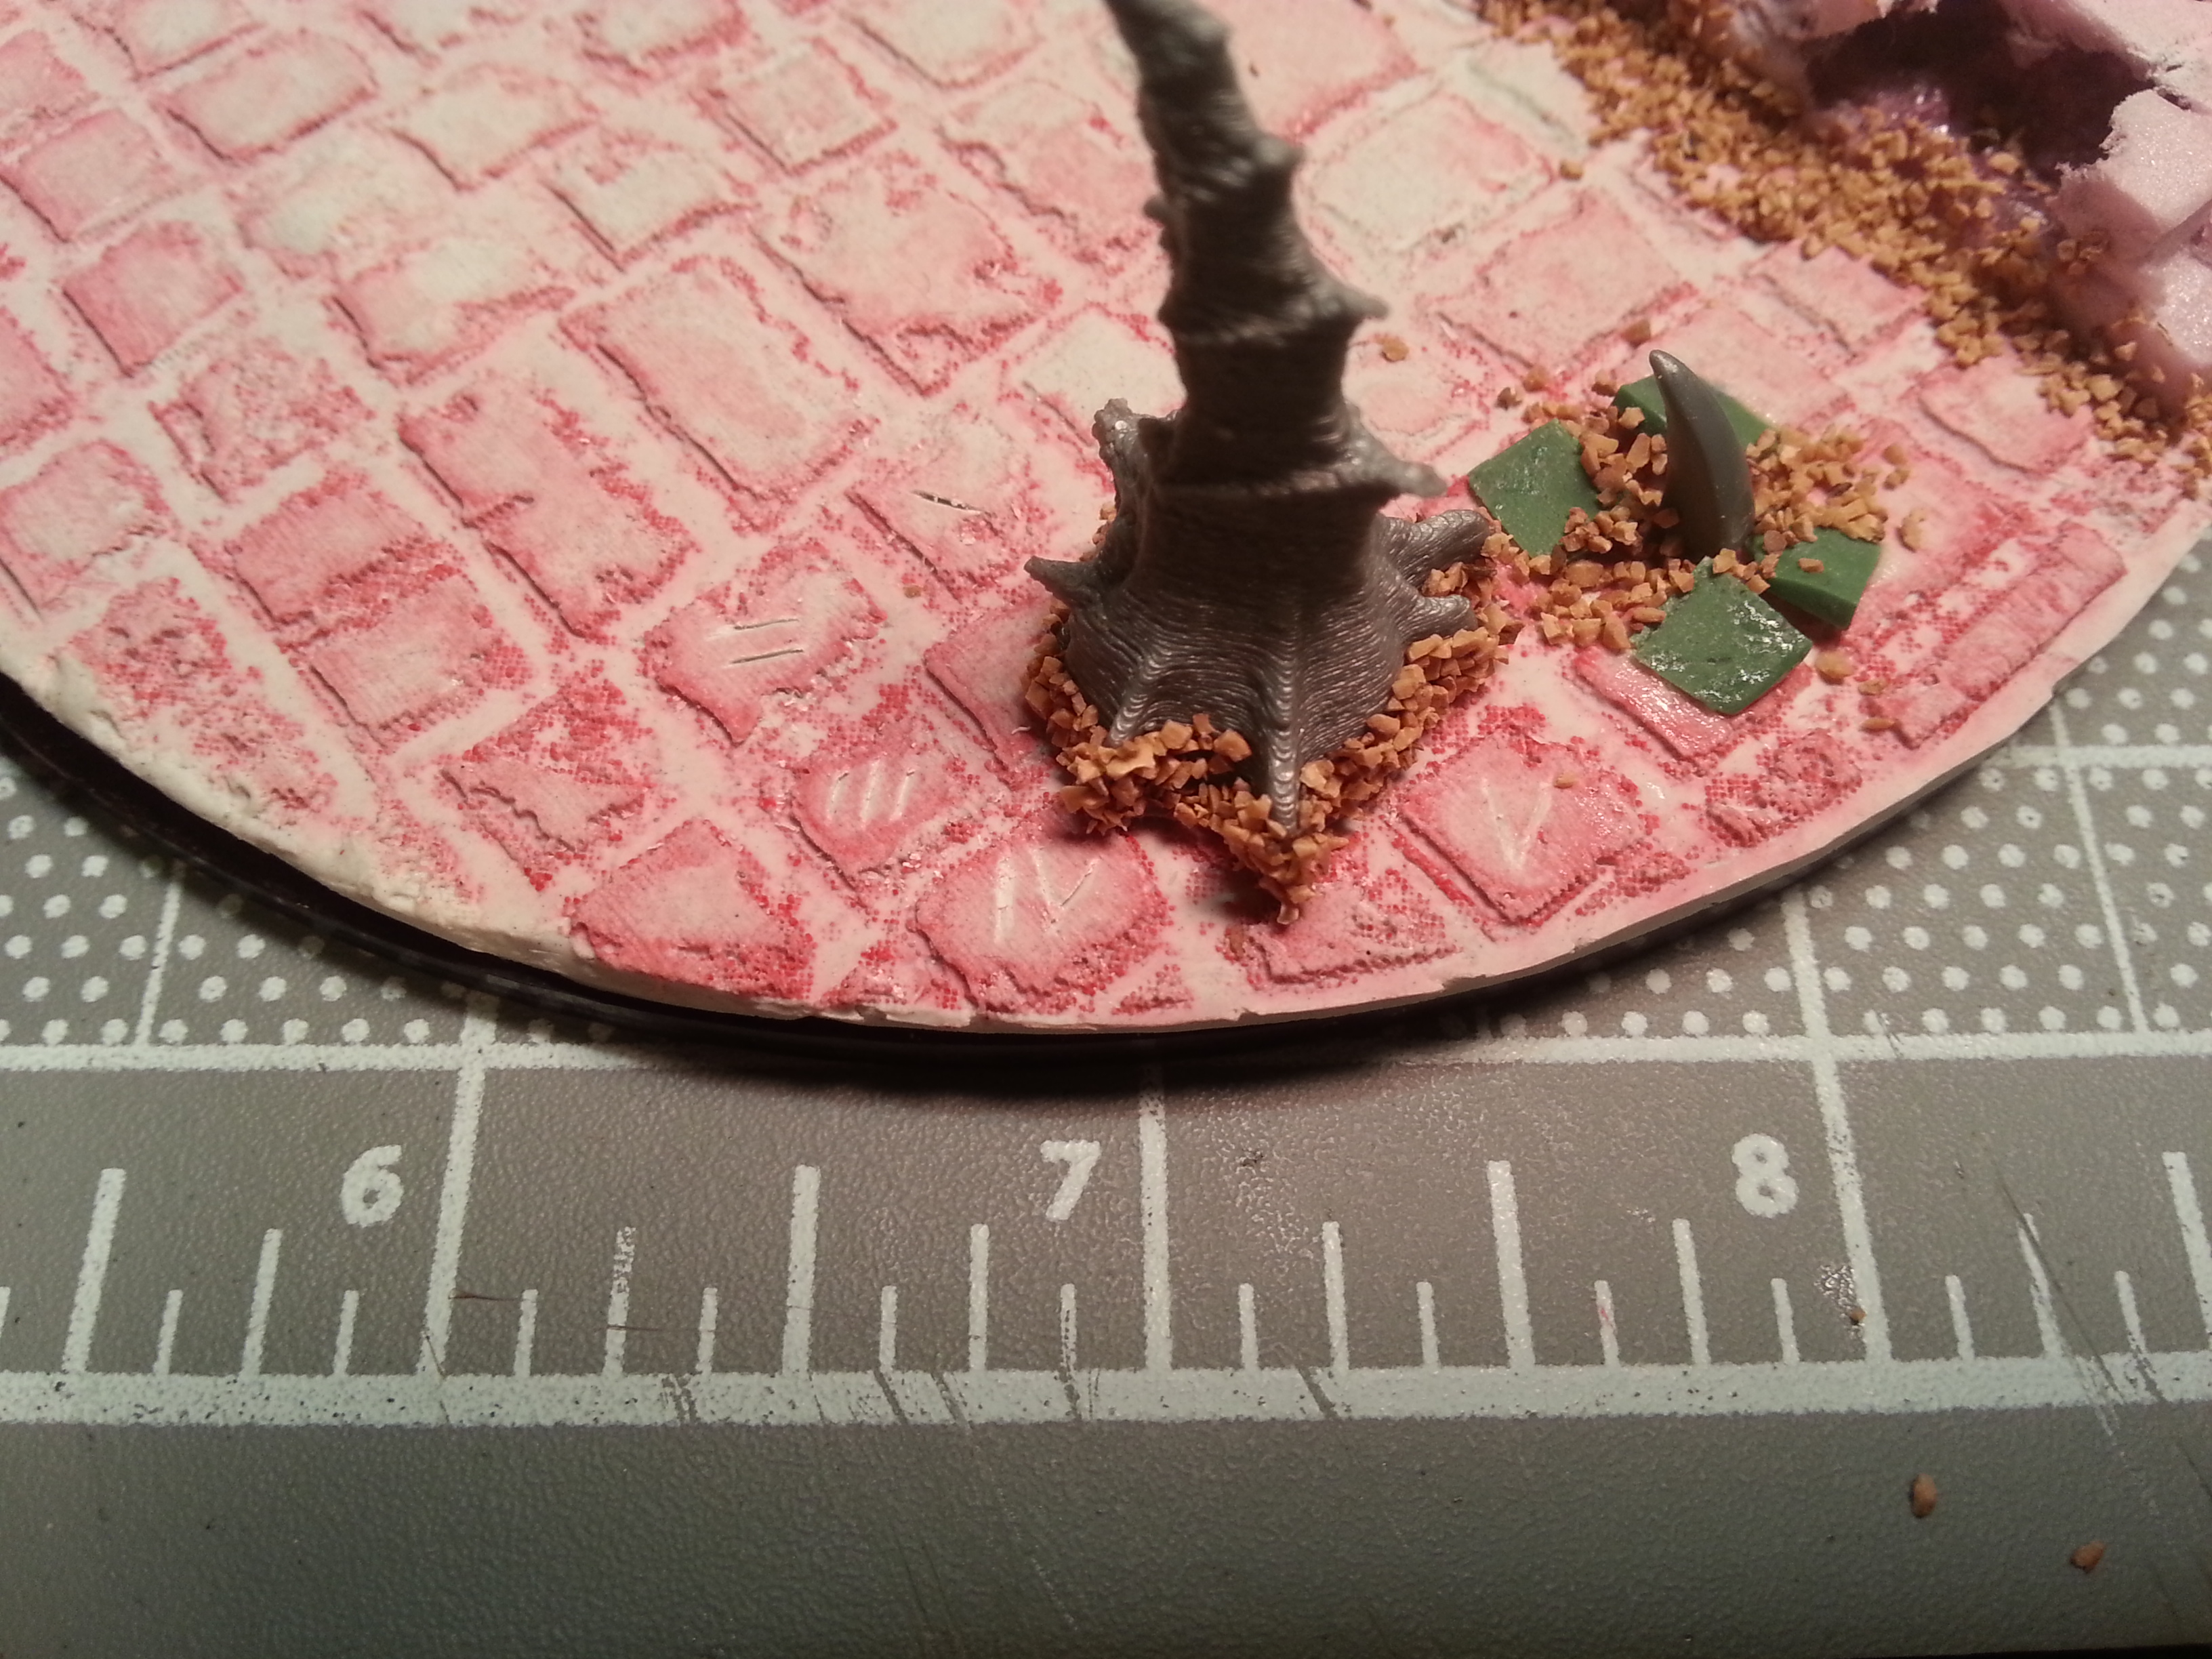
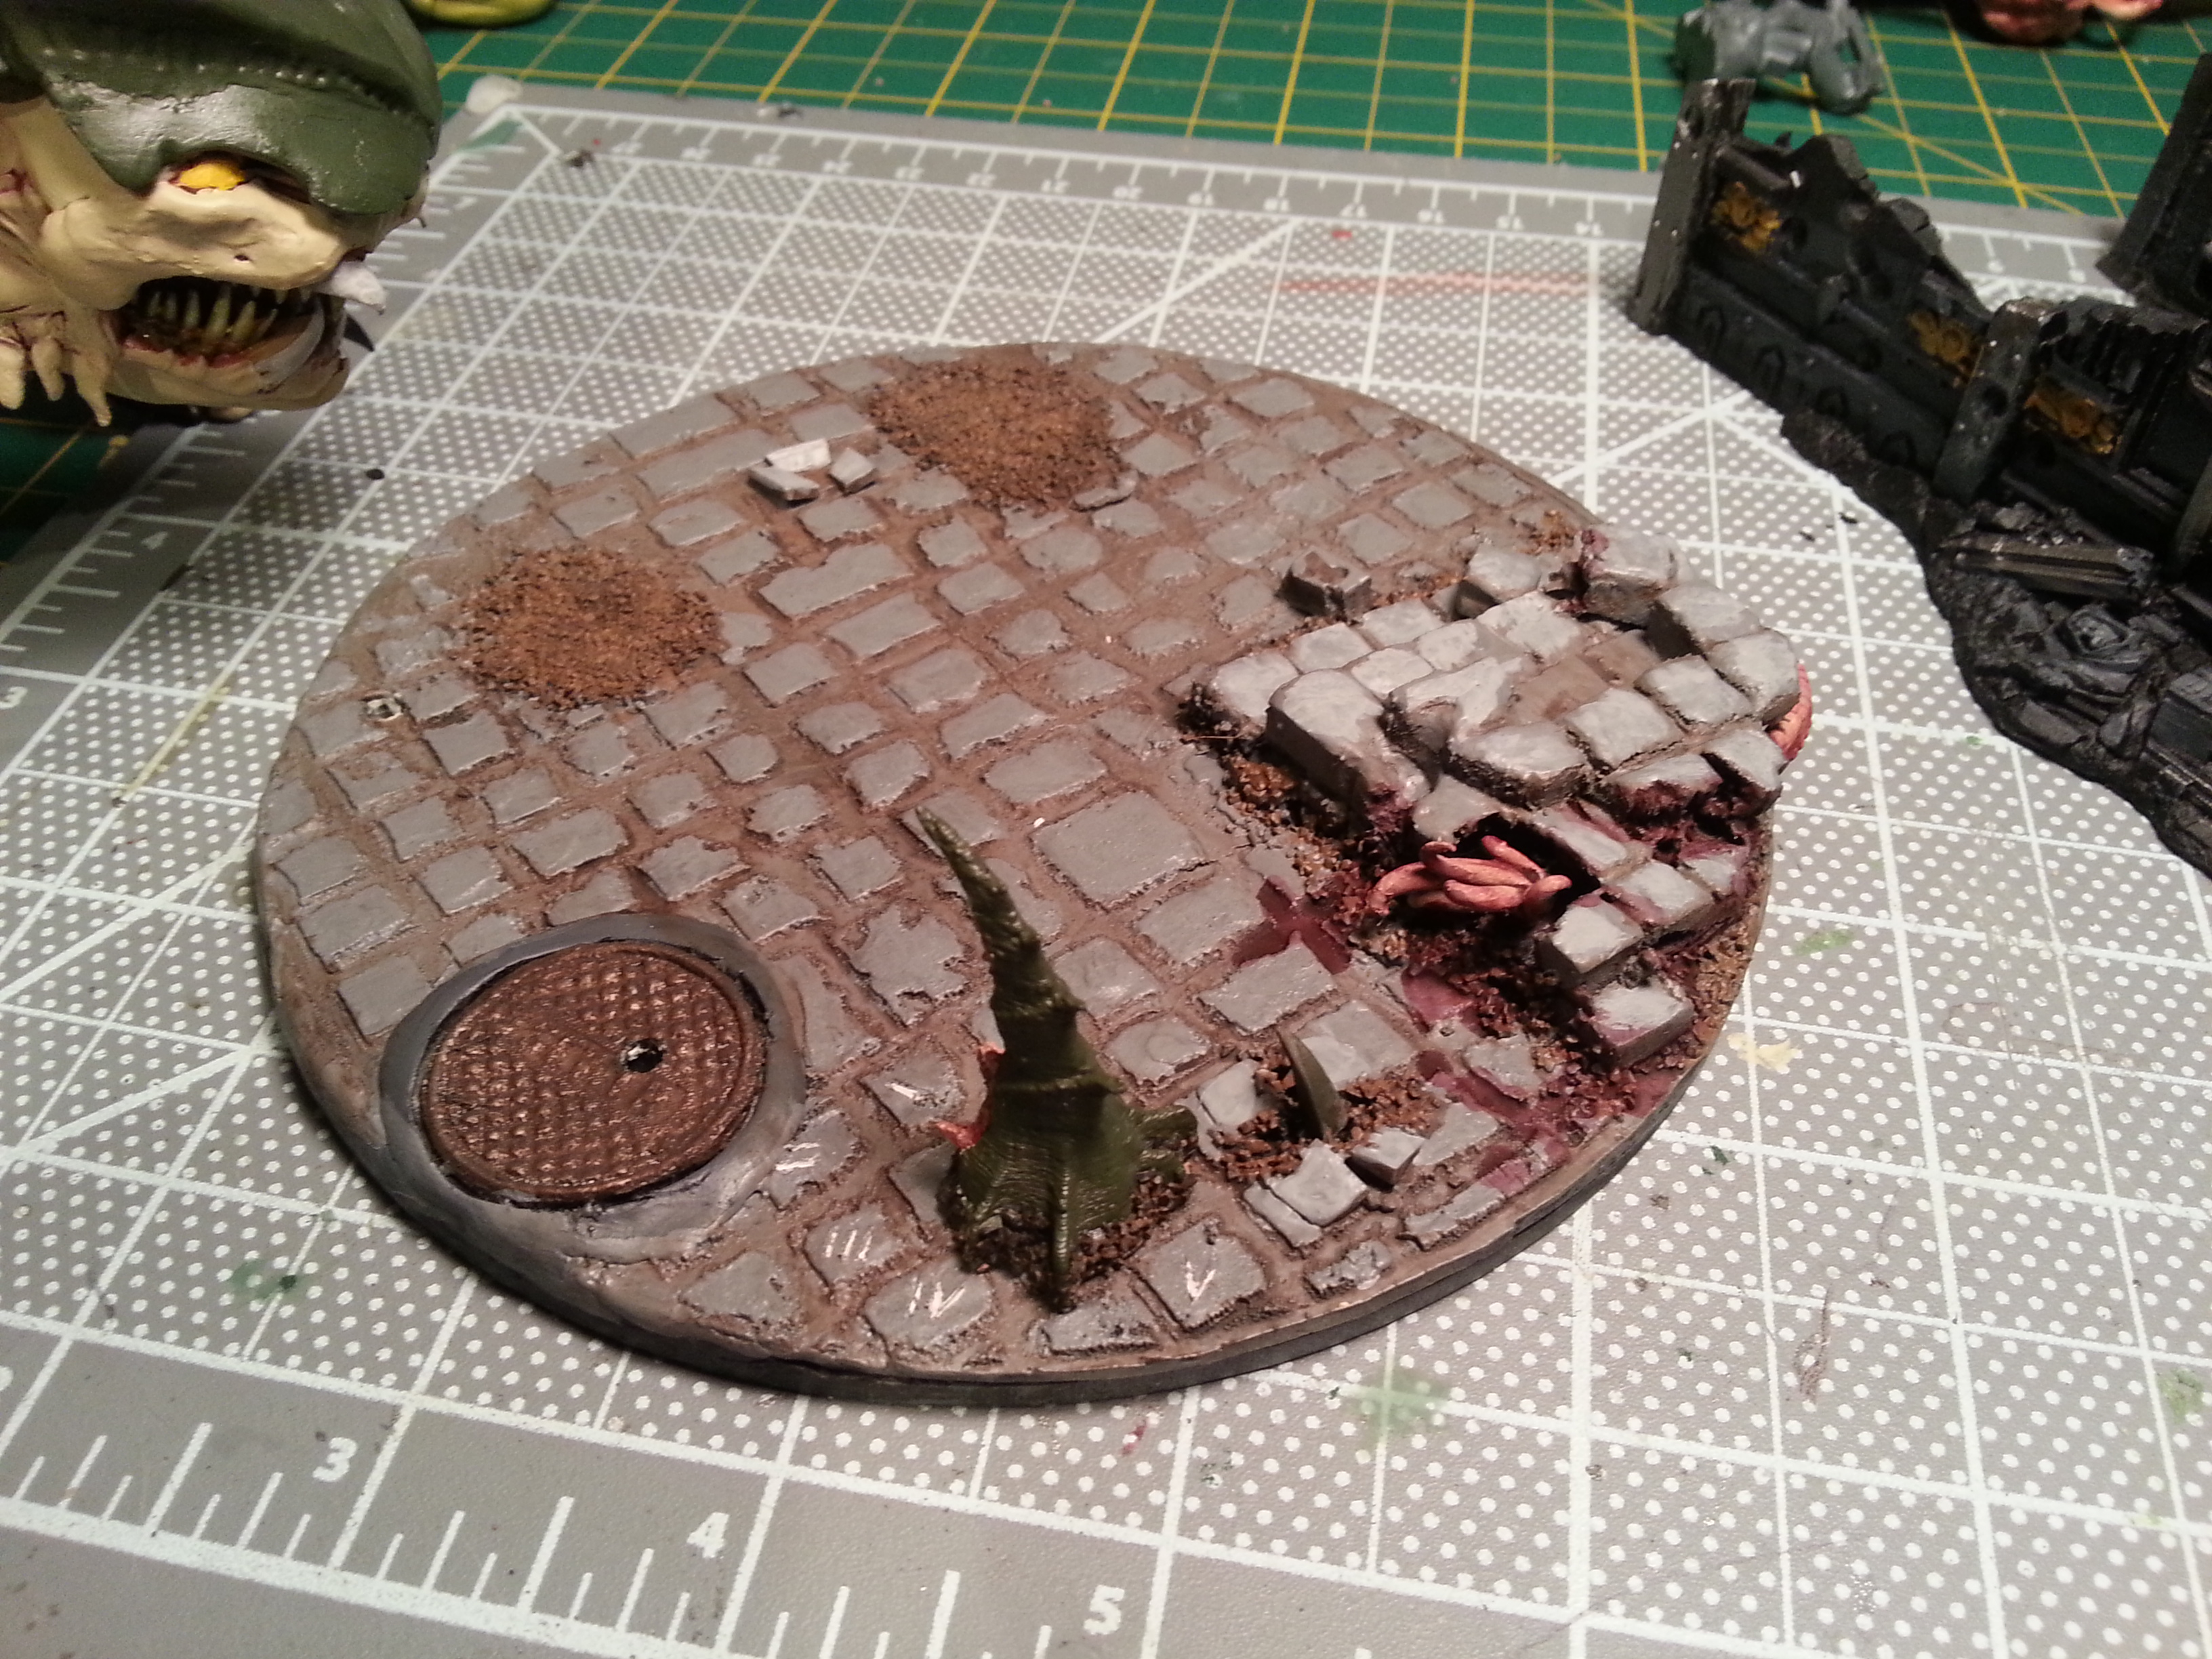
A bit of GW's Administratum Grey to highlight the dais and some of the broken stones, plus a wash of Carroburg Crimson on the melted portions of the dais. Also note the Roman numerals/wound counters scratched into the stones around the chimney.
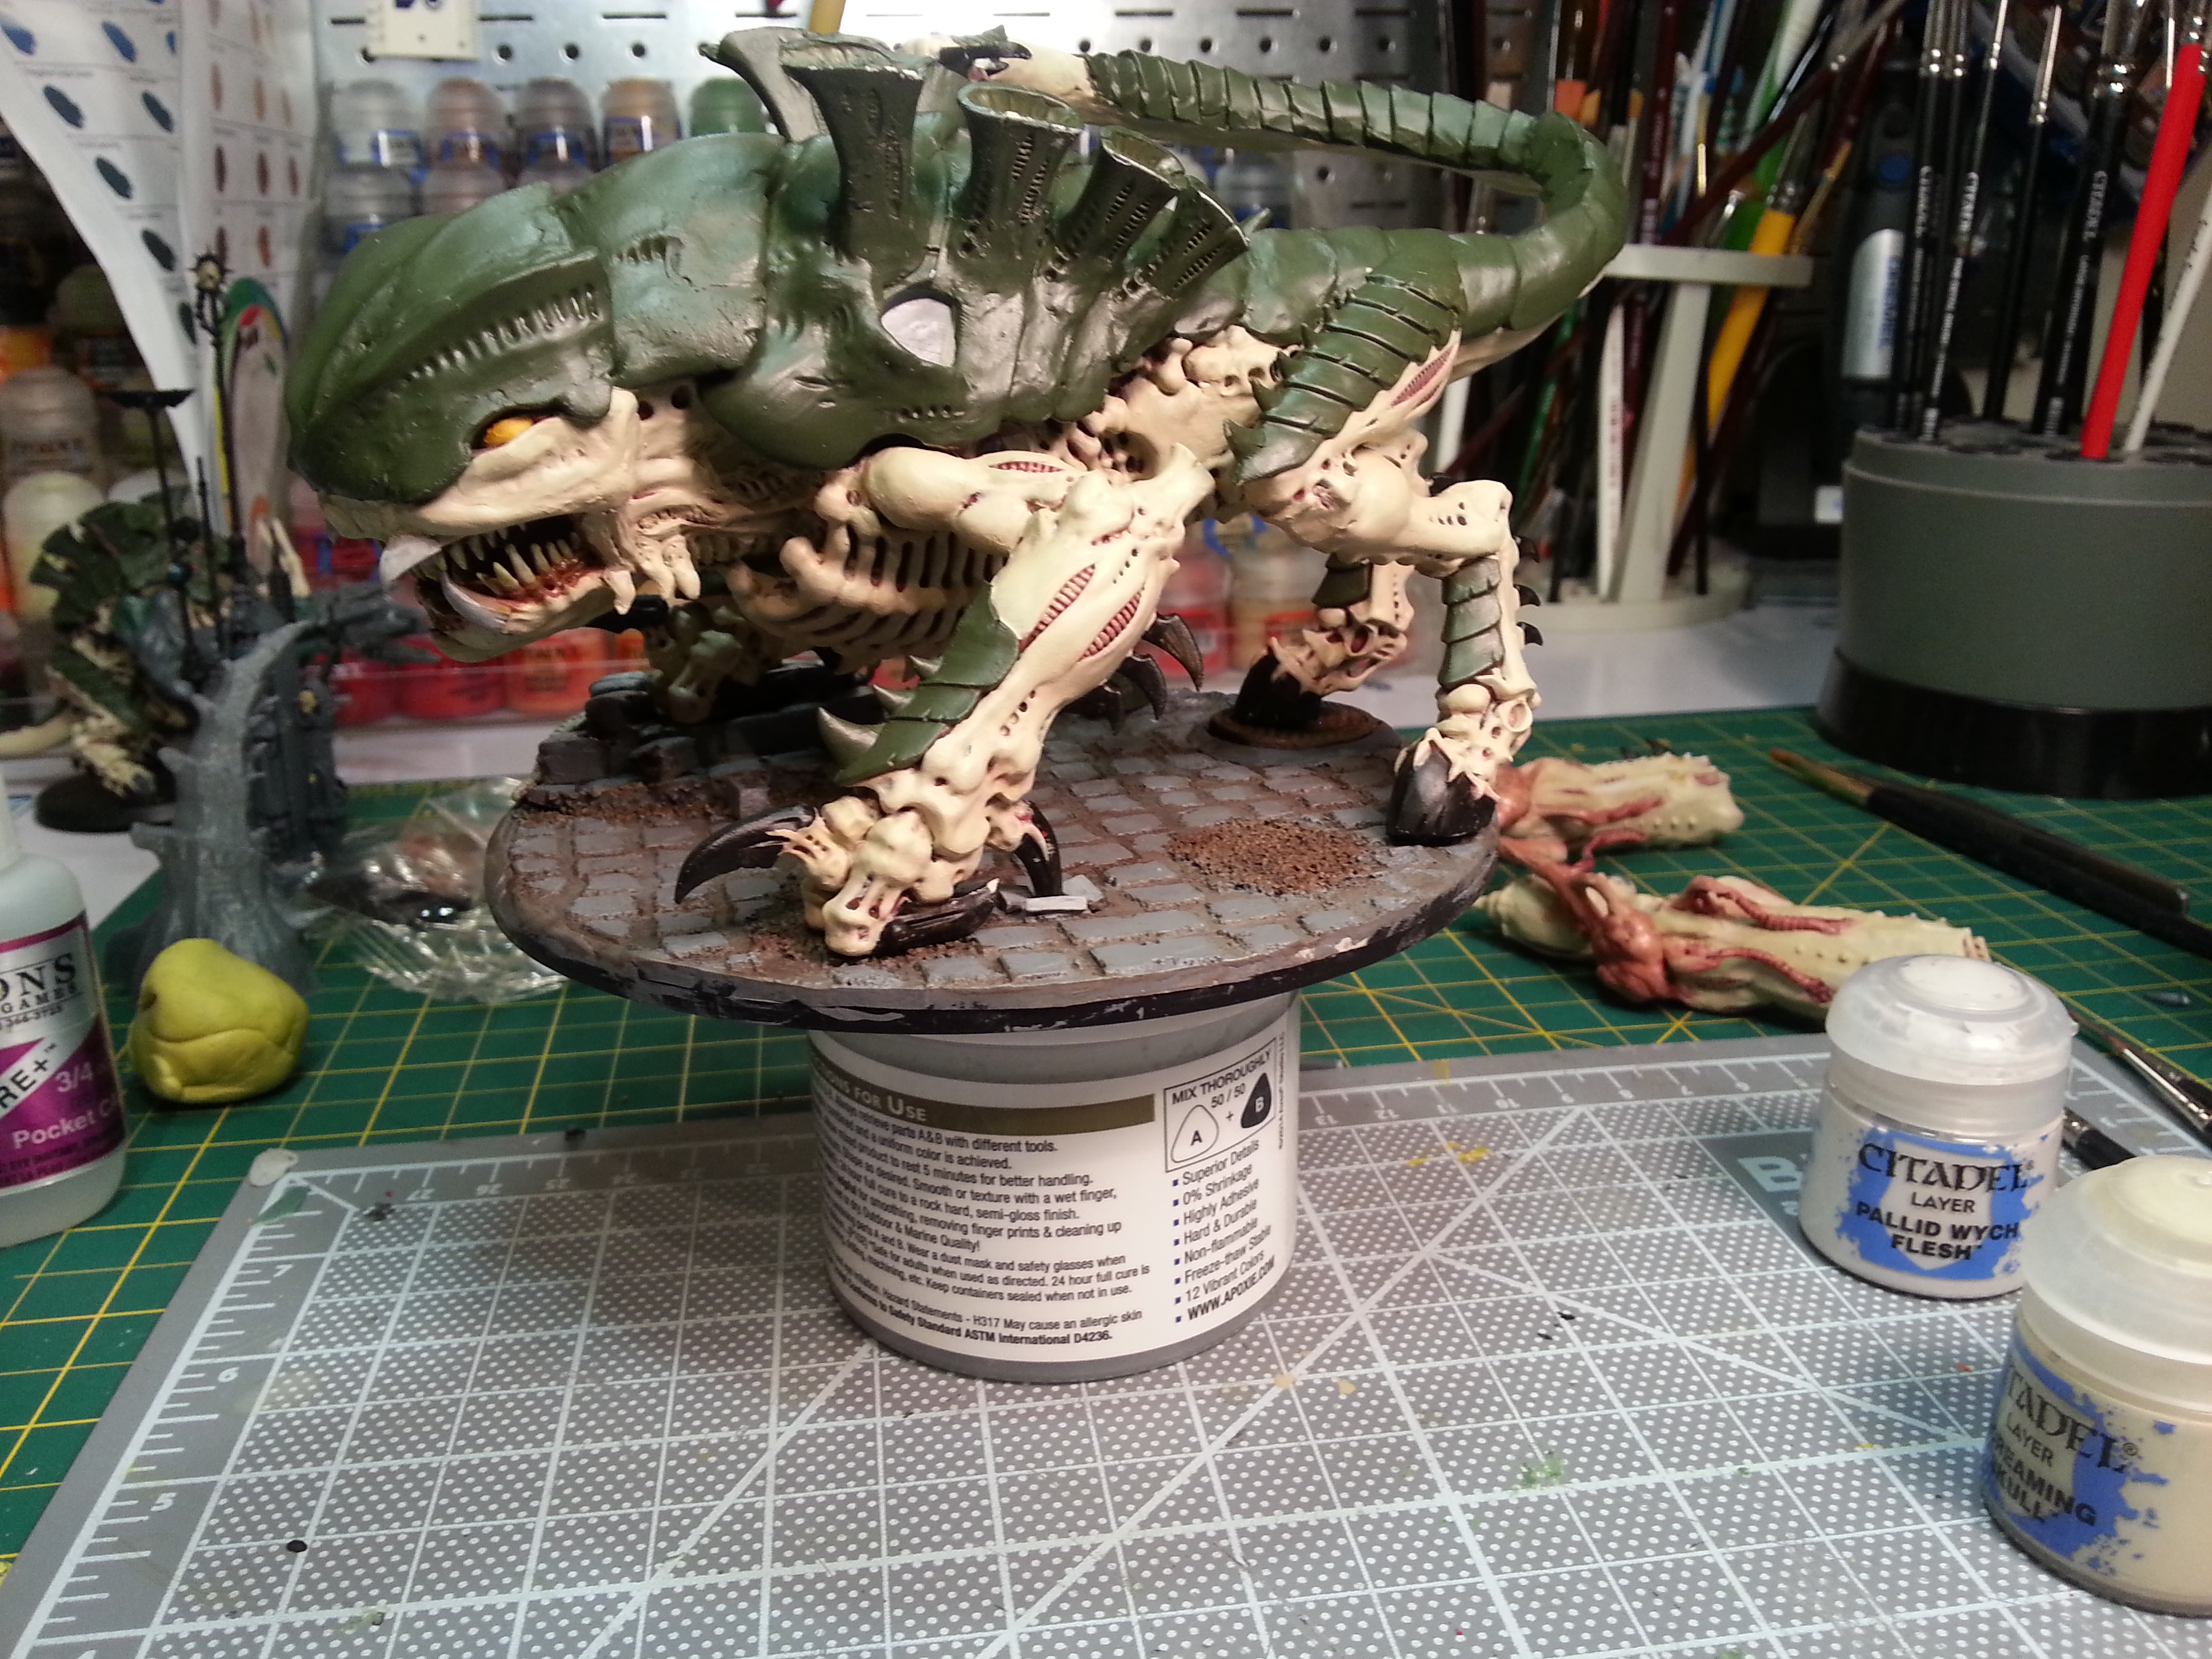
Getting there. Still need to finish highlighting the skin, and haven't even begun work on the carapace plates.
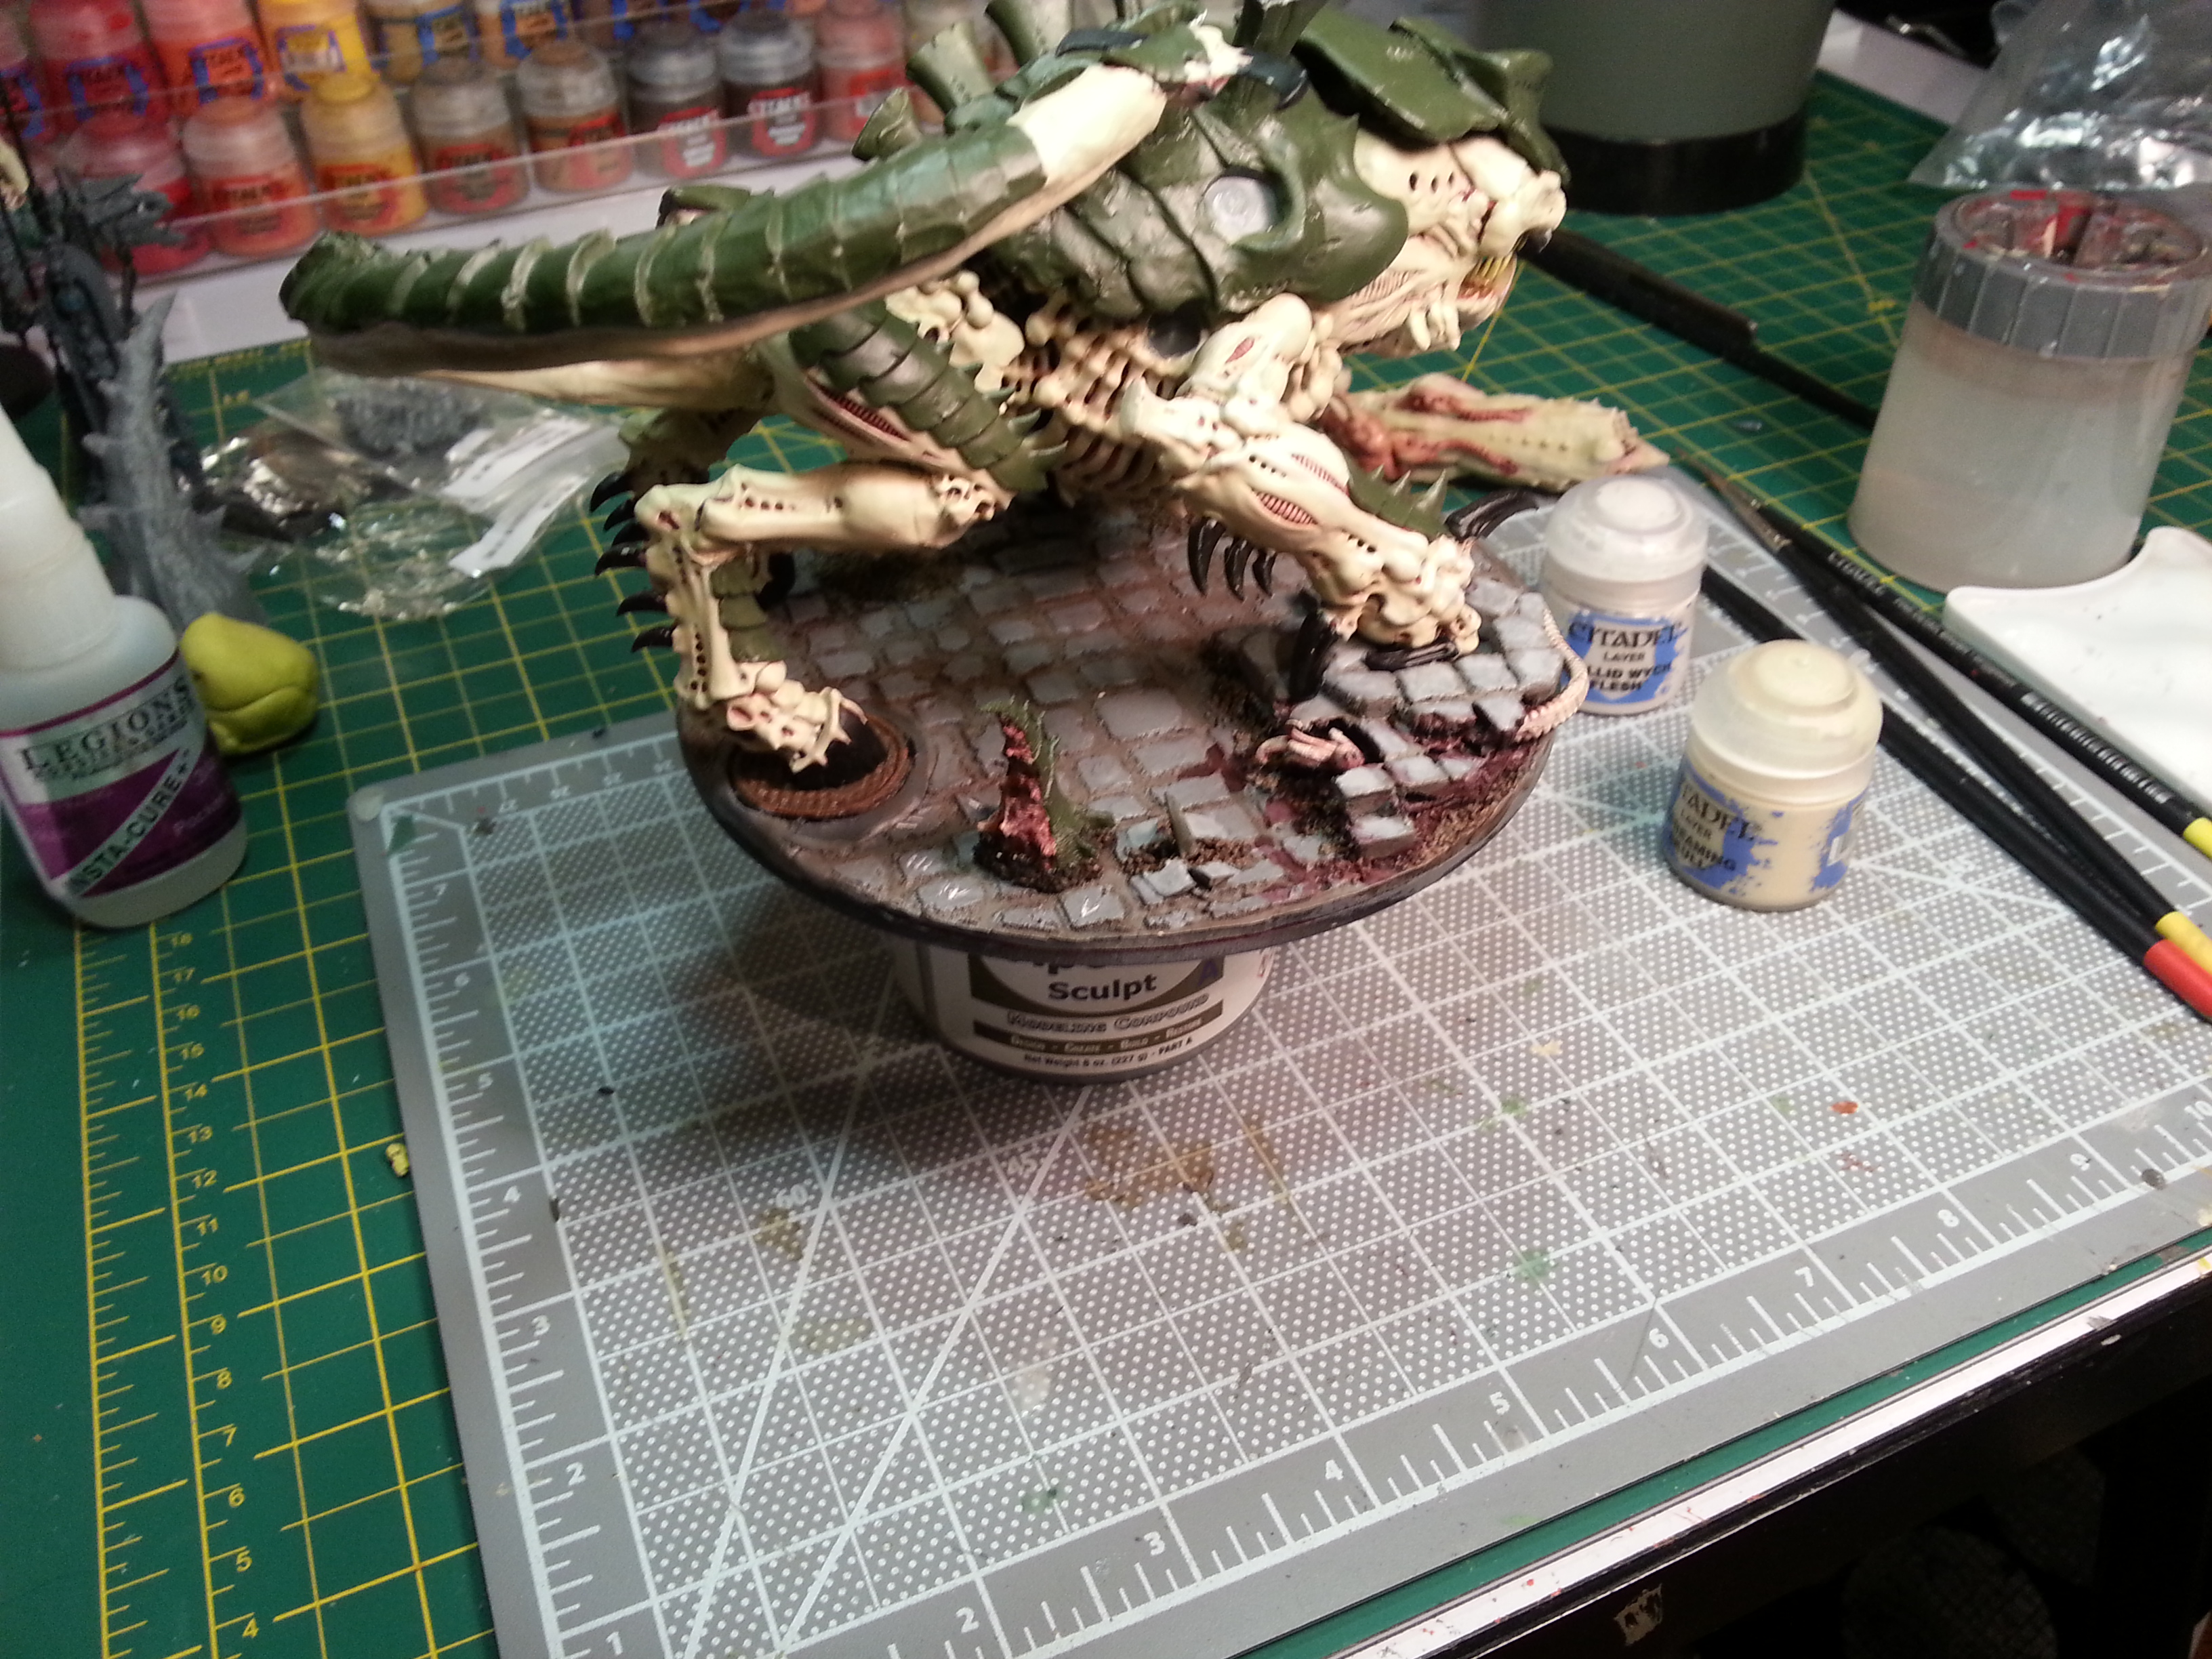
I'm pretty happy with the way the base is coming out, although I wish I'd smoothed and finished the edges BEFORE the rest of the work.
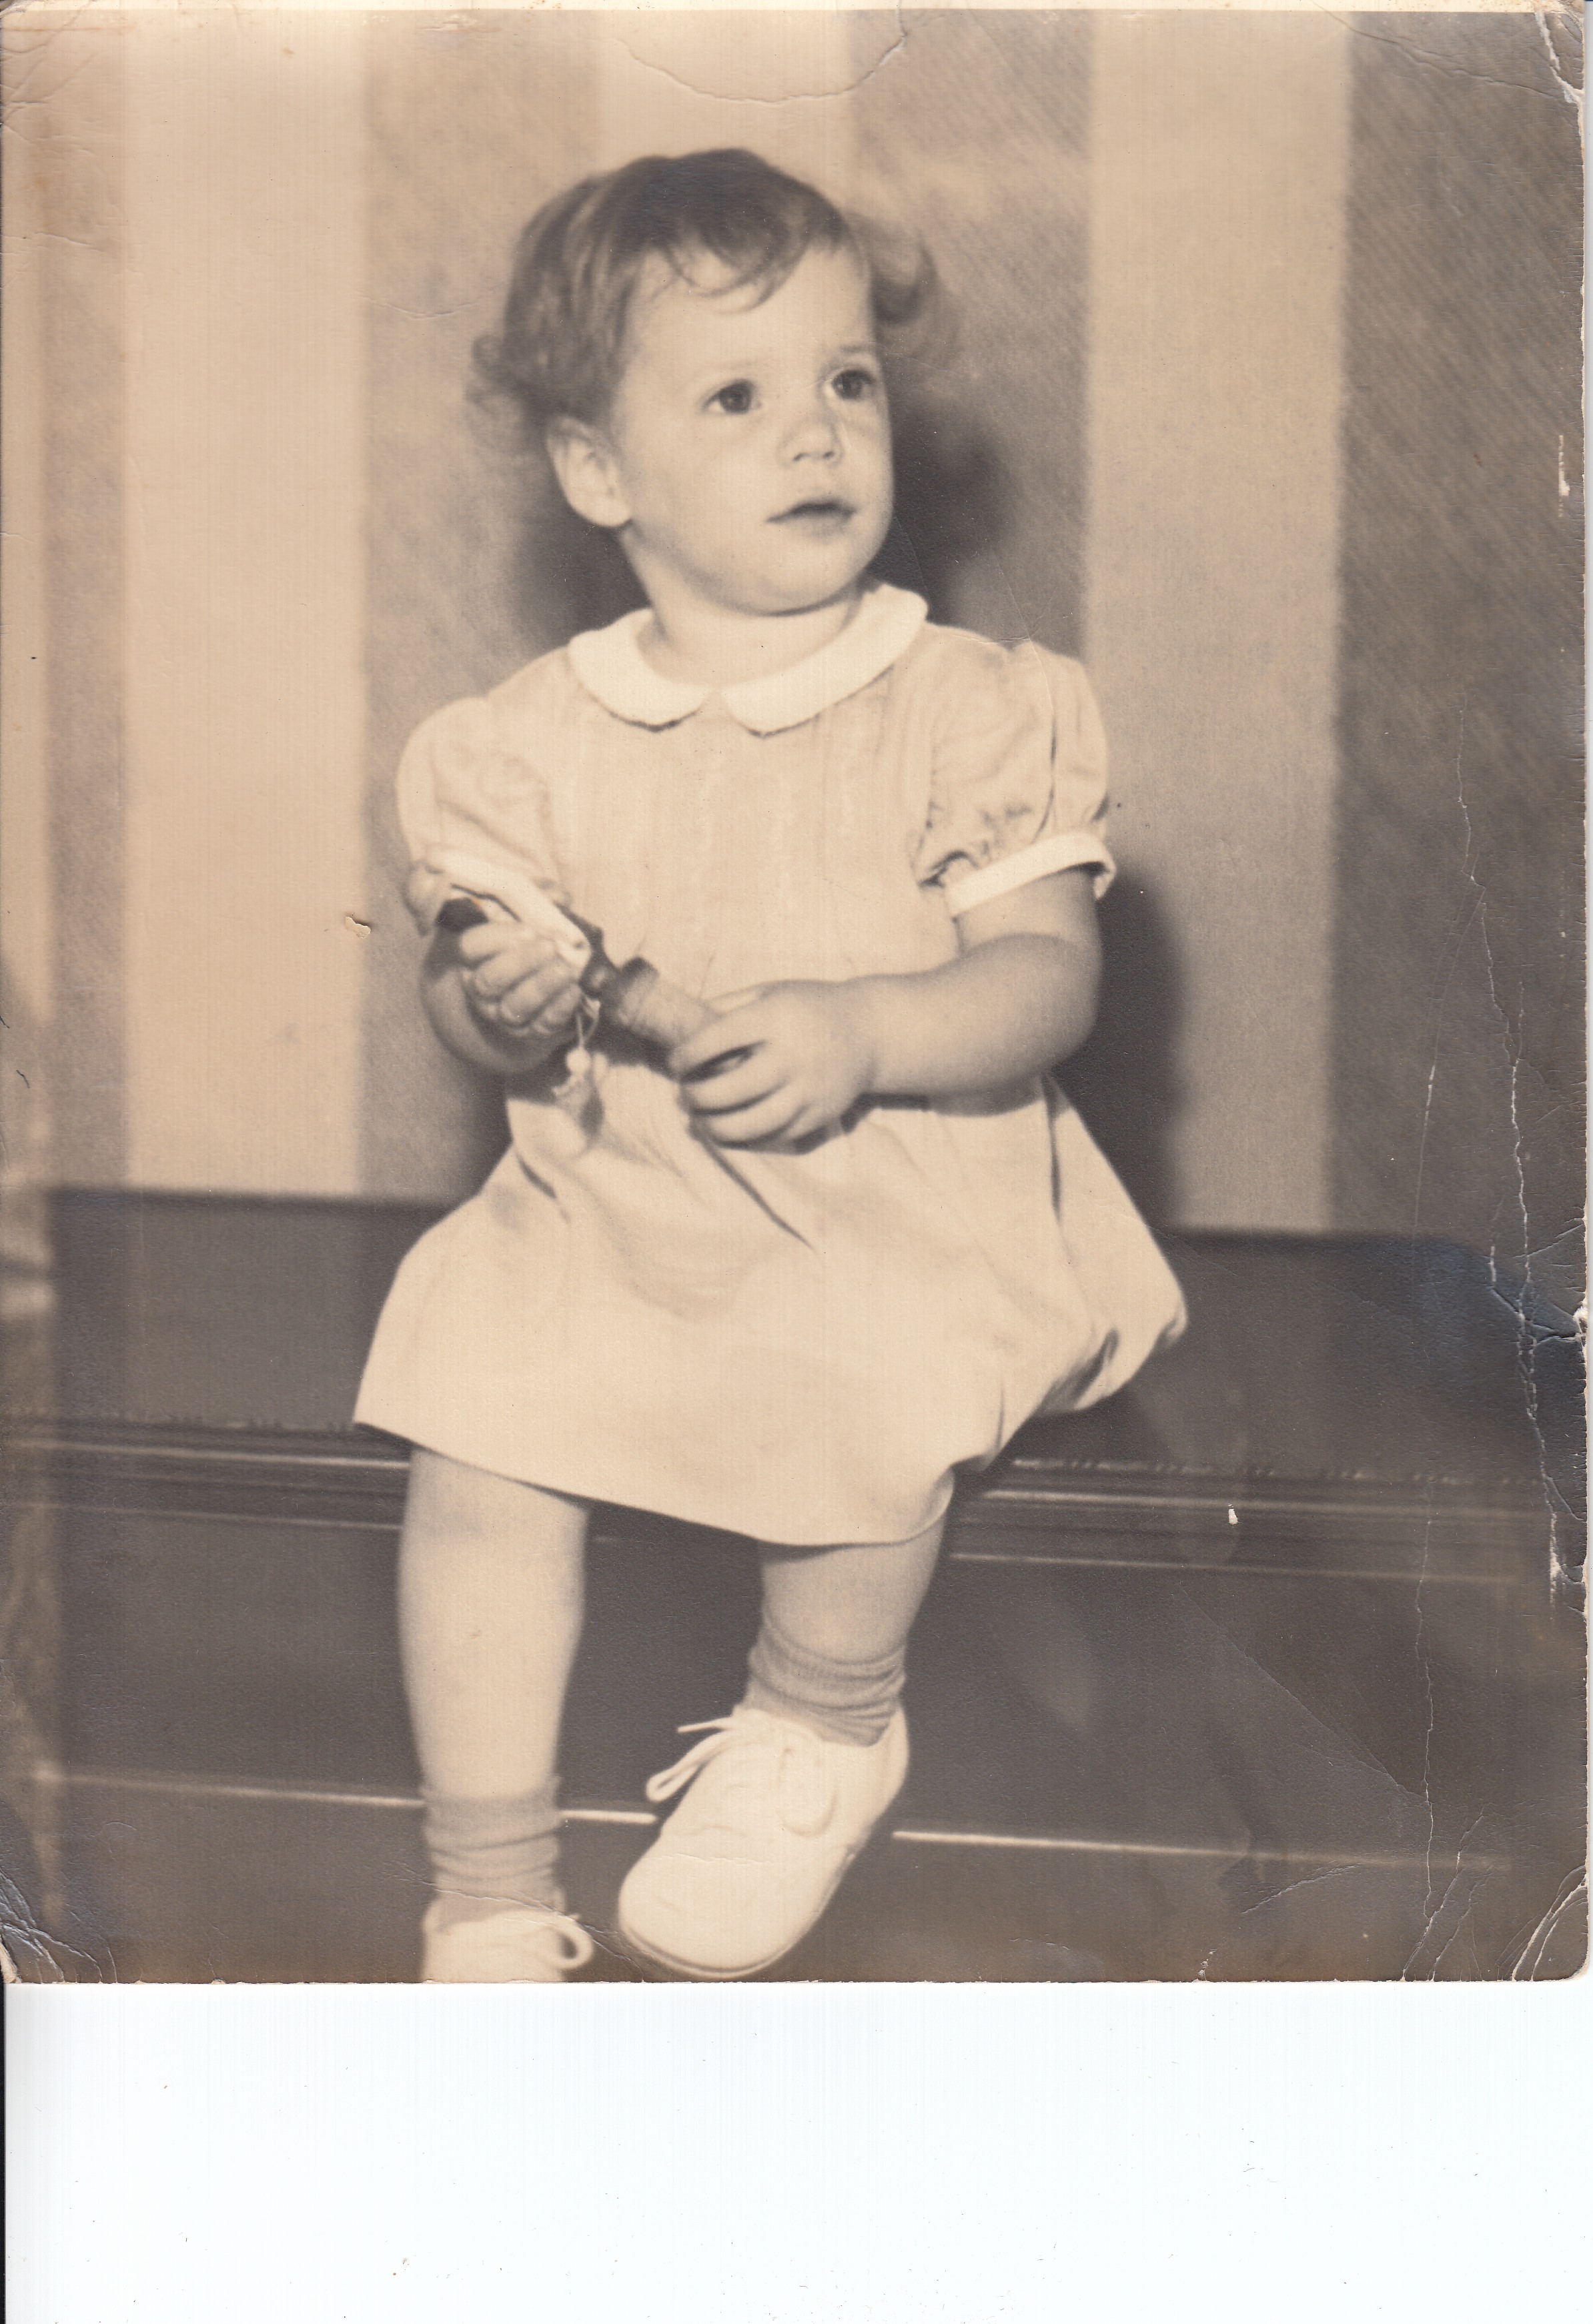
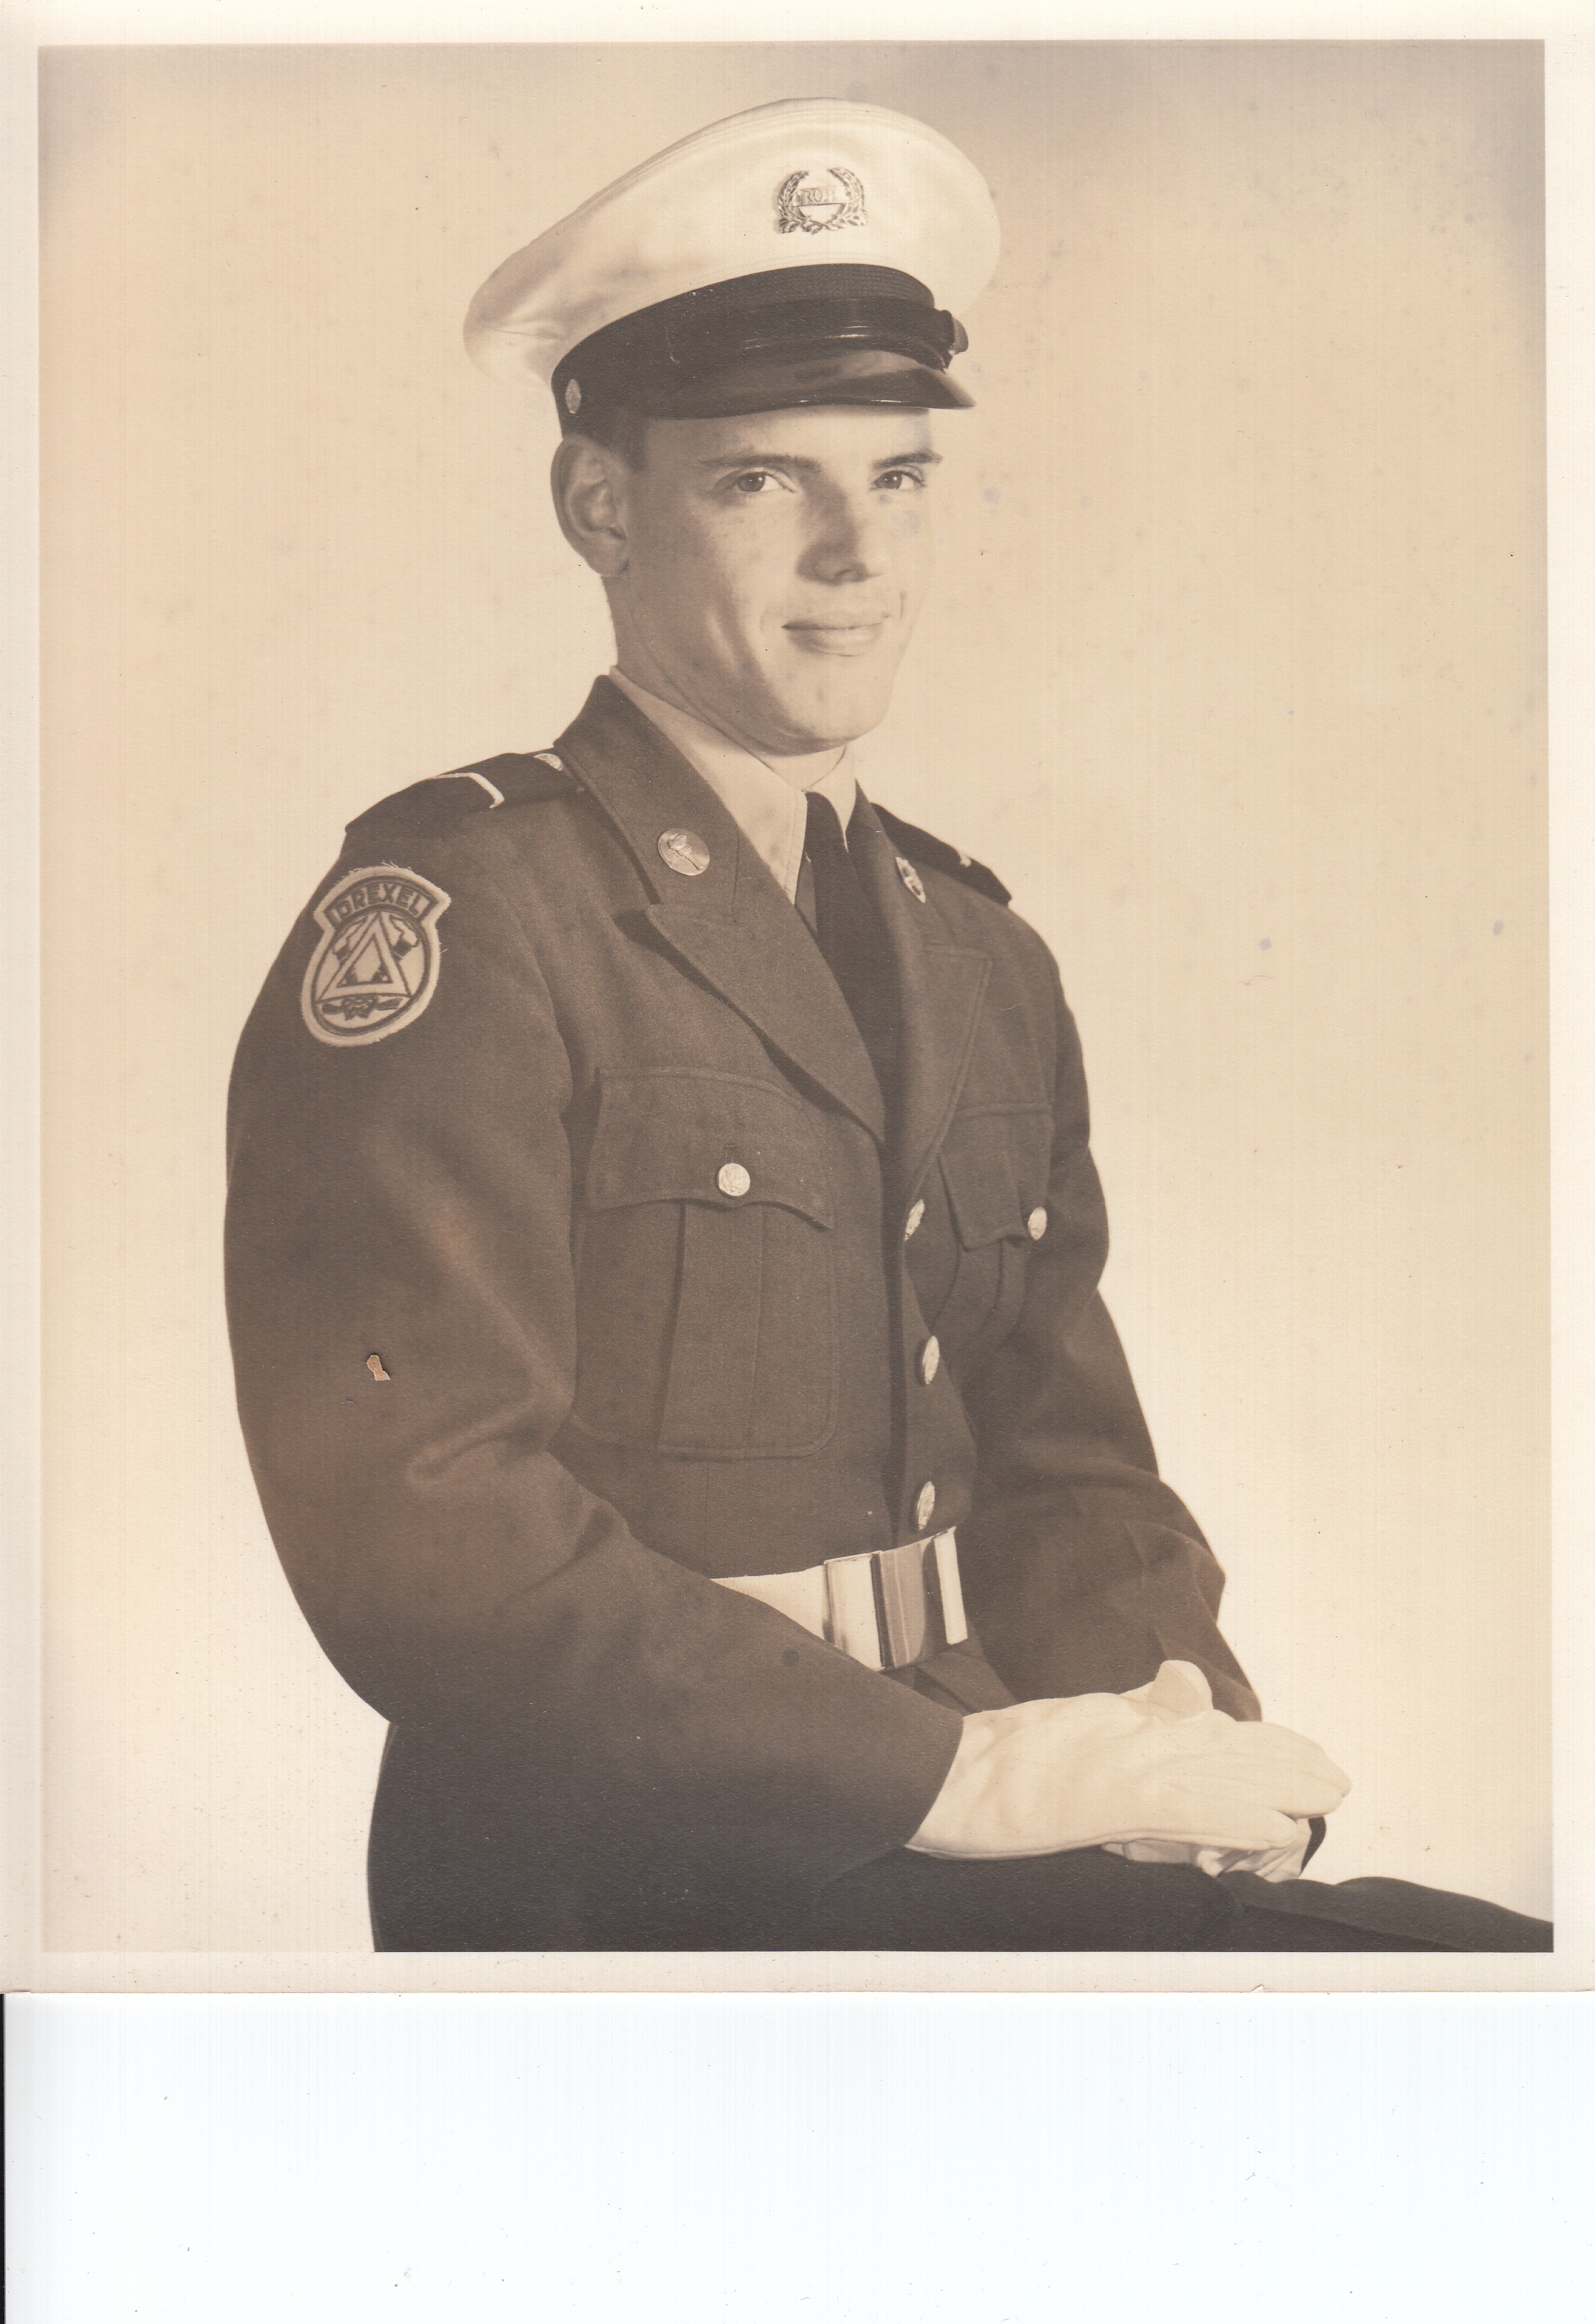
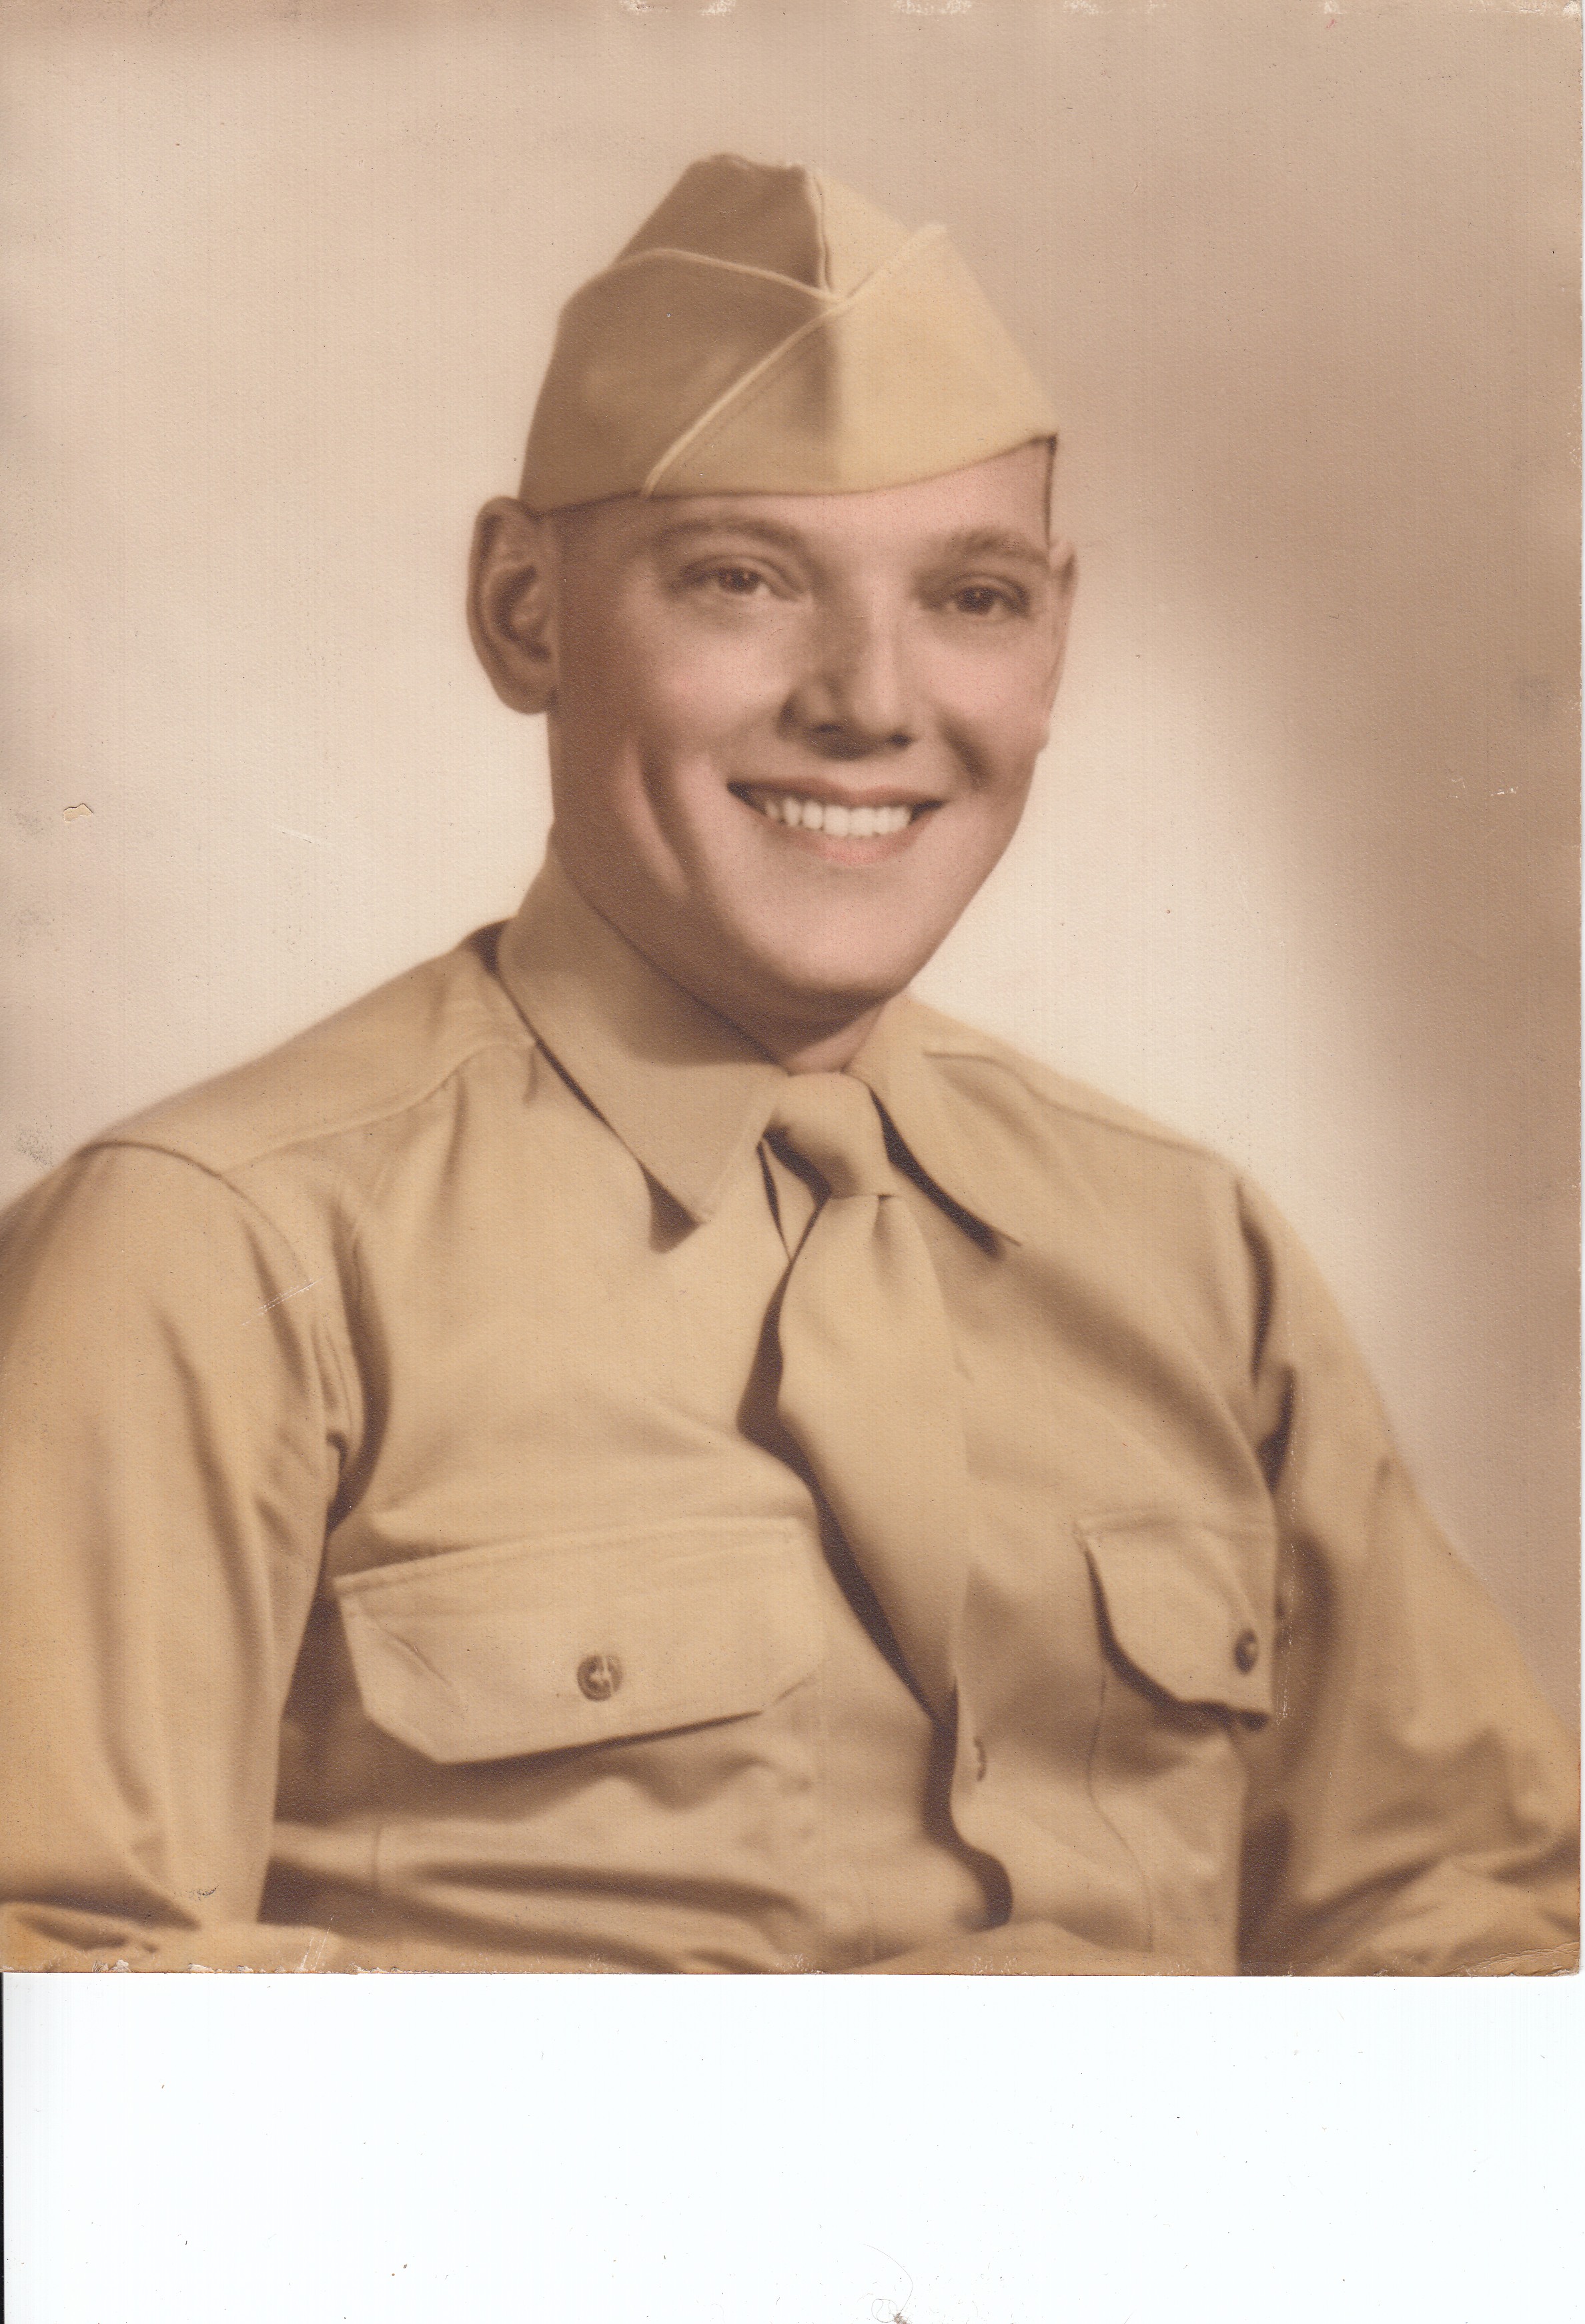
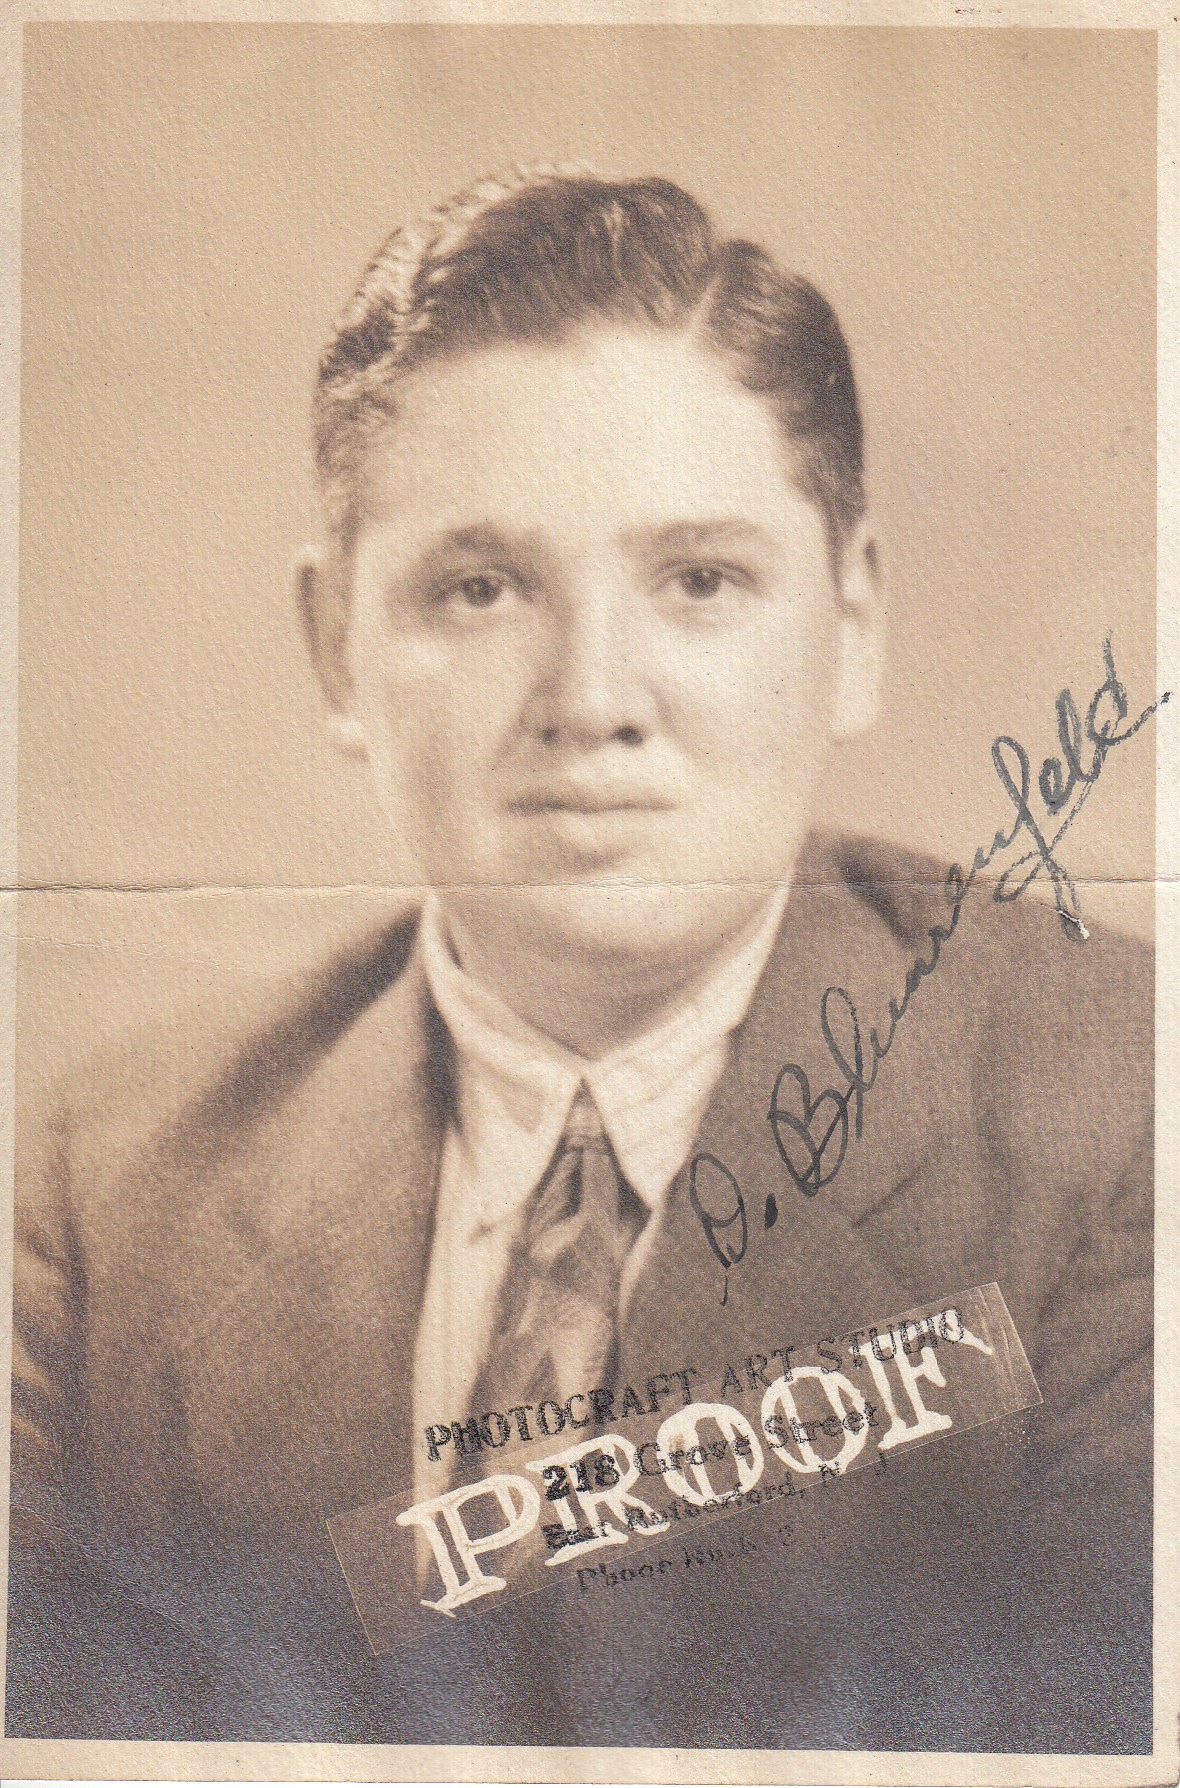
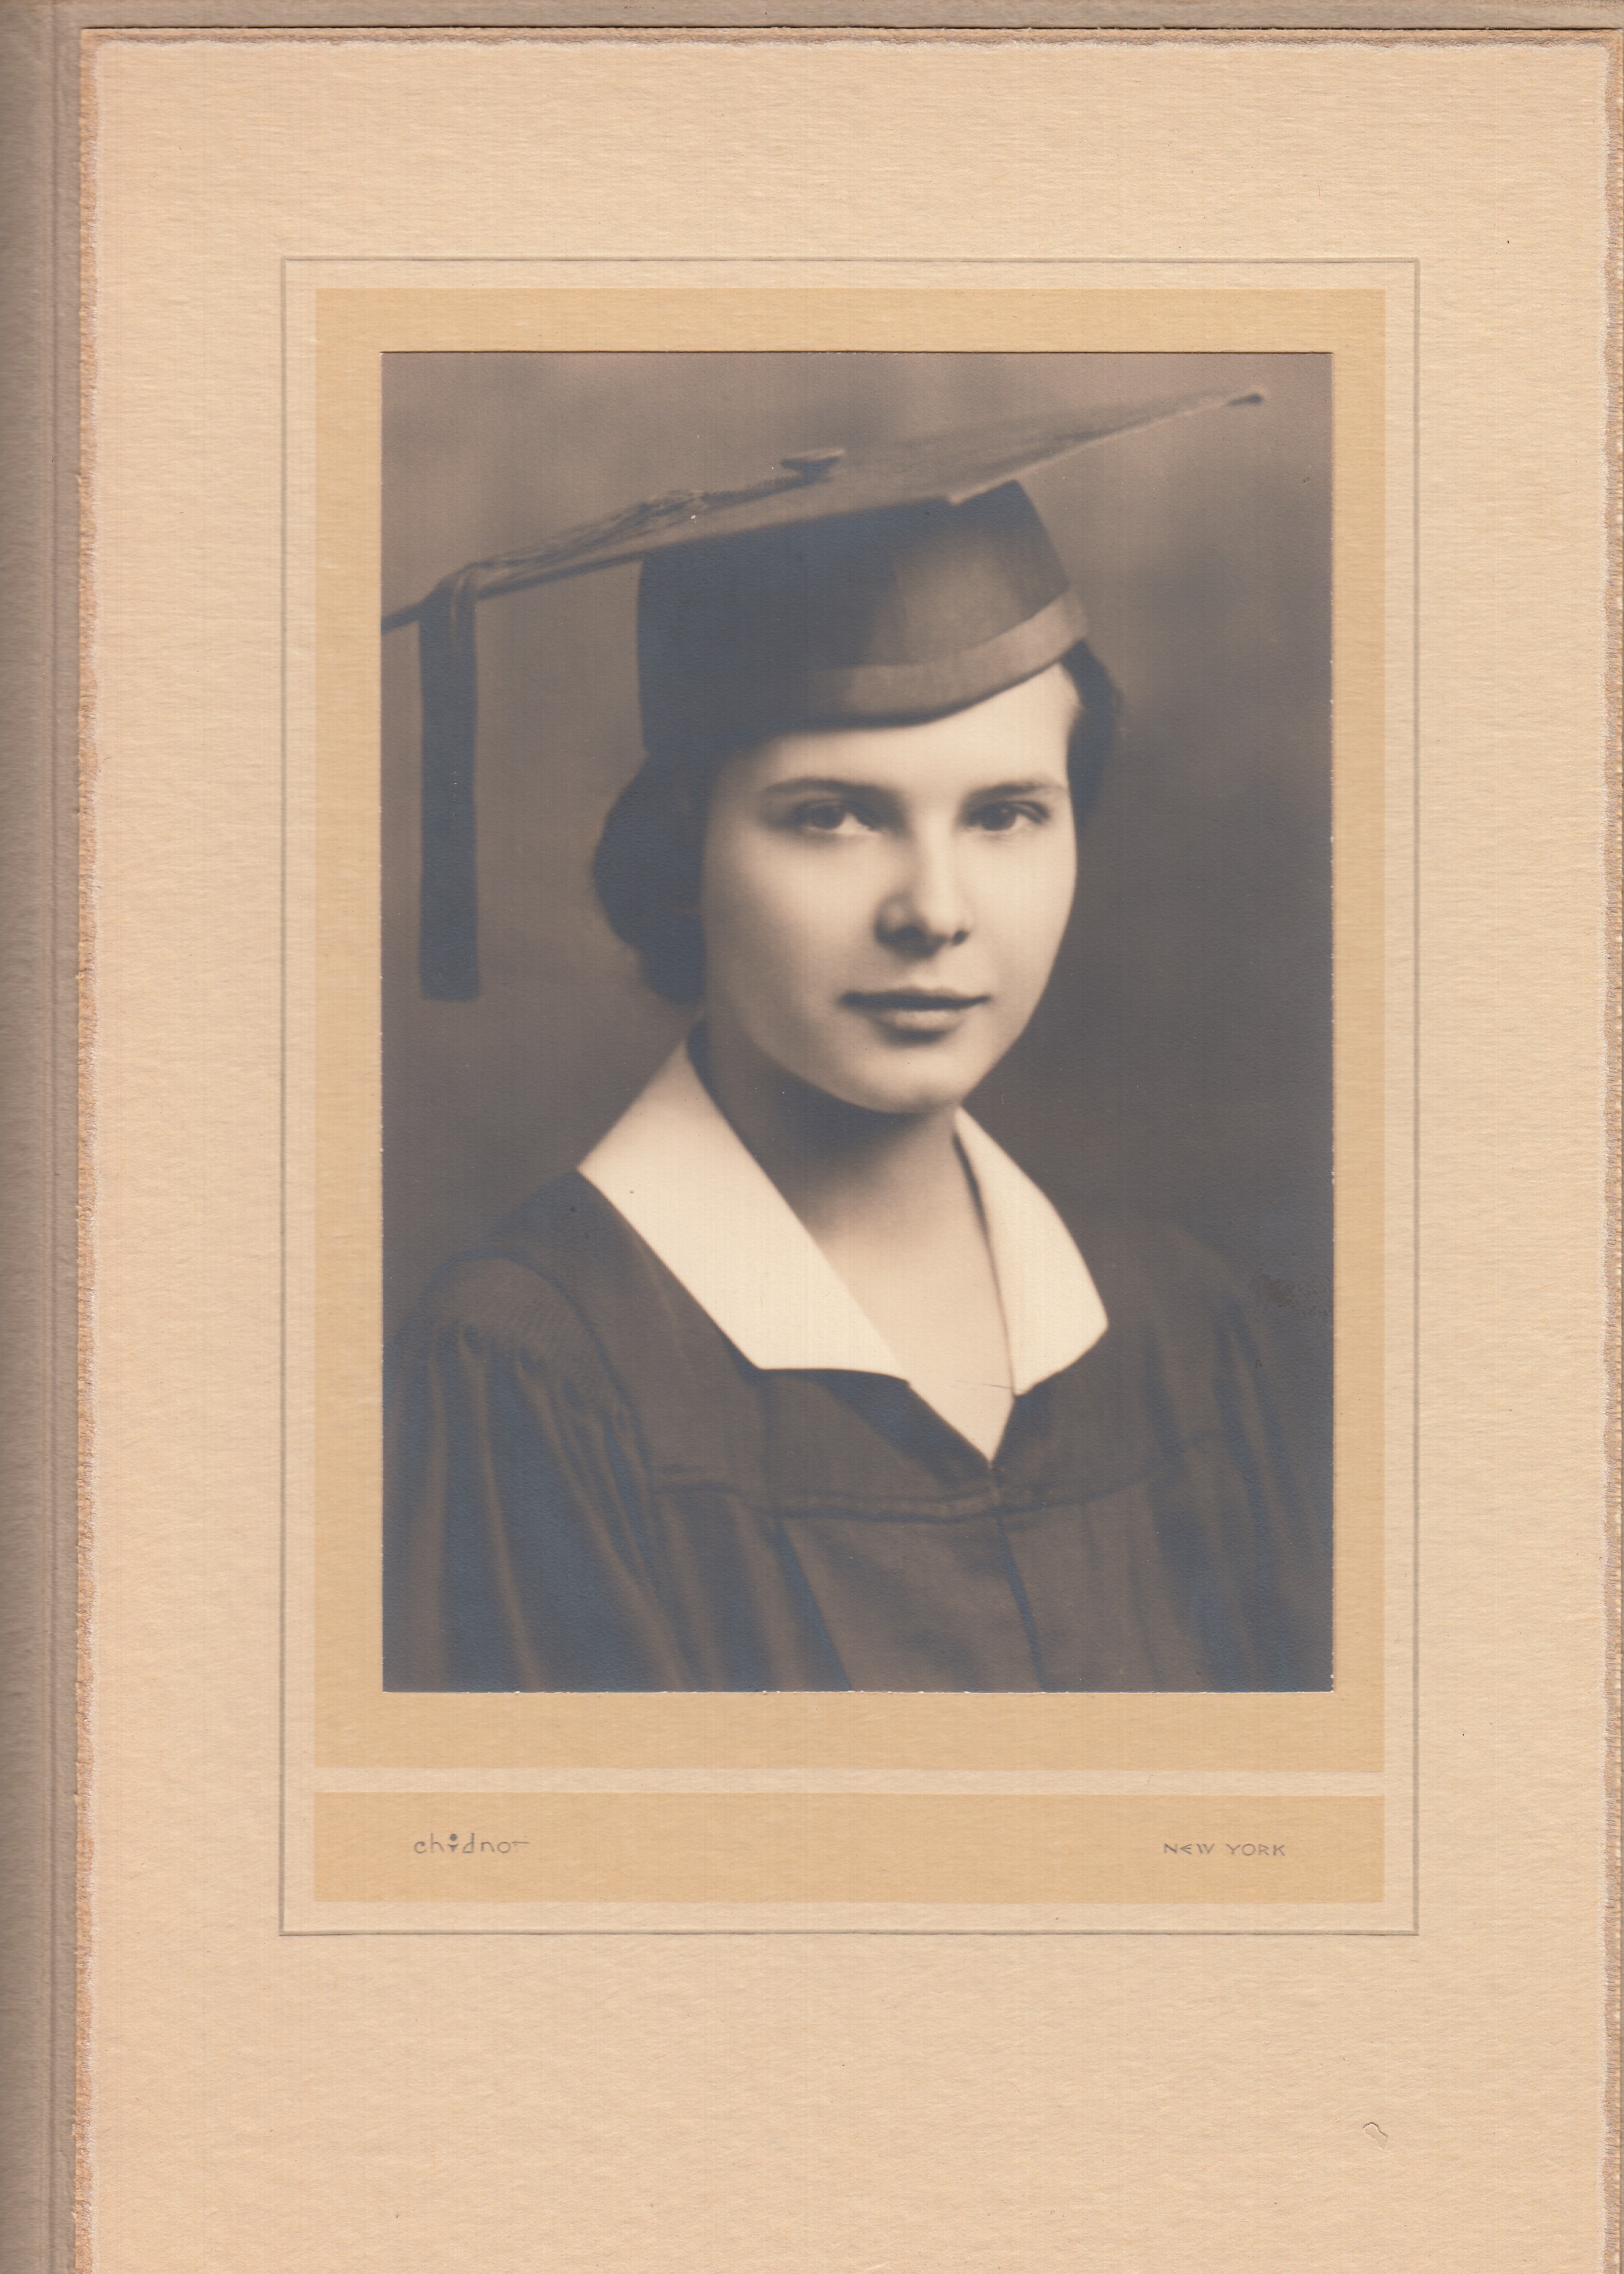
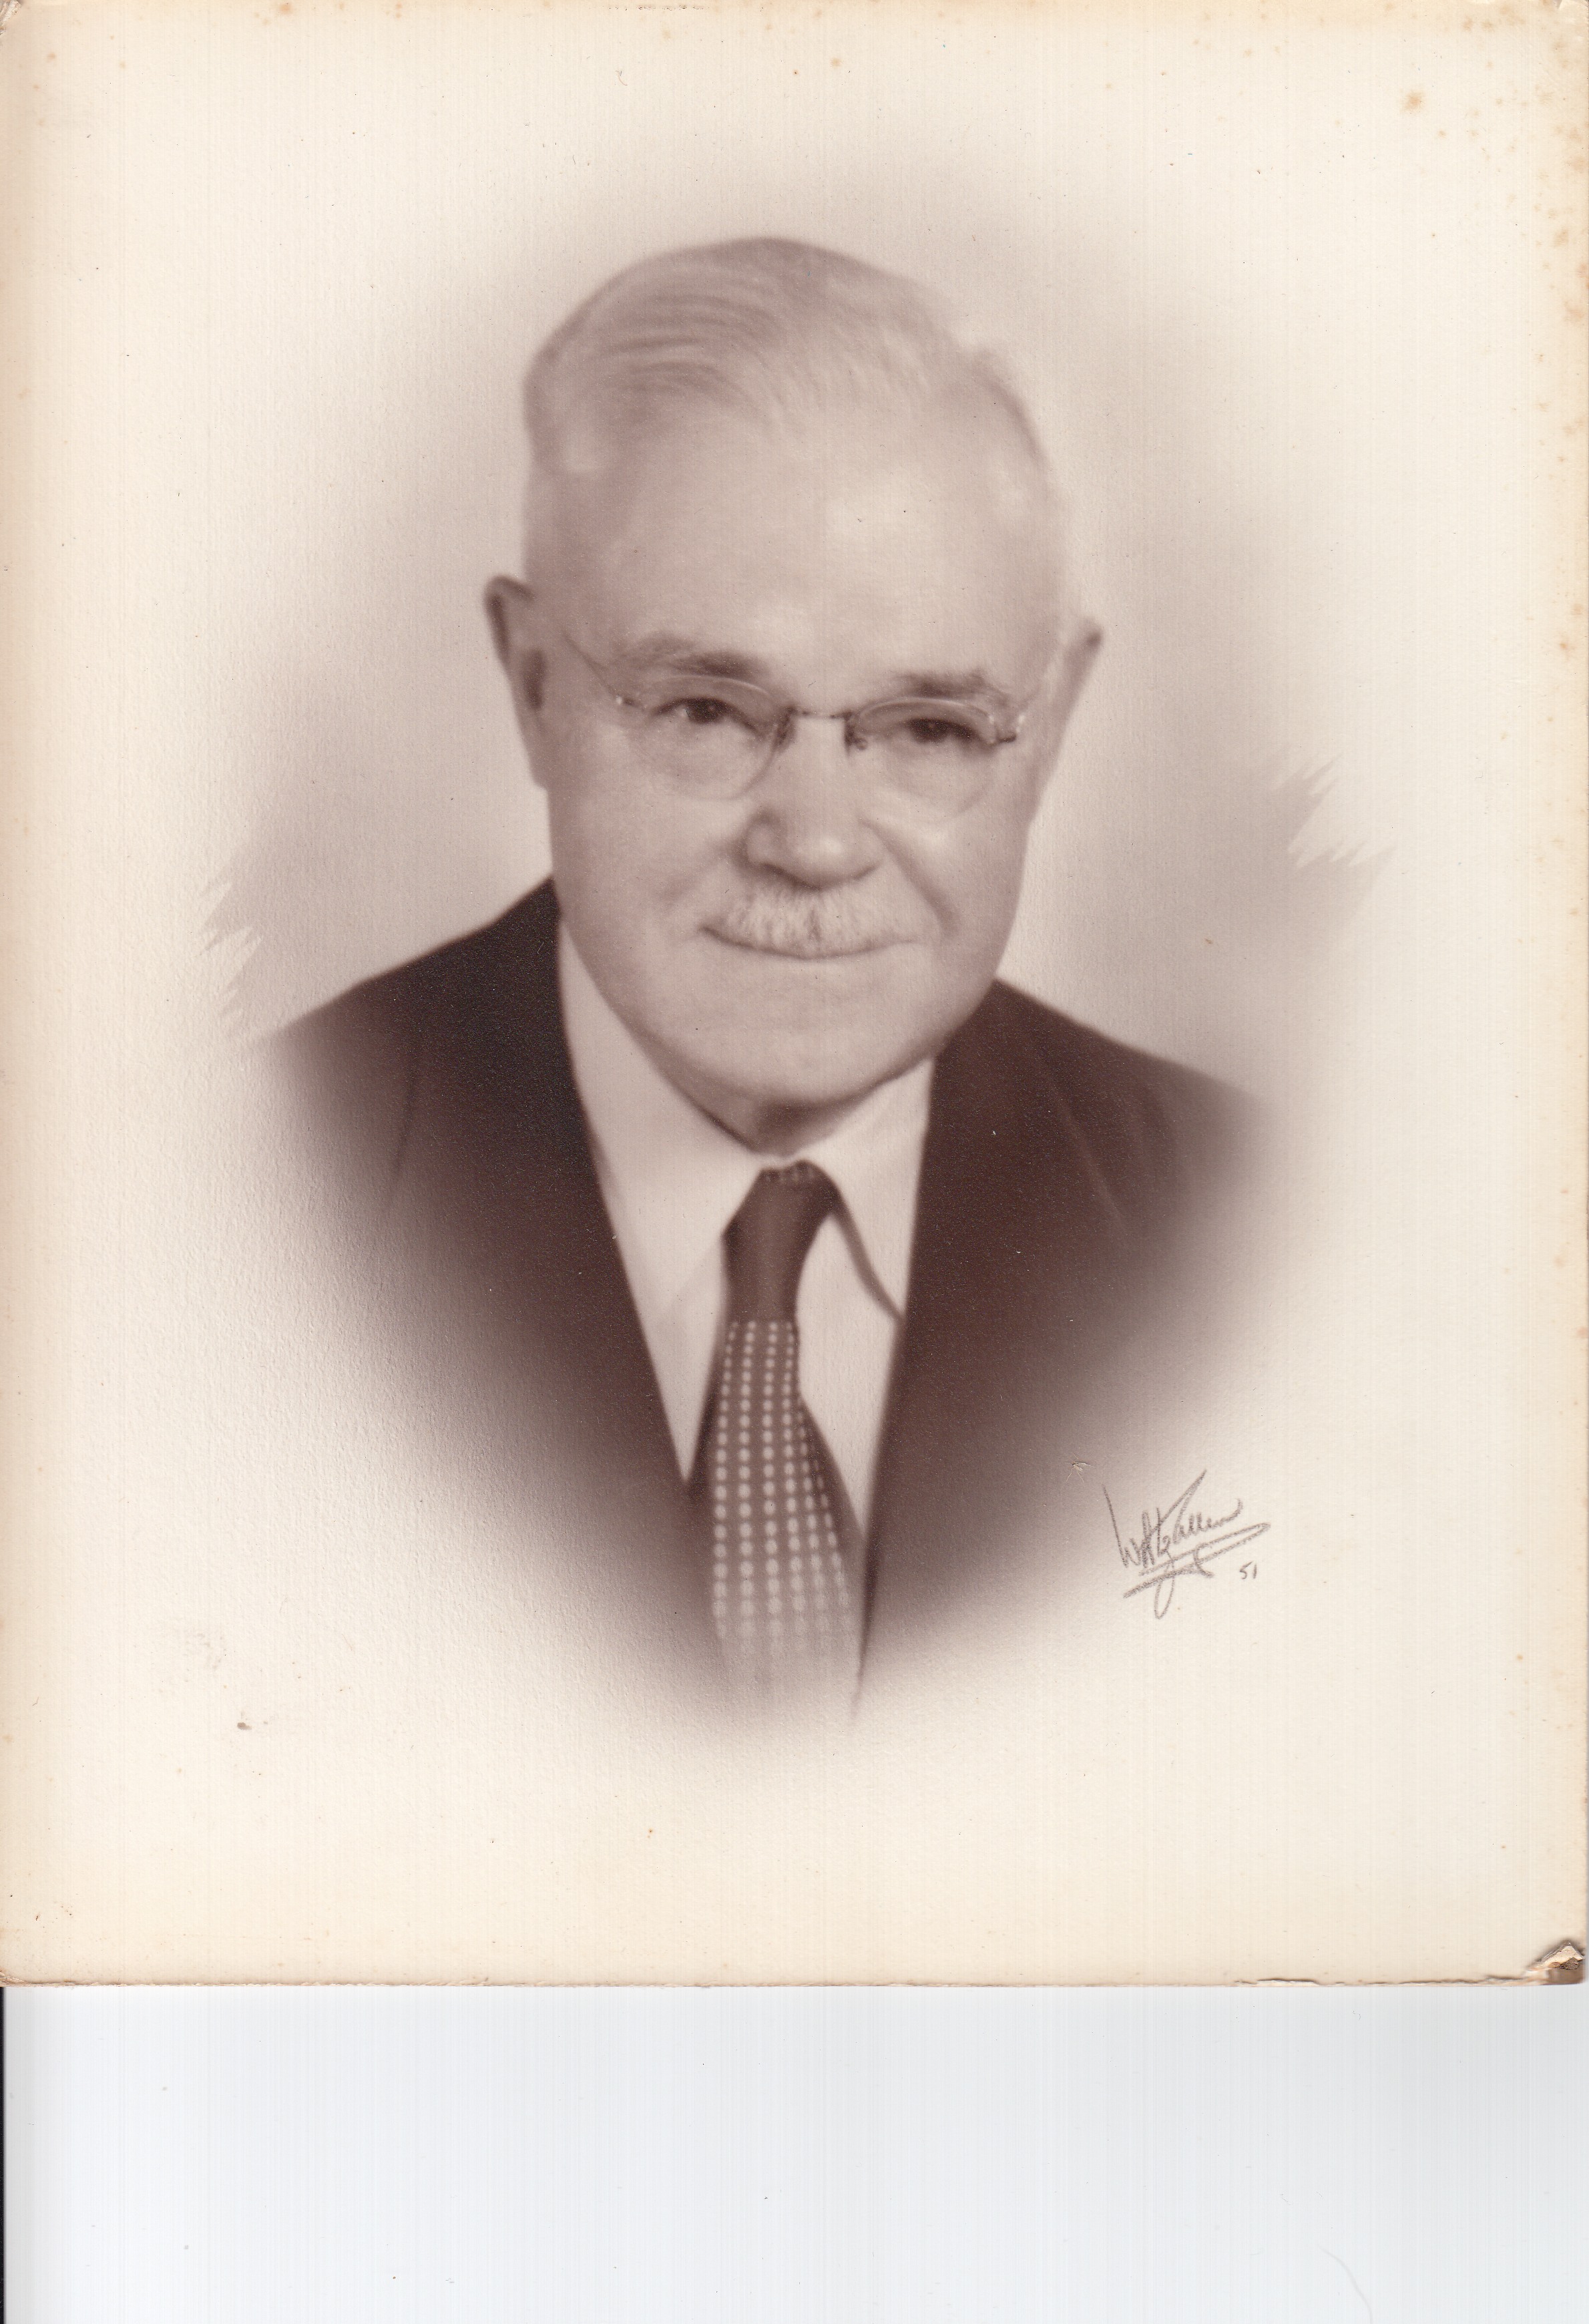
Marvin Blumenfeld (Grandpa). Served in China, as a radar operator who never got a radar set, so quartermaster?
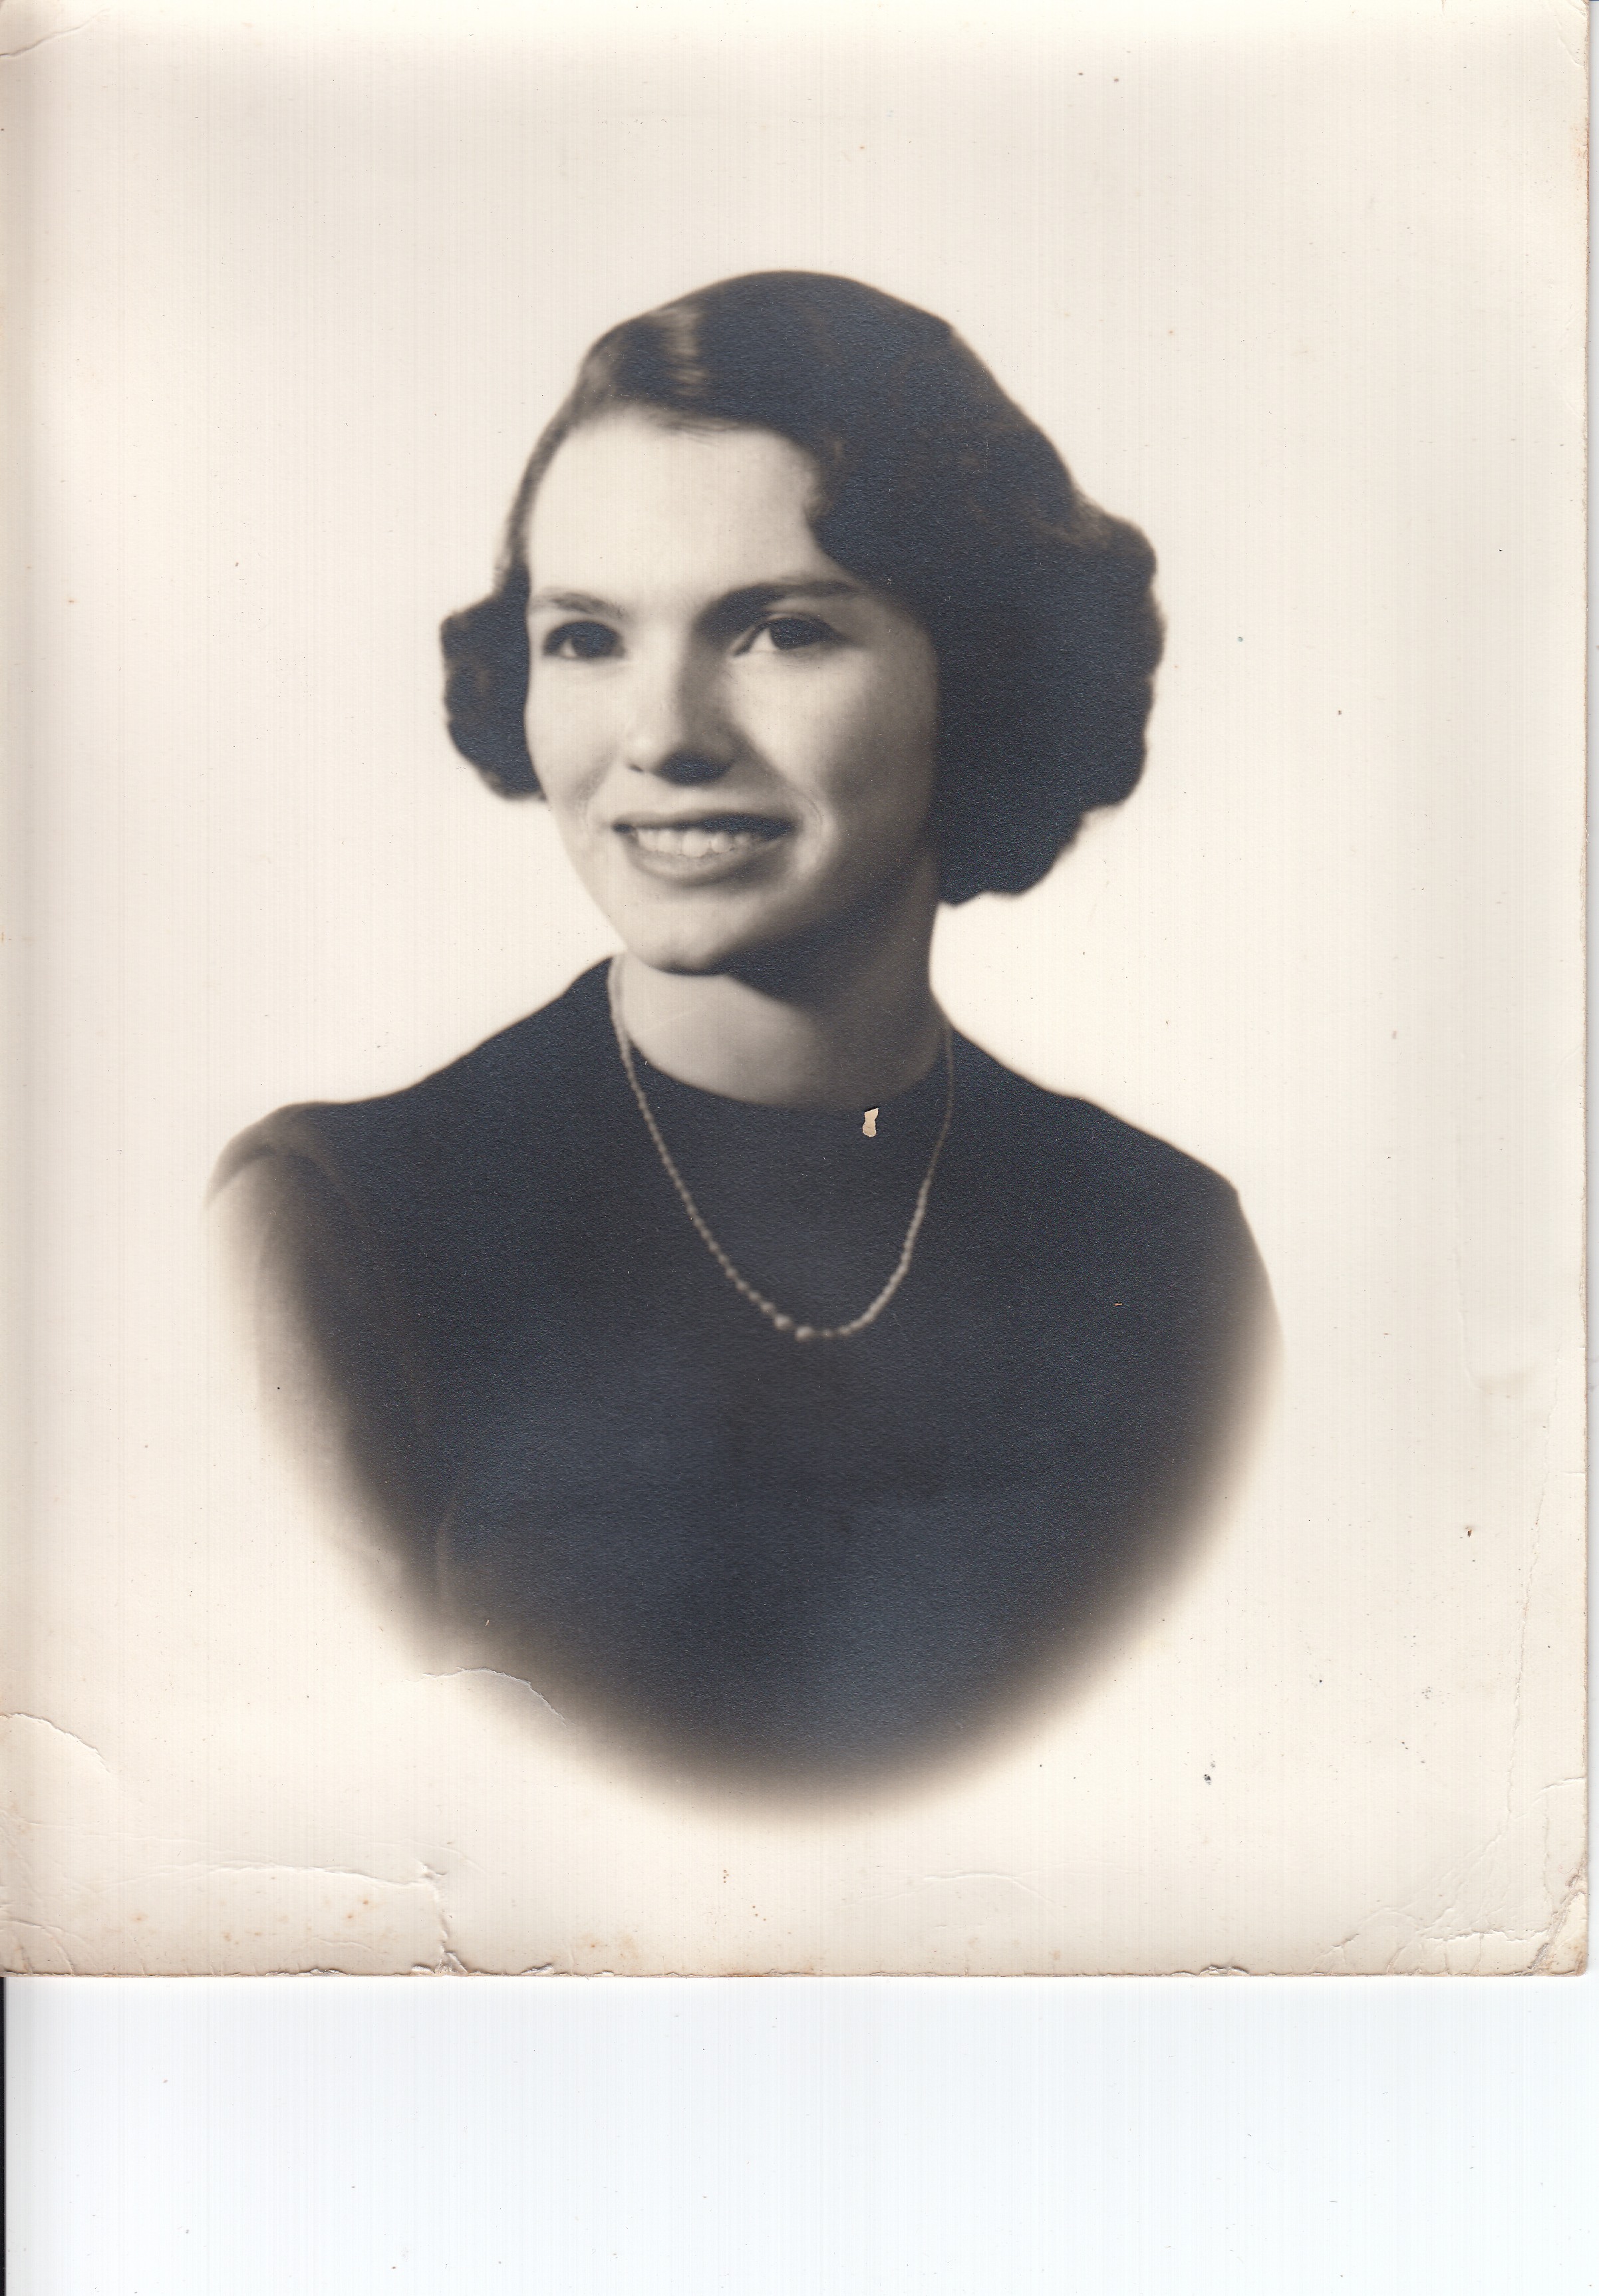
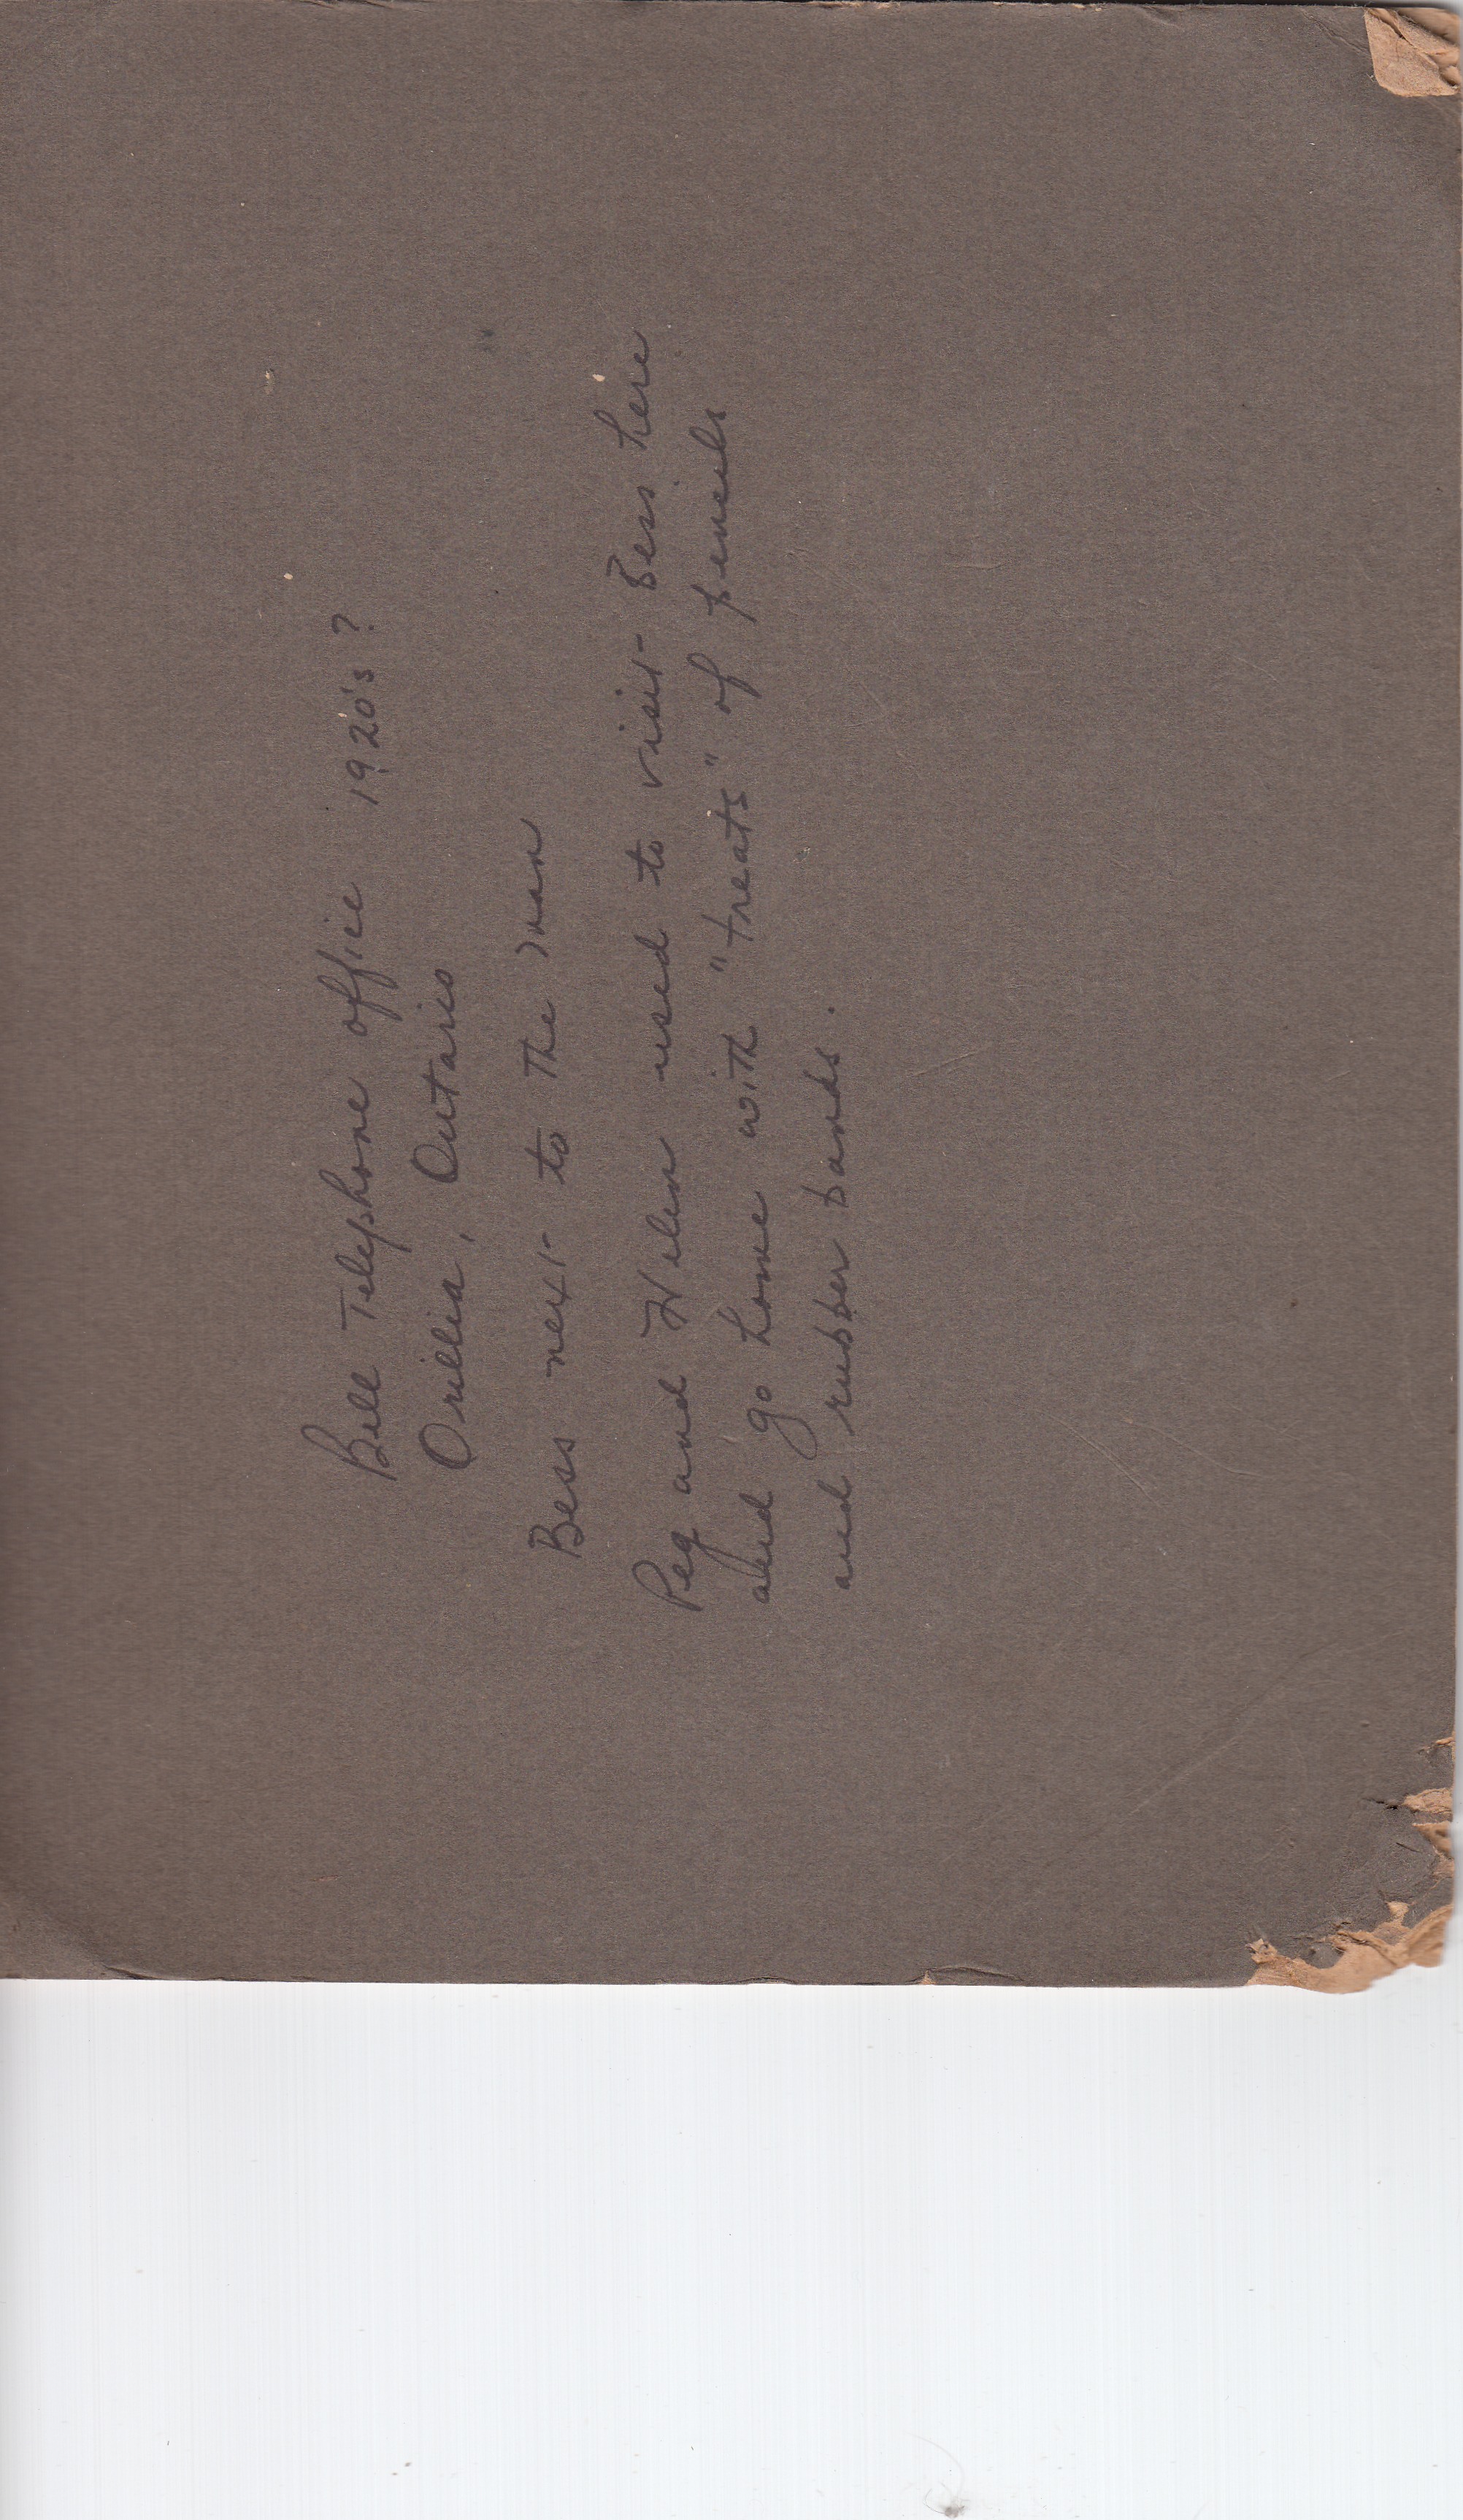
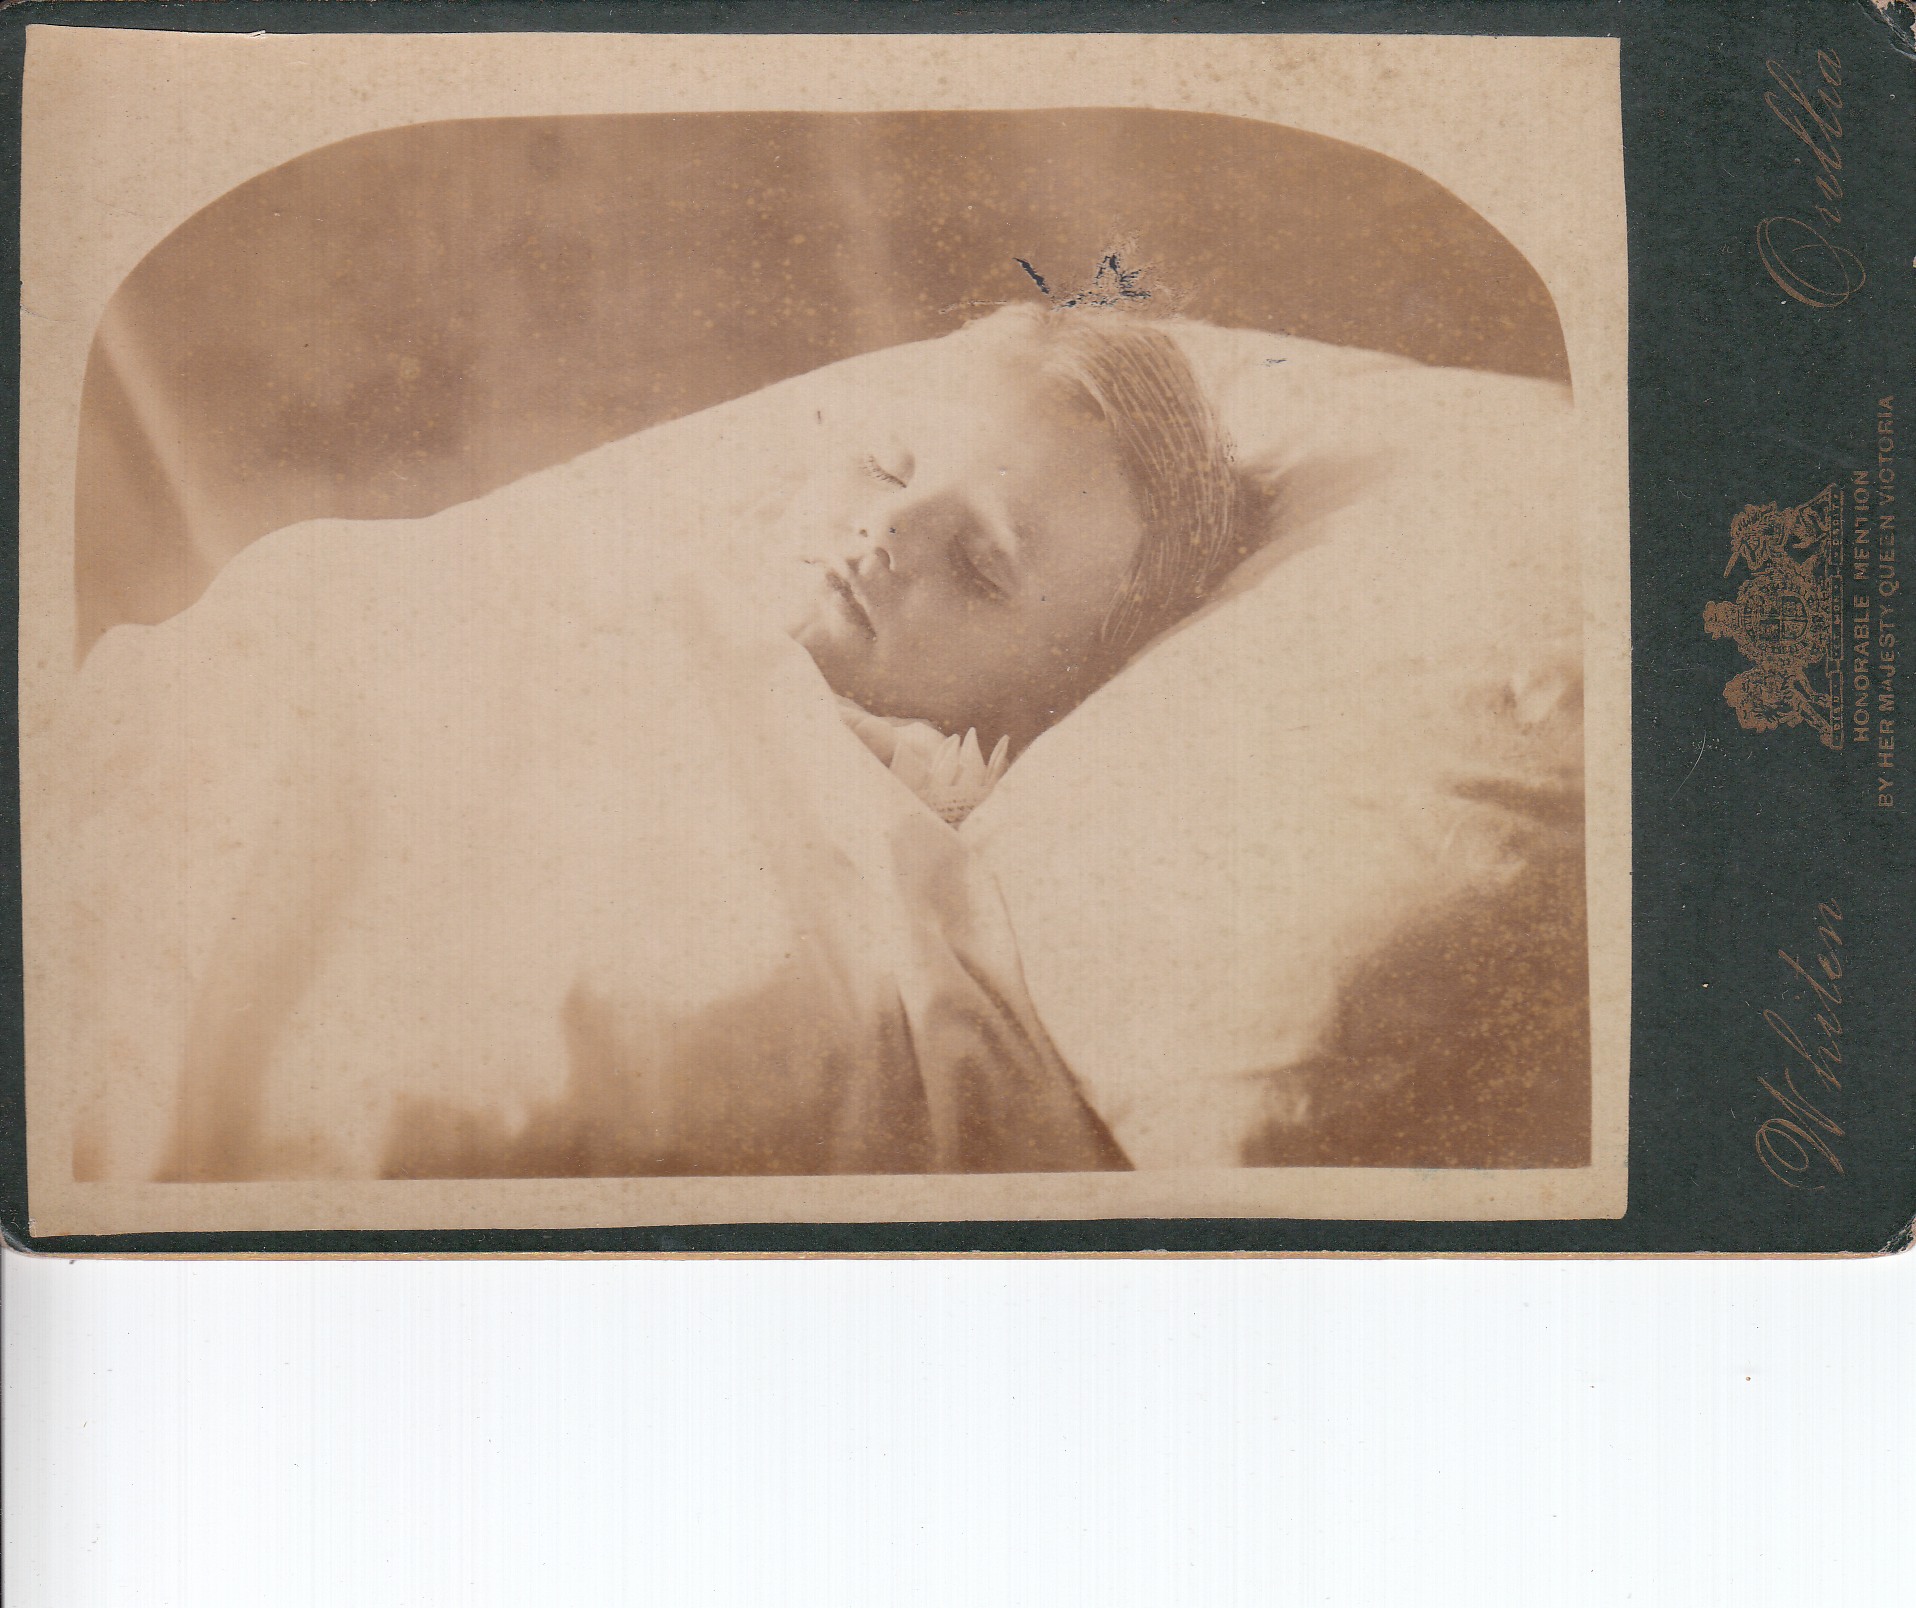
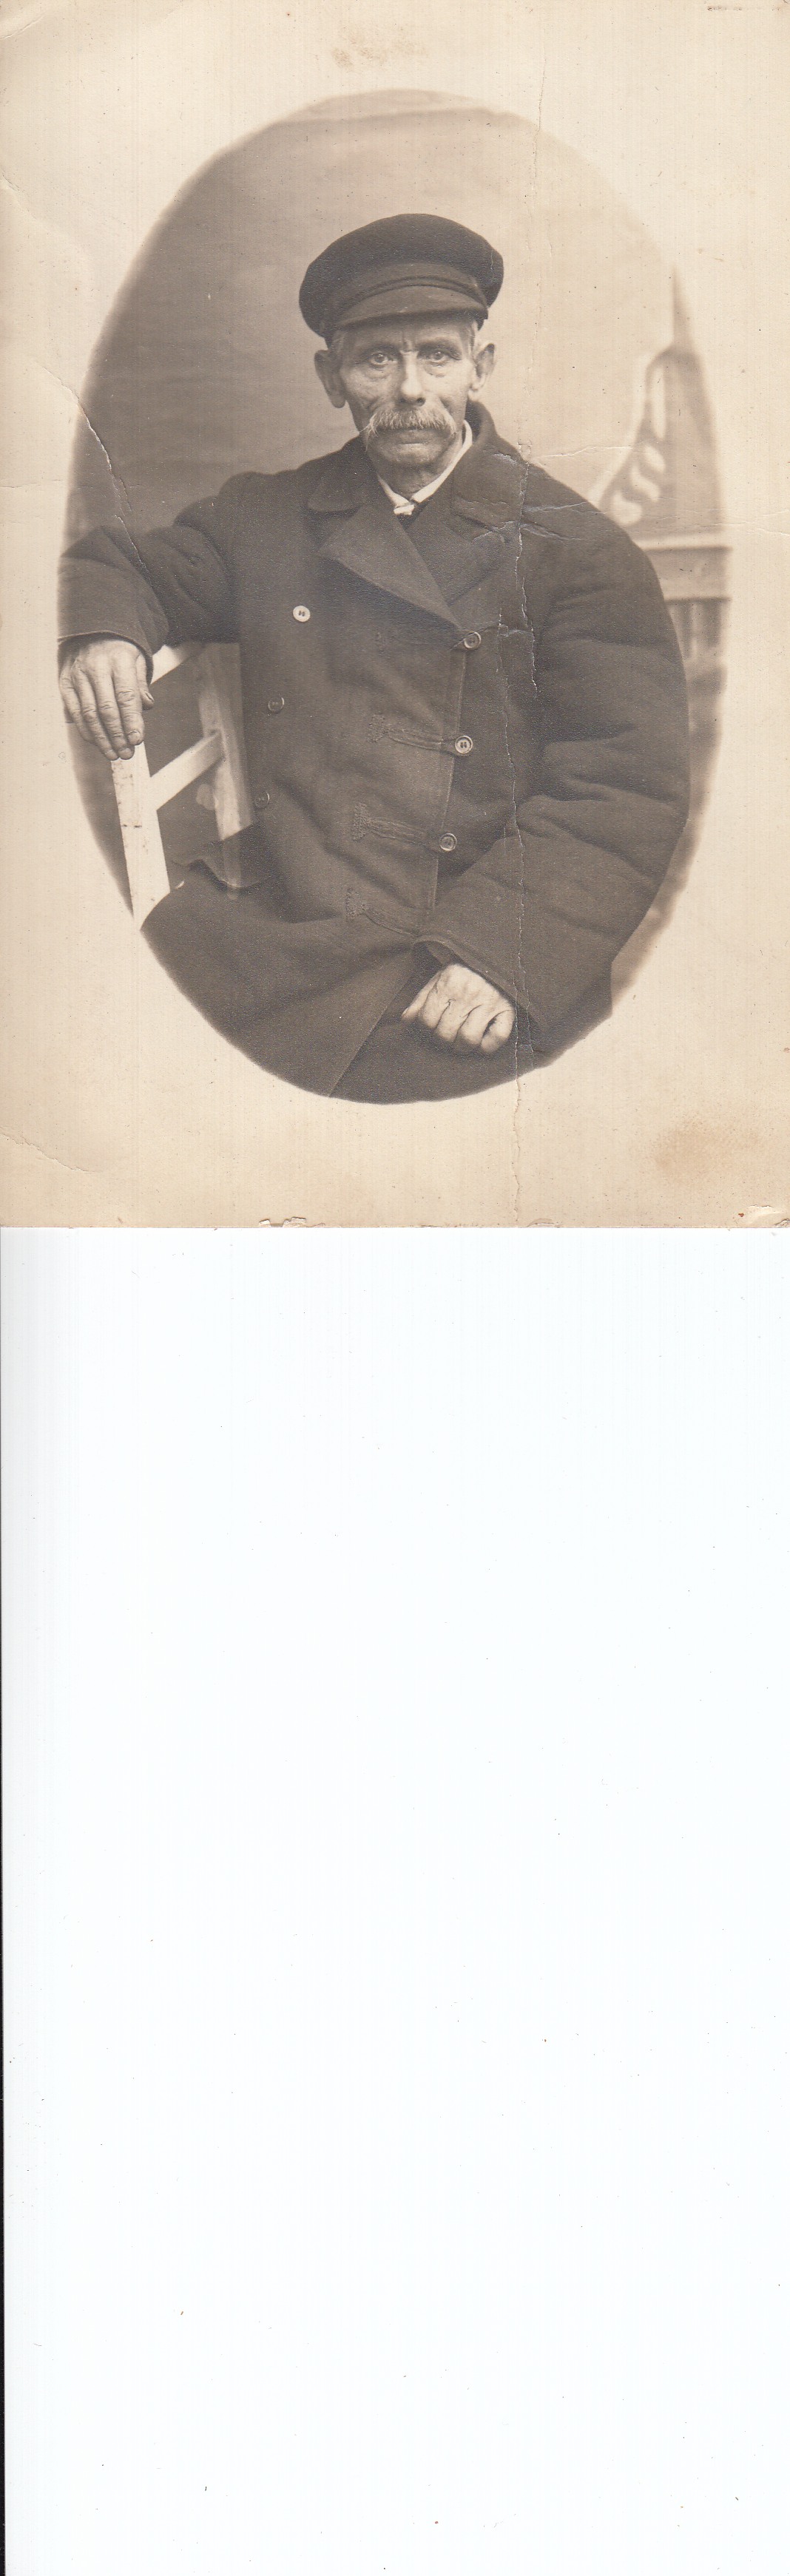
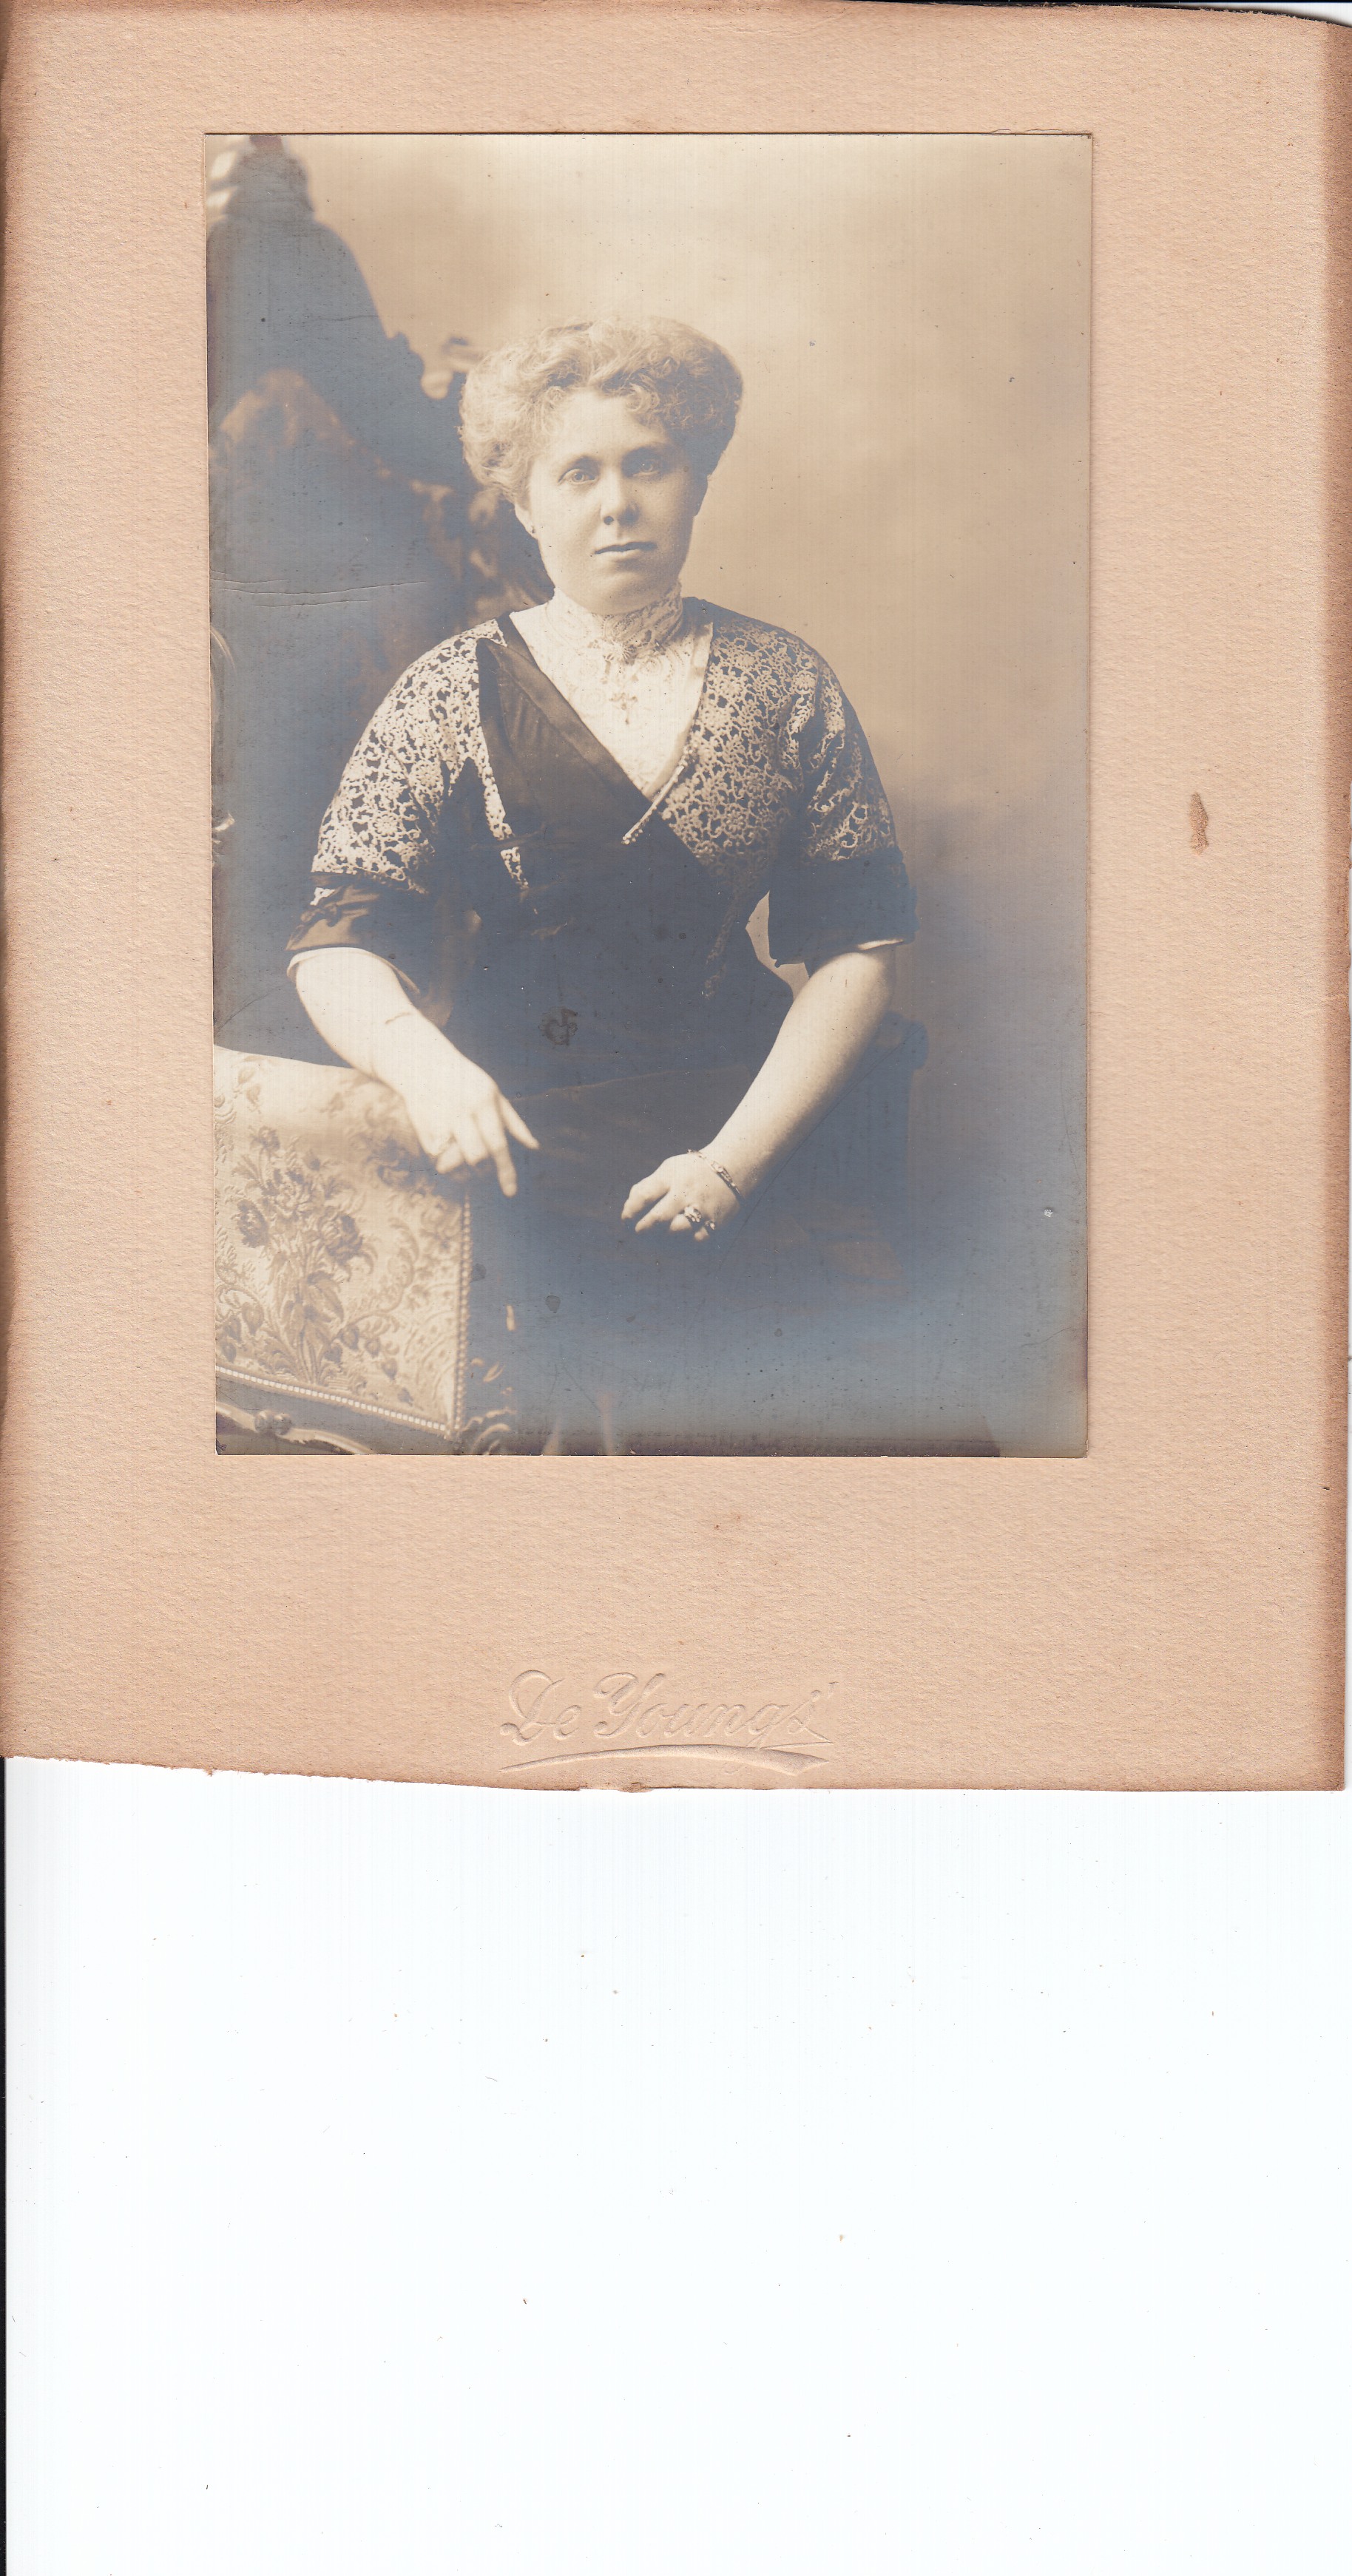
Unknown post-mortem. Back has photographer info: G.E. Whiten, Mississigaga St East, Orillia, Ontario
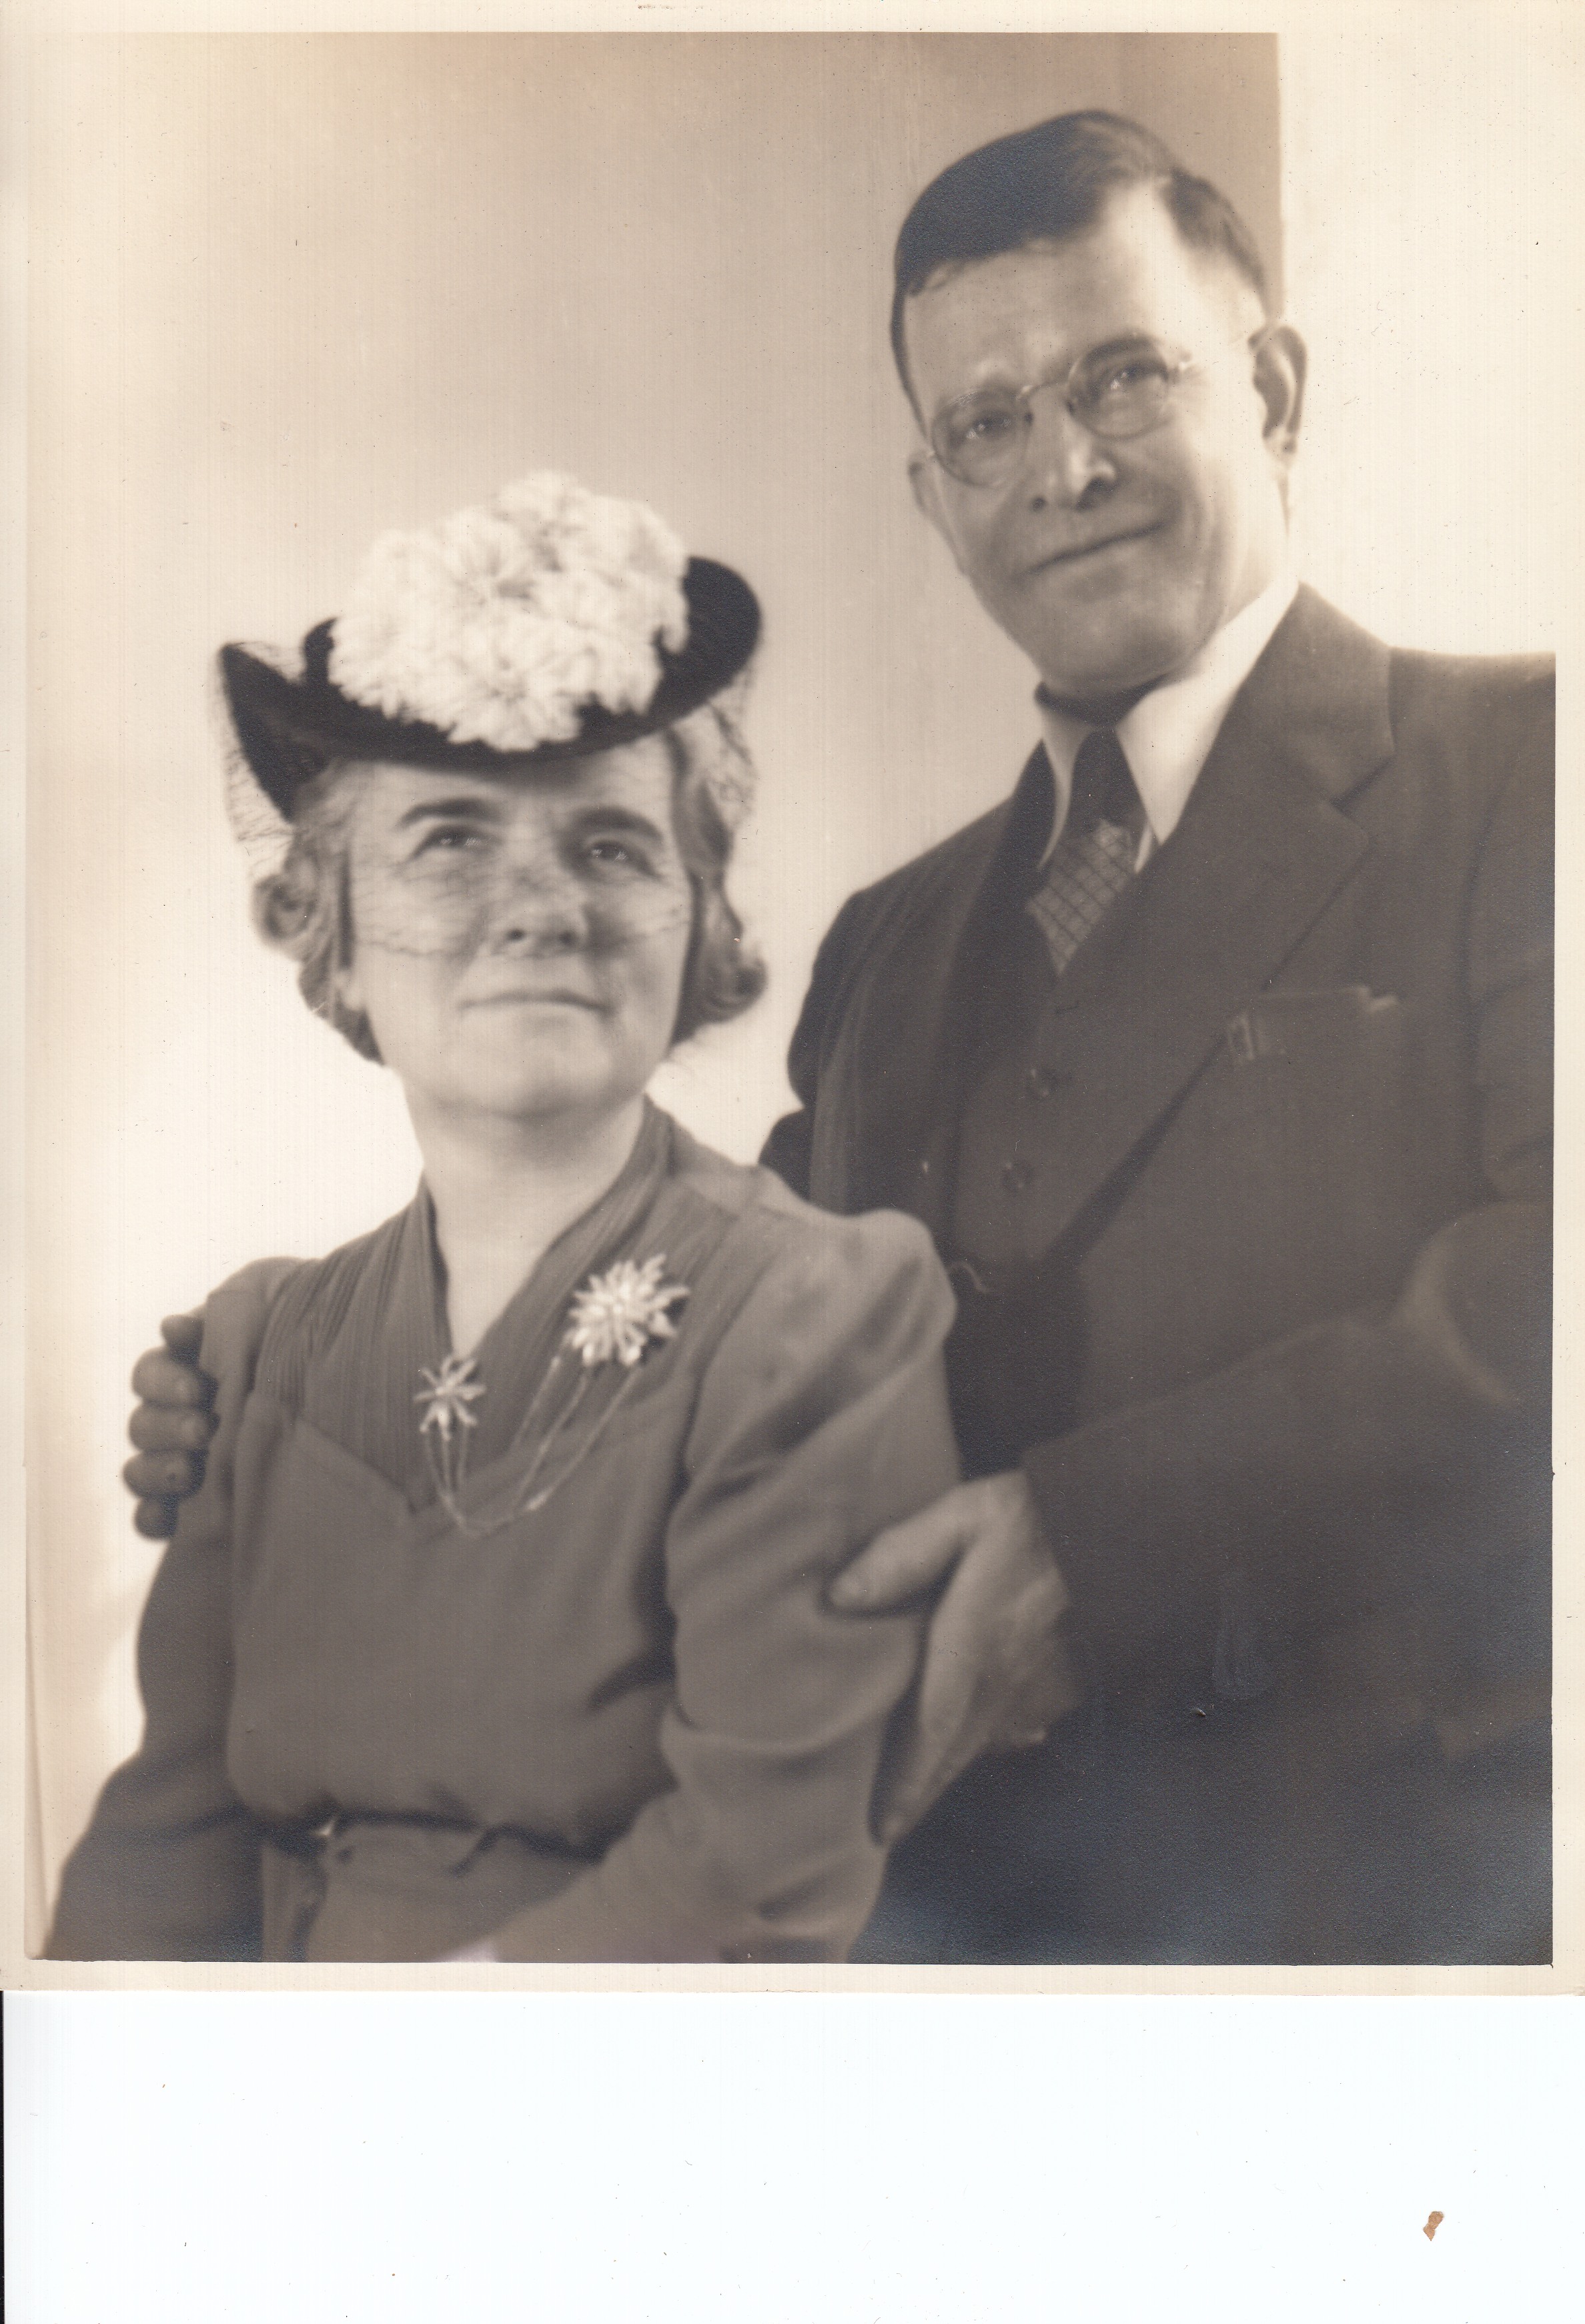
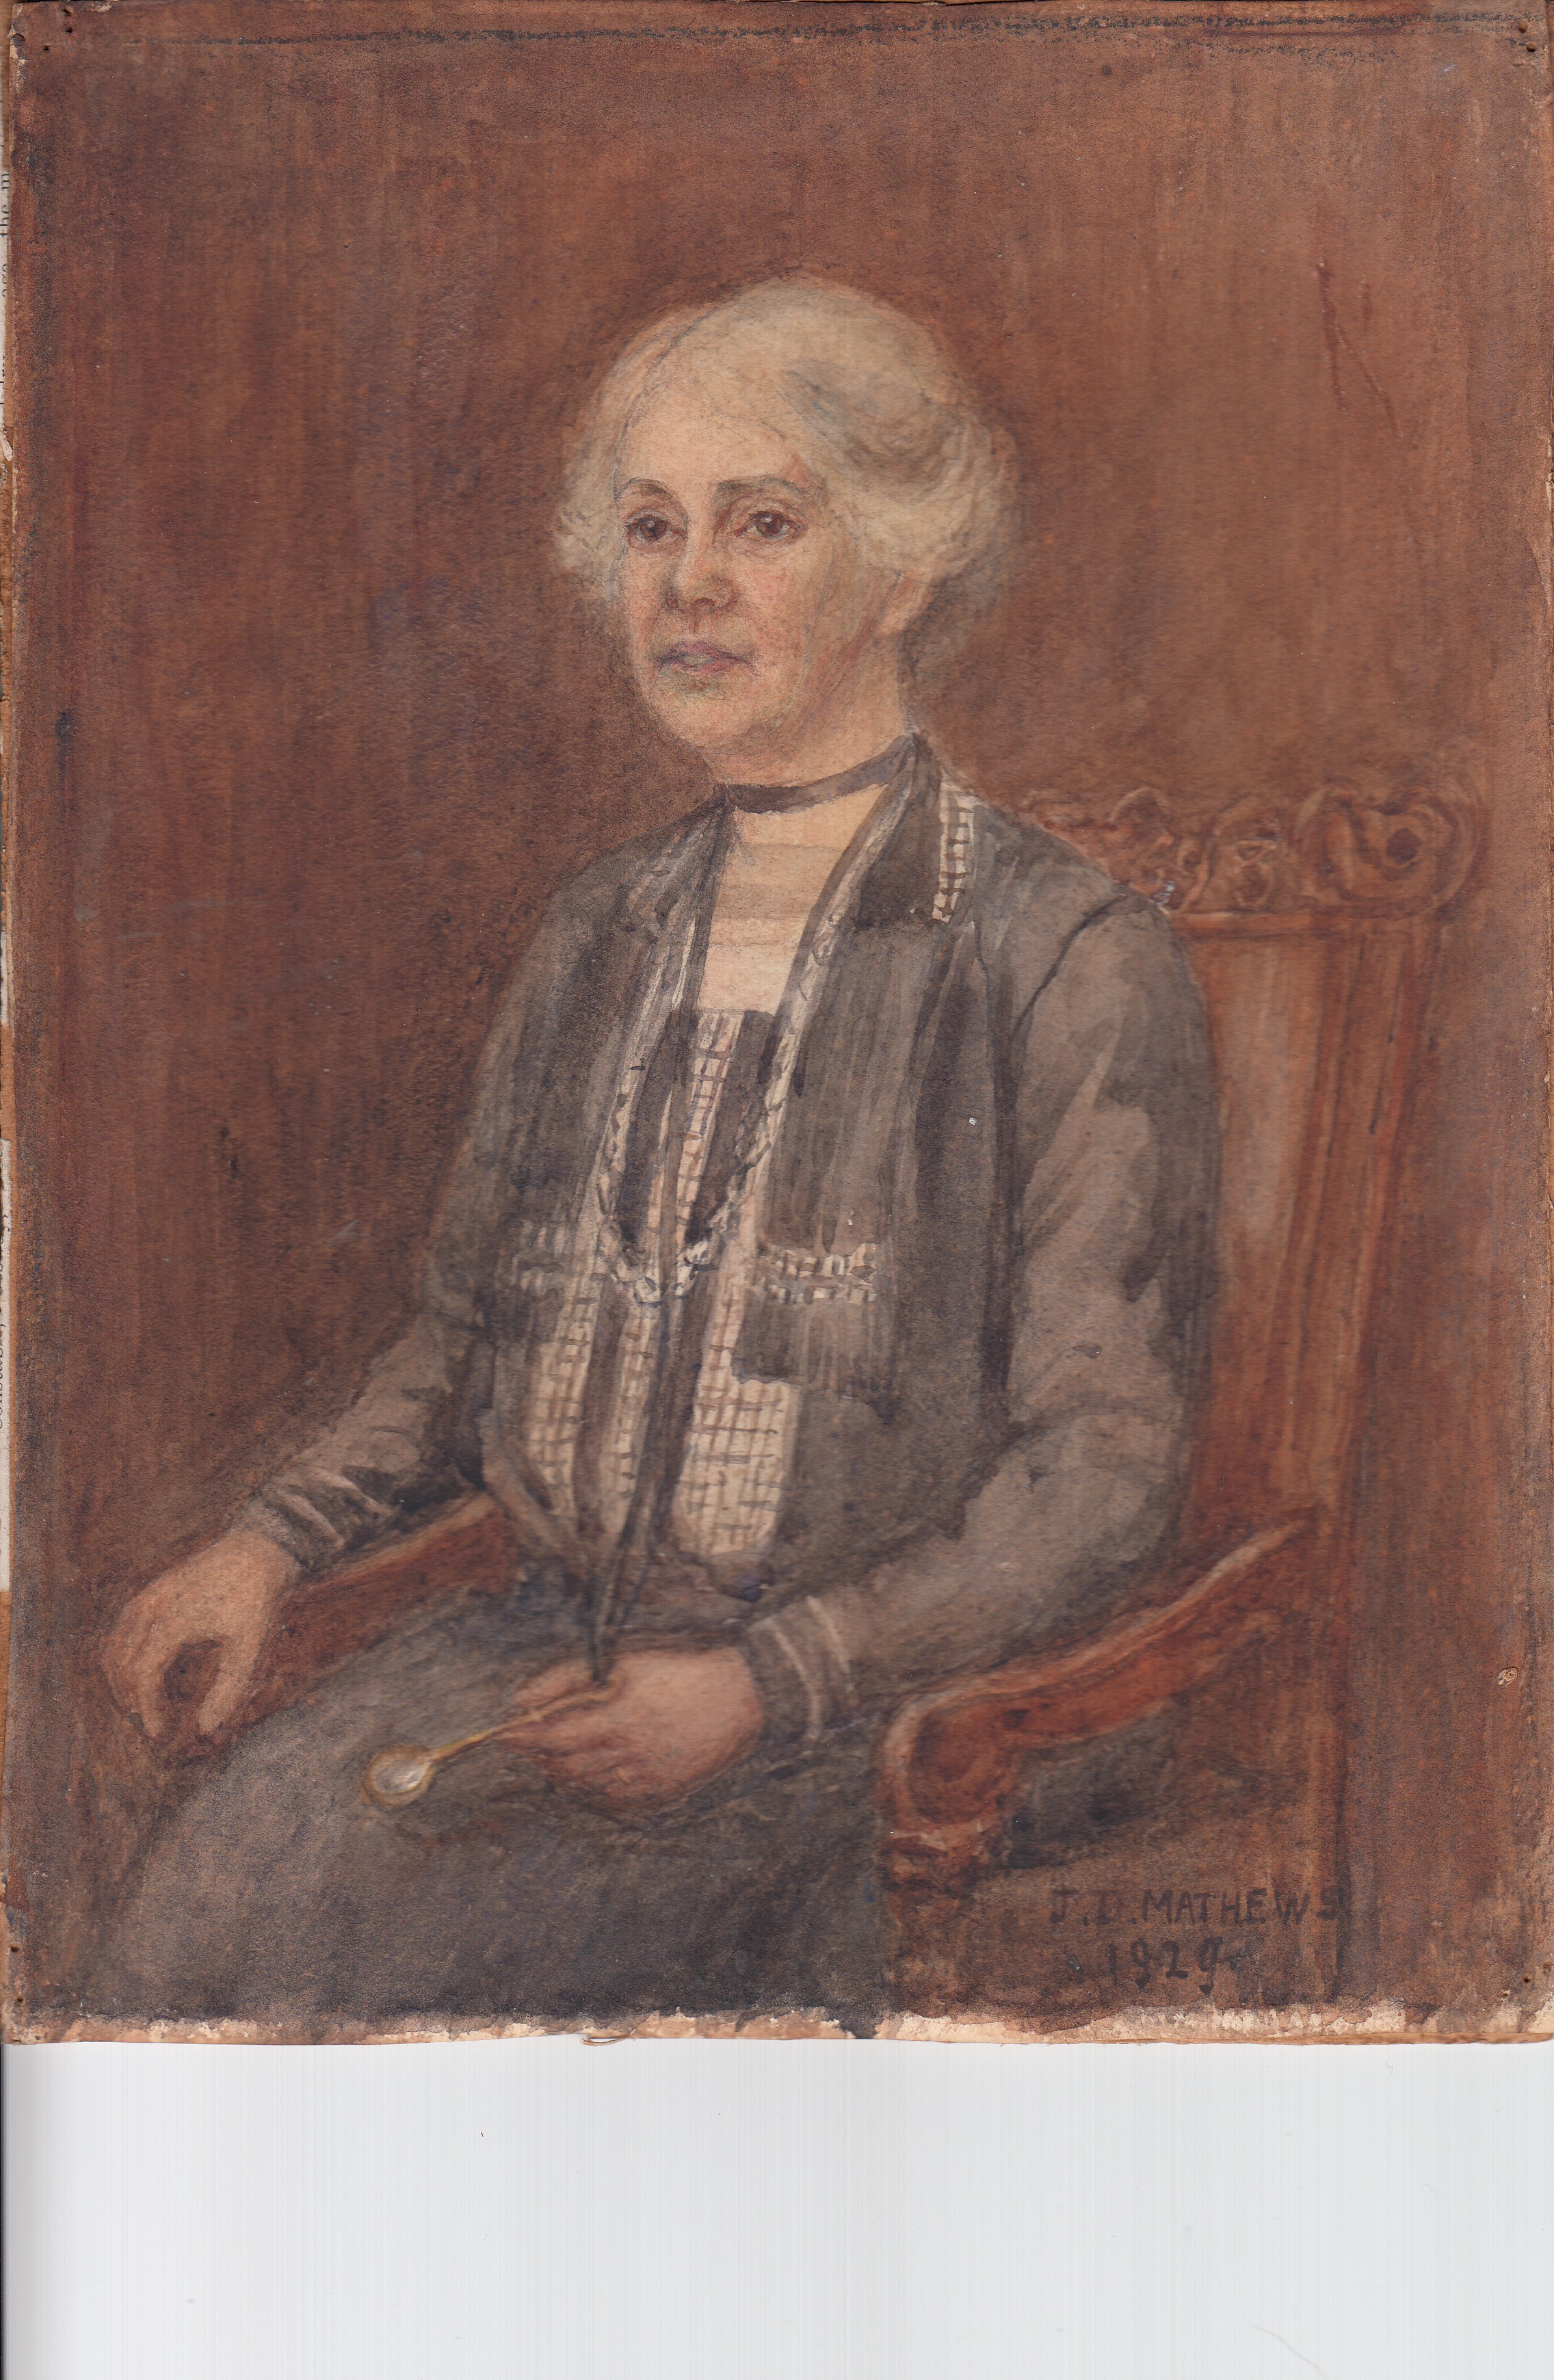
Jean (Grandma) Blumenfeld's Grandfather (Ukrainian Catholic). Unknown if he was a Gott (father's side)
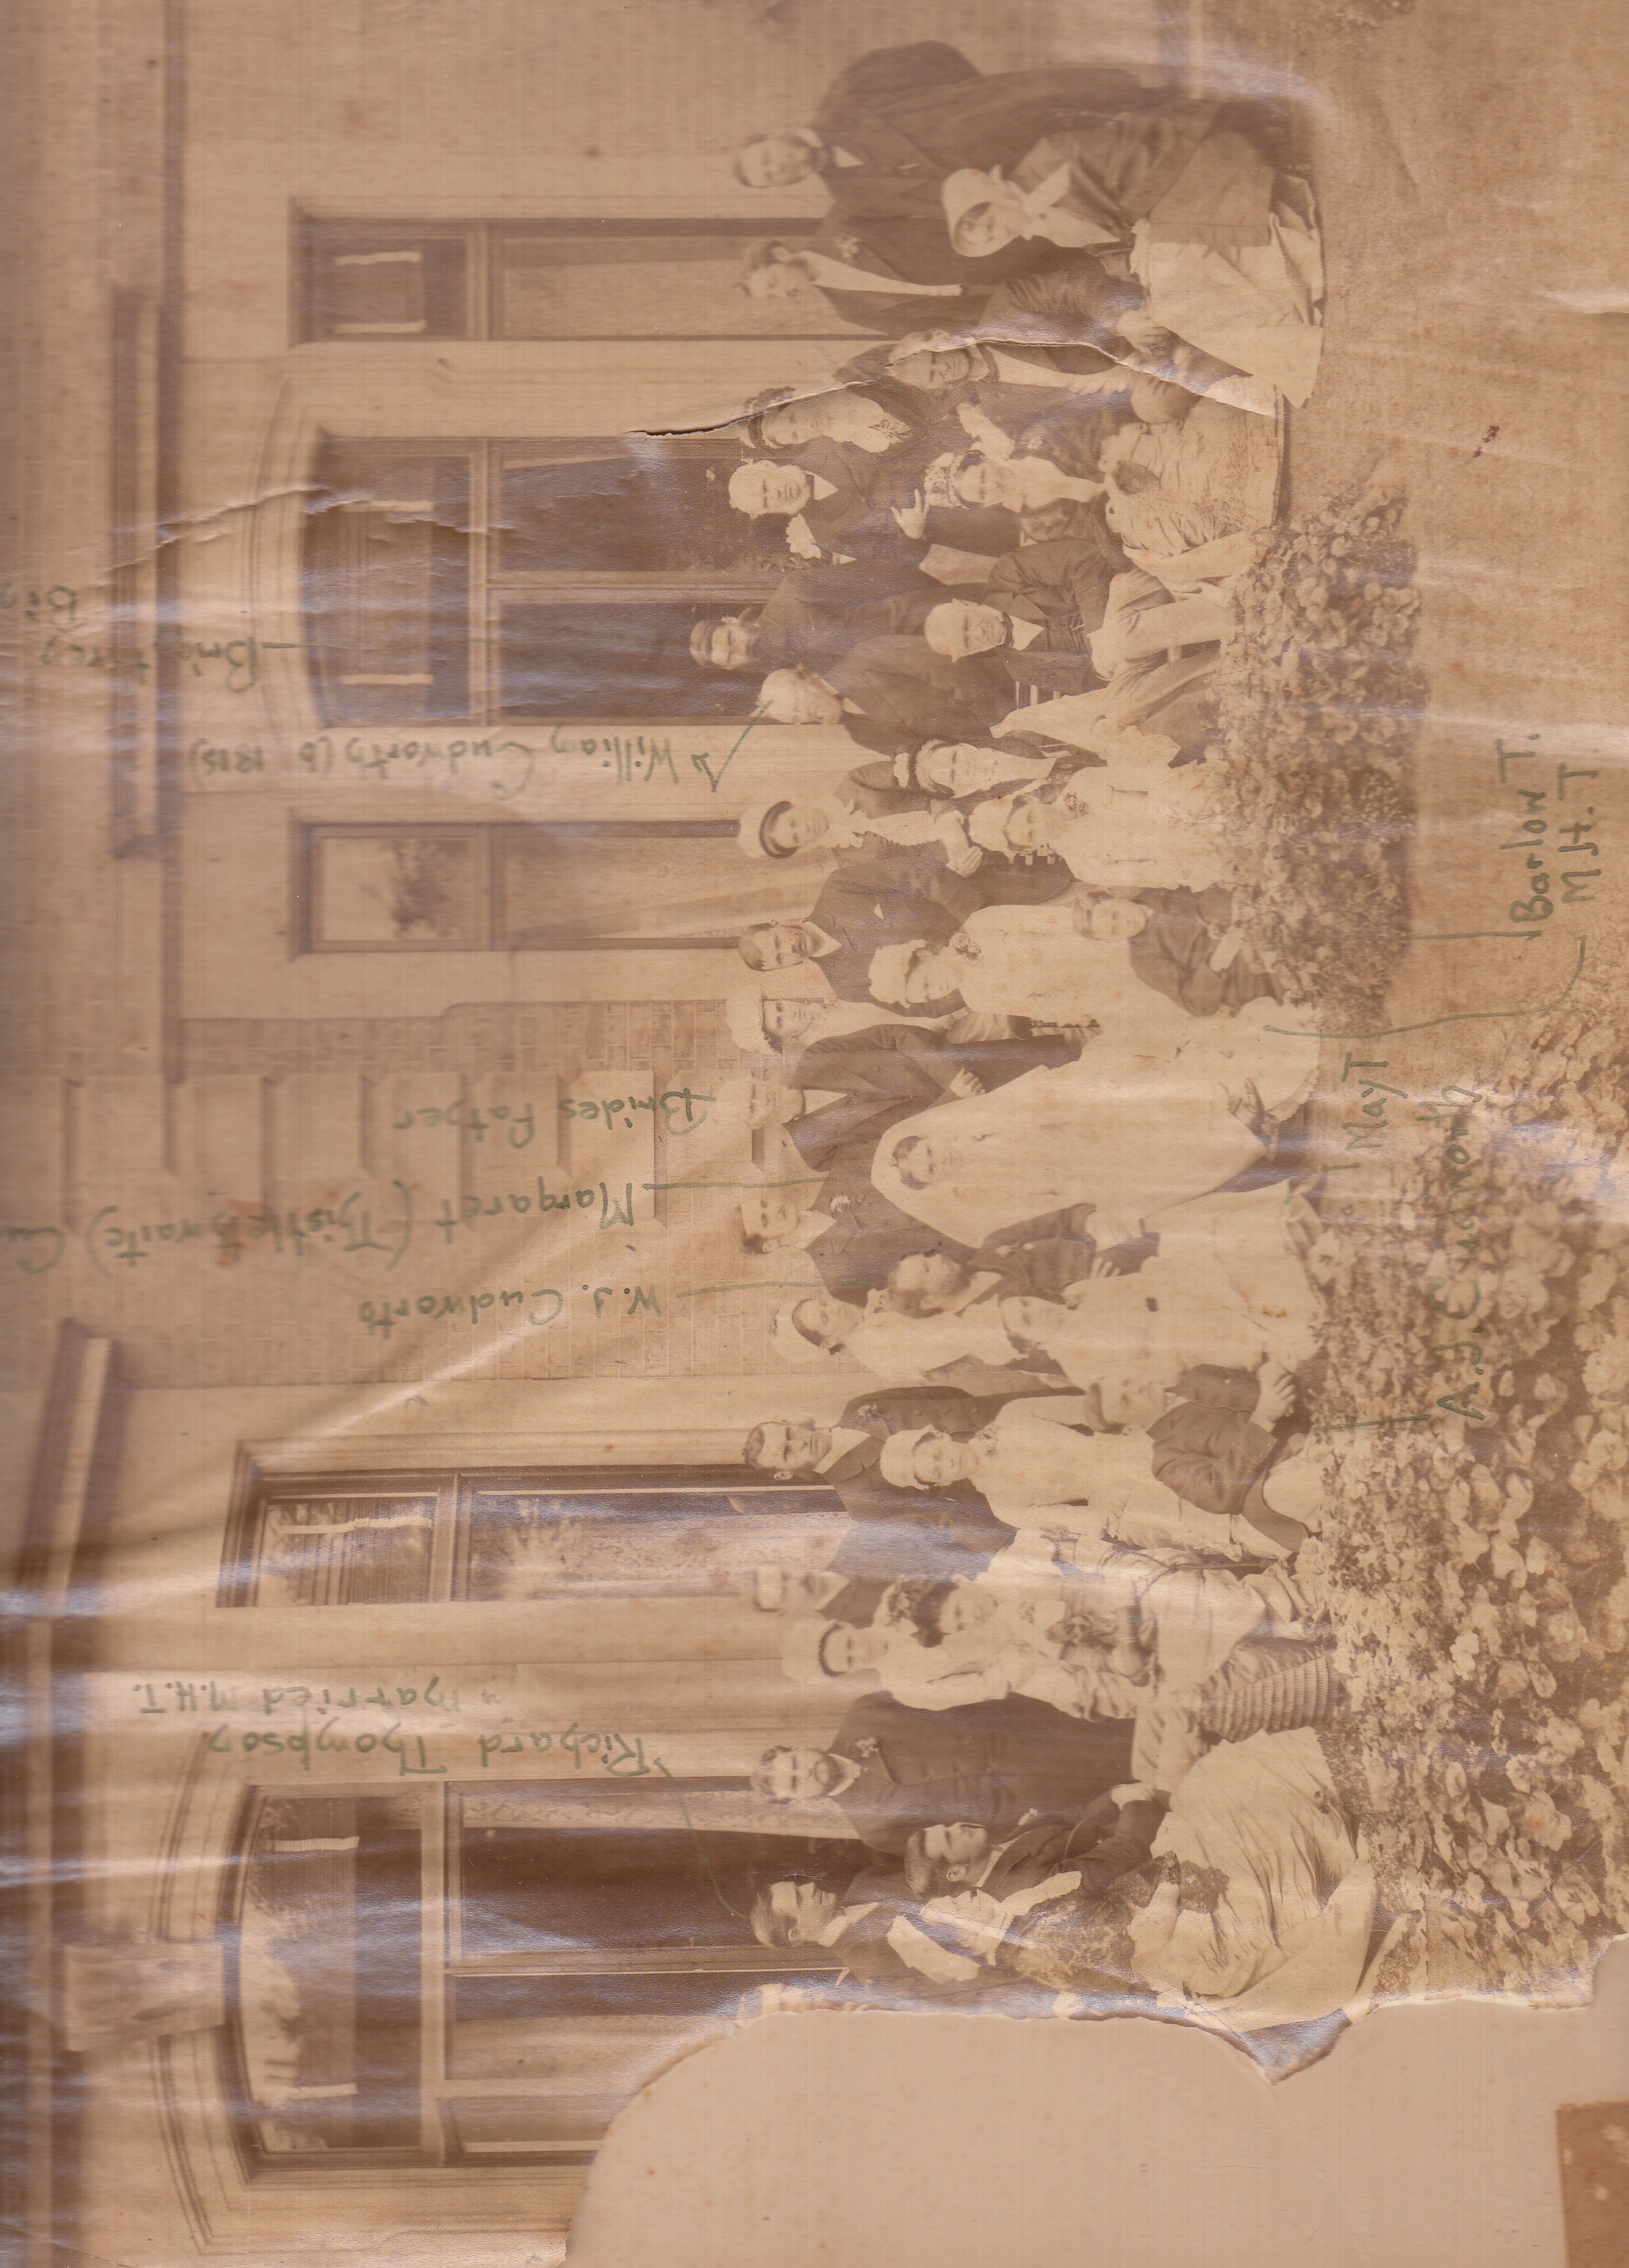
Location: bride's home Birkenhead ' style='background-image:url(https://danieljblumenfeld.com/wp-content/uploads/2017/10/IMG_20150801_0007-310x221.jpg)'>
W. Cudworth - Margaret Thistlethwaite Wedding (Grandmom's grandparents), 1880
Location: bride's home Birkenhead
Location: bride's home Birkenhead